Tactical Positions · 2 approved

Tactical position on Volokolamsk
Map overviewclick to expand

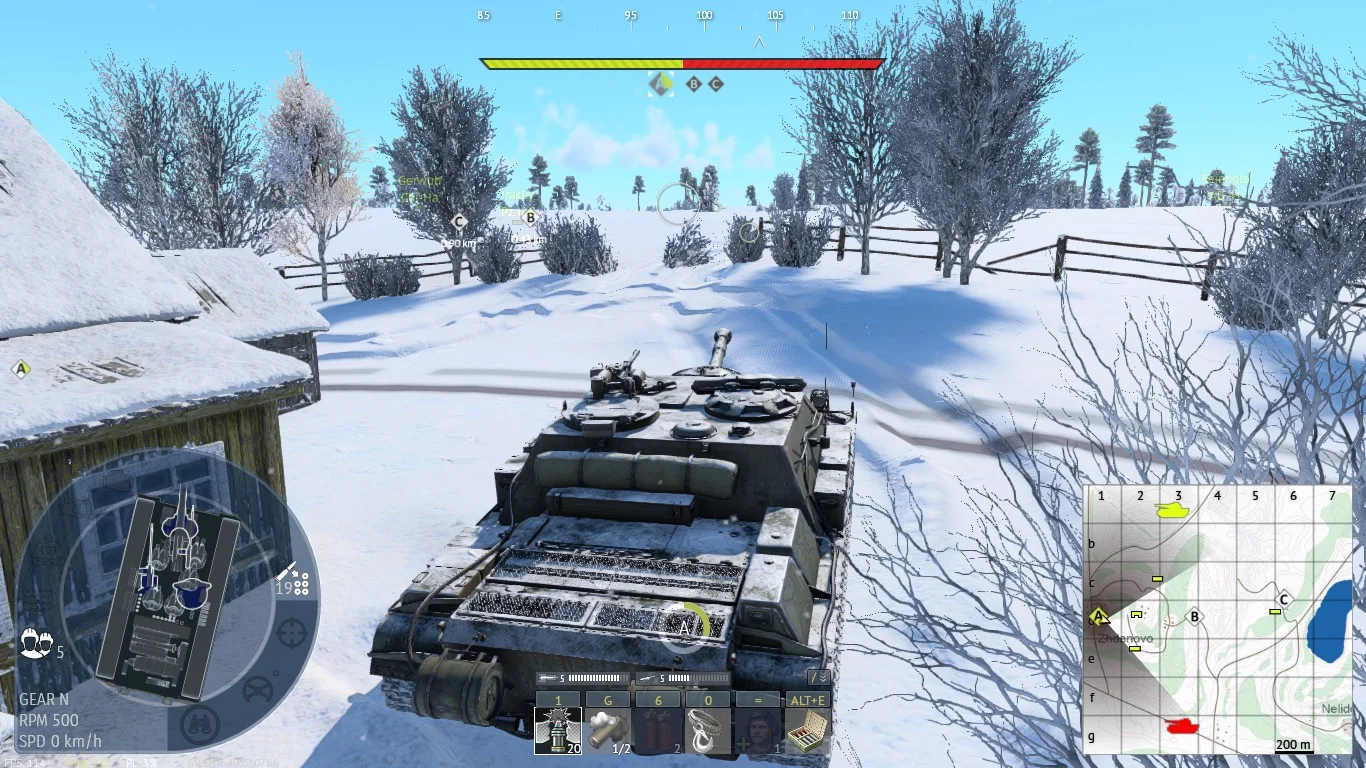
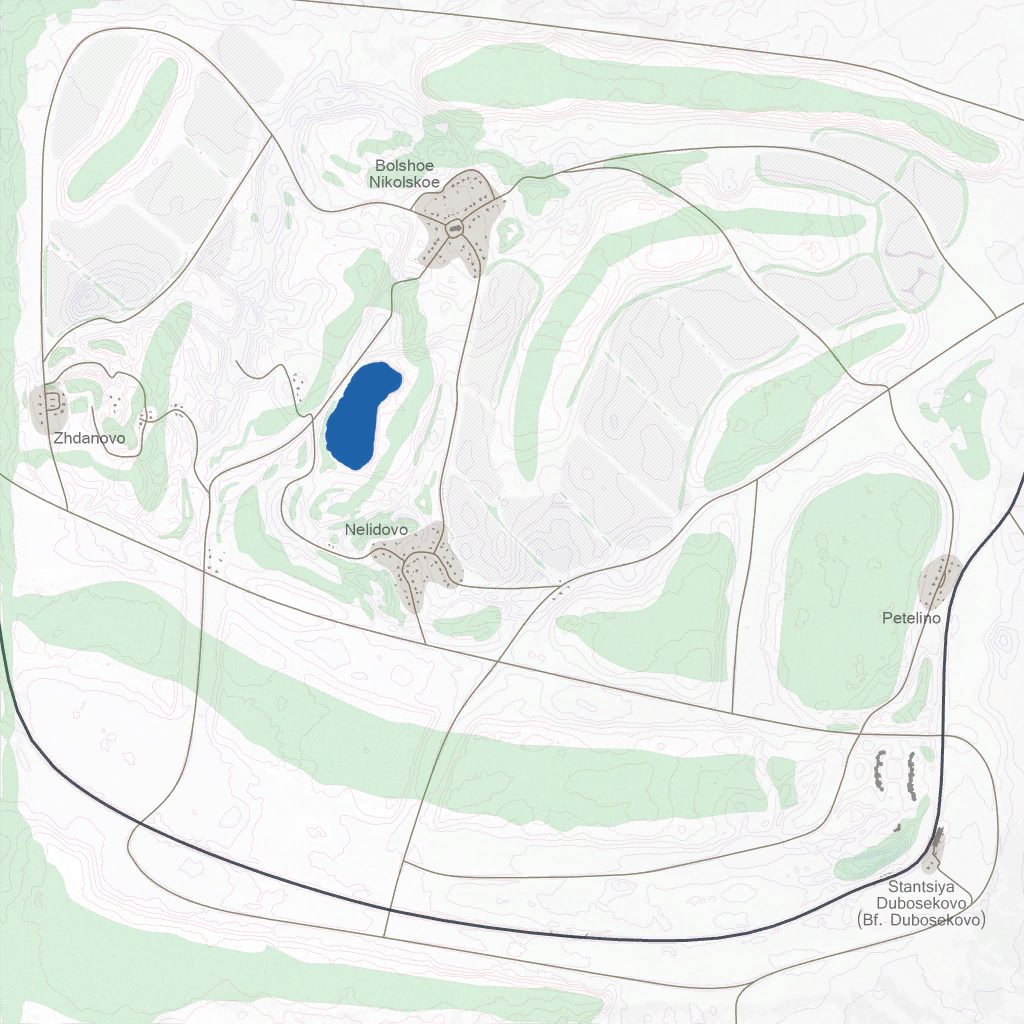
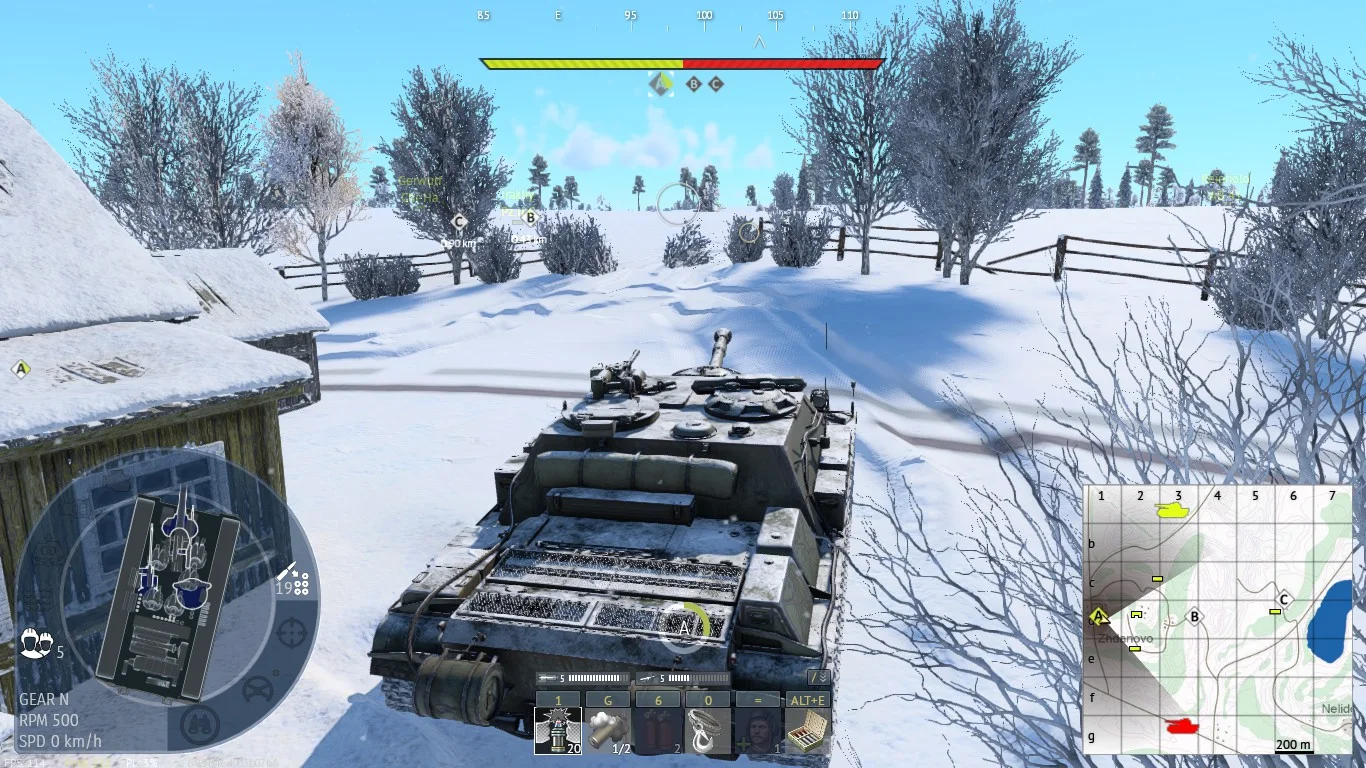
The buildings here offer good cover and make this a reliable position to work from. It is a decent sniping spot for catching players on the B point — you will need to crest the mound directly in front of you to get your gun on target, so try to expose only your turret when you take the shot. The main danger is being flanked: depending on how the match develops, enemies can work their way around from both the left and the right side, so keep checking those angles between shots and pull back behind the buildings whenever you need to reload or relocate.
CoverObjectiveSniper
Tactical position on Volokolamsk
Map overviewclick to expand

A solid piece of cover overlooking the A point. From here you can sit relatively safely and watch the approaches to the objective, punishing anyone who tries to move onto the cap without clearing this angle first. The cover lets you stay hull-down and hard to hit while you wait, which makes it a good spot to fall back to when defending A. As always with static positions, once you have taken a few shots from here, expect the enemy to start pre-aiming this spot — take your kills and be ready to shift to a new angle.

CoverObjective

Strategic Routes · 3 approved

Map overviewclick to expand
Wide Flank
Map overviewclick to expand
Protected Corridor

A protected corridor that keeps you out of the main sightlines while you move up. This route trades a little speed for safety: instead of driving through the open where snipers are watching, you stay behind terrain and cover for most of the drive, arriving at your destination in one piece. Use it when the match has settled and the obvious lanes are being watched, or when you are in a slower vehicle that cannot afford to be caught crossing open ground.

Map overviewclick to expand
Protected Corridor

See it on the map

Open Volokolamsk in the RATLINE tool to view pins, draw routes, and contribute your own intel.

Open RATLINE → All Guides