Tactical Positions · 4 approved

Tactical position on VietnamHills
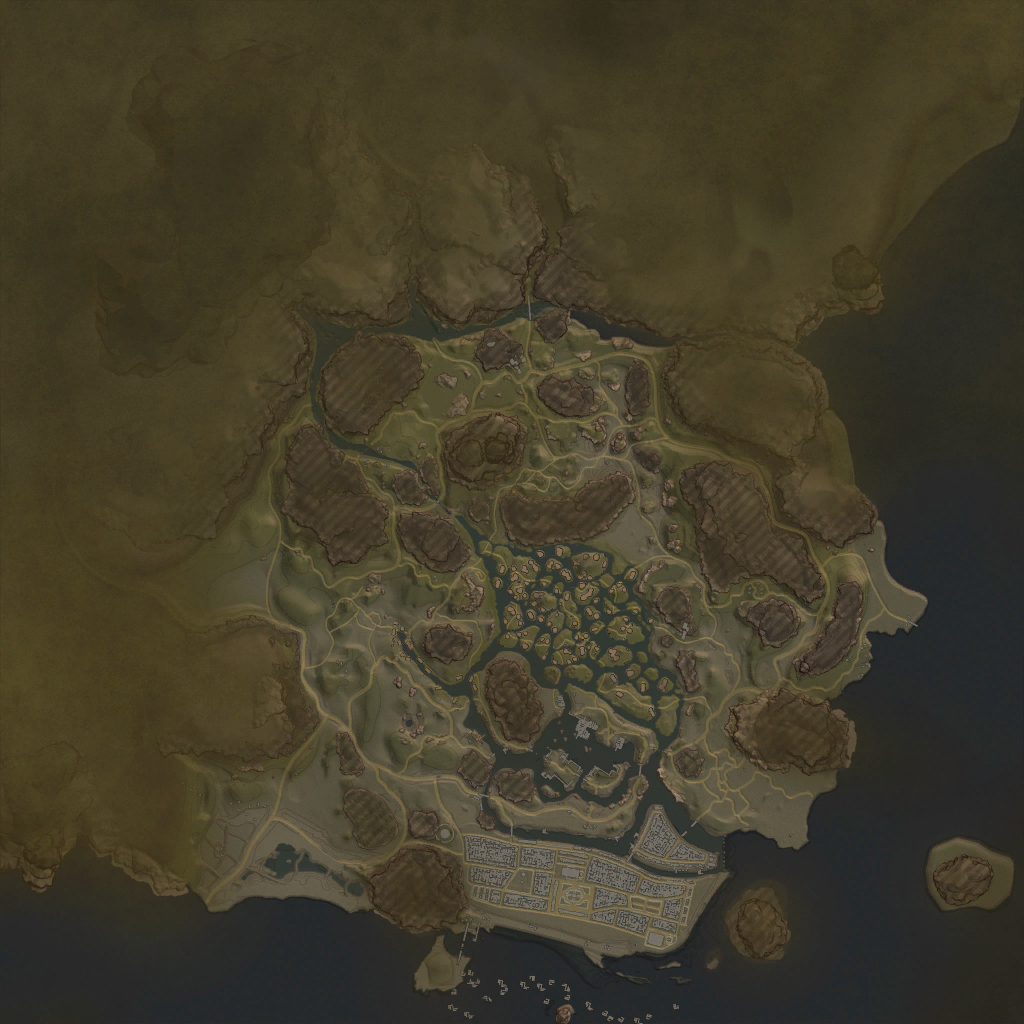
Map overviewclick to expand

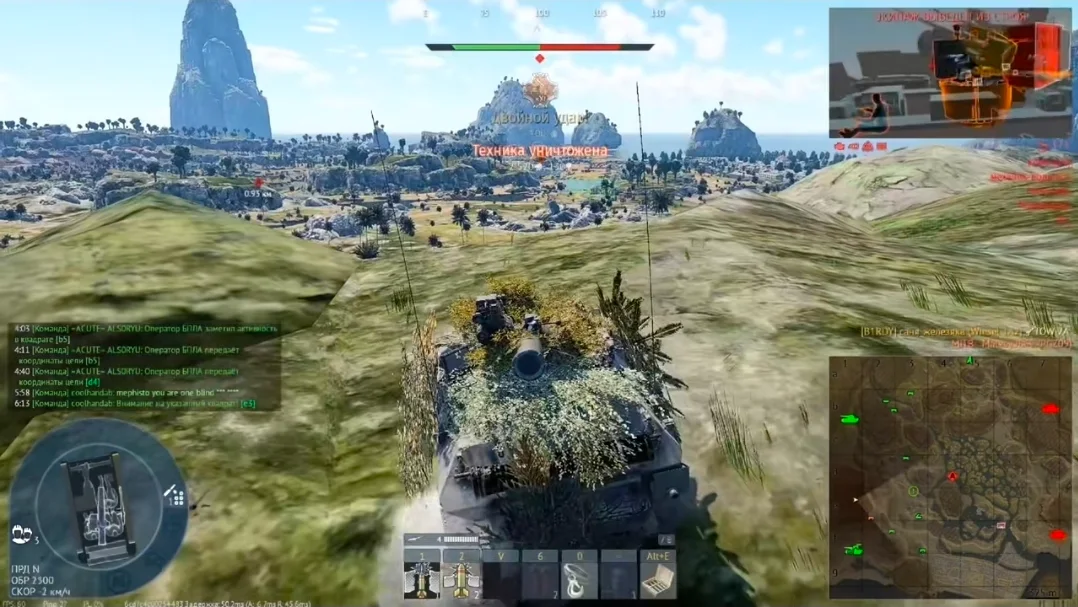
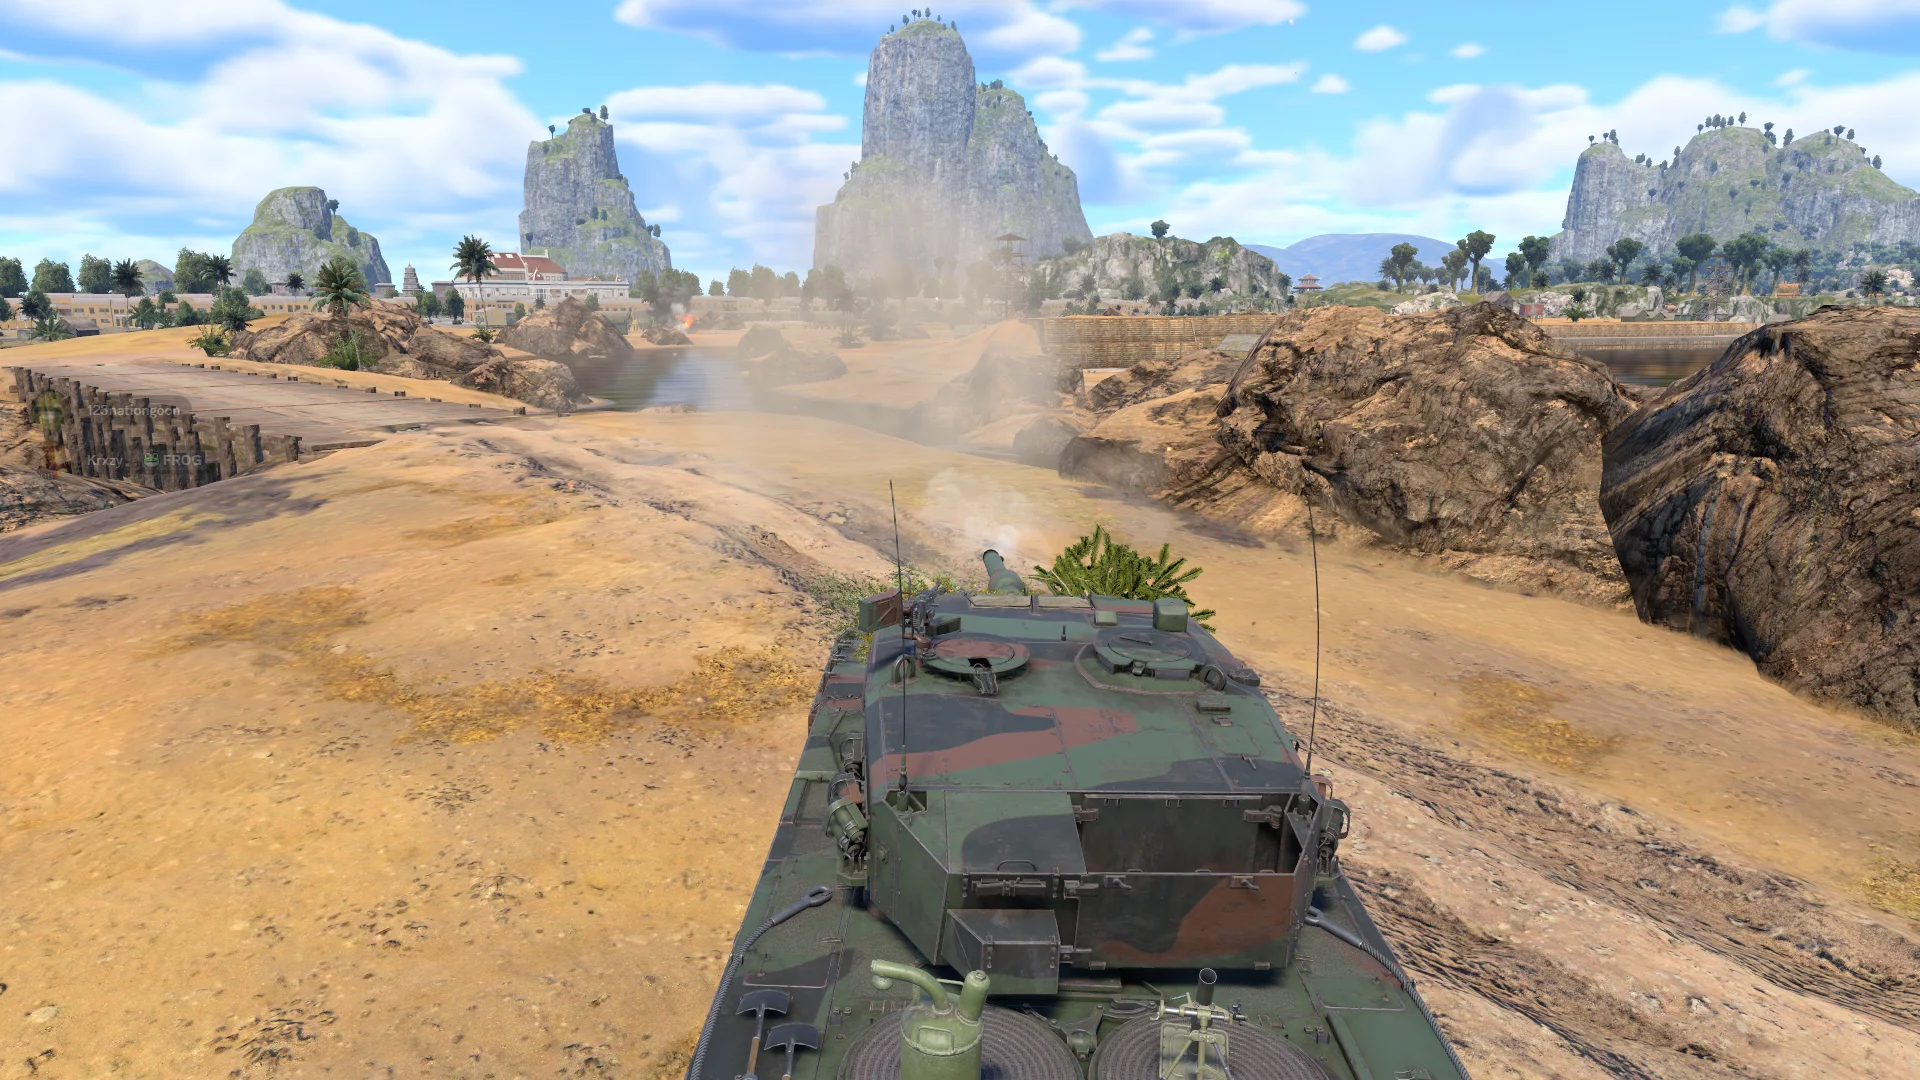
A sniping position on high ground that overlooks both the C and B points. From up here you have long, clean sightlines onto the objectives, and you can also catch enemies driving along the side of C completely off guard — most players never check this angle while they are focused on the cap. The elevation lets you work hull-down, showing only your turret while you pick your shots, and the surrounding cover makes it a naturally defensive spot. Take your kills, and if return fire starts landing near you, drop back off the crest and re-peek from a slightly different spot.
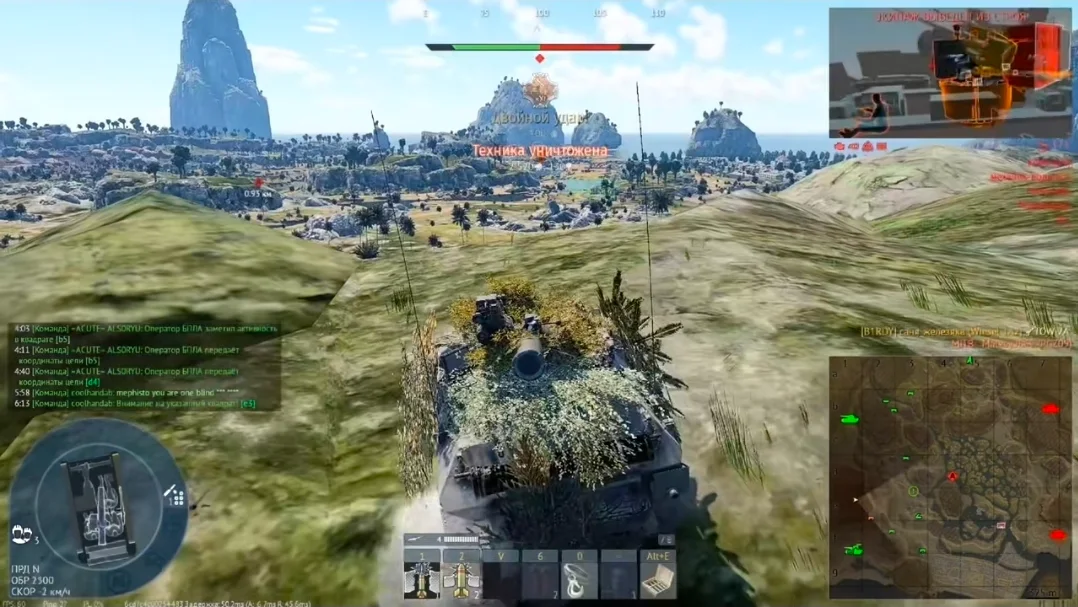
SniperHigh GroundHull DownDefensiveCover
Tactical position on VietnamHills
Map overviewclick to expand

A high-ground sniping spot with a commanding view over the B and C points. Enemies pushing between the objectives rarely expect fire from this angle, which makes it easy to catch them side-on and off guard. The position supports hull-down play — keep your hull behind the crest and only expose the turret when firing — and there is enough cover around it to hold defensively for a long stretch of the match. Stay patient, prioritise targets that cannot shoot back at you, and relocate along the ridge once the enemy starts pre-aiming your silhouette.

High GroundSniperHull DownDefensiveCover
Tactical position on VietnamHills
Map overviewclick to expand

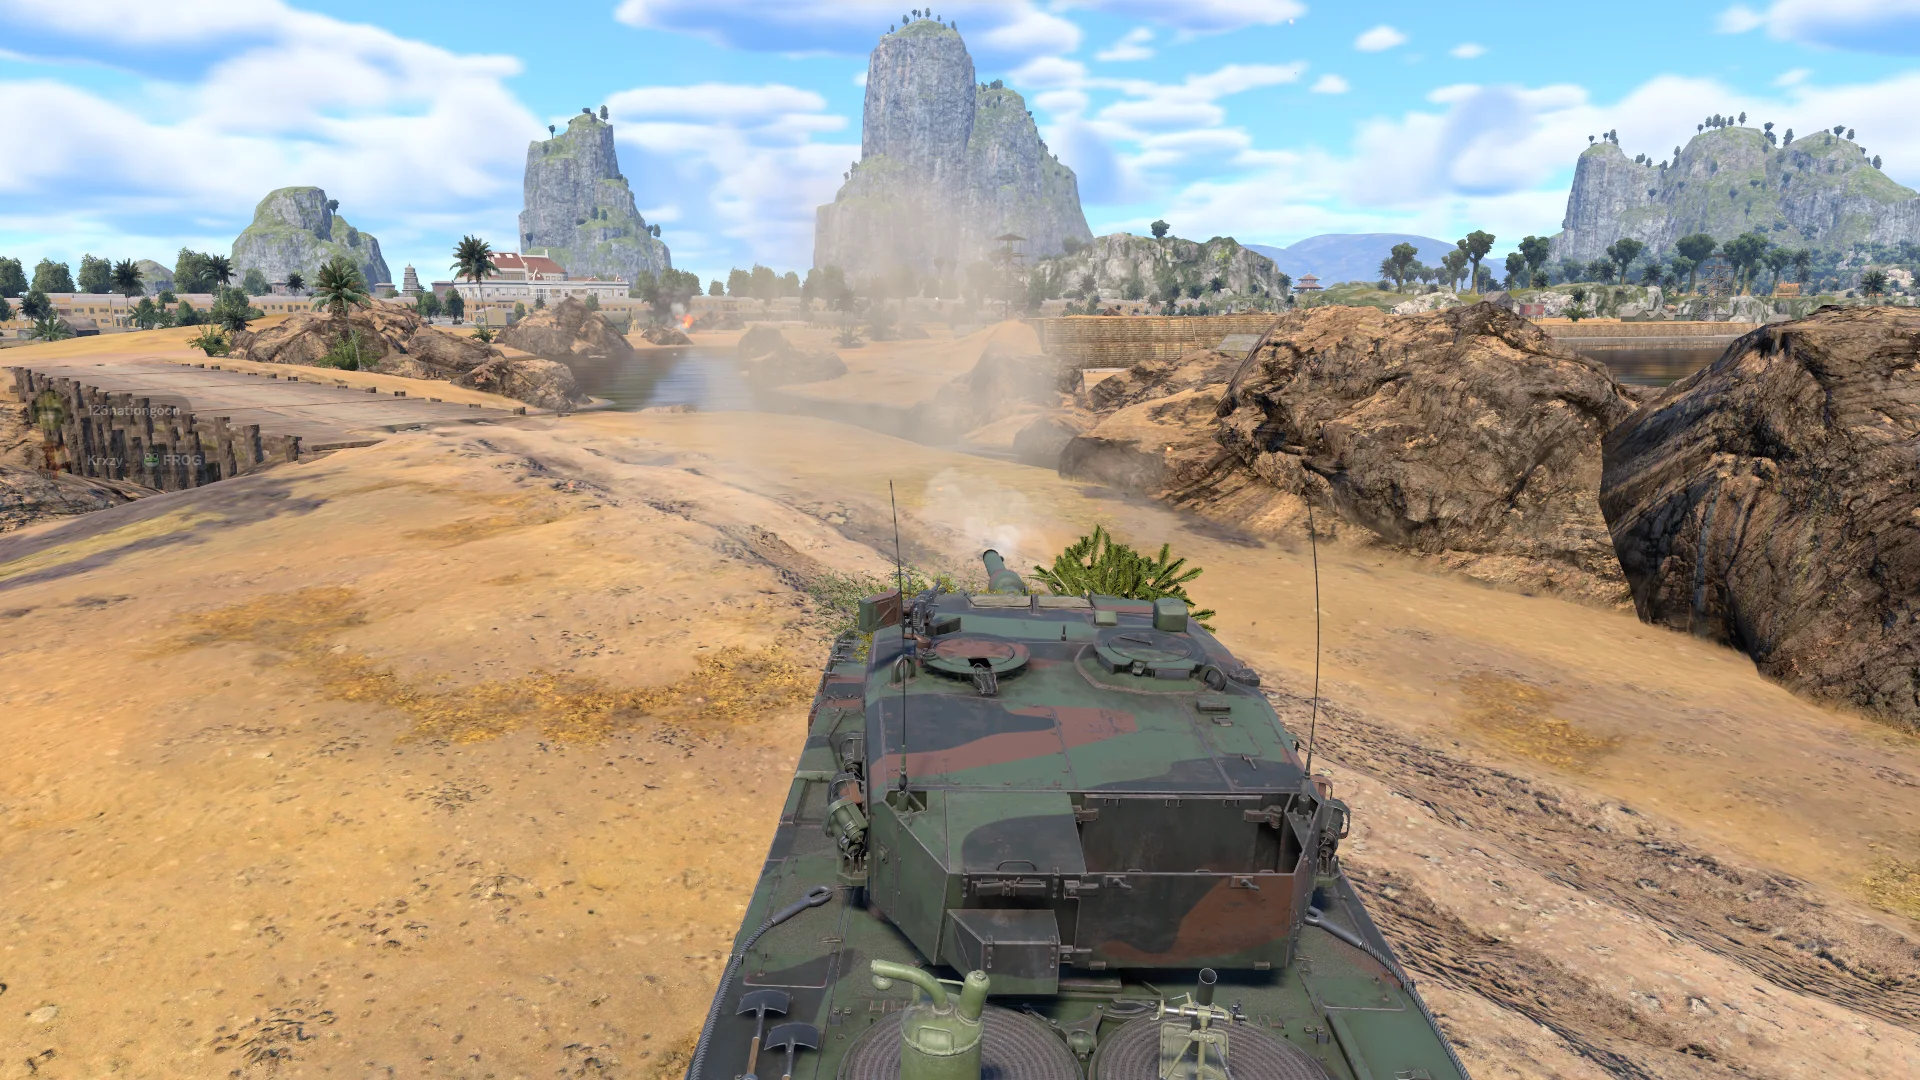
One of the strongest positions on Vietnam, with very low risk for how much value it generates. It is an elevated spawn-peek spot: from up here you can see enemies as they leave their spawn and engage them before they ever reach cover or get set up. Because of the height advantage and the terrain around you, very little can actually shoot back effectively, which is what makes the spot so oppressive. Get here early for the best effect, and even though the risk is low, do not go fully AFK on the angle — eventually someone will come looking for you.

Spawn PeakSniperHigh Ground
Tactical position on VietnamHills
Map overviewclick to expand

A very safe and very strong position for fast, light vehicles — think Wiesel, BTR-80A and similar high-speed platforms. The climb is the trick: you get up by using the rock between the hills as a ramp, which slower or heavier tanks simply cannot manage. Once on top you have a high-ground, hull-down overwatch position with cover, letting you spawn-peek and pick off enemies while staying almost impossible to punish. Make the climb at the start of the match, keep your hull behind the crest, and enjoy an angle most of the enemy team will never figure out.

High GroundSpawn PeakHull DownCover

Strategic Routes · 4 approved

Map overviewclick to expand
Wide Flank

A wide flanking route that usually works out well. It swings you around the main engagement lanes, so instead of trading shots head-on you arrive on the enemy's side of the map where they are not looking. There is nothing exotic about it — no special vehicle required — it simply relies on most players tunnel-visioning on the objectives. Commit to the flank early, keep moving until you are around them, and you will regularly find rows of side plates to farm.

Map overviewclick to expand
Wide Flank

The best anti-air position on this map. Following this path gets you to a spot where you can see the aircraft and helicopter spawns on radar, meaning you can start tracking targets the moment they lift off instead of reacting after they are already diving on your team. Take a radar SPAA here early if the enemy is spading CAS, and you will deny huge amounts of air damage. The route itself is uneventful — the value is entirely in the final position and the radar coverage it gives you.

Map overviewclick to expand
Protected Corridor

The safe road up to the sniping spot that overlooks B and C. This is a protected corridor: it keeps terrain between you and the enemy team for the whole climb, so you can reach the overwatch position without being spotted or traded on the way. Use it at the start of the match to get set up early, and use it again later in the game whenever you need to rotate back up to the ridge — arriving unseen is what makes the sniping position up top actually work.

Map overviewclick to expand
Protected Corridor

The climb route up the rock — a protected path, but it has a hard requirement: a genuinely fast vehicle. You need something with serious horsepower to make it up, and the best option is the Wiesel 1A2 or anything else that can push 80+ km/h. If your vehicle qualifies, this route takes you to one of the safest and most oppressive positions on the map while keeping you in cover the entire way up. If you are in anything slower, do not bother attempting it — you will stall on the climb and be a sitting target.

See it on the map

Open VietnamHills in the RATLINE tool to view pins, draw routes, and contribute your own intel.

Open RATLINE → All Guides