Tactical Positions · 2 approved

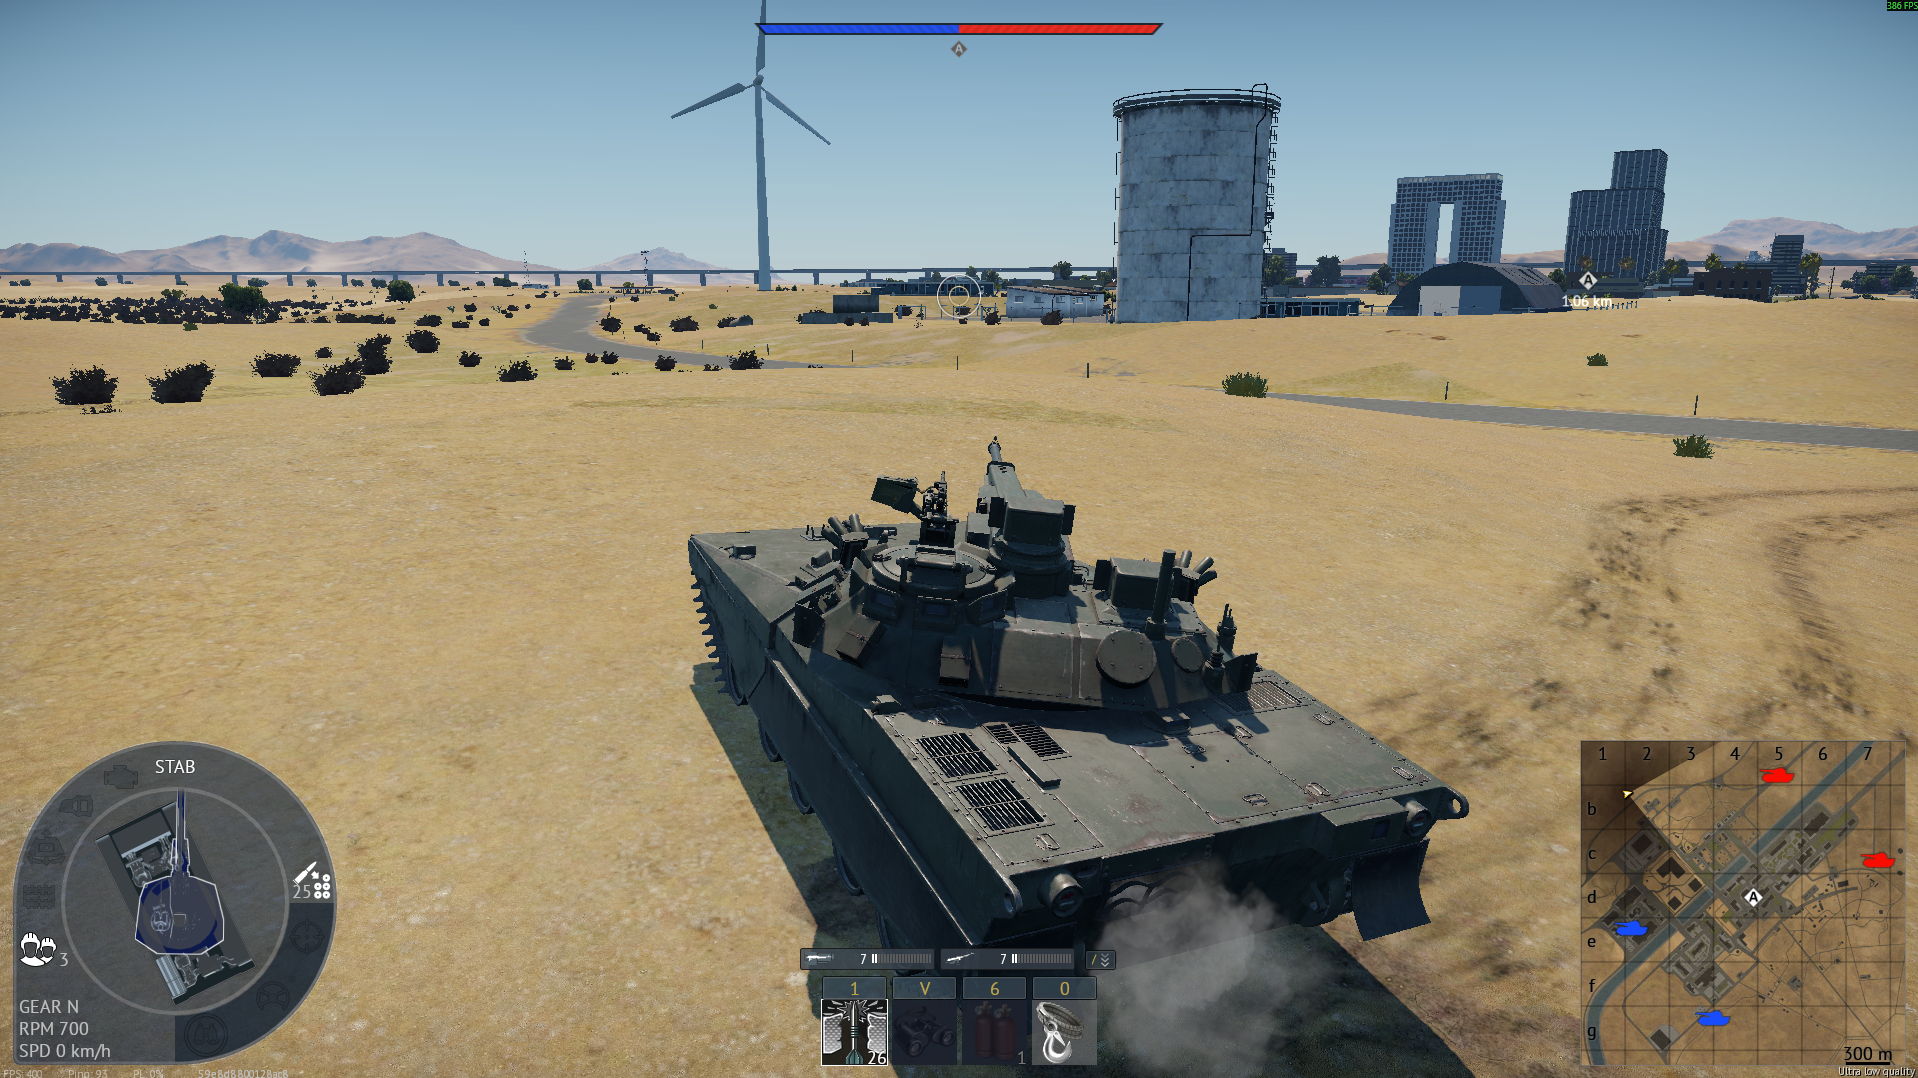
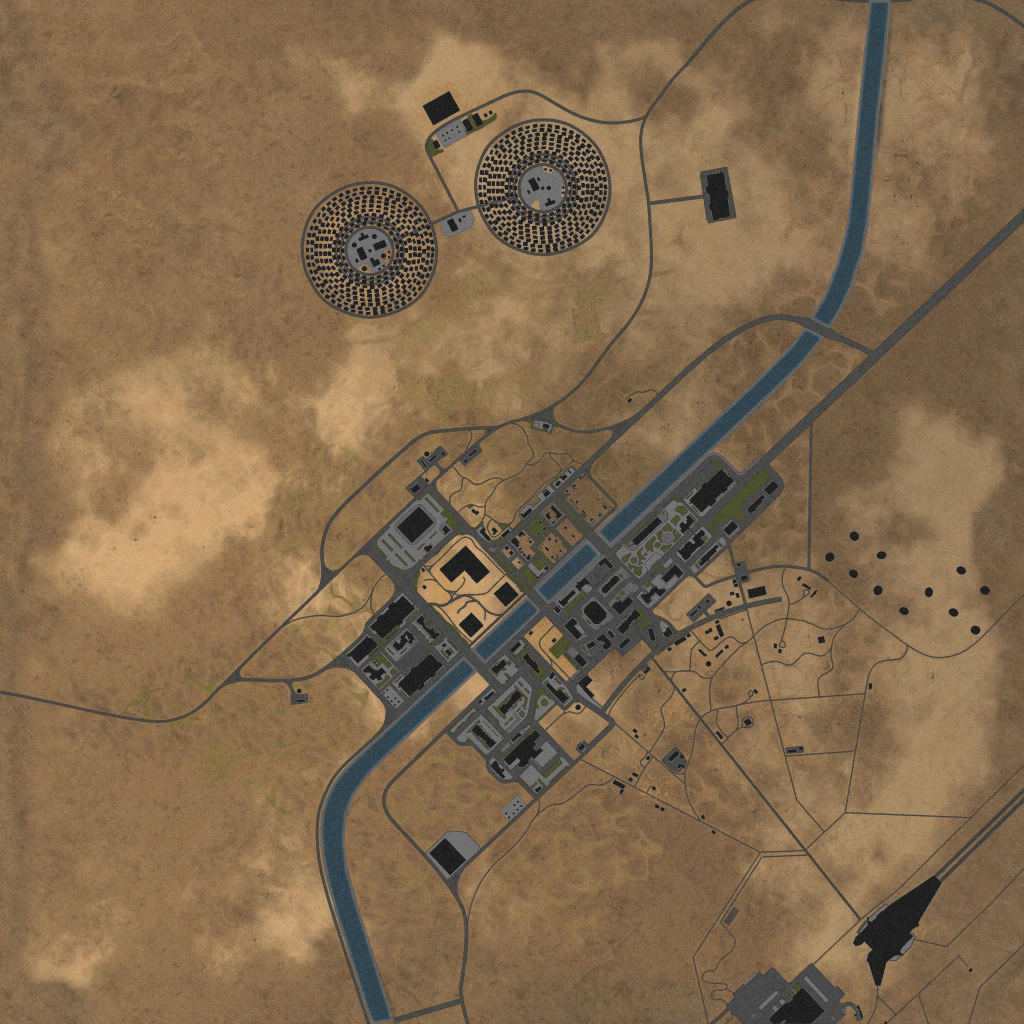
Tactical position on SpacePort
Map overviewclick to expand

You have to fight to take this position — it is contested almost every match — but once you win it, you effectively own half the map. The spot commands a huge share of the sightlines, and the geometry lets you play peek-and-hide: roll out, take a shot, and drop back into cover before the return fire arrives. Whoever holds it dictates the tempo for the whole area, which is exactly why the enemy will contest it early. Bring support or a vehicle that wins a duel, take the spot, and then be patient — peek, kill, hide, repeat.
Tactical position on SpacePort
Map overviewclick to expand

A useful position for cutting off the enemy team. It sits on the lane enemies use to rotate out of their spawn area, so holding it lets you intercept vehicles before they reach the rest of the map — you are essentially closing a door on them. Be aware of what you are signing up for: this close to the enemy side, you are exposed to spawn peeks and will be treated as a priority target once noticed. Set up with cover, take the interception shots as they come, and do not try to hold the position after the enemy commits to digging you out.

Spawn CampSpawn PeakDanger Zone

Strategic Routes · 4 approved

Map overviewclick to expand
Direct Assault

The direct route to C. No tricks and no detours — this is the straight-line assault path to the objective, which makes it the fastest way to be first on the cap. Speed is its strength and predictability is its weakness: everyone knows roughly where this lane runs, so expect contact and keep your gun forward the whole way. Best driven at the start of the match when reaching the point early matters most, or when your team needs bodies on C immediately. In slower vehicles, consider letting the first wave trade before you follow this line.

Map overviewclick to expand
Direct Assault

A direct assault route to the B point. It takes the straight, obvious path — which means you arrive fast, and it also means anyone watching the lane knows exactly where you will appear. Use it when tempo matters: an early cap on B, a fast reinforcement when the point is being flipped, or a quick rotation when your team collapses one side. Drive it with your gun on the likely threat angles and cover in mind, because the first vehicle down a direct lane is also the first one shot at.

Map overviewclick to expand
Direct Assault

The second direct lane to B, approaching from a different angle than the other straight route. Like any direct assault path, the trade is simple: maximum speed to the objective in exchange for driving a line the enemy can predict. Having two direct options to the same point is valuable though — if the other lane is being farmed, this one is often clear, and splitting your team between the two makes it much harder for defenders to hold the point. Commit fast, pre-aim the known danger spots, and get on the cap.

Map overviewclick to expand
Direct Assault

The direct route to A. This is the no-nonsense path — straight to the objective, quickest time to cap, no clever geometry involved. Take it when A is uncontested early, when your team needs the point retaken quickly, or when you simply want to force the enemy to respond to pressure. Because the lane is obvious, treat every piece of cover on the way as a potential enemy position, and do not coast through the final approach: slow down, check the angles that cover the cap circle, then commit.

See it on the map

Open SpacePort in the RATLINE tool to view pins, draw routes, and contribute your own intel.

Open RATLINE → All Guides