Tactical Positions · 5 approved

Tactical position on Sinai
Map overviewclick to expand

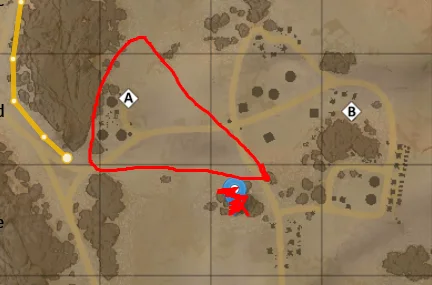
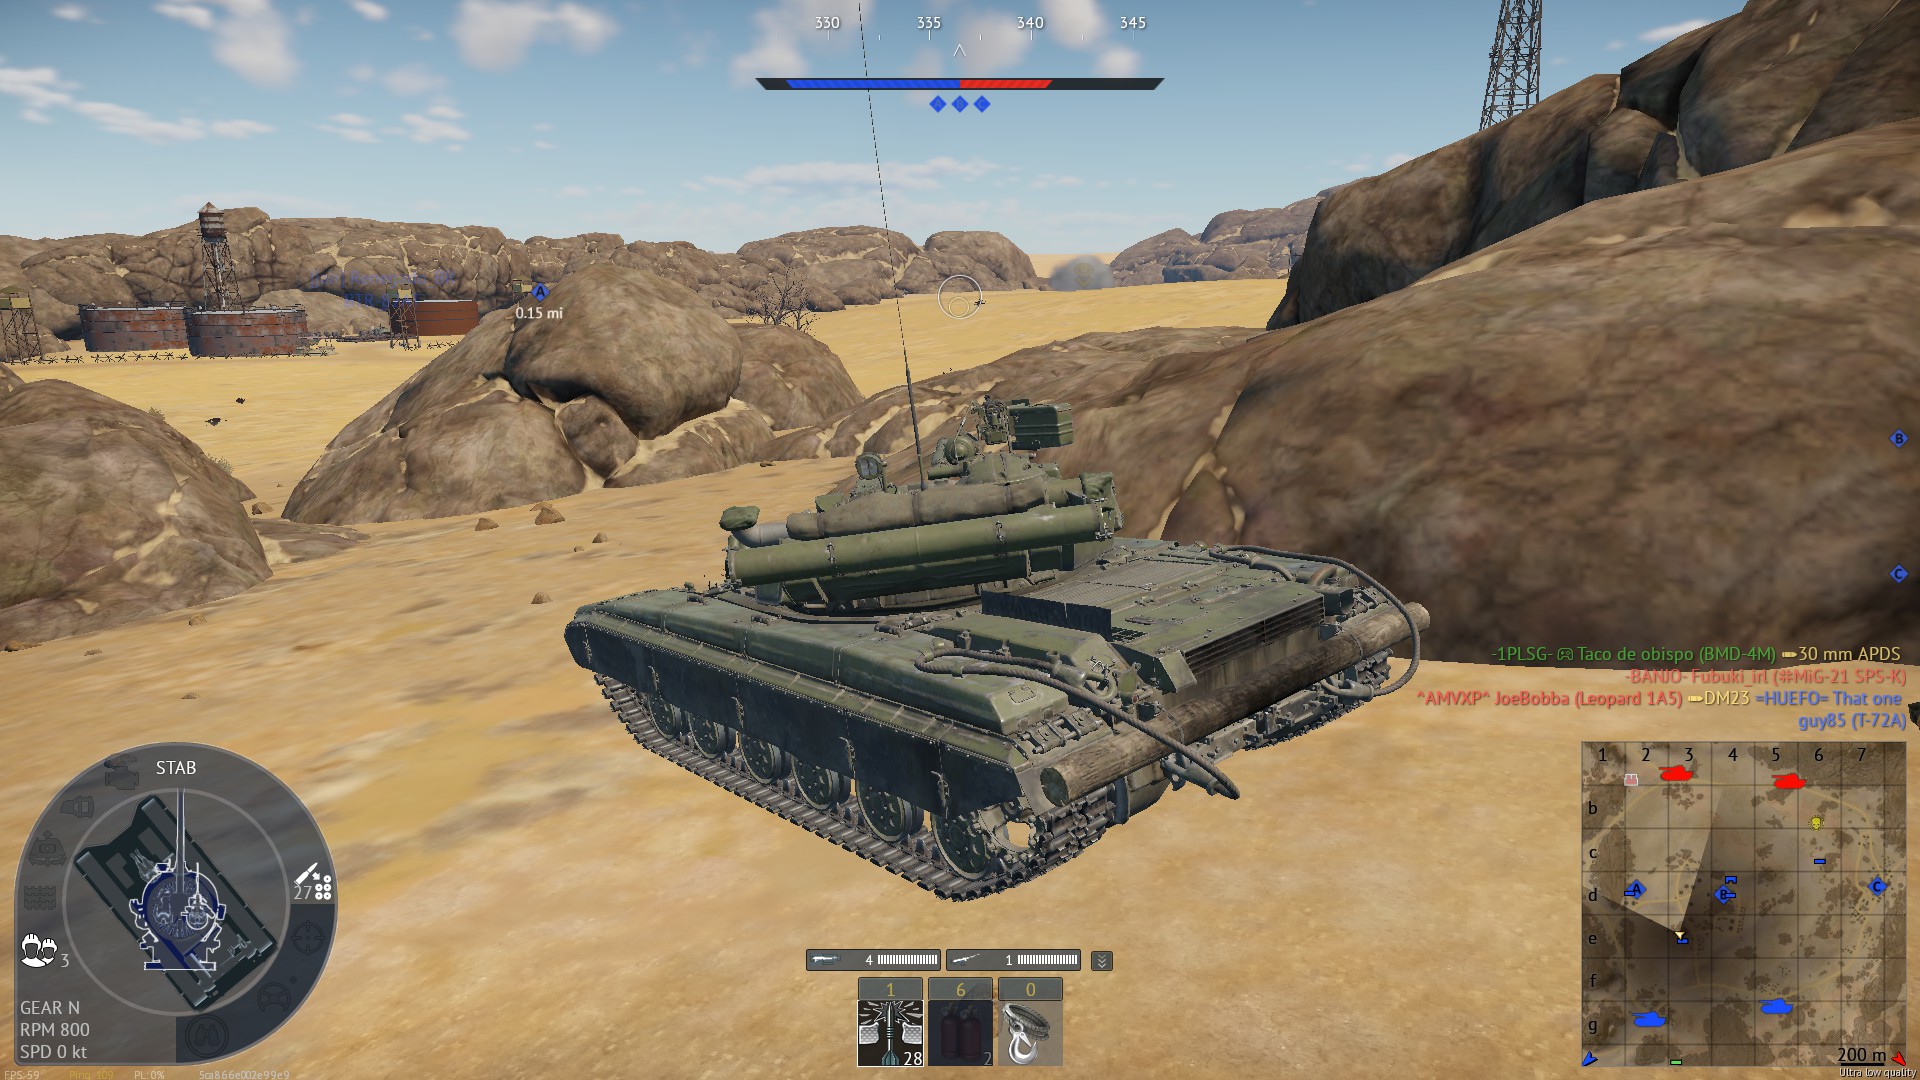
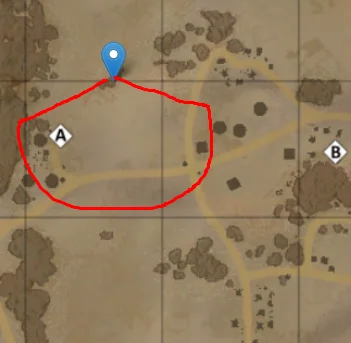
A good peek onto the A point that stays covered from everywhere else. The geometry here is the selling point: you have one clean window onto the cap, while the rest of your tank is protected from all the other angles that normally make watching A so dangerous. That means you can sit on the objective lane, punish anyone trying to take or cross A, and only ever duel enemies through your single chosen window. Hold your fire until the shot is worth taking, since the position stays safe only as long as most of the enemy team has no reason to look at it.
Tactical position on Sinai
Map overviewclick to expand

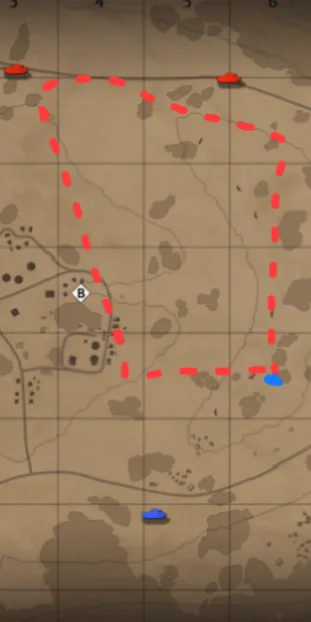
A workable spot for covering the A point. It is not flashy, but it gives you a steady line onto the objective from a piece of cover, letting you interrupt captures and chip damage into anyone pushing the area. Think of it as a role position rather than a farm: you hold it to keep A honest while your team fights elsewhere. If the enemy commits armor toward A in numbers, trade what shots you can and fall back — the spot is for overwatch, not for a last stand.

Tactical position on Sinai
Map overviewclick to expand

A good position for flanking unaware enemies. It sits off the beaten path near the objective lanes, with cover and a defensive fallback, so you can catch players who push past without checking the angle — which is most of them. The spawn-peek element means you can also tag vehicles much earlier than they expect. Work the position in cycles: engage when targets show sides, tuck back in when someone starts hunting you, and use the surrounding cover to change your exact firing spot between kills so you never get pre-aimed.

FlankSpawn PeakObjectiveCoverDefensive
Tactical position on Sinai
Map overviewclick to expand

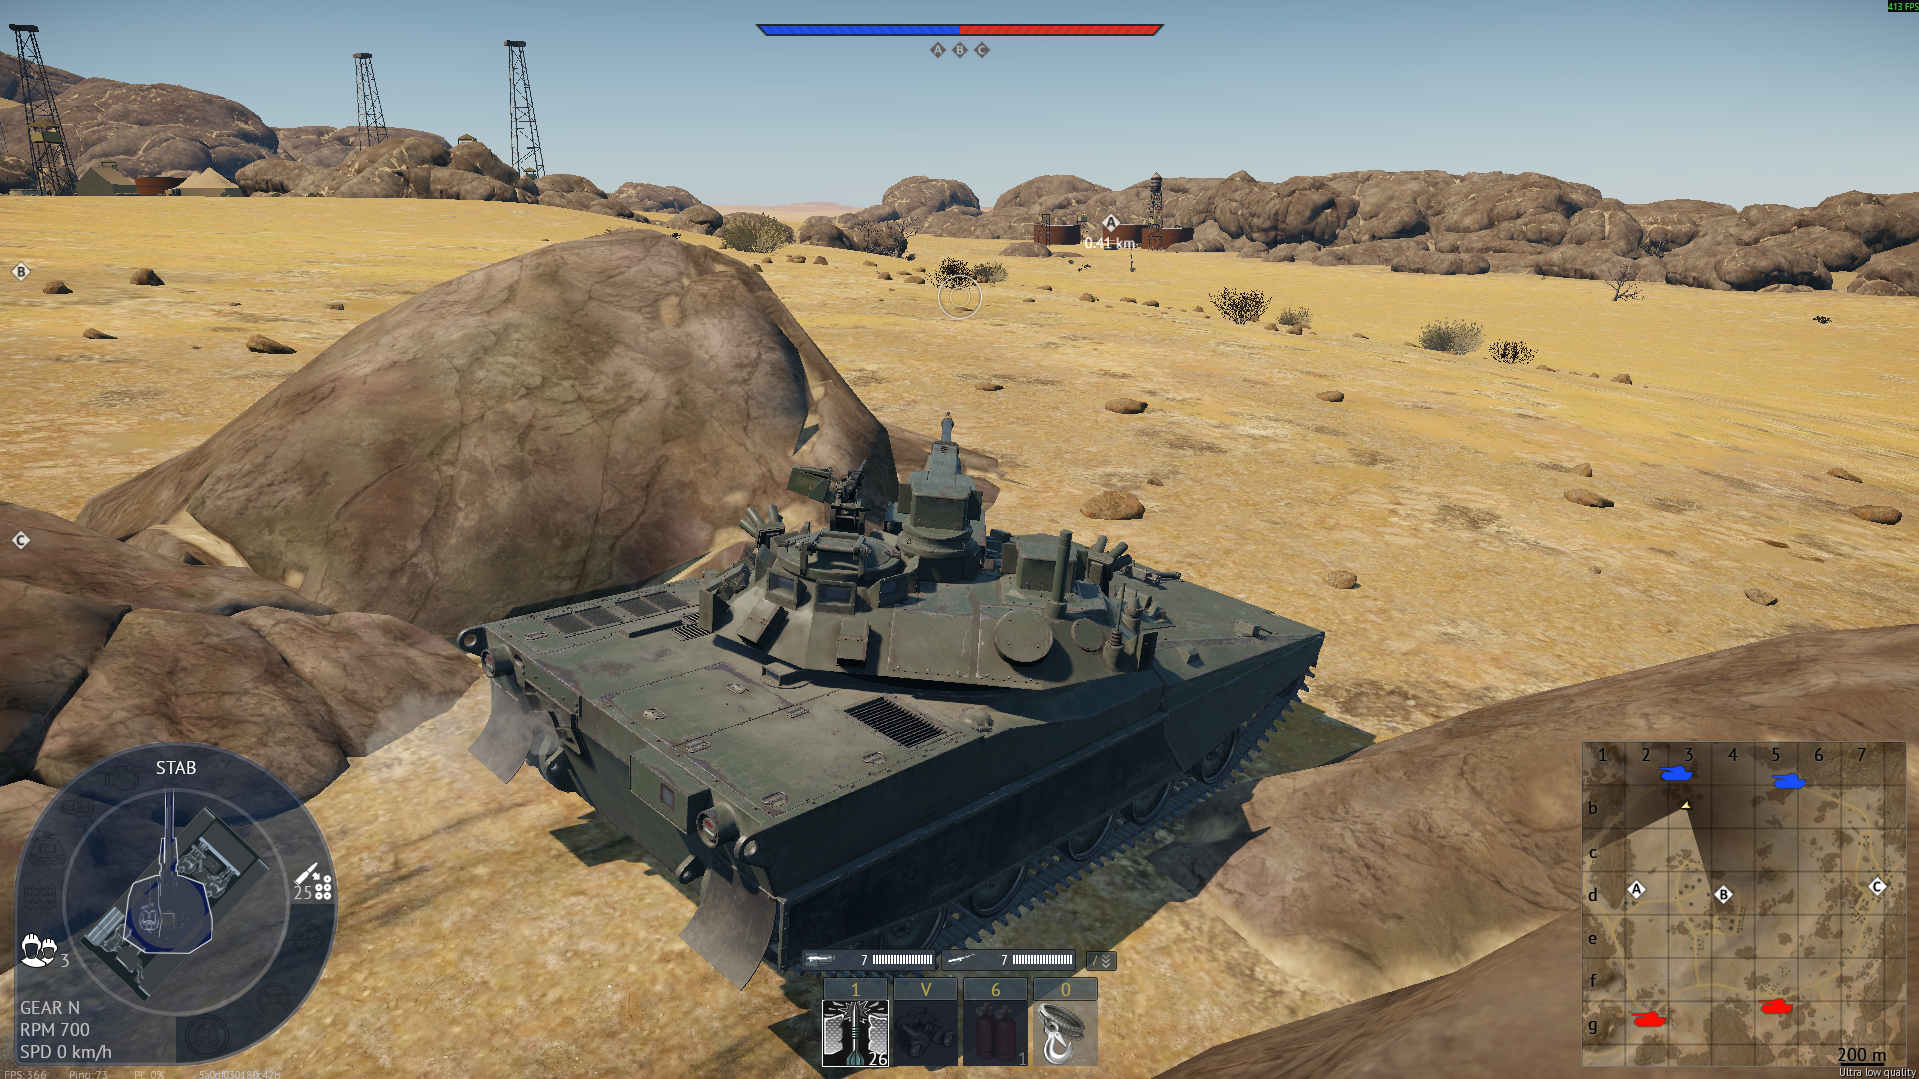
From this position you can see the whole of the A point and watch enemies as they arrive, all while sitting in good cover. That combination is what makes it strong: you observe the objective and its approaches at the same time, so nothing gets onto A without offering you a shot first. There is real danger here too — the angle is valuable enough that experienced players will check it — so use the cover properly, keep your exposure short, and treat every shot as a decision rather than a reflex. Held well, this spot single-handedly locks down the A side of the map.

FlankSpawn PeakCoverDanger ZoneObjective
Tactical position on Sinai
Map overviewclick to expand

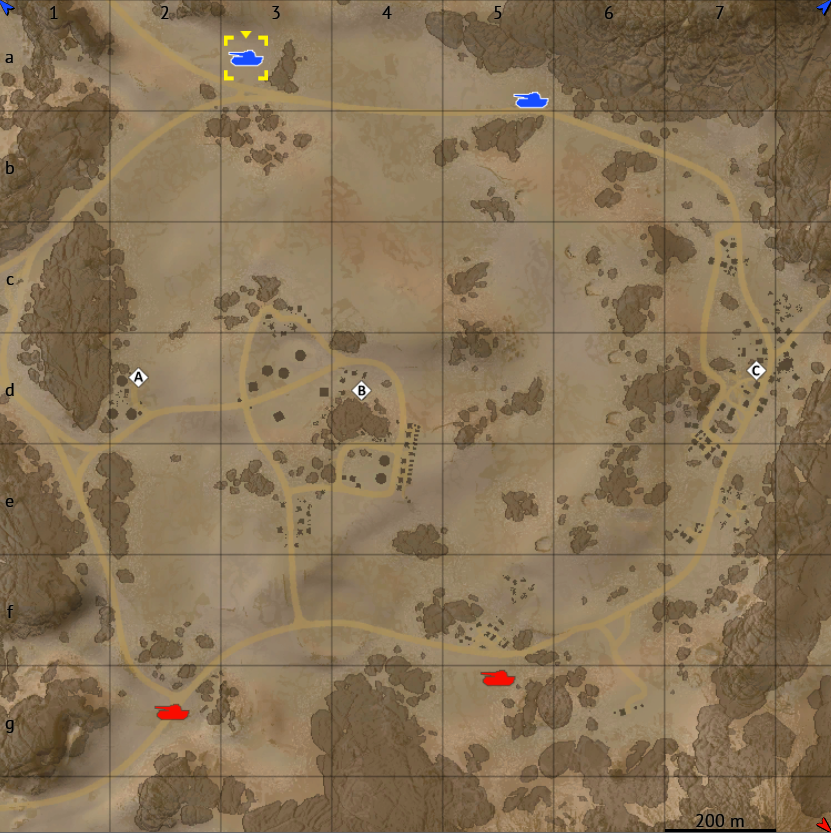
An elevated sniping position with cover that lets you control the enemy's main route while keeping strong overwatch toward B. From up here you are watching the lane the enemy team actually has to use, which means a steady stream of targets — the chance of kills is high just by holding the angle patiently. The high ground gives you the usual advantages: better sightlines, hull-down potential, and awkward return-fire angles for anyone below. Settle in behind the cover, take the clean shots as they appear, and rotate your position slightly after each kill or two so the counter-snipers never get a fix on you.

SniperCoverHigh Ground

Strategic Routes · 11 approved

Map overviewclick to expand
Wide Flank

A flanking route that can easily produce four or more kills in a single run. The path takes you around the main line of contact and onto an angle where enemies are focused elsewhere, presenting their sides one after another. There is no special requirement beyond commitment — drive the line early, before the enemy establishes map control, and work through the targets calmly rather than spraying at the first thing you see. Runs like this snowball: the kills come faster than the enemy can figure out where the shots originate.

Map overviewclick to expand
Wide Flank

A great flanking path that ends in a sniping position covering the B point — and it regularly pays out four or more kills. The route itself keeps you out of the main firefights while you swing wide, and the destination gives you long, clean shots onto B and the traffic around it. Enemies fighting over the point rarely budget attention for this angle, so your first several shots tend to be free. Set up properly when you arrive, take deliberate aim rather than snap shots, and shift a few tank-lengths after every kill or two to stay unpredictable.

Map overviewclick to expand
Wide Flank

A good route for flanking the A point — with one standing warning: watch the enemy spawn. The path brings you around onto A's flank where you can punish cappers and defenders side-on, but sections of the drive are exposed to the enemy spawn area, and fresh spawns can catch you mid-route if your timing is bad. Run it when the spawn wave has already pushed out, keep an eye on that direction the whole way, and once you are set, the flanking angle on A does the rest of the work for you.

Map overviewclick to expand
Wide Flank

A decent flanking line that intercepts enemies traveling toward the C point, with cover available along the way — but it requires a fast tank to be worth it. The value window is early: you need to reach the interception angle before the enemy traffic has already passed through, which is why slow vehicles need not apply. Once in place, you are shooting targets in transit — vehicles moving with their sides exposed and their attention on the objective ahead. Use the cover to break line of sight between shots, and re-run the route on later spawn waves for repeat business.

Map overviewclick to expand
Protected CorridorDirect Assault
Map overviewclick to expand
Wide Flank
Map overviewclick to expand
Direct Assault
Map overviewclick to expand
Direct Assault
Map overviewclick to expand
Direct Assault
Map overviewclick to expand
Direct Assault
Map overviewclick to expand
Wide Flank

A flanking route where the uphill terrain does the protecting for you. For most of the drive the slope sits between you and the enemy guns, so you can make the swing around their flank while staying considerably protected — no need to sprint between covers like on more exposed flanks. That makes this one of the more forgiving flanking options here, usable even in vehicles that are not particularly fast. Crest carefully at the end of the route, because the protection ends where the shooting starts, and take your engagements from the safe side of the hill whenever possible.

See it on the map

Open Sinai in the RATLINE tool to view pins, draw routes, and contribute your own intel.

Open RATLINE → All Guides