Tactical Positions · 2 approved

Tactical position on Seversk-13
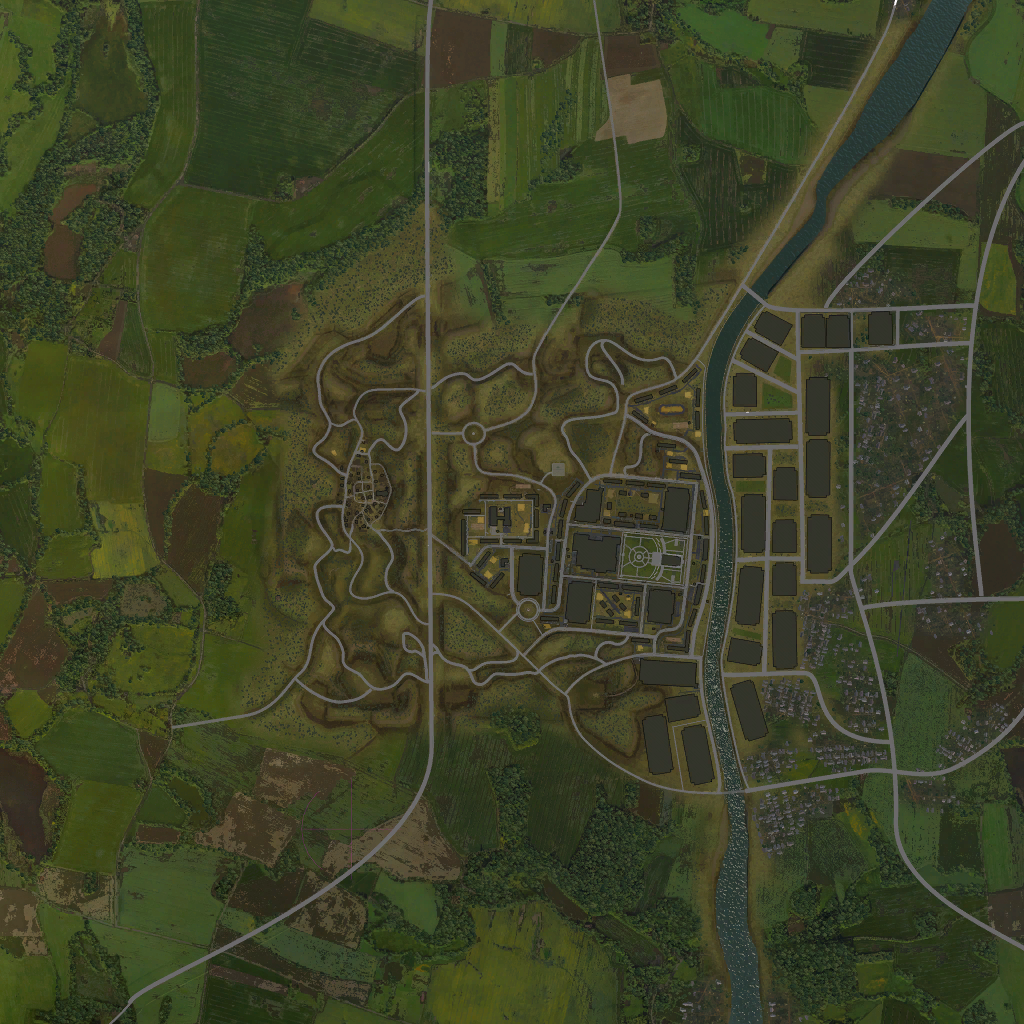
Map overviewclick to expand

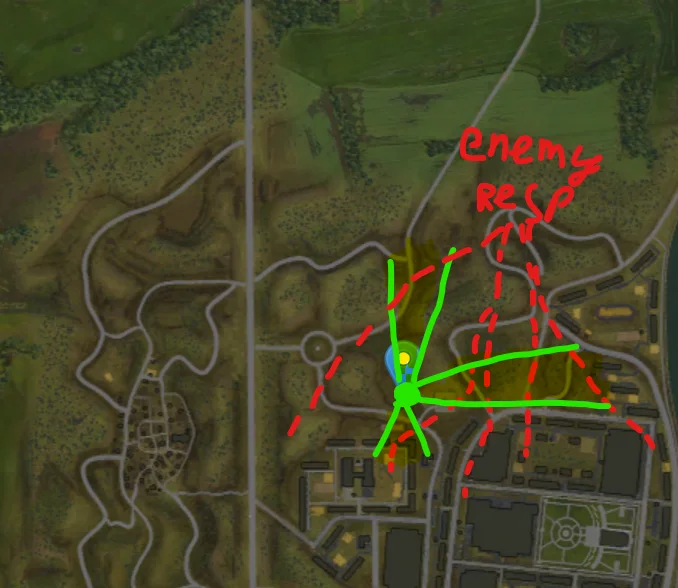
Move here to control the enemy routes coming out of their right respawn. The position gives you a clean view over the lanes they have to use, and there is low ground right behind you to duck into — that is what makes it a genuinely nice position rather than just a bold one. Work the cycle: watch the routes, take your shot when a target commits, then drop into the low ground while the return fire sails overhead. Because you are covering spawn traffic, the targets keep coming in waves; stay disciplined and the position keeps paying all match.
Spawn PeakDefensiveCover
Tactical position on Seversk-13
Map overviewclick to expand

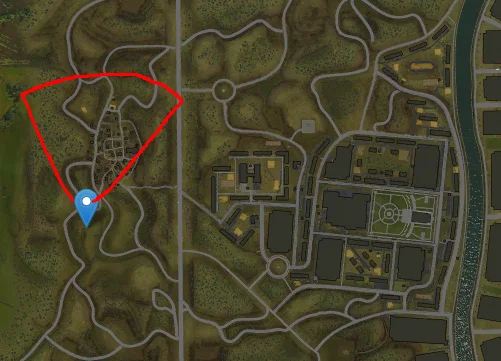
A classic sniping spot on high ground overlooking the objective. From this elevation you get long sightlines across the point and its approaches, letting you support the fight from range while staying out of the brawl. It is a known angle though — marked as dangerous for a reason — so treat it as a rotation stop rather than a home: arrive, take the shots that are on offer, and move along the ridge before the enemy's own snipers zero in on you. Hull-down vehicles with good optics and gun depression get the most value here.

High GroundSniperObjectiveDanger ZoneDefensive

Strategic Routes · 4 approved

Map overviewclick to expand
Wide Flank

A flanking path that lets you intercept players heading for the C point. Instead of meeting them at the objective where they expect the fight, this route positions you along their approach, catching them mid-drive with their attention forward and their sides open. It is a timing play: leave early enough to be set before the C traffic arrives, and the first wave will drive straight across your gun. After the ambush is sprung, either fall back and reset or push on toward C — staying static on a burned angle is the only wrong choice.

Map overviewclick to expand
Direct Assault

A very quick, direct way to reach C. This is the speed option — the straight line that gets you to the point before the fight has formed, which matters enormously on first spawn when an early cap can tilt the whole match. The usual direct-route caveat applies: it is fast because it is simple, and it is dangerous because everyone knows it is simple. Drive it hard at match start when the lane is still empty, and later in the game treat it with more respect — pre-aim the covers that overlook it before committing.

Map overviewclick to expand
Wide Flank

The flank of the year — but only when the map configuration puts just the A cap in town. In that layout, the whole enemy team funnels toward the single urban objective, and this route wraps entirely around their attention. You come in behind a team that has no reason to look backwards, and the resulting run of side and rear shots can decide the match on its own. Check the objective layout at spawn: if A in town is the only point, commit to this immediately. In other configurations the route loses its magic, so save it for the right game.

Map overviewclick to expand
Direct AssaultWide Flank

A route that puts you on a commanding view of the enemy spawn bottlenecks — the choke points every one of their vehicles has to squeeze through. If you can secure this position, the A point becomes effectively untouchable: nothing can rotate toward it without crossing your gun first. It plays as a mix of direct push and flank, and the earlier you arrive the more you harvest, since the spawn traffic is heaviest in the opening minutes. This is a high-value, high-attention spot — hold it with cover, count your exposures, and your team gets a locked-down flank in return.

See it on the map

Open Seversk-13 in the RATLINE tool to view pins, draw routes, and contribute your own intel.

Open RATLINE → All Guides