Tactical Positions · 6 approved

Tactical position on SecondBattleOfElAlmein
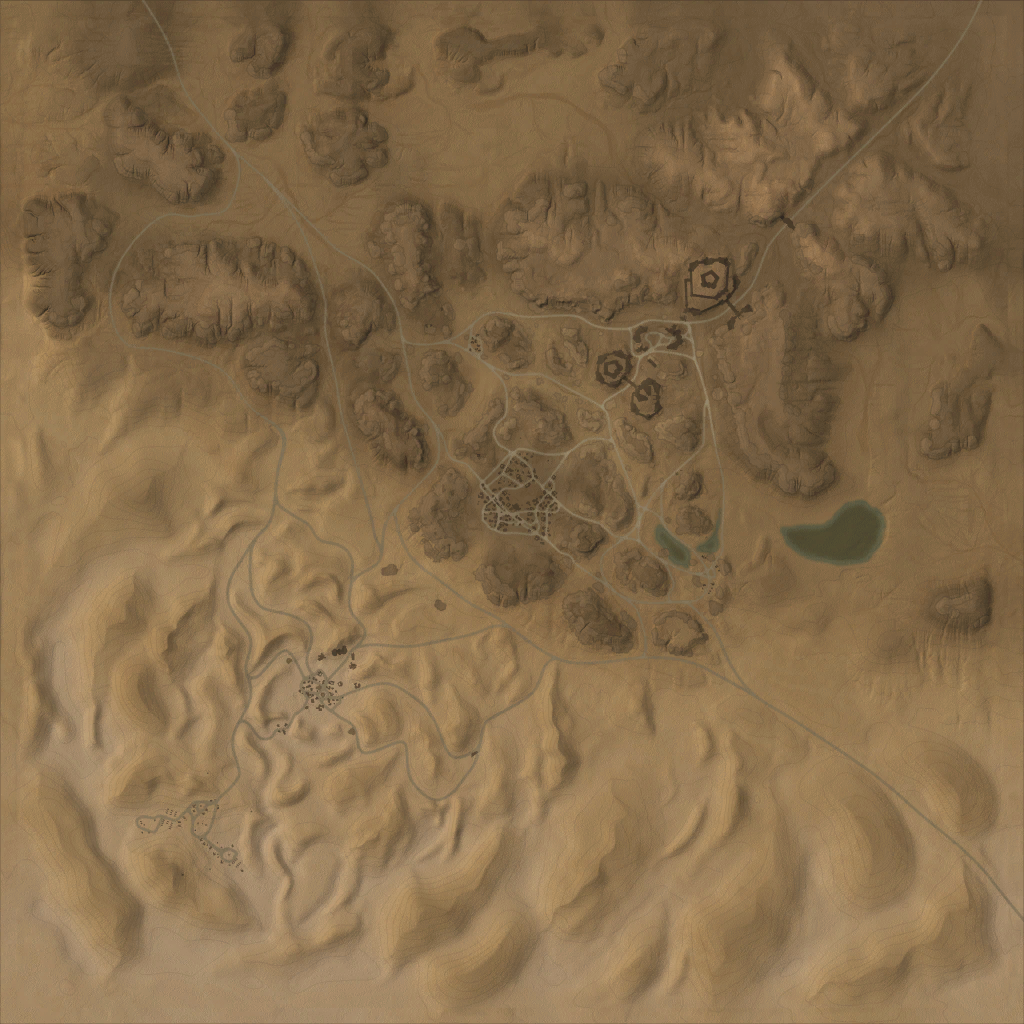
Map overviewclick to expand

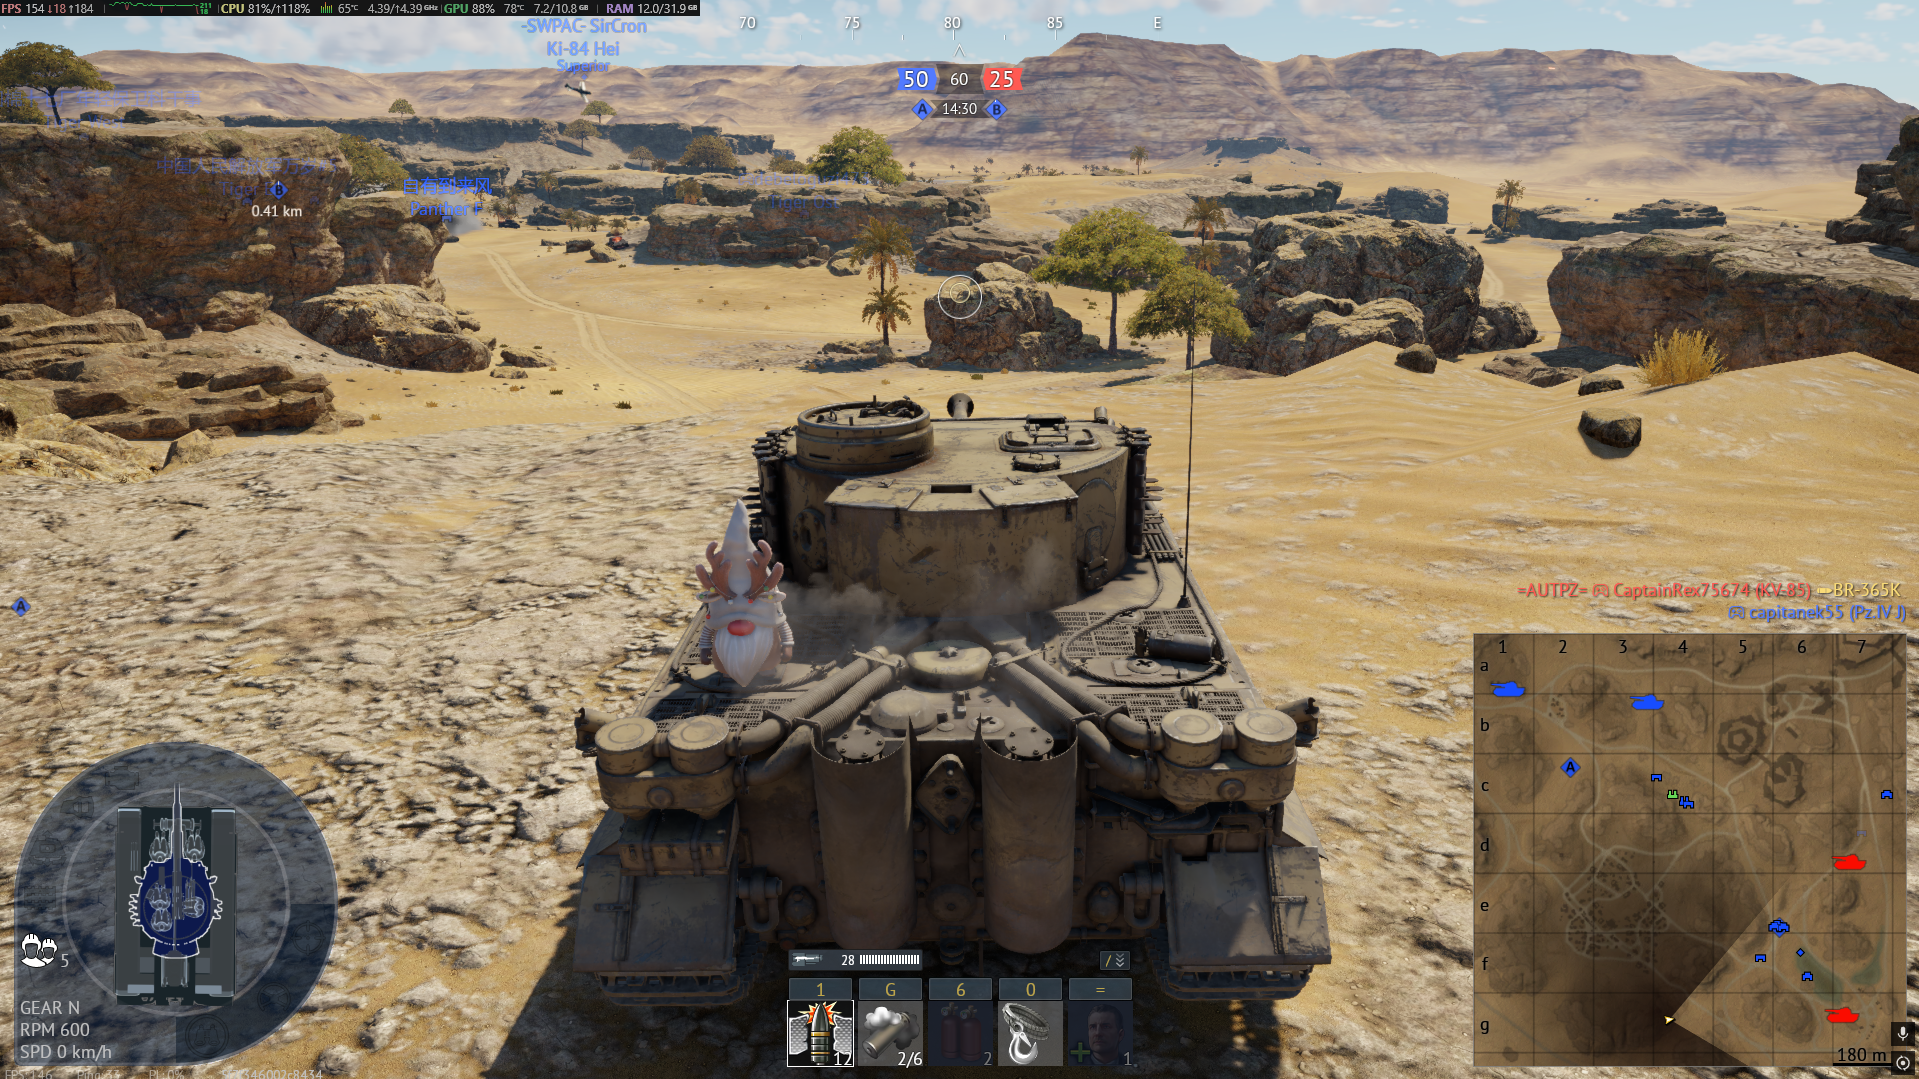
An insane spawn-peek position that looks over practically the entire map. From up here the sightlines run everywhere — enemy spawn exits, objective approaches, rotation lanes — and you can start engaging targets from the moment they roll out. Long-range gunnery is the name of the game: bring something with good optics, a flat-shooting gun, and ideally solid gun depression to work the crest. A spot this dominant never stays secret, so expect counter-sniping and CAS attention once you make yourself known. Take the early harvest, then treat every further exposure with care.
Tactical position on SecondBattleOfElAlmein
Map overviewclick to expand

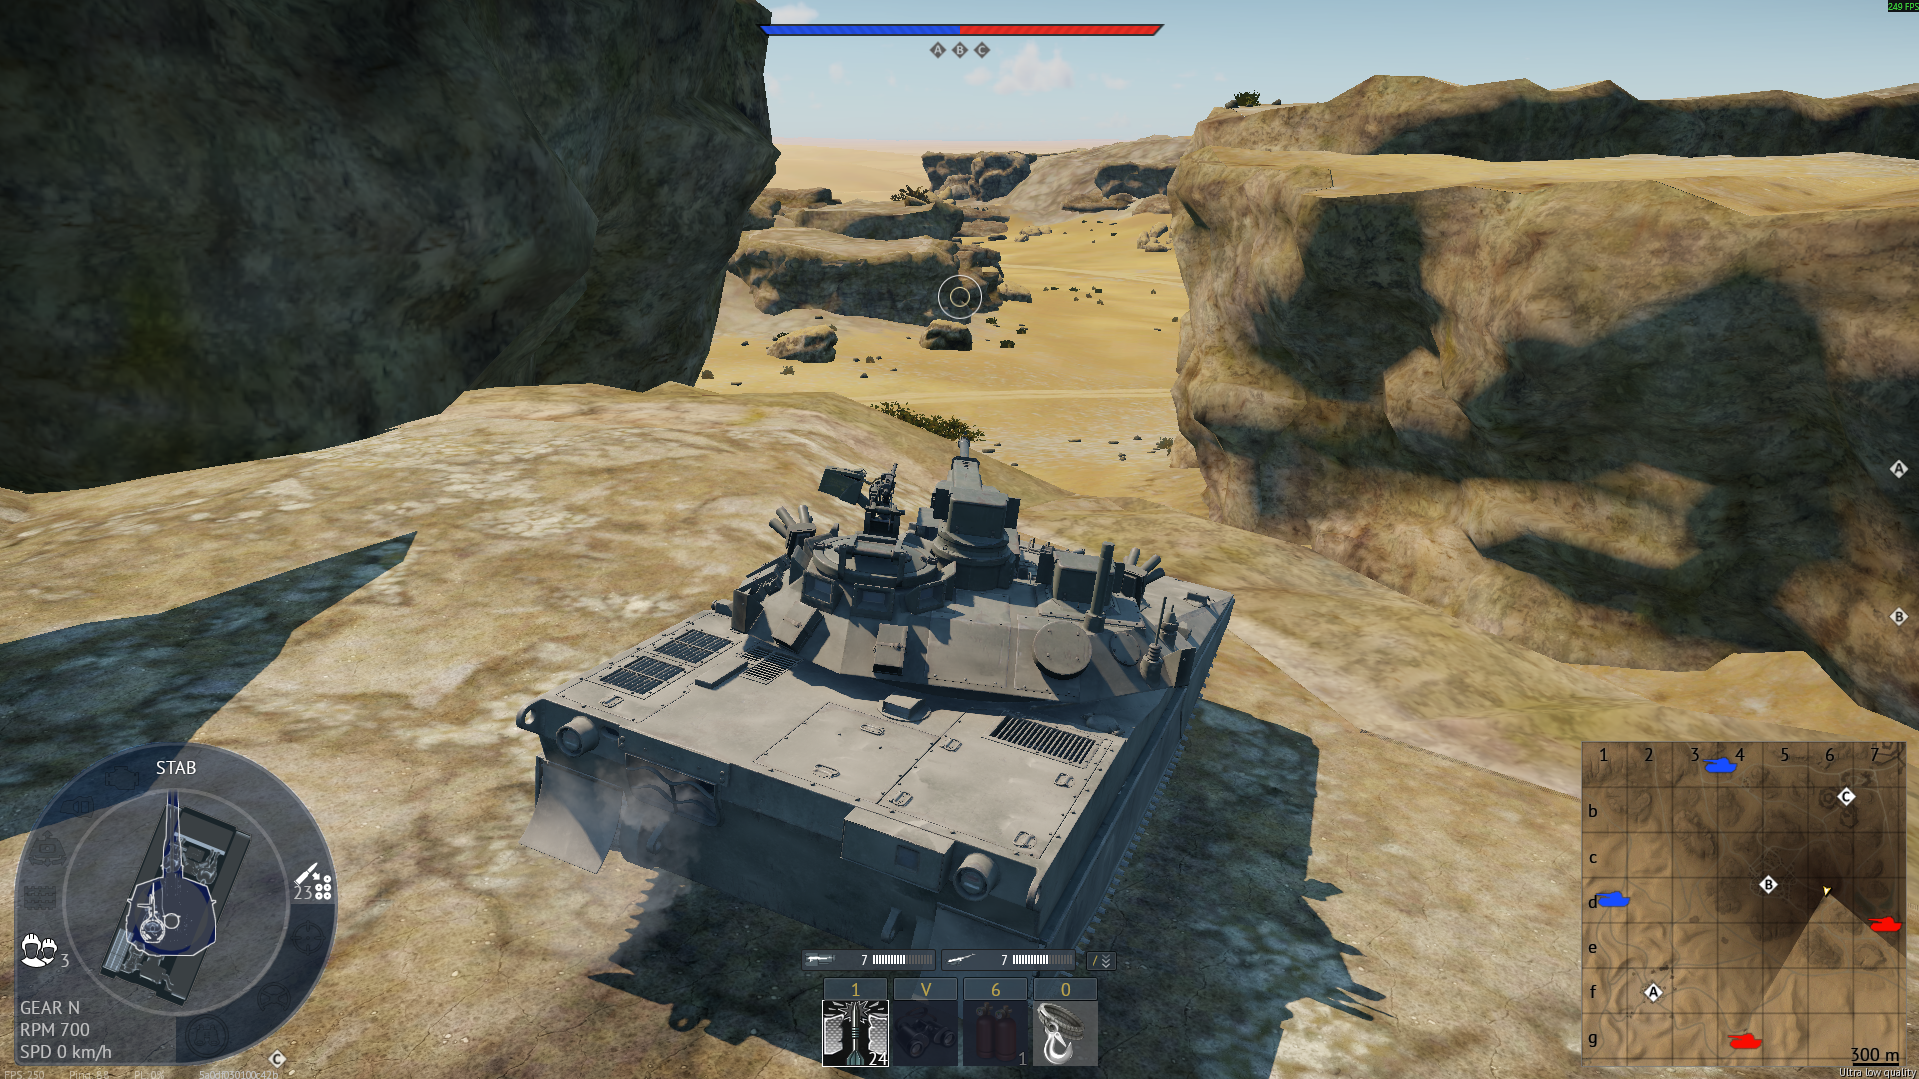
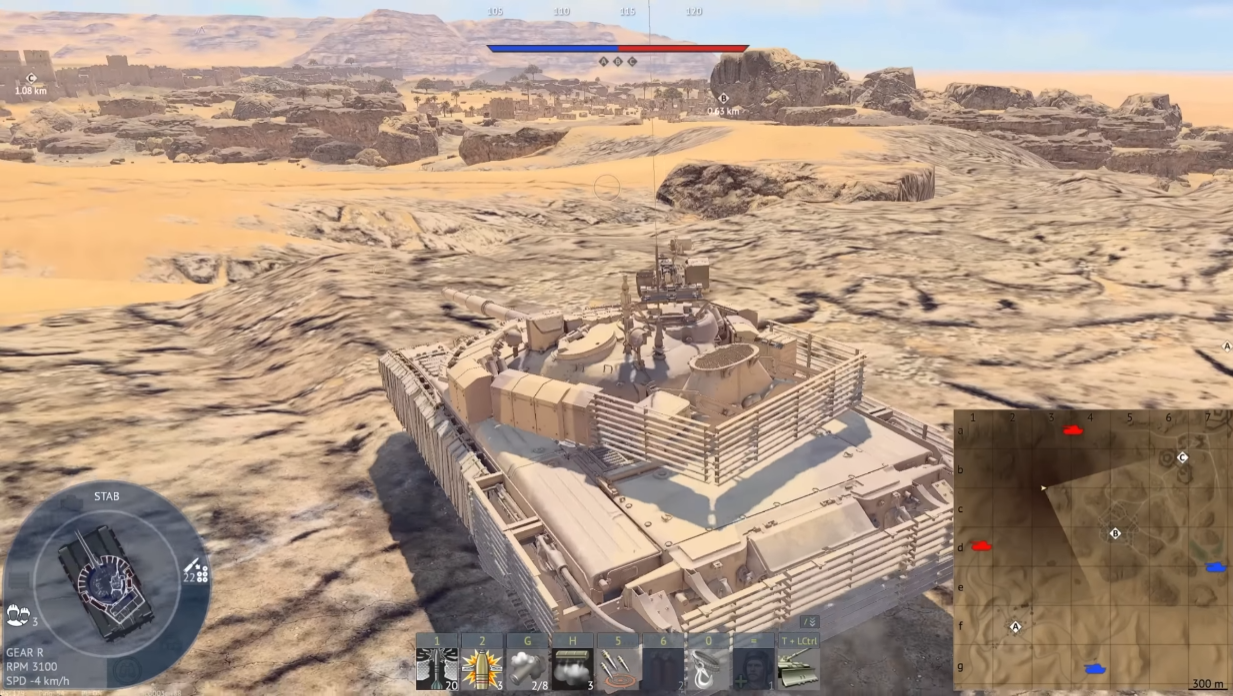
A very nice spot for spawn-peeking the enemy team. It gives you a clean angle onto their spawn exits, so you catch vehicles in those first vulnerable seconds when they are bunched up and driving predictably. Positions like this print early kills, but they also make you the most hated tank on the server — the moment the enemy identifies the angle, artillery, CAS, and revenge pushes follow. Get in early, farm the opening wave, and rotate out with your lead intact rather than trying to milk the spot all match.

Tactical position on SecondBattleOfElAlmein
Map overviewclick to expand

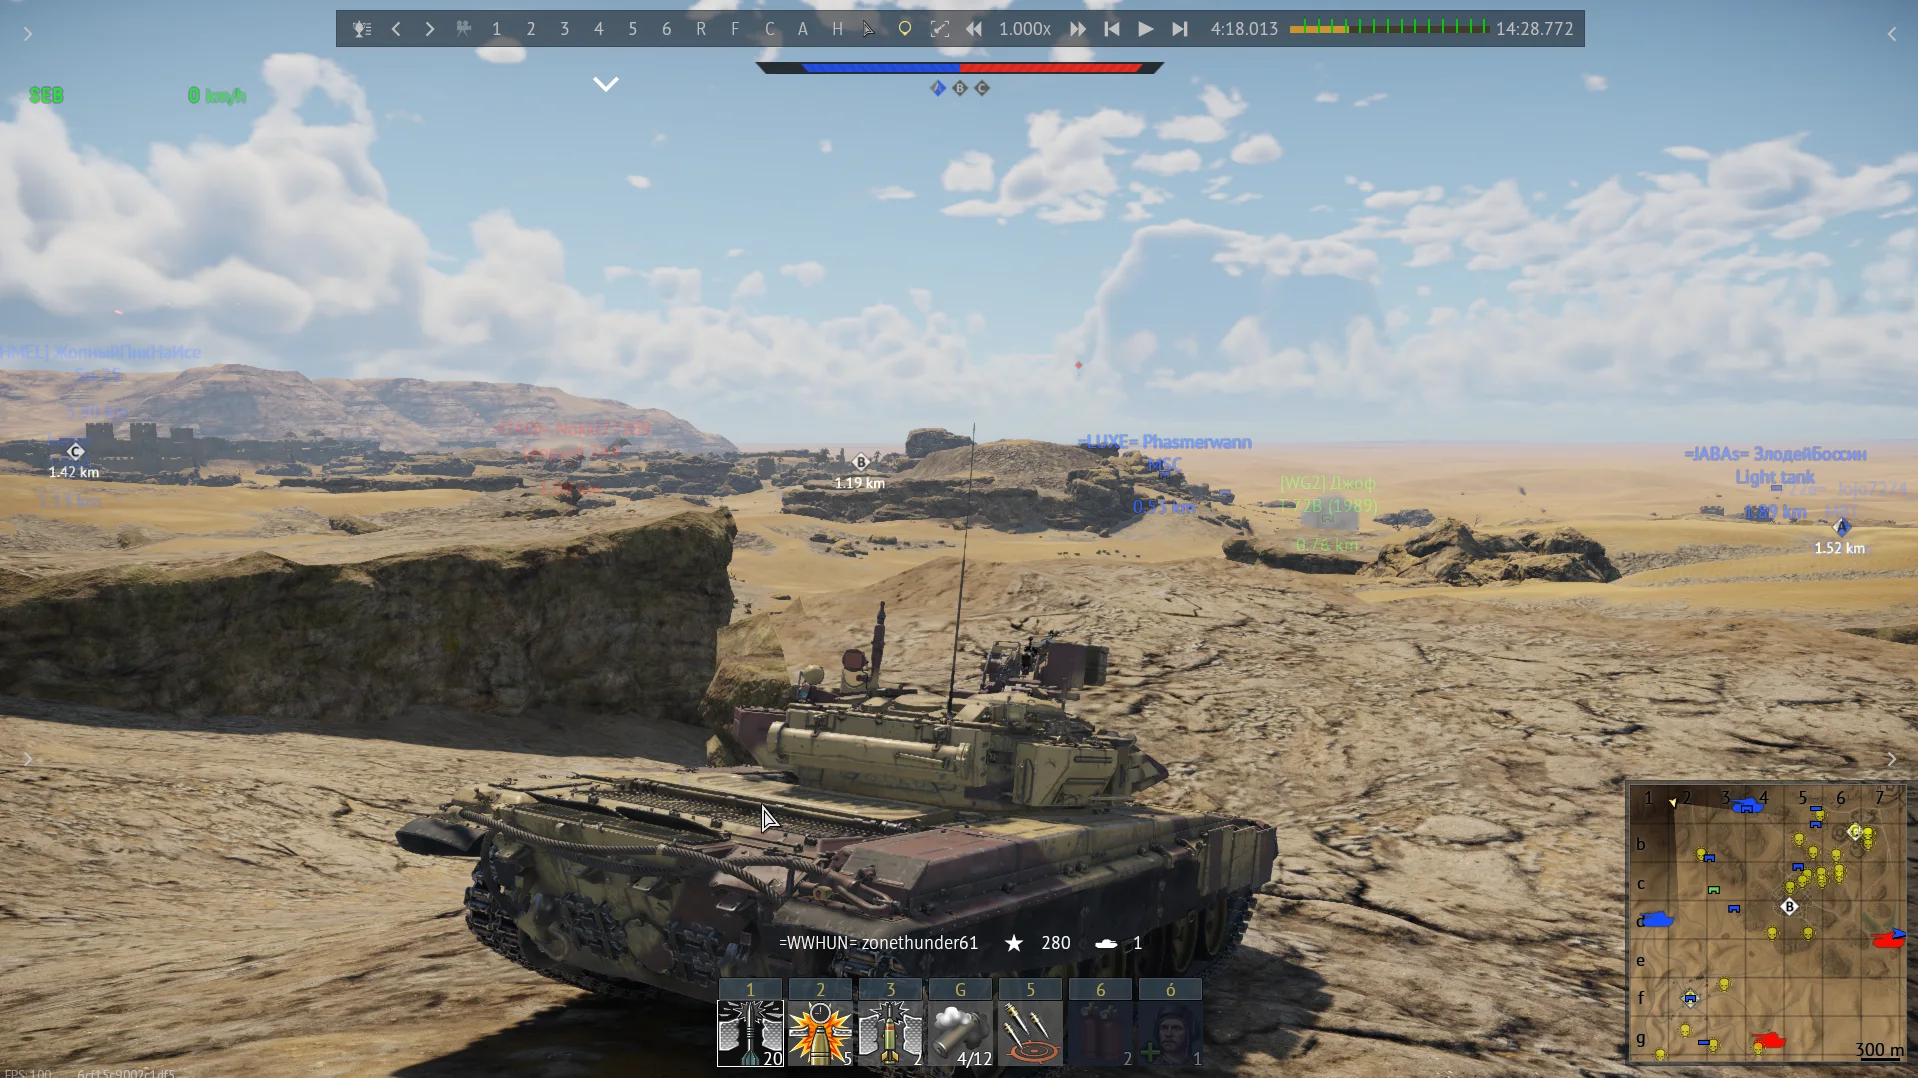
This position gives you vision over roughly 70% of the map — one of the widest fields of view available here. That kind of coverage means you are never short of targets: rotations, cap pushes, and flanking attempts all cross your sightlines eventually. It rewards patient, long-range play; bring a vehicle that can actually exploit the view with good optics and ballistics. The trade-off for seeing everything is that a lot of the map can theoretically see you too, so use the terrain at the position to stay hull-down and make yourself a small, boring target while you work.

Tactical position on SecondBattleOfElAlmein
Map overviewclick to expand

From this position you can see enemy tanks attempting to flank, and you also get brief windows onto vehicles leaving the enemy spawn along their main route. That dual coverage is the point of the spot: you are simultaneously the early-warning system against the flank and a source of chip kills on the spawn lane. The spawn-exit shots are fleeting, so pre-aim the known crossing and take snapshots when they appear; the flankers, by contrast, come to you. Hull-down positioning helps a lot here, and the elevated angle makes your return-fire profile awkward for everyone below.

Spawn PeakHigh GroundSpawn CampSniperHull Down
Tactical position on SecondBattleOfElAlmein
Map overviewclick to expand

Erről a magaslati pontról a pálya nagy részét be lehet látni — például a B és a C irányát is —, és innen az A pontot is kényelmesen lehet tartani. A pozíció ereje a rálátásban van: szinte minden fontosabb útvonalat és rotációt figyelemmel tudsz kísérni, így folyamatosan lesz célpontod, miközben védekező szerepben az A-t is biztosítod. Érdemes hull-down helyzetben játszani, csak a tornyot mutatva, mert egy ennyire értékes magaslatot előbb-utóbb az ellenséges mesterlövészek is ellenőrizni fognak. Egy-két találat után változtass kicsit a pozíciódon, hogy ne tudjanak bemérni.

High GroundSniperDefensive
Tactical position on SecondBattleOfElAlmein
Map overviewclick to expand

A pálya nagy részét be lehet látni erről a pontról — a B-t, a C-t, sőt az A pont környékét is —, így ez az egyik legjobb áttekintő pozíció a térképen. Mesterlövész szerepre ideális: hosszú, tiszta belövési vonalakat kapsz az objektívák és a köztük futó útvonalak felé, miközben védekezésben az A pont tartását is innen tudod támogatni. A magaslat miatt hull-down játékra is alkalmas — csak a tornyodat mutasd, a testet tartsd a gerinc mögött. Ennyire jó kilátással számíts rá, hogy téged is keresni fognak: pár leszedett cél után helyezkedj át egy kicsit.

High GroundSniperDefensiveObjective

Strategic Routes · 3 approved

Map overviewclick to expand
Wide Flank

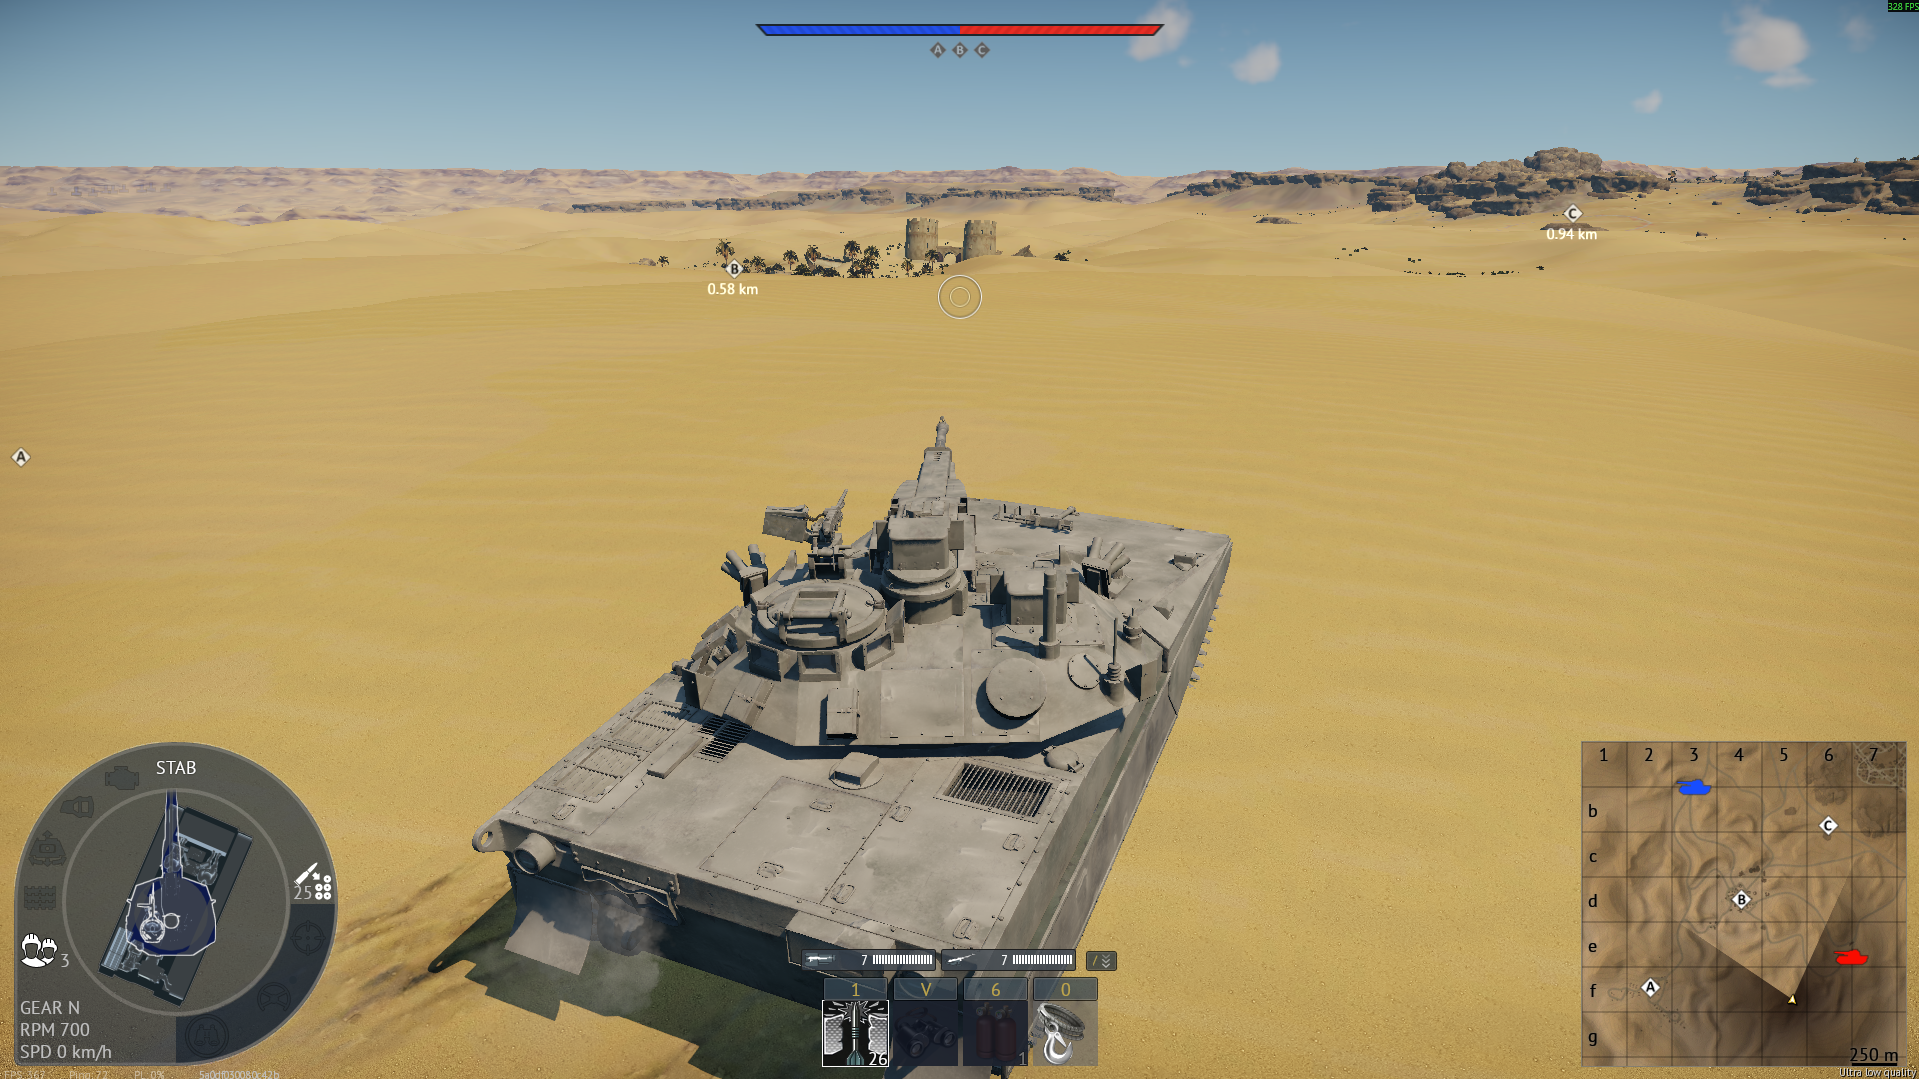
When the small map layout is active, take this flanking route to get eyes on the enemy respawn — the dune covers you the whole way in, which is what makes the run survivable. Once set, you are shooting vehicles as they spawn and organize, and the cover means they struggle to answer effectively; five or more frags from a single run is a realistic outcome. Confirm the map size before committing, because on the large layout the route does not line up the same way. Stay tucked against the dune, expose only for your shots, and leave before the revenge wave organizes.

Map overviewclick to expand
Wide Flank

A flanking route whose whole purpose is killing the enemies on C. It swings you onto an angle where the vehicles capping or defending the point are exposed side-on, turned toward the expected threat directions and not toward you. Time it so you arrive while the point is actually being contested — that is when the targets are static, distracted, and stacked up. Work through them from the outside in, and once C is cleared, you can either take the cap yourself or reset the flank for the next wave.

Map overviewclick to expand
Wide Flank

The follow-up move: after the first play, continue along this flanking path into a spawn-camping position — an easy five or more frags when it goes uncontested. The route keeps you wide of the enemy's rebuilt frontline, delivering you onto their spawn area from a direction fresh spawns do not check. Farm deliberately: pick off vehicles as they appear, prioritize anything that could shoot back, and remember the golden rule of spawn camping — the position is only free until the enemy decides it is worth fixing. Have your exit line planned before you need it.

See it on the map

Open SecondBattleOfElAlmein in the RATLINE tool to view pins, draw routes, and contribute your own intel.

Open RATLINE → All Guides