Tactical Positions · 5 approved

Tactical position on PortNovorossiysk
Map overviewclick to expand

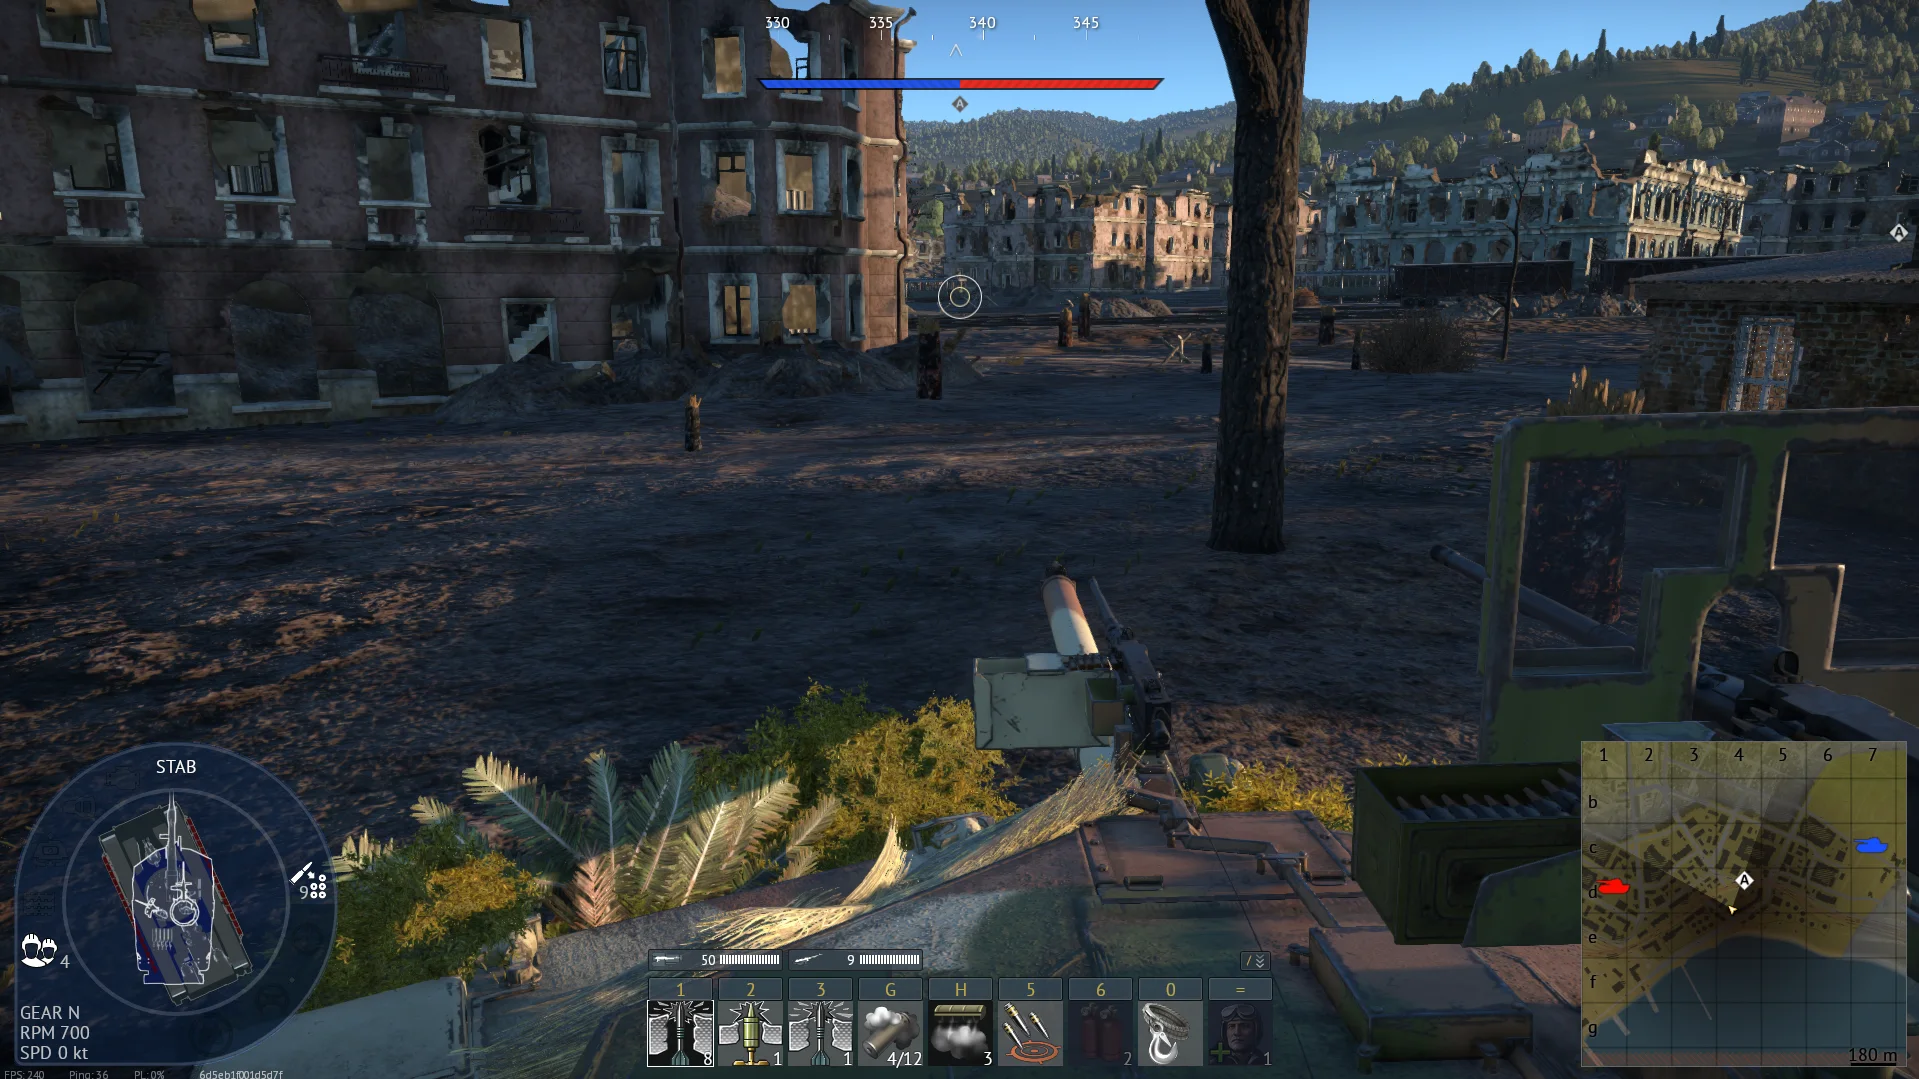
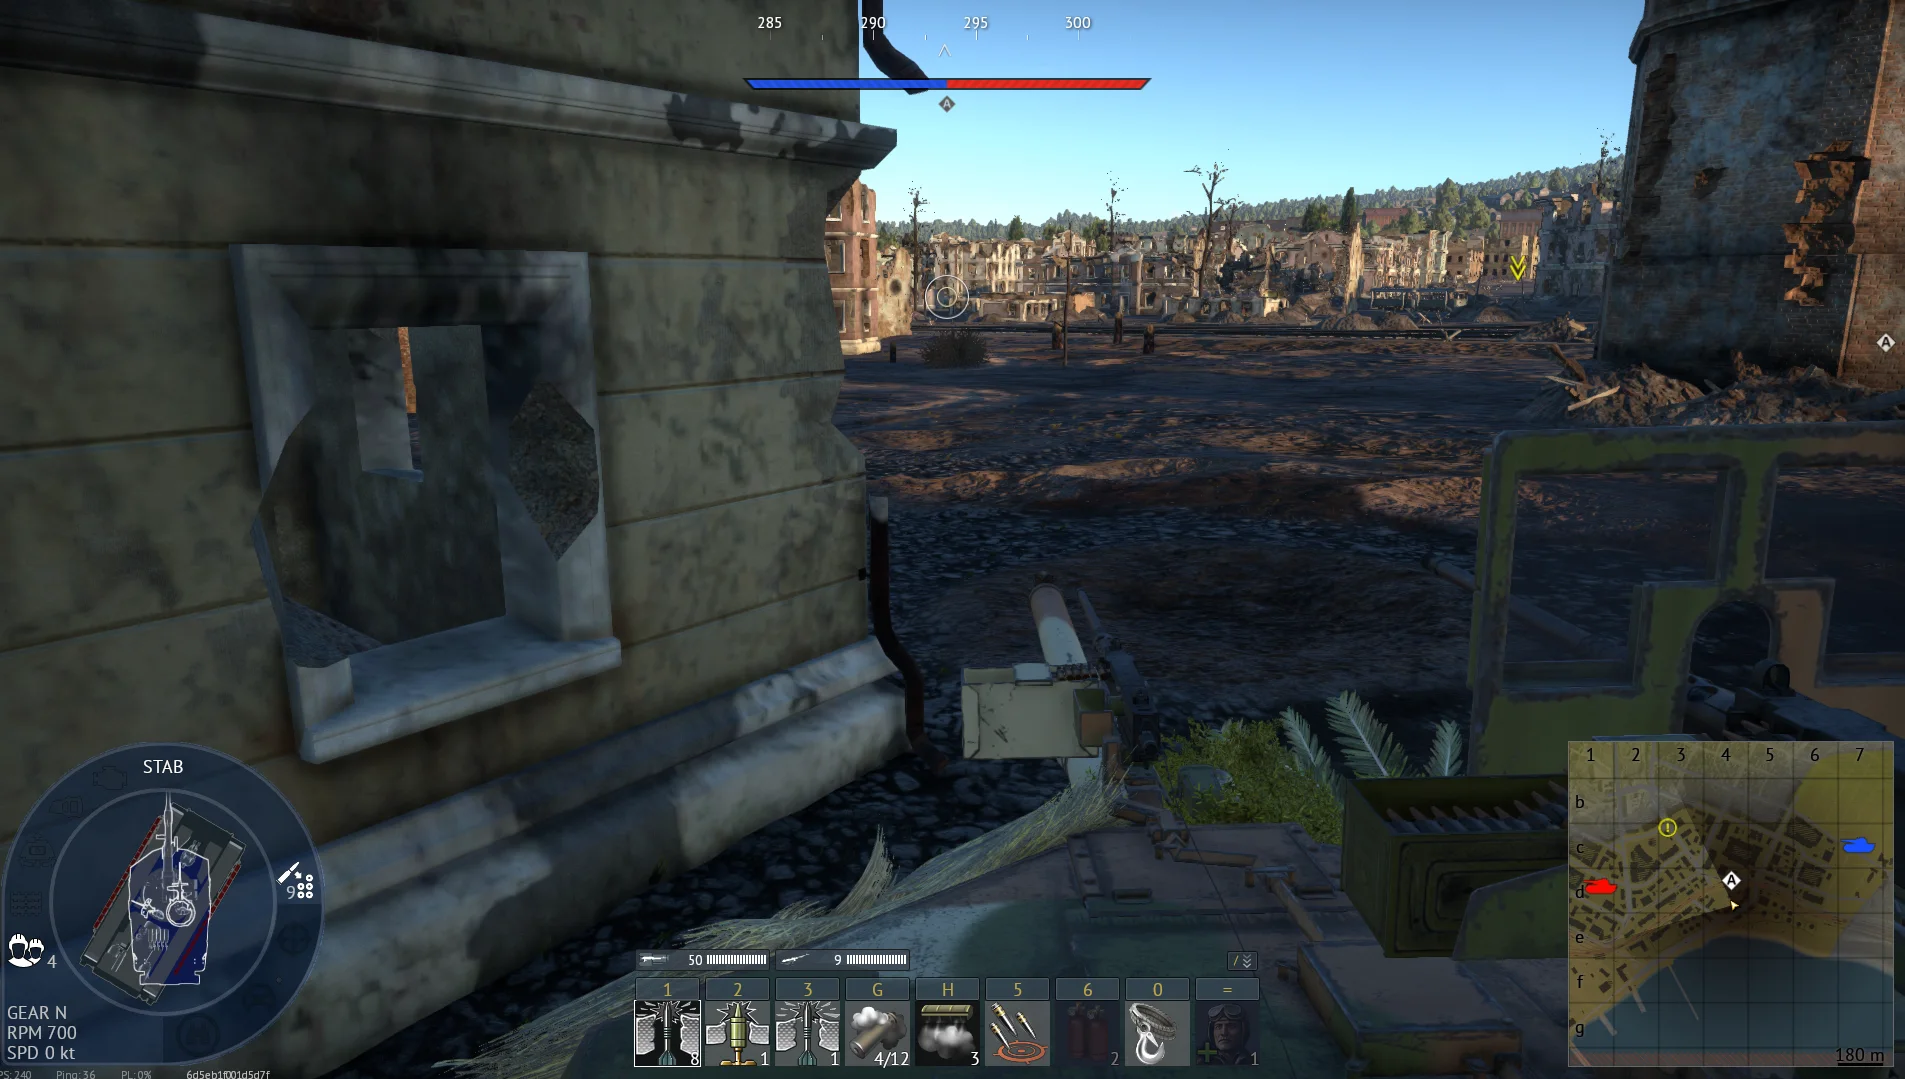
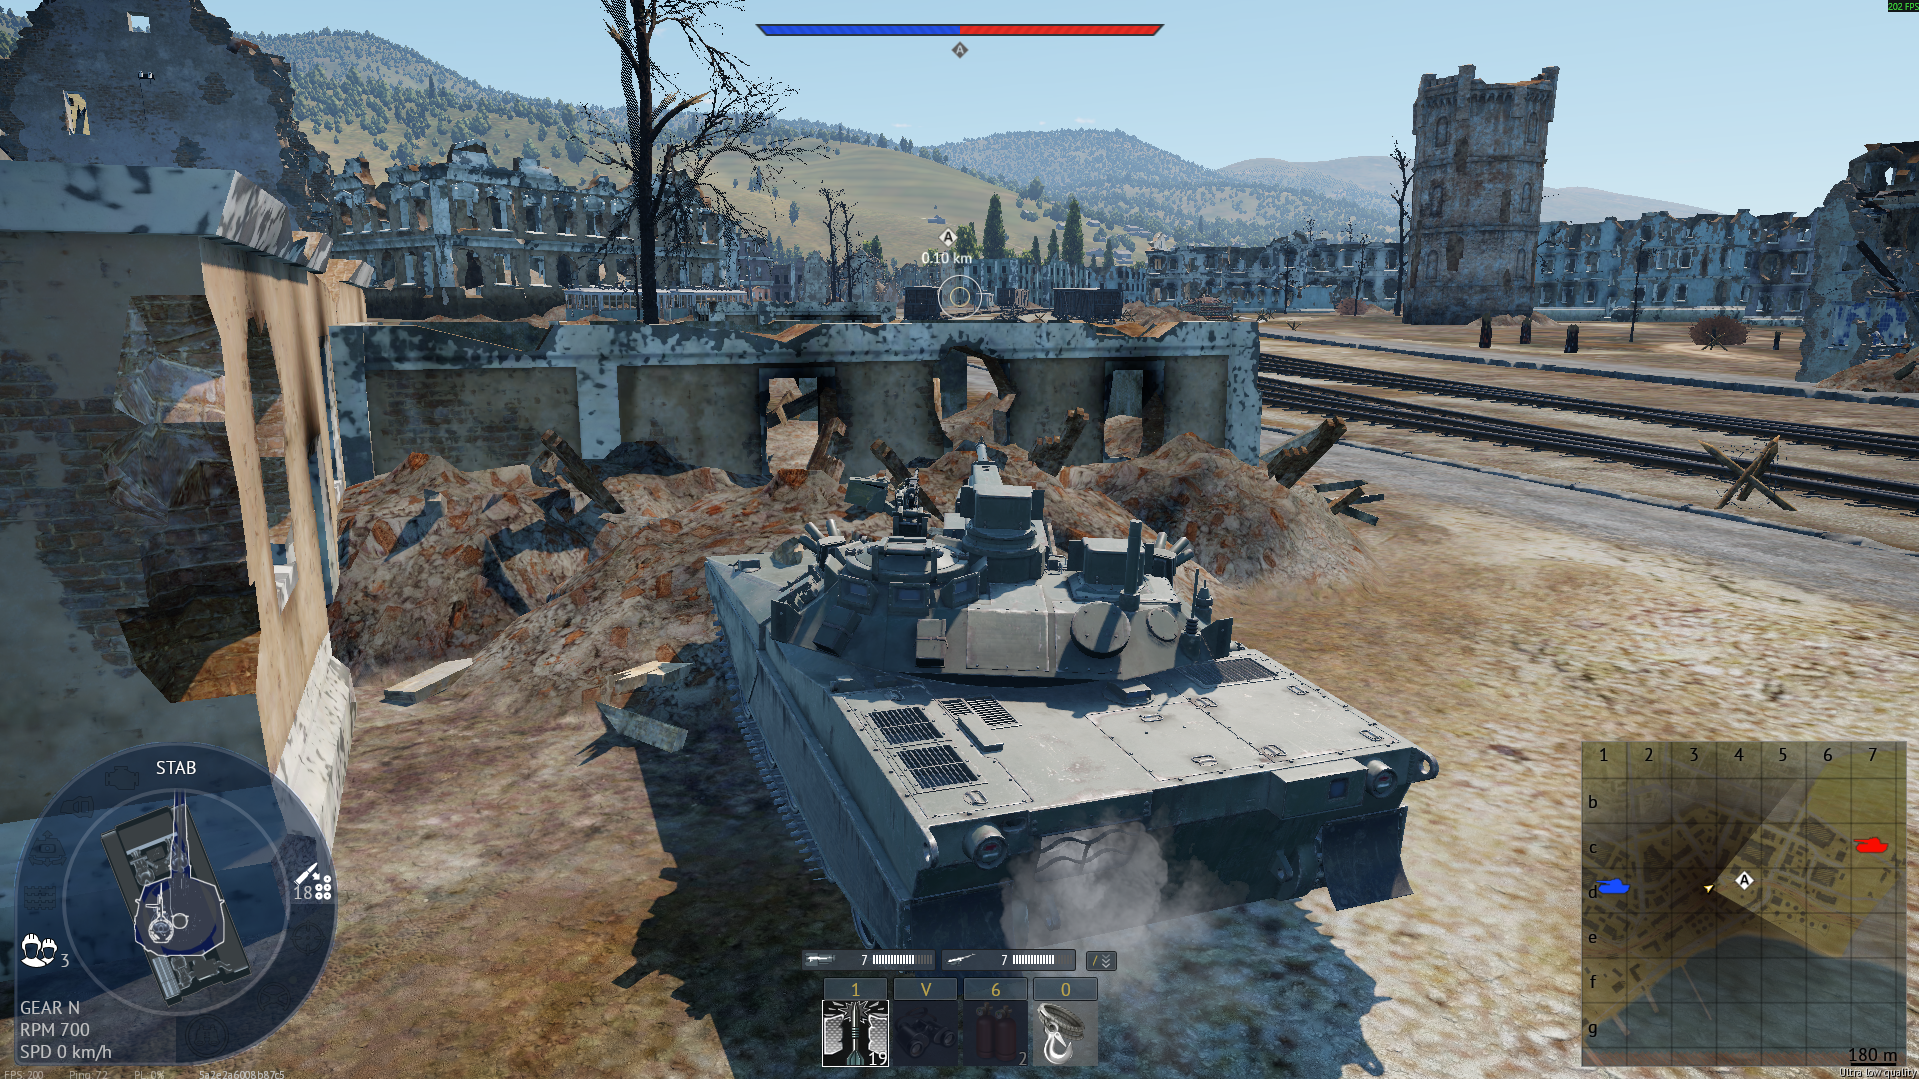
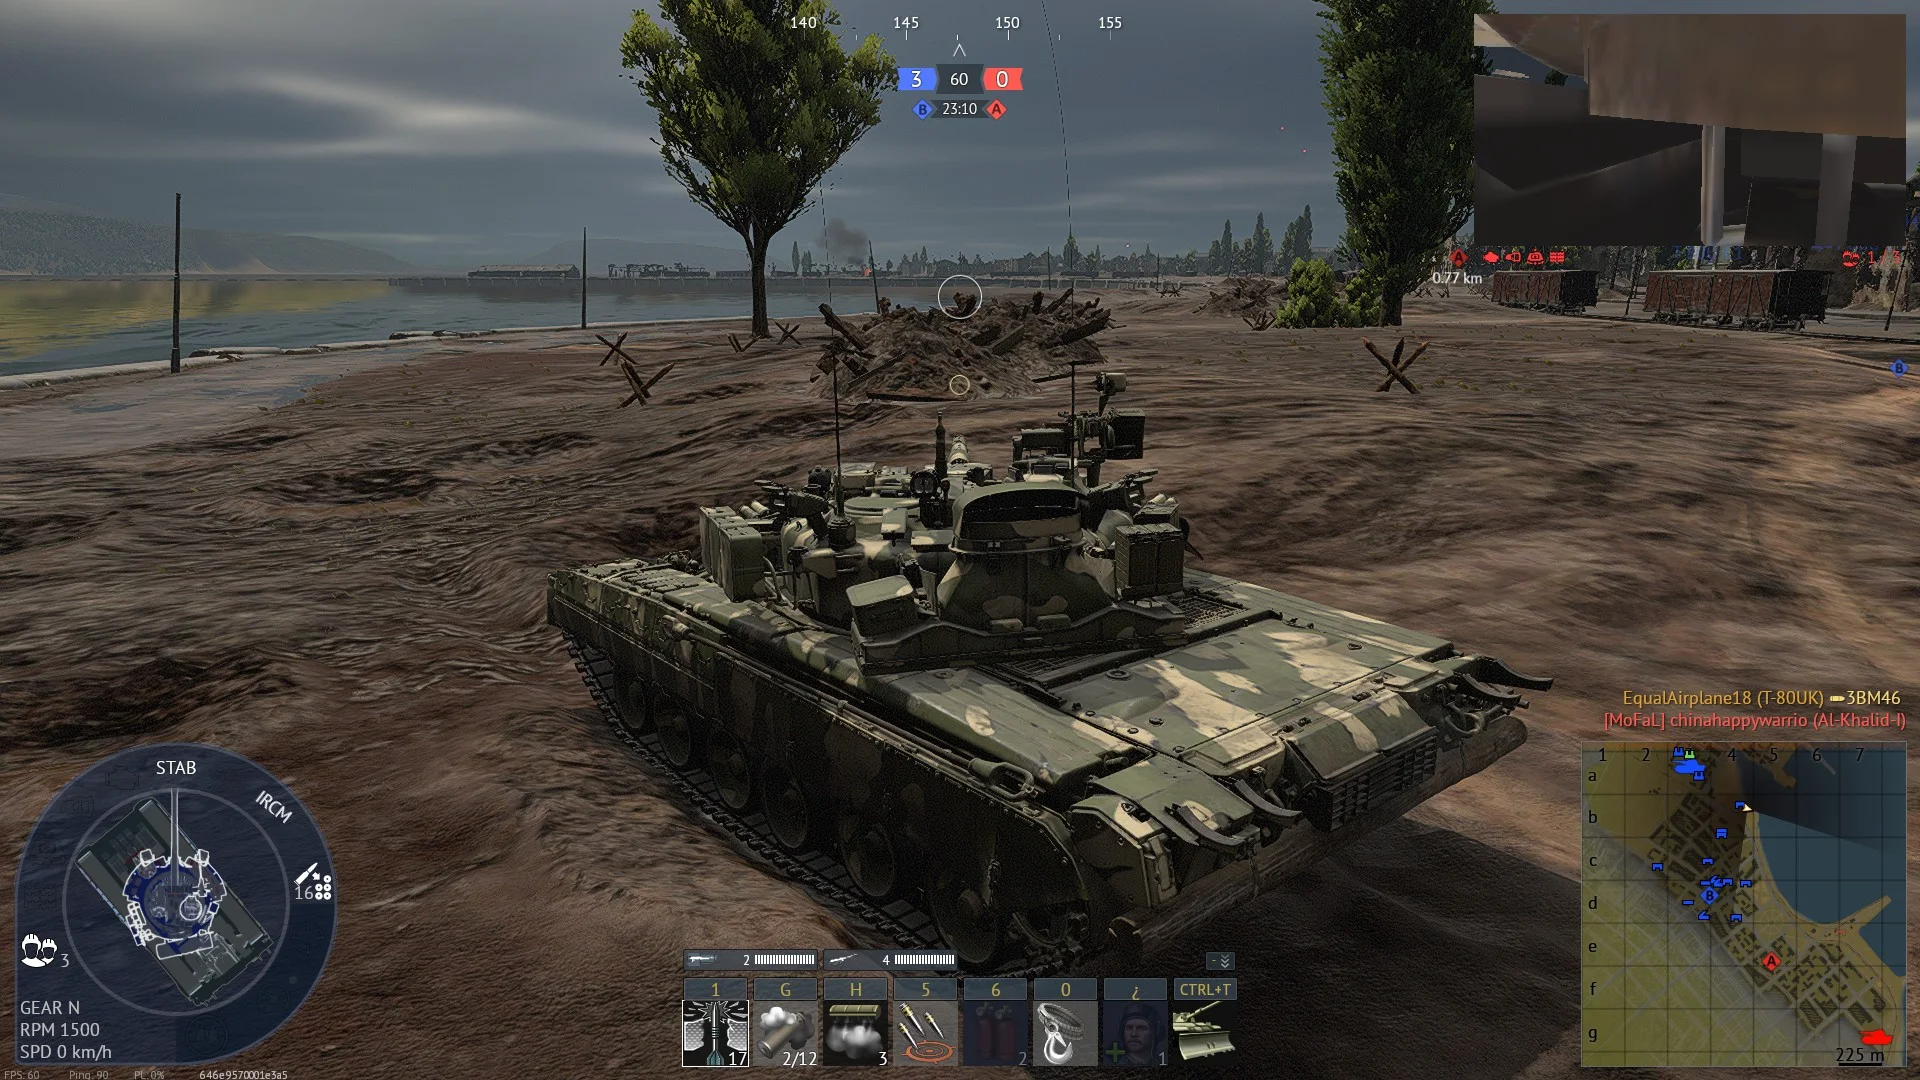
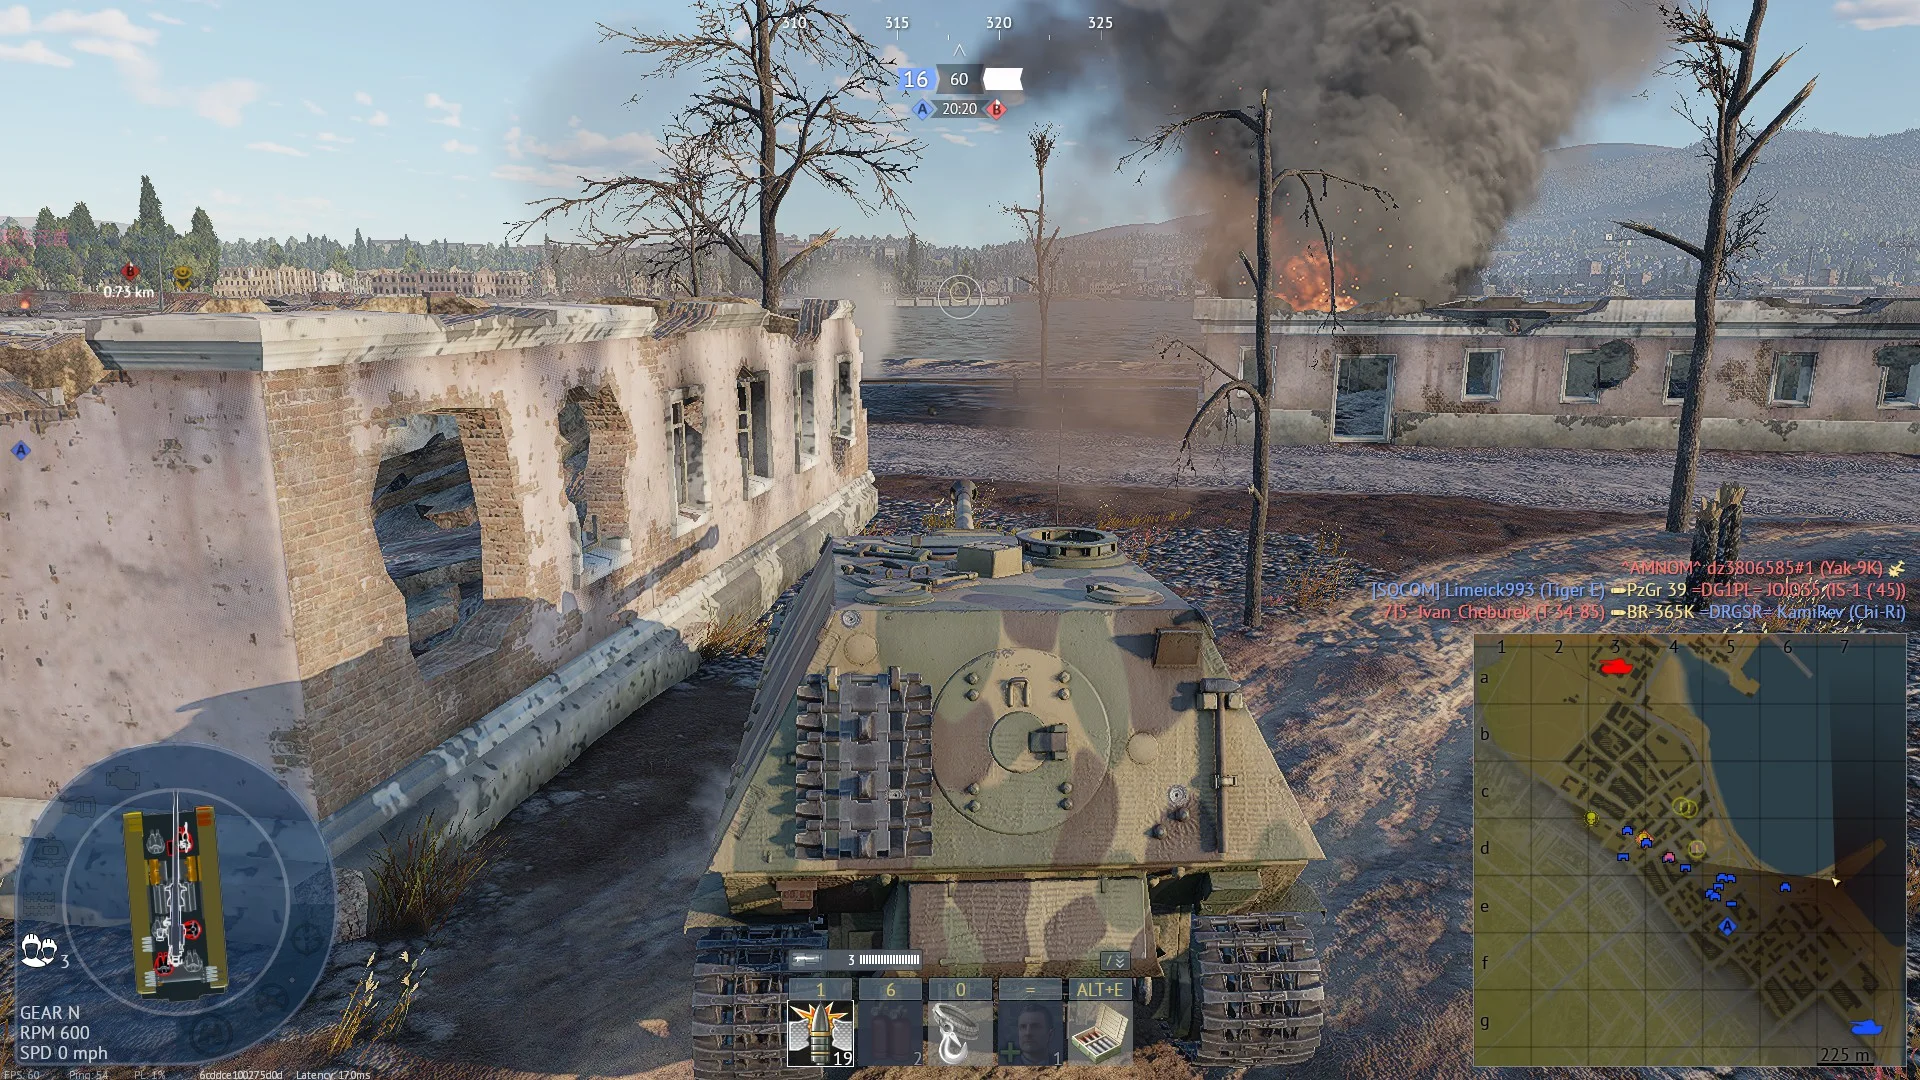
Go to the location and park exactly like in the picture — the alignment matters. Once you are set, there is a small window that looks directly onto the point and onto the road the enemy uses to get back to their spawn. That window is your firing slot: you can camp there and snipe everything that crosses it, while the building around it hides the rest of your tank. Because you are firing through a narrow gap, few victims ever work out where the shot came from. Match the picture, be patient between windows of traffic, and this spot farms quietly all game.
Tactical position on PortNovorossiysk
Map overviewclick to expand

No es una posición totalmente segura, y conviene saberlo antes de ocuparla. Ofrece un ángulo útil sobre la zona, pero quedas expuesto a más de una dirección, así que trátala como una posición temporal y no como un punto para acampar toda la partida. Úsala para tomar dos o tres disparos de valor, controla constantemente los flancos por los que pueden sorprenderte, y retírate en cuanto el fuego enemigo empiece a acercarse. Con esa disciplina la posición rinde; sin ella, terminas siendo tú el objetivo fácil.

Tactical position on PortNovorossiysk
Map overviewclick to expand

A good spawn-camping angle with one defining trait: it is completely open. There is no cover here to save you — the position works purely on the fact that enemies leaving spawn are not looking your way yet. That makes it a timing play: arrive when the enemy is distracted or between spawn waves, take your sniping shots quickly, and leave before anyone traces the fire. Do not treat it as a place to hold; treat it as a firing pass. Fast vehicles and confident gunnery get several kills out of each visit, while anything slow that lingers here gets deleted the moment it is spotted.

Sniper
Tactical position on PortNovorossiysk
Map overviewclick to expand

This position can wipe out everything coming out of the enemy spawn toward the capture point — it sits right across their only sensible approach, with cover to fight from. Held properly, it single-handedly shuts the point down. The critical caveat: always keep track of where your teammates are. If nobody is holding behind you, you can end up fighting up to four different angles at once, and no piece of cover saves you from that. So treat this as a team position: anchor it when your side is present, farm the spawn-to-point traffic, and fall back the moment you realize you are holding it alone.

FlankSpawn CampPushCoverDefensive
Tactical position on PortNovorossiysk
Map overviewclick to expand

If you have no ally tank behind you, you are mostly dead when 2 tanks come out in front of you which you need to reverse because this spot is an alley lead to the secondary road for the flank on the other side of spawn so if you have friend to cover you from this point then play it (Abram, Type 90, TKX recommended and any 4.0s reload tank)

Danger ZoneSniperObjectivePush

Strategic Routes · 3 approved

Map overviewclick to expand
Wide Flank

A flanking route with good cover along its length that sets you up to catch enemies off guard from the side. The path keeps terrain and structures between you and the main firefight while you swing wide, so you arrive unspotted on an angle where targets are showing you their flanks. Nothing about it requires a special vehicle — just the patience to drive the full loop instead of peeling off early. Take the side shots as they come, use the cover to break contact after each engagement, and reset the run whenever the enemy's attention drifts back to the middle.

Map overviewclick to expand
Protected CorridorDirect AssaultWide Flank

This is the way to reach my marked pin position. The route blends everything you want in an approach: protected stretches that keep you out of the main sightlines, direct enough to arrive quickly, with a final flanking angle onto the destination. Drive it as drawn — the specific line is what keeps you covered, and improvising shortcuts is how you get spotted before arriving. Once you reach the pin location, the position takes over from there; this path is simply the safest, fastest delivery to it.

Map overviewclick to expand
Protected CorridorDirect AssaultWide Flank

The second approach to my marked pin position — an alternative for when the first line is compromised or the enemy is watching that side. Like its twin, it combines protected sections with a direct final leg, delivering you onto the position without crossing the dangerous open lanes. Having two distinct approaches to the same strongpoint matters: it means the enemy cannot deny you the position by camping a single path. Check which side of the map is quieter, pick the corresponding route, and stick to the drawn line until you arrive.

See it on the map

Open PortNovorossiysk in the RATLINE tool to view pins, draw routes, and contribute your own intel.

Open RATLINE → All Guides