Tactical Positions · 5 approved

Tactical position on Poland
Map overviewclick to expand

This is not the end point of the push — it is the holding position on the way. Stop here and hold this angle while the first wave of enemies is pushing: the geometry lets you intercept them mid-advance, taking clean shots while they are moving and focused elsewhere. Rushing past this spot into the final position too early is the classic mistake; you drive straight into the wave instead of shooting it in the side. Let the first push break against your gun here, and only then continue forward to the deeper position once the lane is quiet.
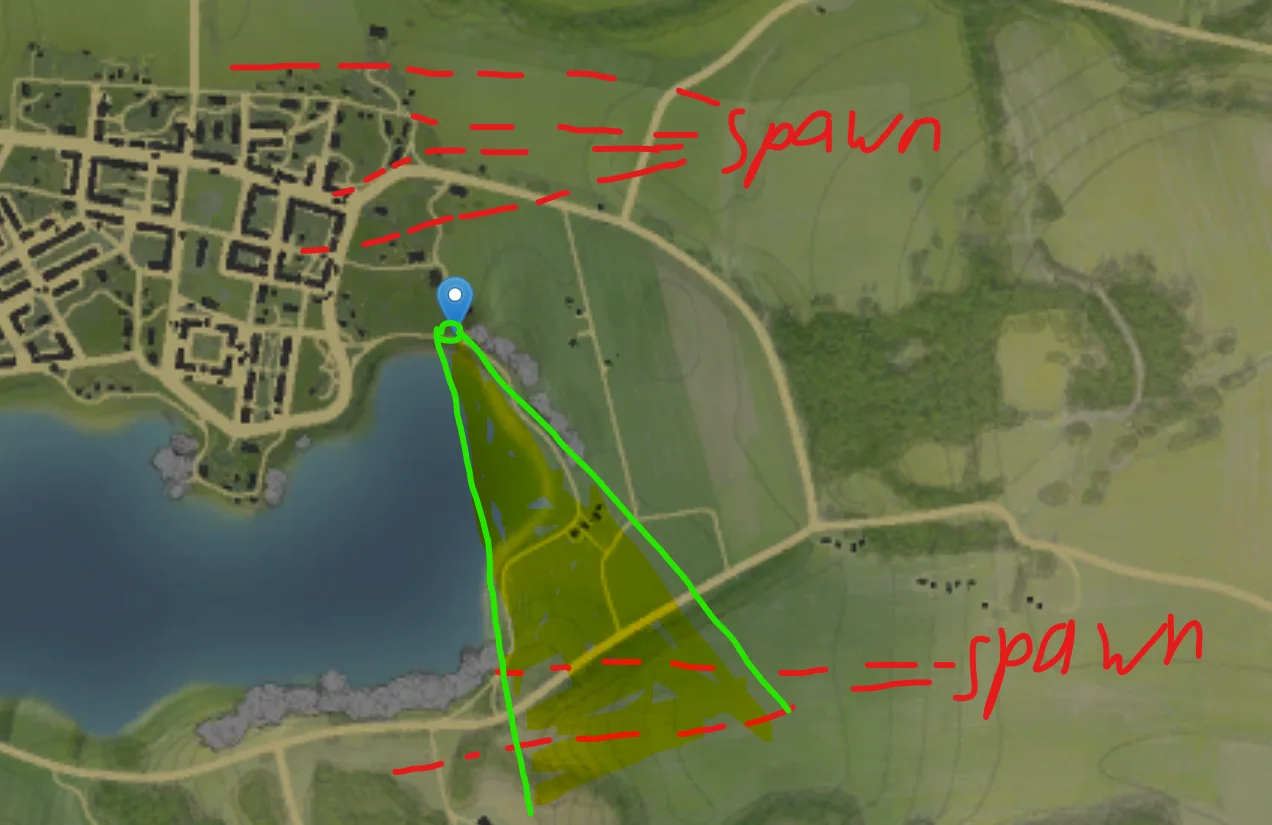
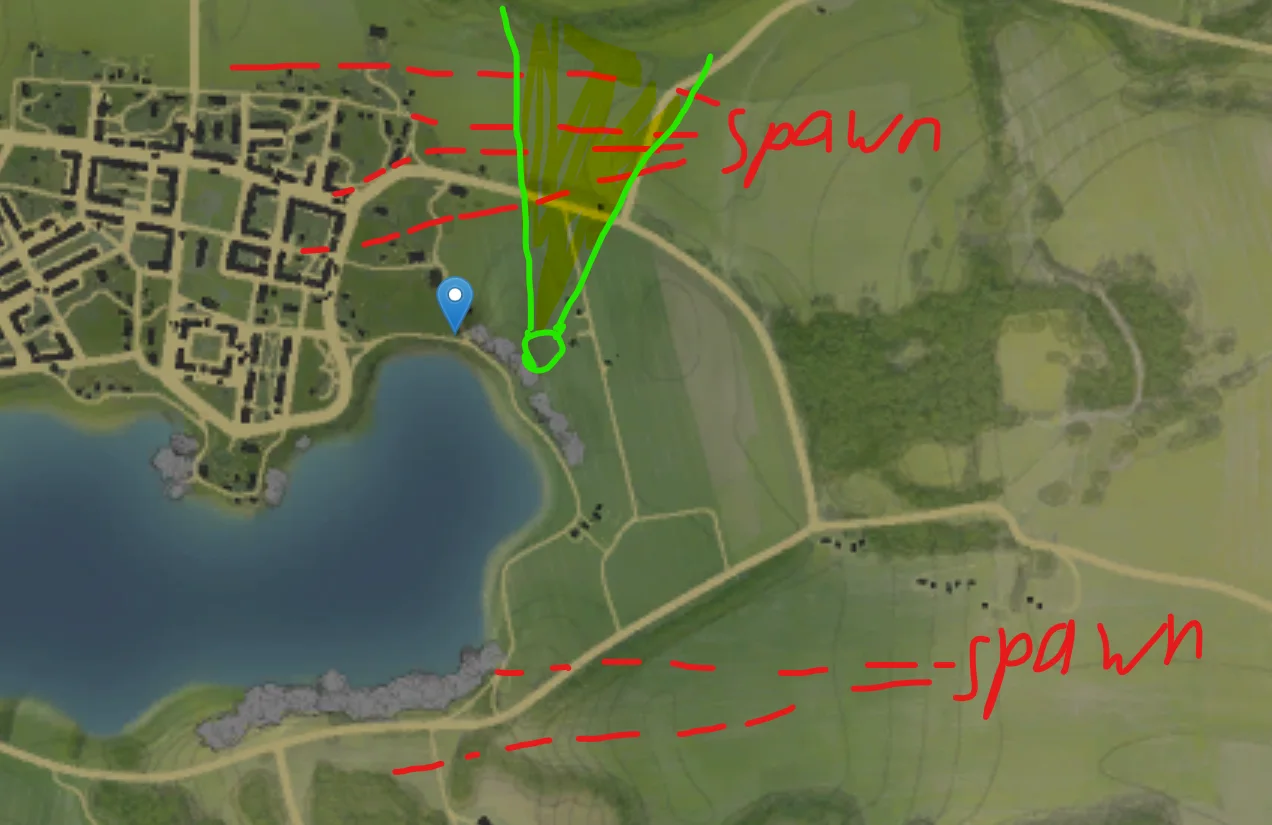
Push
Tactical position on Poland
Map overviewclick to expand

If you have a laser rangefinder, this spot produces easy frags on the enemies who like to sit behind the C point. Those players think the distance protects them — they are set up at long range, static, watching the point. With instant ranging you delete exactly that kind of target: lase, aim, first-round hit, next target. Without a rangefinder the spot still works but you will waste shells walking shots in. It doubles as a flanking angle on the C area, so after clearing the campers you can support any push onto the point itself.

FlankSpawn Camp
Tactical position on Poland
Map overviewclick to expand

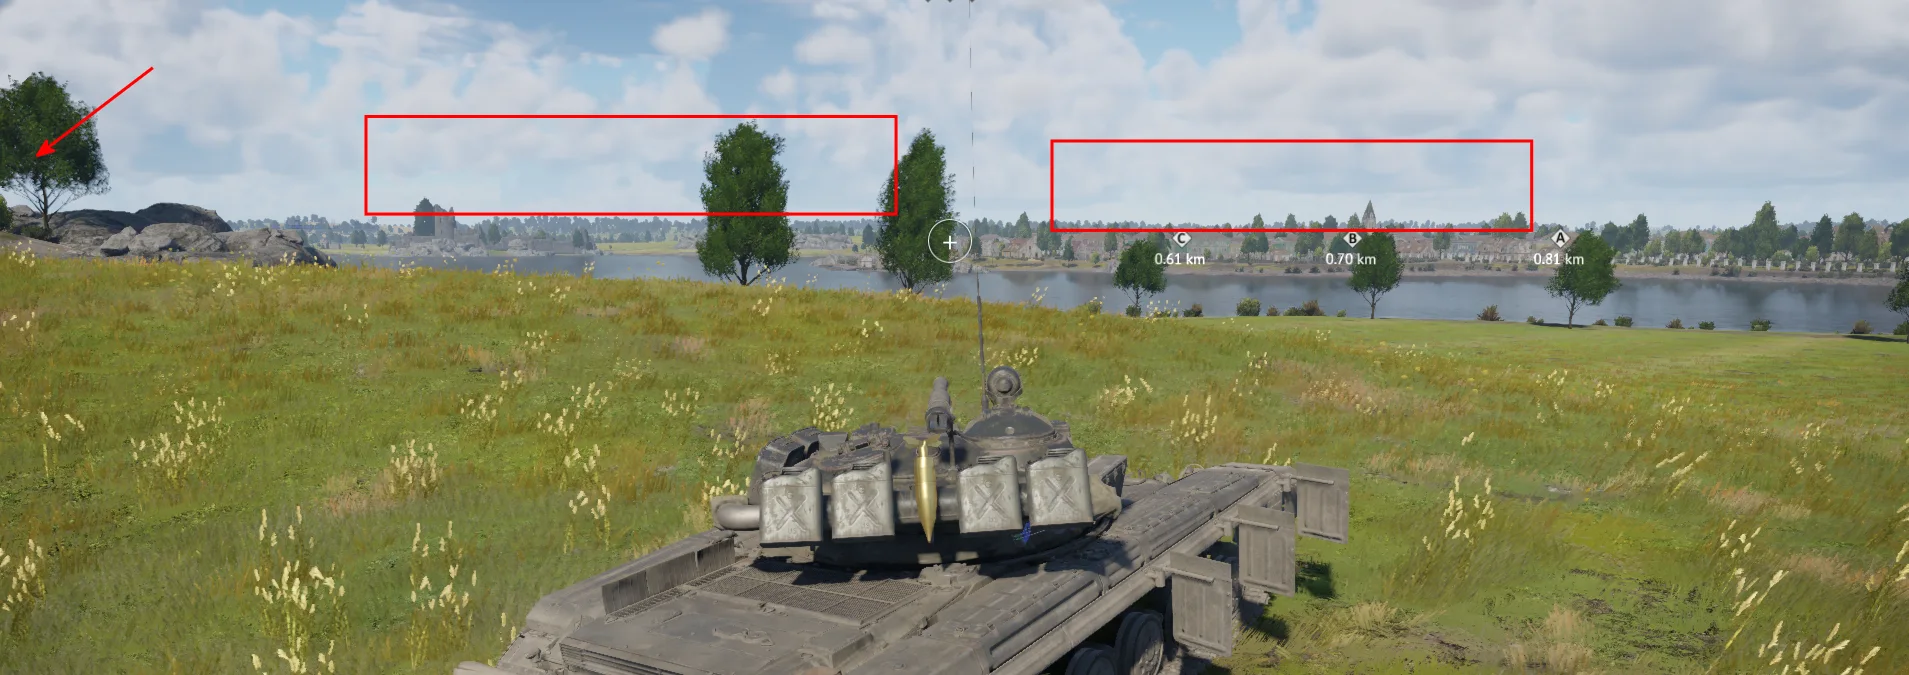
Spawn camp them from this position — and use the terrain properly while you do it. There is low ground near the rocks that is the actual key to the spot: it lets you sit with most of your tank hidden, rising only to fire on vehicles leaving the enemy spawn. The rocks give you hard cover to retreat behind between shots. Farm the spawn traffic in cycles — peek, shoot, drop back into the low ground — and never sit exposed admiring your work. Once the enemy commits CAS or a push to root you out, you have already gotten your value; slip away and come back later.

Spawn CampCoverSpawn Peak
Tactical position on Poland
Map overviewclick to expand

A good watch point that doubles as map control. From this elevated position you overlook a wide slice of the battlefield with cover available, letting you do two jobs at once: spot and call enemy movements for your team, and punish anything that crosses your sightlines. High ground plus cover plus defensive fallback is a rare combination, which is why this spot holds its value all match. Play it as a sniper-observer — hull-down, deliberate shots, constant scanning — and shift your exact position along the height whenever the enemy starts checking your angle.

CoverDefensiveHigh GroundSniper
Tactical position on Poland
Map overviewclick to expand

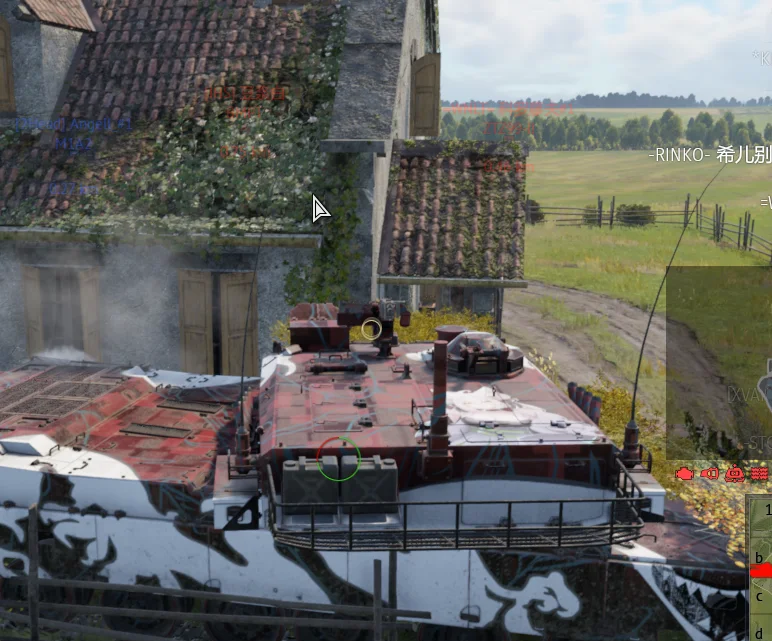
A good position for vehicles with a thick forehead — strong upper-front-plate armor is what lets you sit here and trade. You work hull-down over the crest, showing the enemy exactly the part of your tank built to bounce, while your gun covers the spawn-peek angle. Just as importantly, there is a place to retreat to directly behind the position: if you take damage or need to reload crew, drop back, recover, and re-crest. Watch where the arrow points to stay safe — that is the danger direction, and respecting it is the difference between farming here and being farmed.

Spawn PeakSpawn CampSniperHull DownCover

Strategic Routes · 3 approved

Map overviewclick to expand
Wide FlankDirect Assault

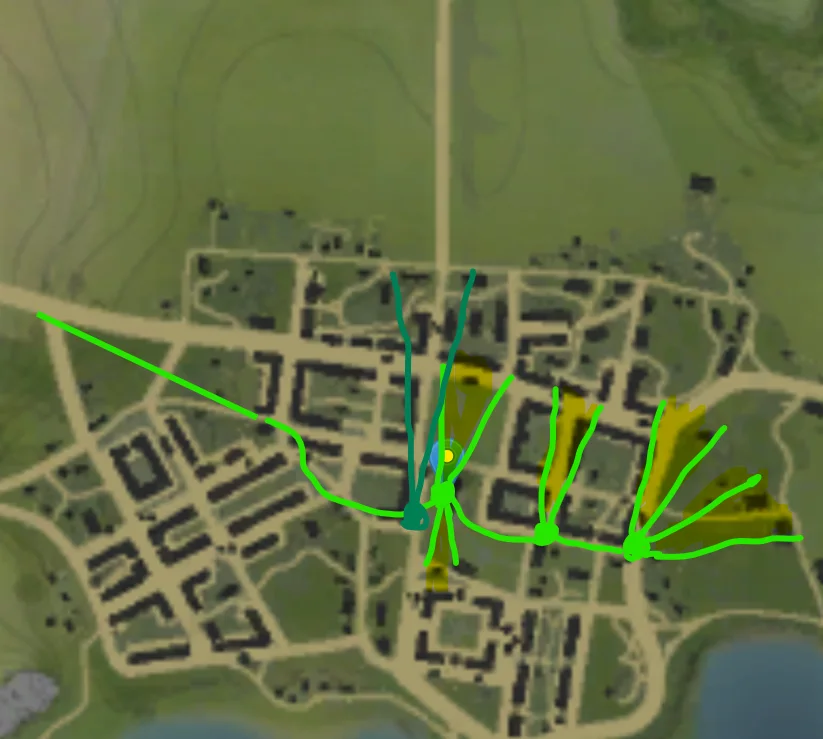
This route is more than a drive — it is a series of peeks. Along its length you get repeated windows to kill enemies from the side: each stretch of the path opens another angle onto targets focused on the main fight, and you can work through several of them on a single run. Take the peeks methodically rather than sprinting past them; the side shots are the whole value of the line. The route finishes in spawn-camping territory, so after farming the peeks you end the run overlooking their spawn. A patient, complete lap of this path is regularly worth a handful of kills.

Map overviewclick to expand
Wide Flank

Quick, easy kills — that is the honest summary of this flank. It is a short loop rather than a marathon: you peel off the main lane, swing around a piece of terrain the enemy does not track, and immediately find side shots on players watching the wrong direction. Because the route is short, the risk window is small and the payoff arrives fast, making it ideal for aggressive vehicles that want early damage without committing to a deep flank. Run it at the start of the match, collect what it offers, and fold back into your team's push before the enemy adjusts.

Map overviewclick to expand
Direct AssaultWide Flank

The flank of the century if it can be pulled off. The catch is real: you have to cross in front of the less popular enemy spawn on the way, and that crossing is where the run lives or dies. Once through, though, the reward is enormous — you can see the entirety of their spawn, with great cover close by and no spawn detection flagging you. It is ideal for light tanks right off game start, before the enemy has eyes on that side. Cross the danger section at full speed, settle into the cover, and farm; done cleanly, this single route can decide the match.

See it on the map

Open Poland in the RATLINE tool to view pins, draw routes, and contribute your own intel.

Open RATLINE → All Guides