Tactical Positions · 3 approved

Tactical position on Normandy
Map overviewclick to expand

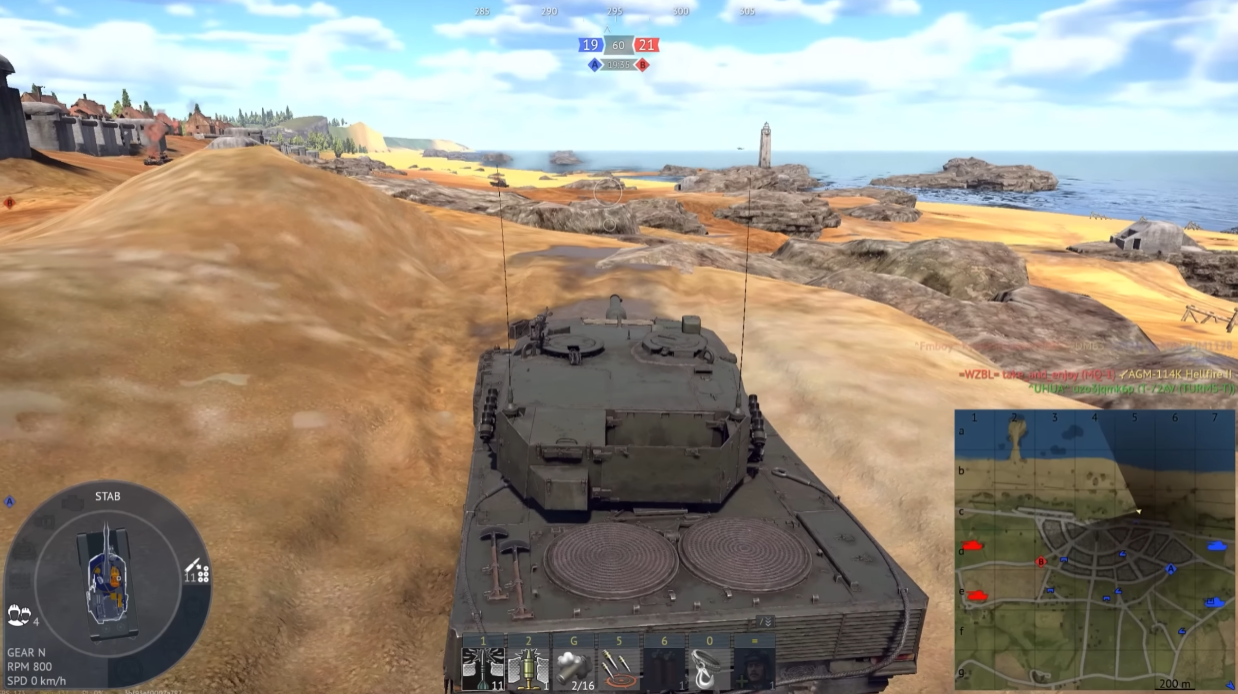
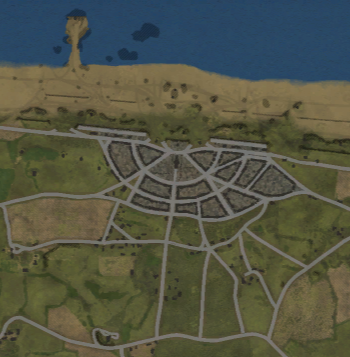
From this position you have full control over the beach — the lane enemies use to advance toward point A — as well as a clear view of the key passage leading to the monument. That combination makes it one of the defining defensive spots on this side of the map: beach pushes have to cross your gun in the open, and anyone trying the monument passage instead shows themselves to the same position. Set up with your hull protected and work the two angles in turn. As long as you hold here, the entire A-side advance has no quiet option, and your team gets an early warning on both lanes.
Tactical position on Normandy
Map overviewclick to expand

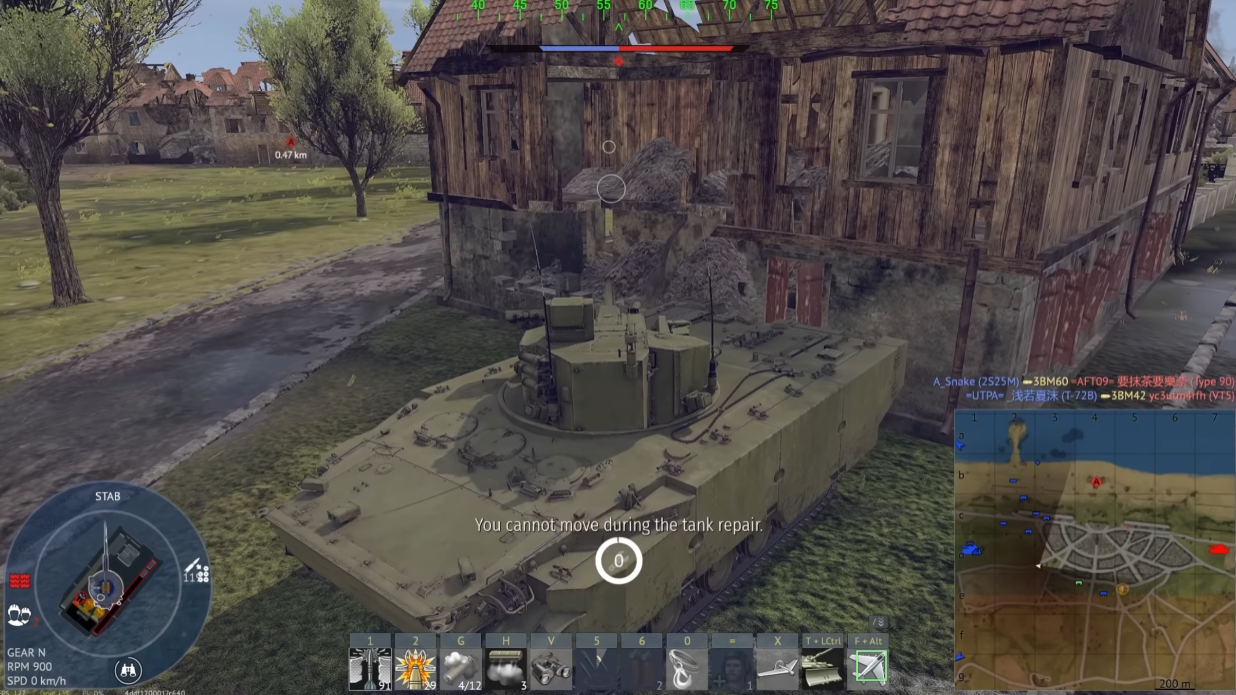
Stand behind the building and shoot through the small window, exactly like in the picture. The building swallows your whole silhouette — from the enemy's side there is just a dark gap in a wall, while from yours there is a clean firing lane onto the traffic beyond. Line your gun up with the window before targets appear so you only need small corrections when they do. Kills from this spot are rarely traced back; most victims assume a sniper somewhere on the horizon. Match the picture's alignment carefully, because a meter off to either side and the window geometry stops working.

Tactical position on Normandy
Map overviewclick to expand

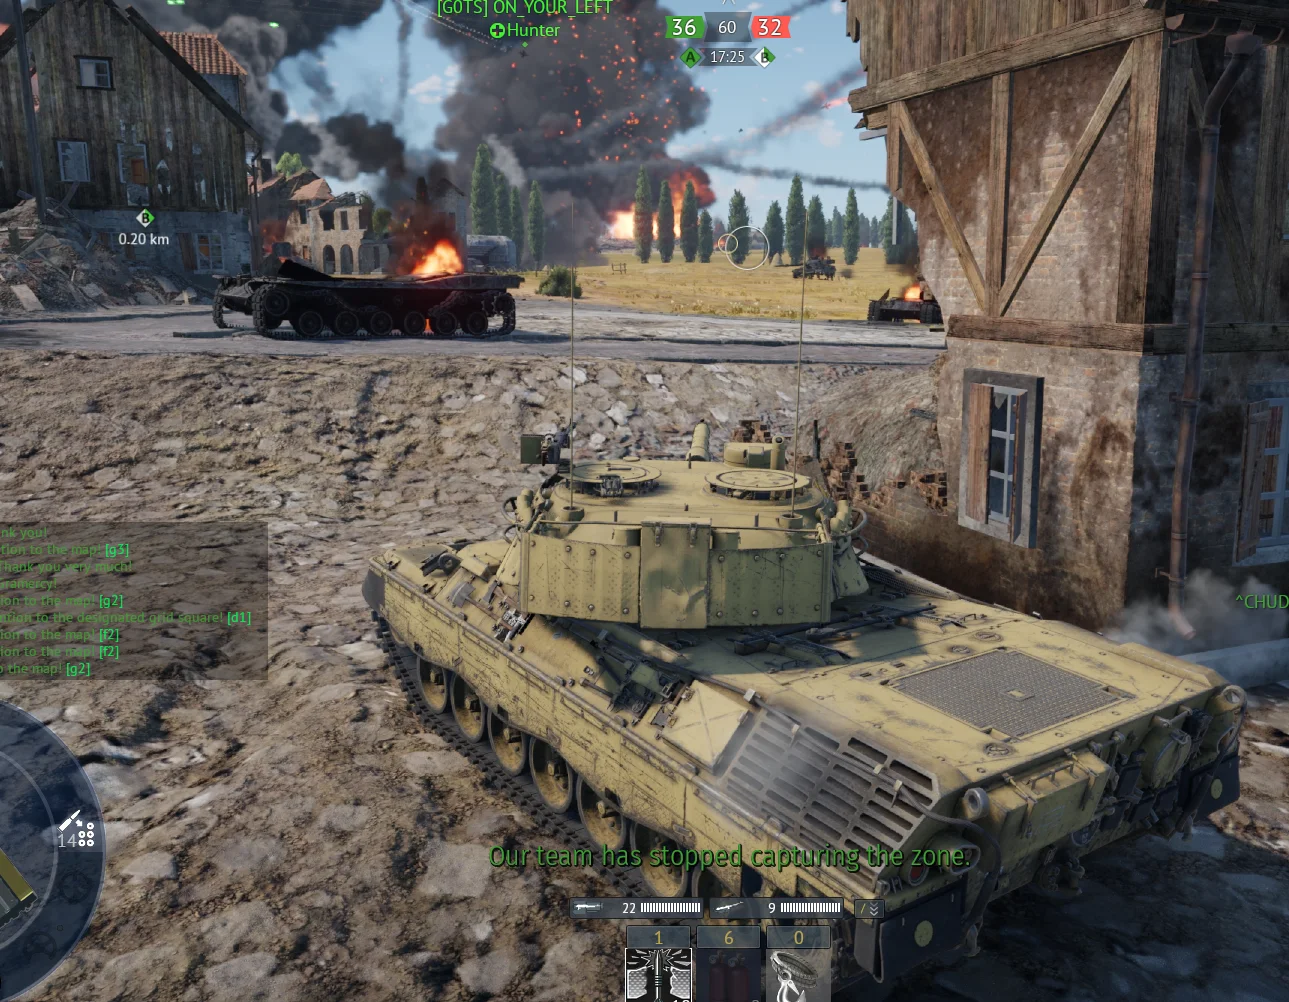
A clear view of the enemy spawn and easy kills, all while staying hull-down thanks to a ledge. The ledge is what elevates this from a bold peek to a proper position: your hull sits protected behind it while only the turret works over the top, so return fire has almost nothing to bite on. From there the spawn traffic is yours — vehicles rolling out cross your sightline in predictable lines. Understand the risk though: spawn-watching positions attract dedicated hate once discovered, from counter-snipers to CAS. Farm the ledge in short exposures and shift along it between kills.

SniperSpawn CampCoverHull DownDanger Zone

Strategic Routes · 6 approved

Map overviewclick to expand
Wide Flank

Flanka przy posągu — trasa obejścia biegnąca obok monumentu. Zamiast pchać się w główną wymianę ognia, skręcasz szerzej i wykorzystujesz posąg oraz otaczający go teren jako osłonę, wychodząc na flankę przeciwników skupionych na froncie. Punkt orientacyjny jest prosty: trzymaj się linii posągu, a dojedziesz na pozycję, z której widać odsłonięte burty wrogów. Najlepiej działa we wczesnej fazie meczu, zanim przeciwnik zacznie pilnować bocznych podejść — później przejeżdżaj ten odcinek ostrożniej, od osłony do osłony.

Map overviewclick to expand
Wide Flank

Ggff

Map overviewclick to expand
Wide Flank

Fgj

Map overviewclick to expand
Wide Flank

Vbv

Map overviewclick to expand
Wide Flank

Fgg

Map overviewclick to expand
Wide Flank

See it on the map

Open Normandy in the RATLINE tool to view pins, draw routes, and contribute your own intel.

Open RATLINE → All Guides