Tactical Positions · 9 approved

Tactical position on MiddleEast
Map overviewclick to expand

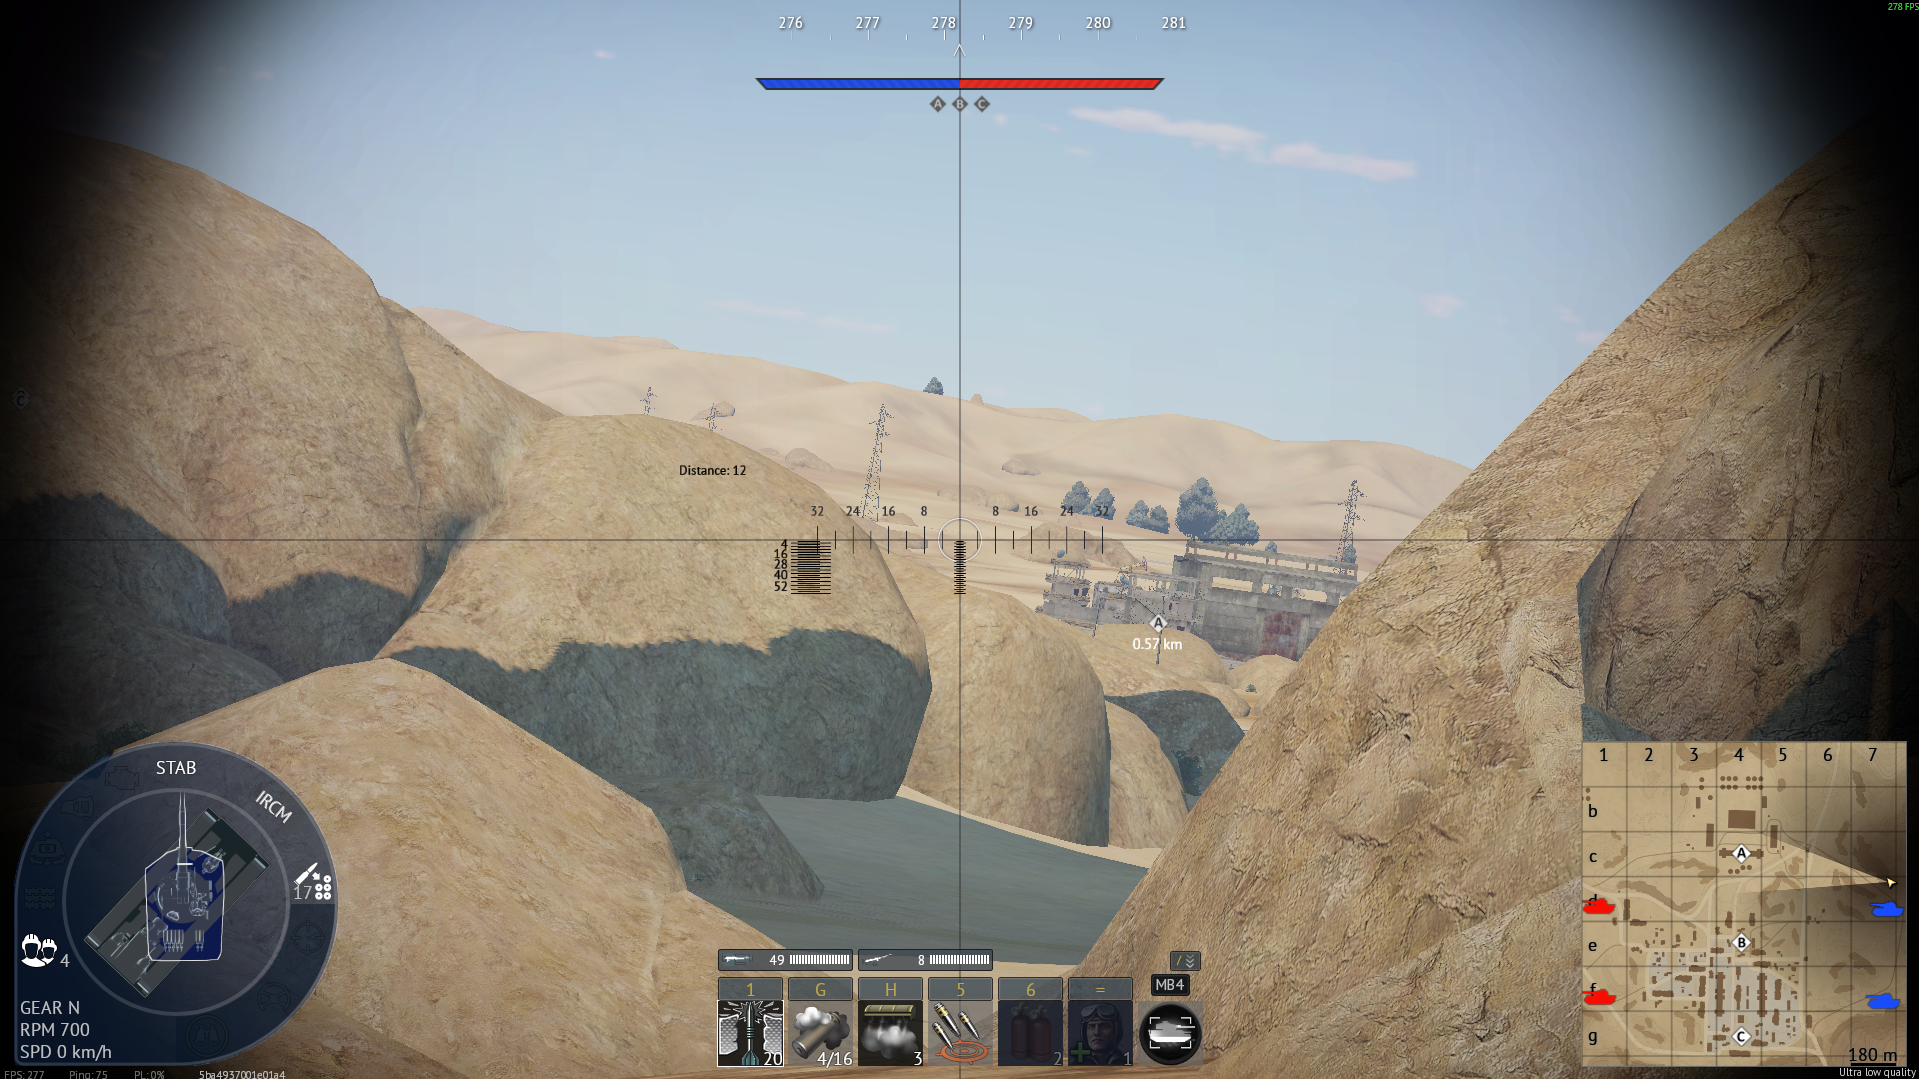
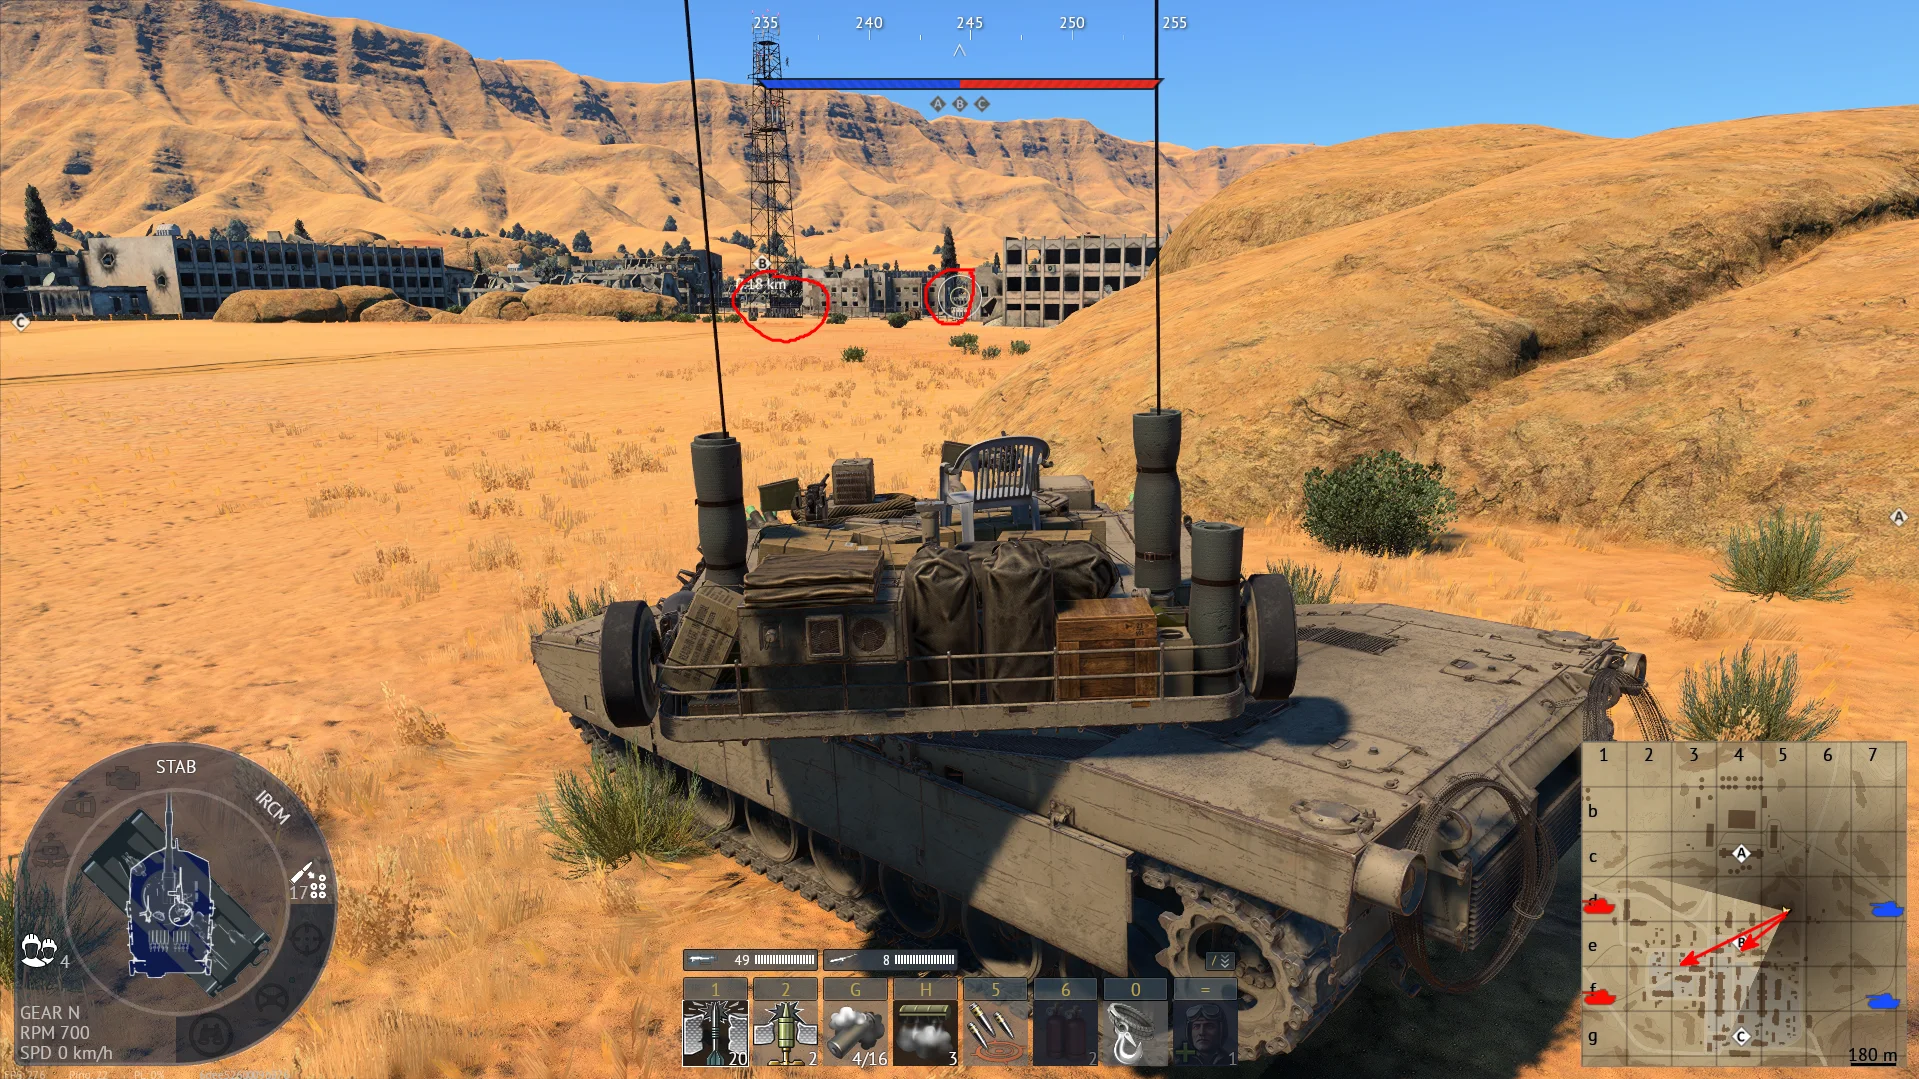
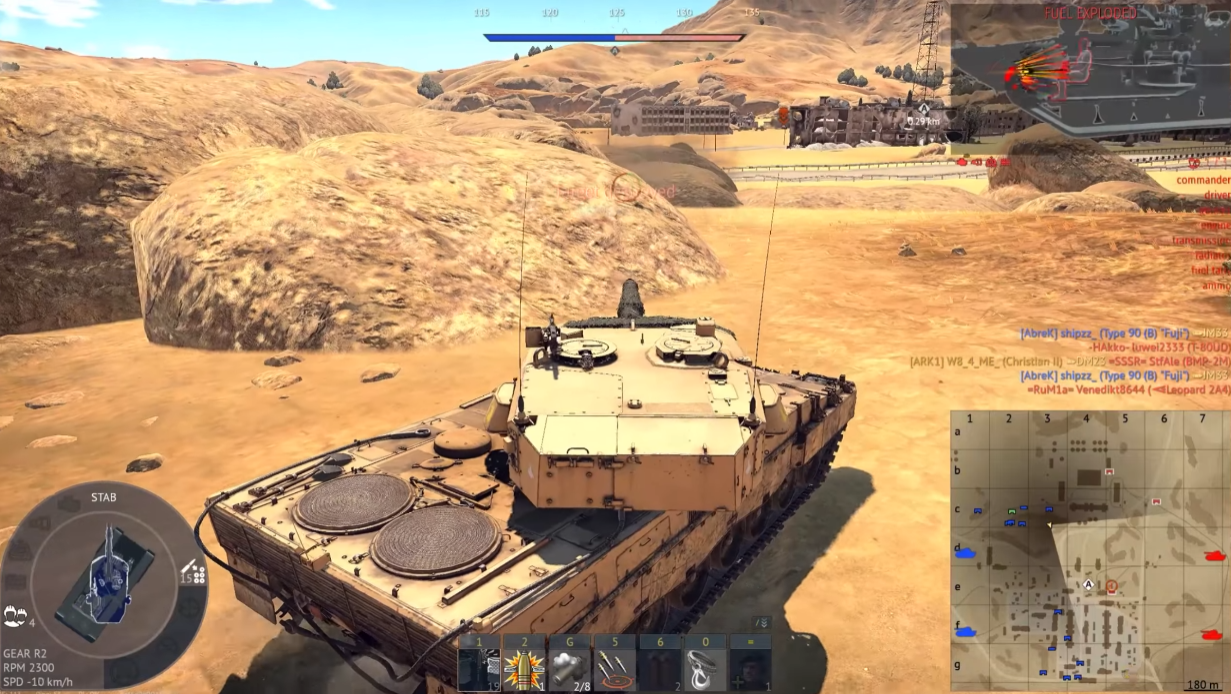
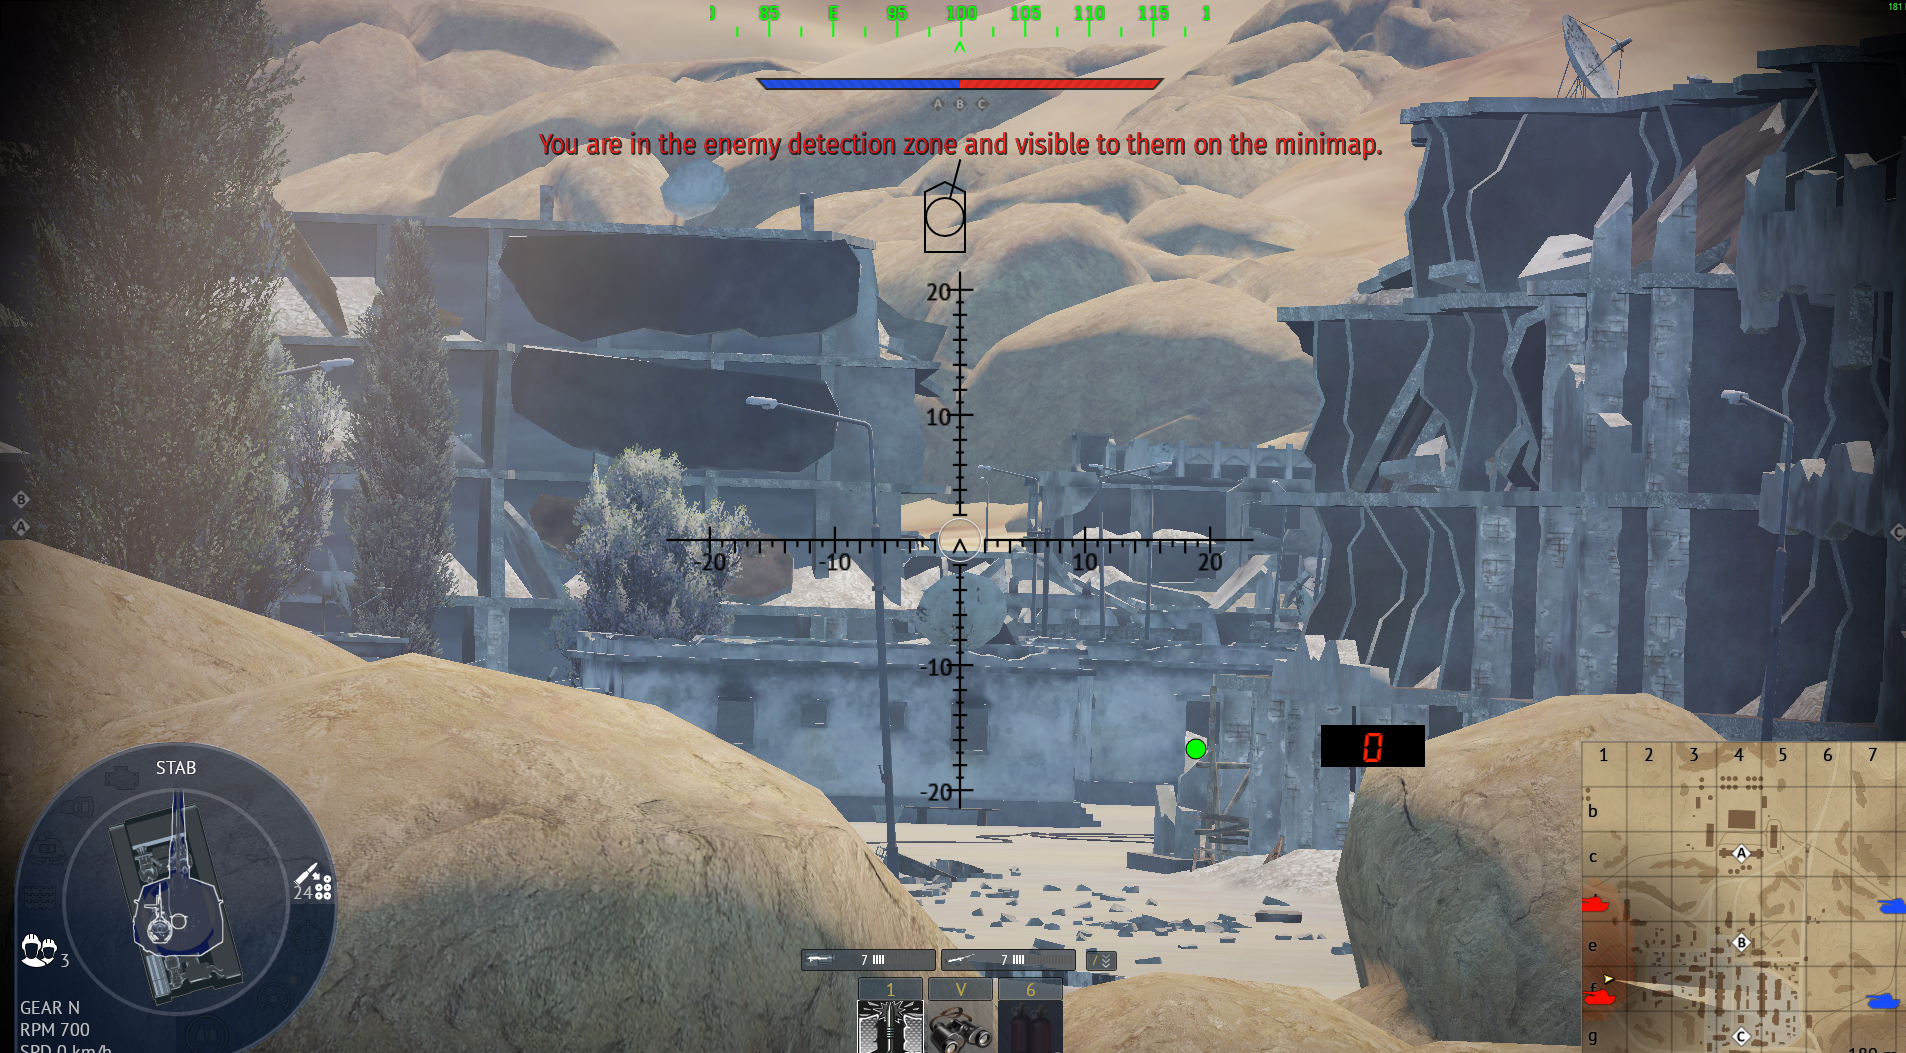
You have to climb on top of the rocks to reach this position — and a medium tank makes the climb noticeably easier than anything heavier. The awkward access is precisely why the spot works: most players assume the rocks are just scenery, so nobody budgets attention for a gun up there. Once on top you get an elevated angle over the surrounding lanes that flat positions simply cannot offer. Take the climb slowly to avoid throwing a track at the worst moment, settle into a hull-down posture on the rock, and enjoy shooting at people who refuse to look up.
Tactical position on MiddleEast
Map overviewclick to expand

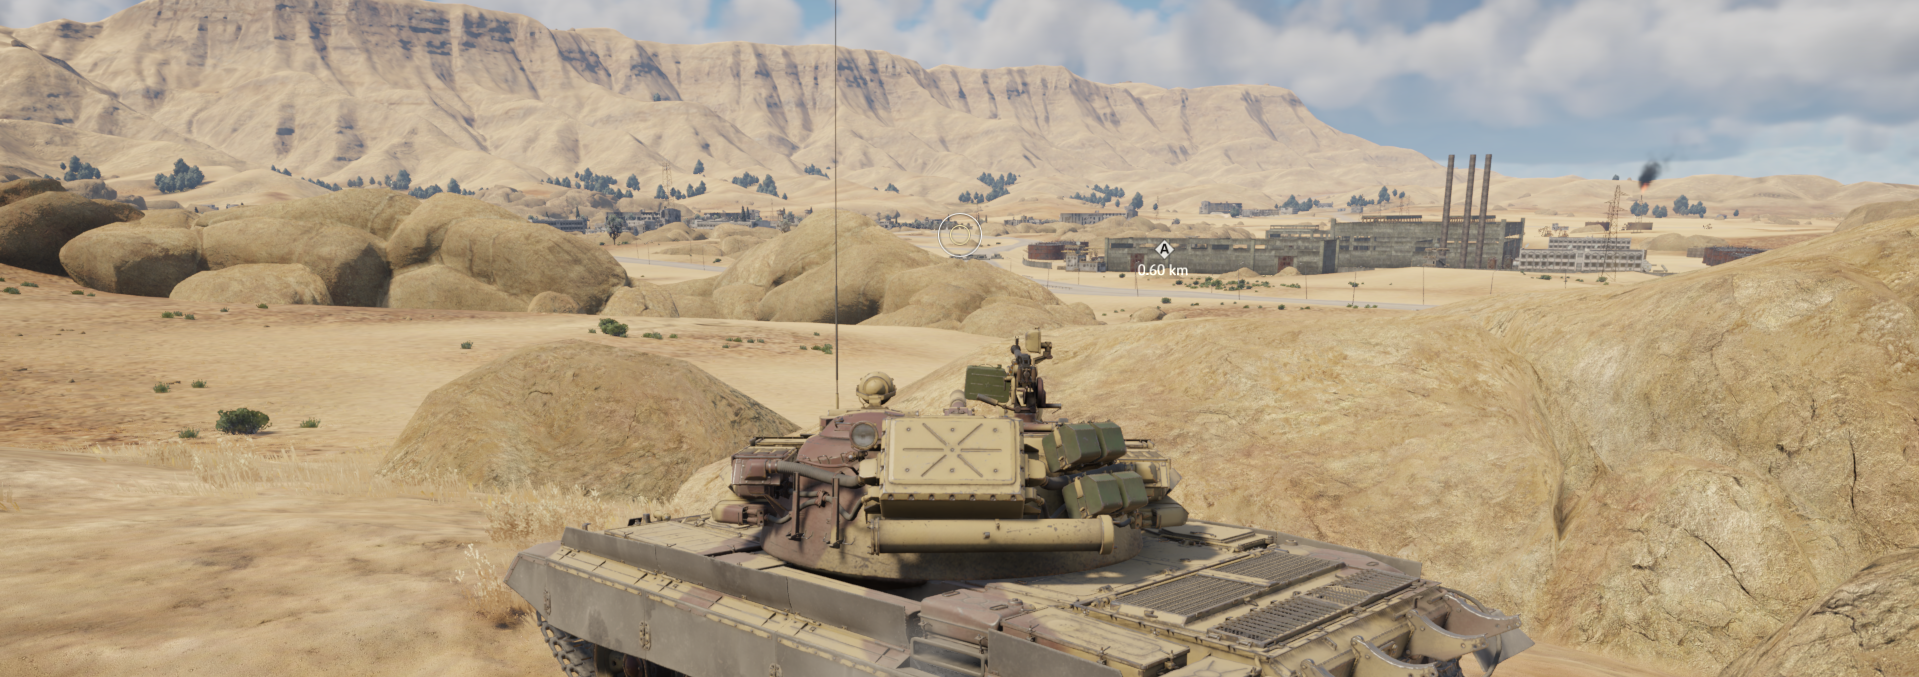
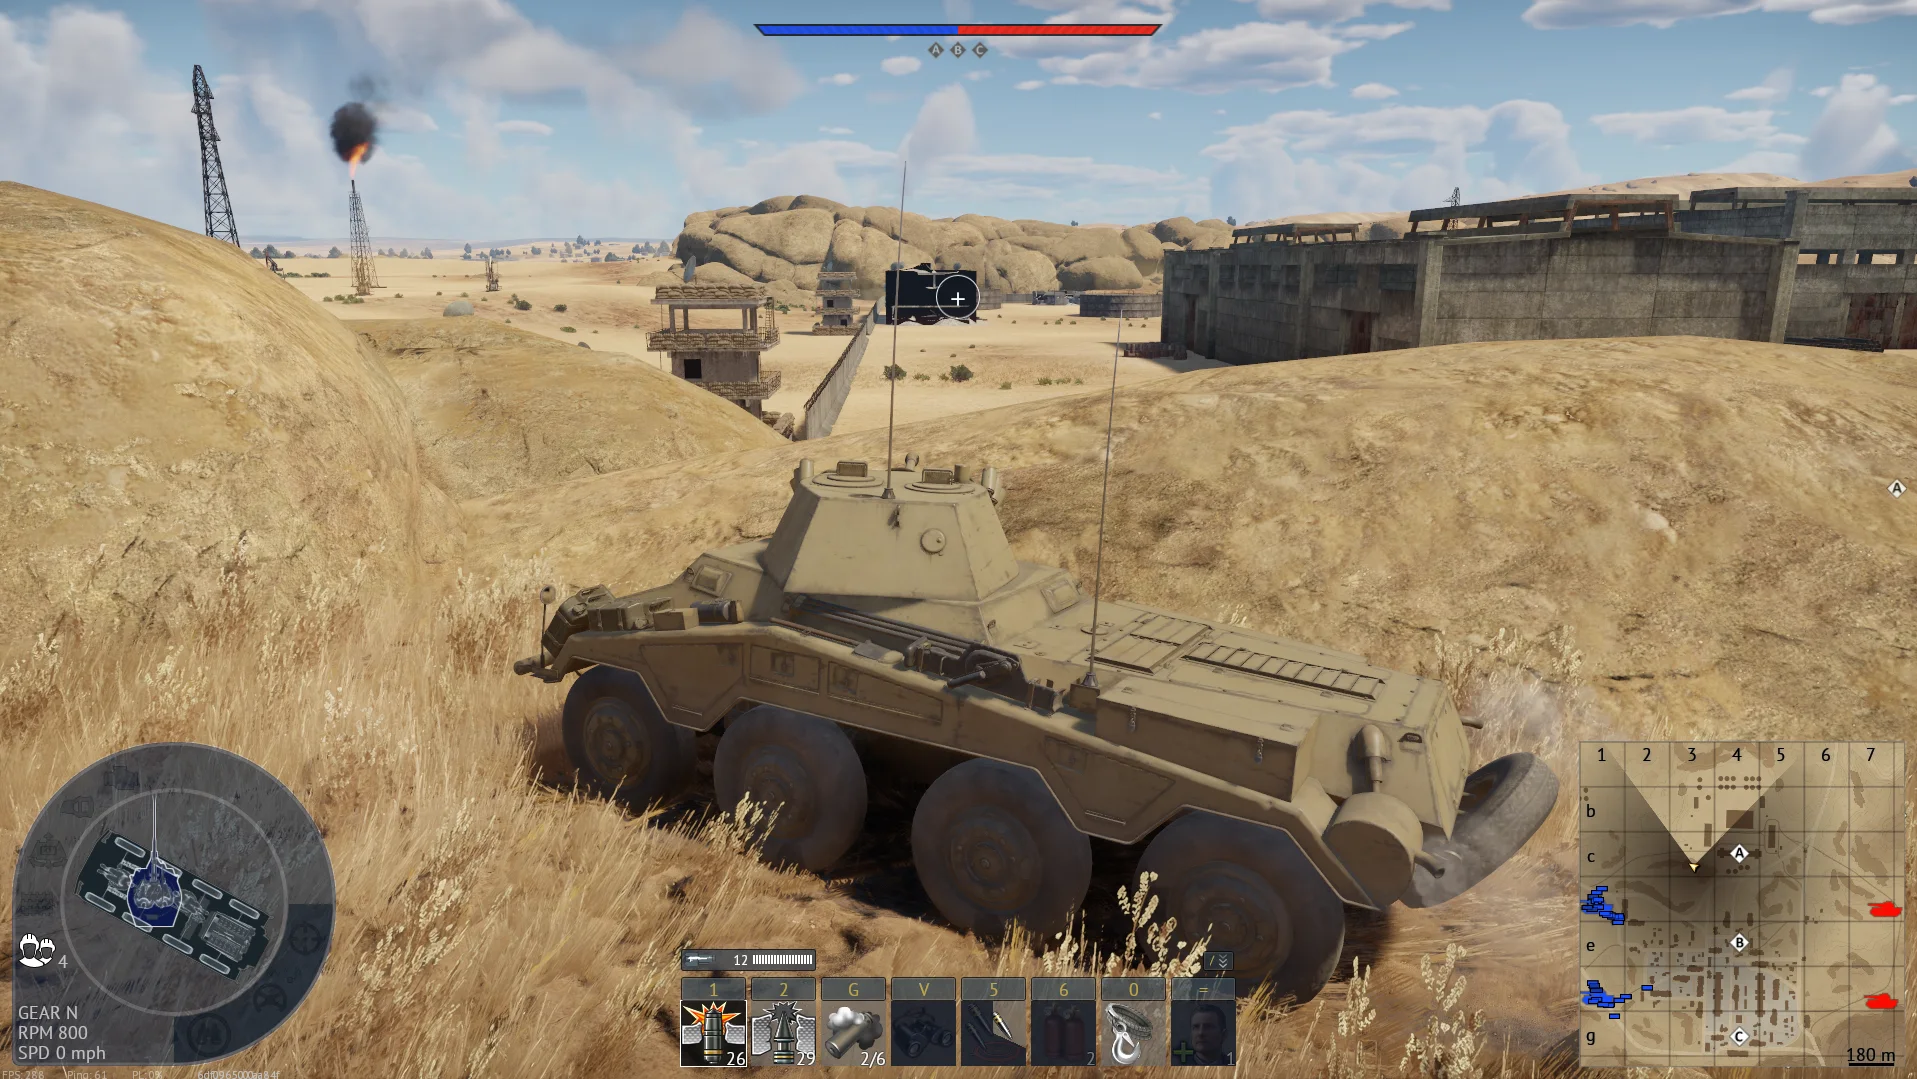
A good early spawn peek. The position lines up with the enemy spawn area right at match start, giving you shots on vehicles in their first seconds of deployment — before they have spread out, picked cover, or started scanning. Early is the operative word: the angle is at its best in the opening minute and decays as the enemy team disperses into the map. Get there immediately off spawn, take the two or three free shots the opening offers, and then transition to a normal position rather than lingering on a peek the whole enemy team now knows about.

Tactical position on MiddleEast
Map overviewclick to expand

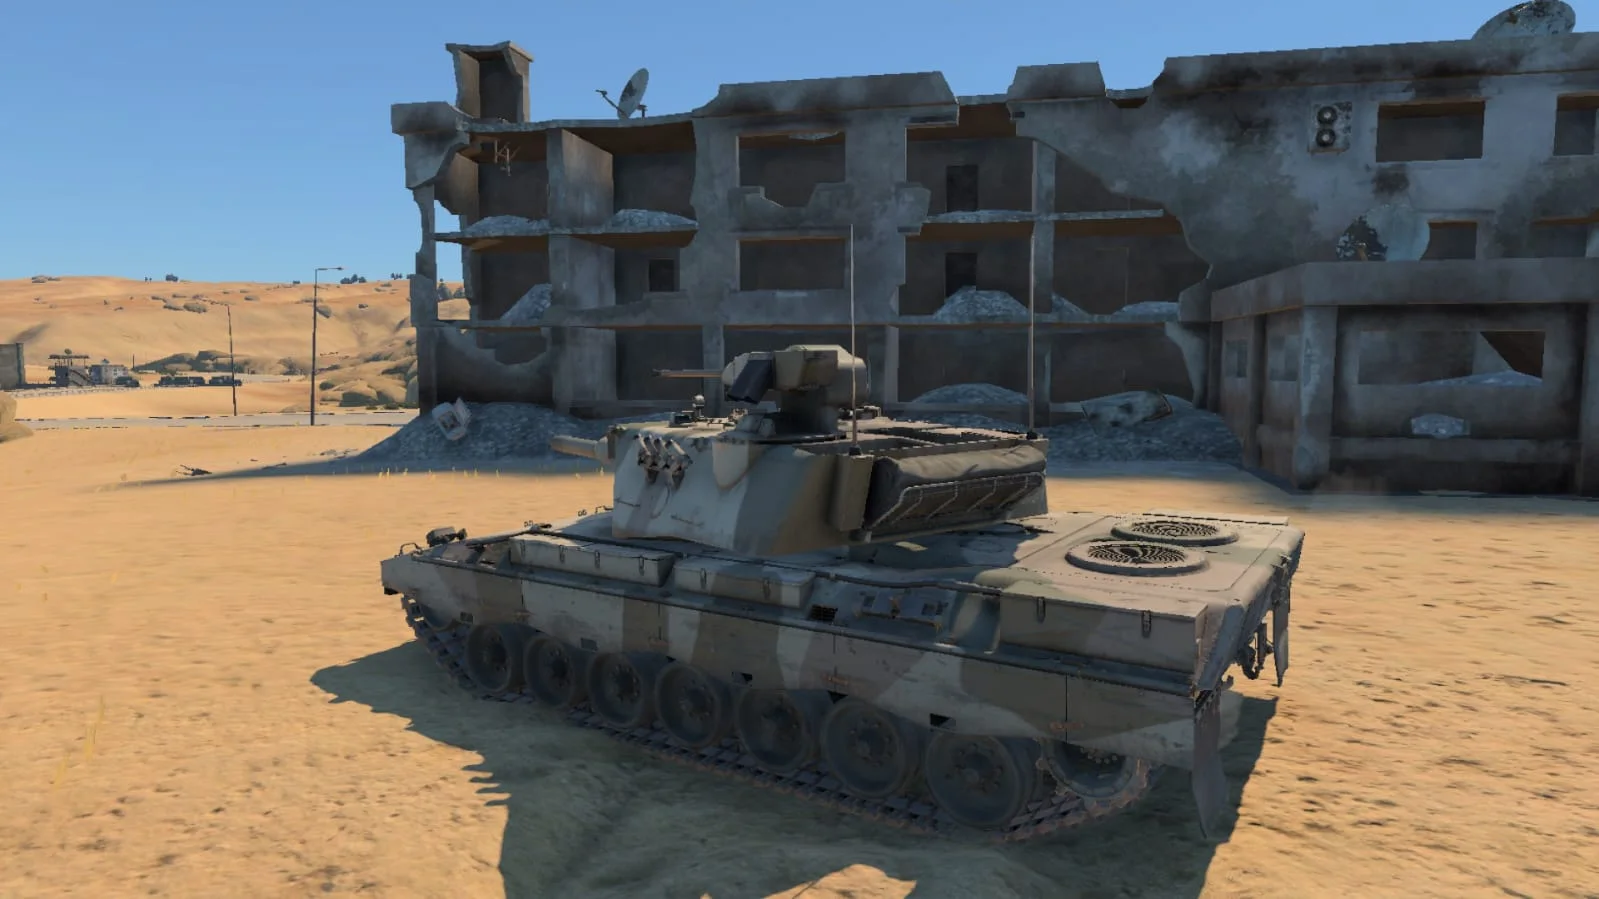
Spawn near this mark, climb up the hill, and peek exactly the way shown in the picture — then enjoy the free kills. The picture is the instruction manual: the specific peek angle it shows is what keeps the rest of your tank protected by the hillside while your gun covers the lane below. Done right, enemies moving through your sightline have almost no ability to punish you, and the kills genuinely are free. The position rewards getting there fast, so take it straight off spawn. If return fire ever starts landing accurately, adjust your peek spot a few meters along the hill and continue.

Tactical position on MiddleEast
Map overviewclick to expand

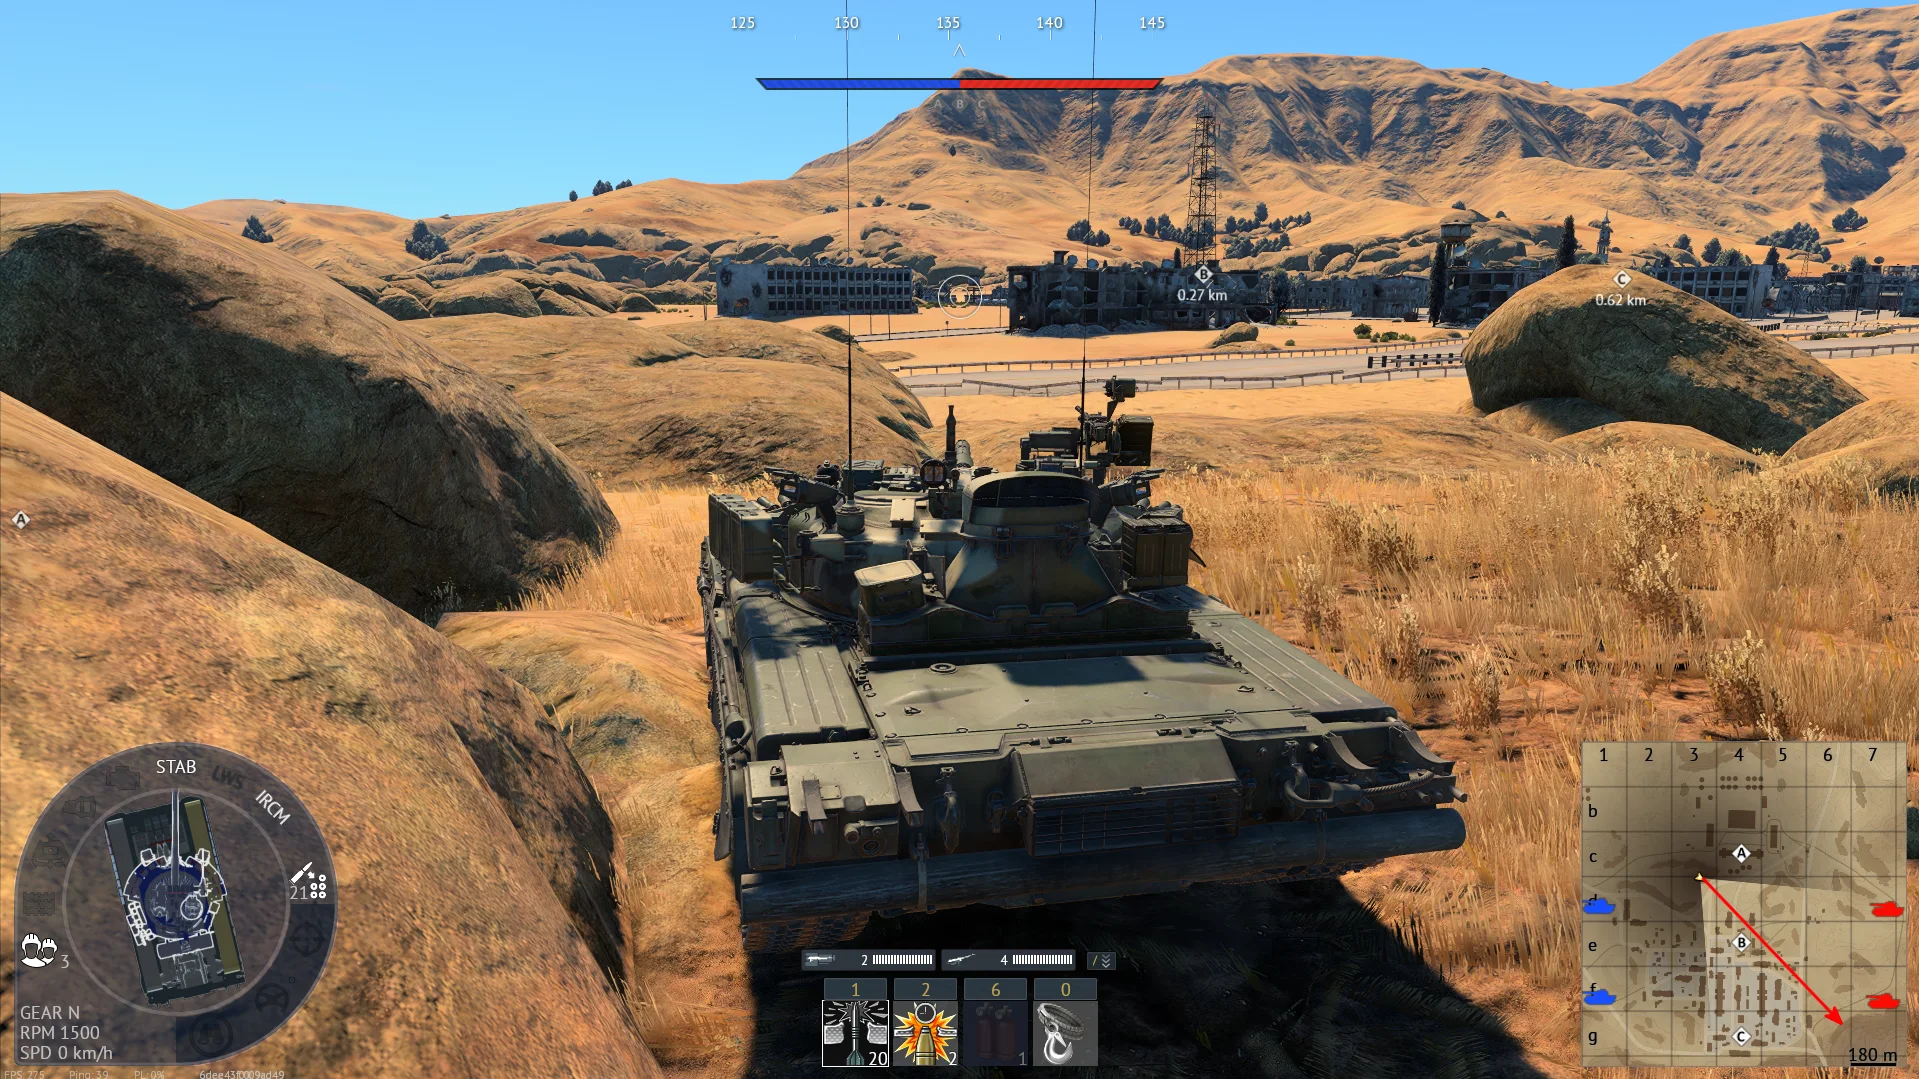
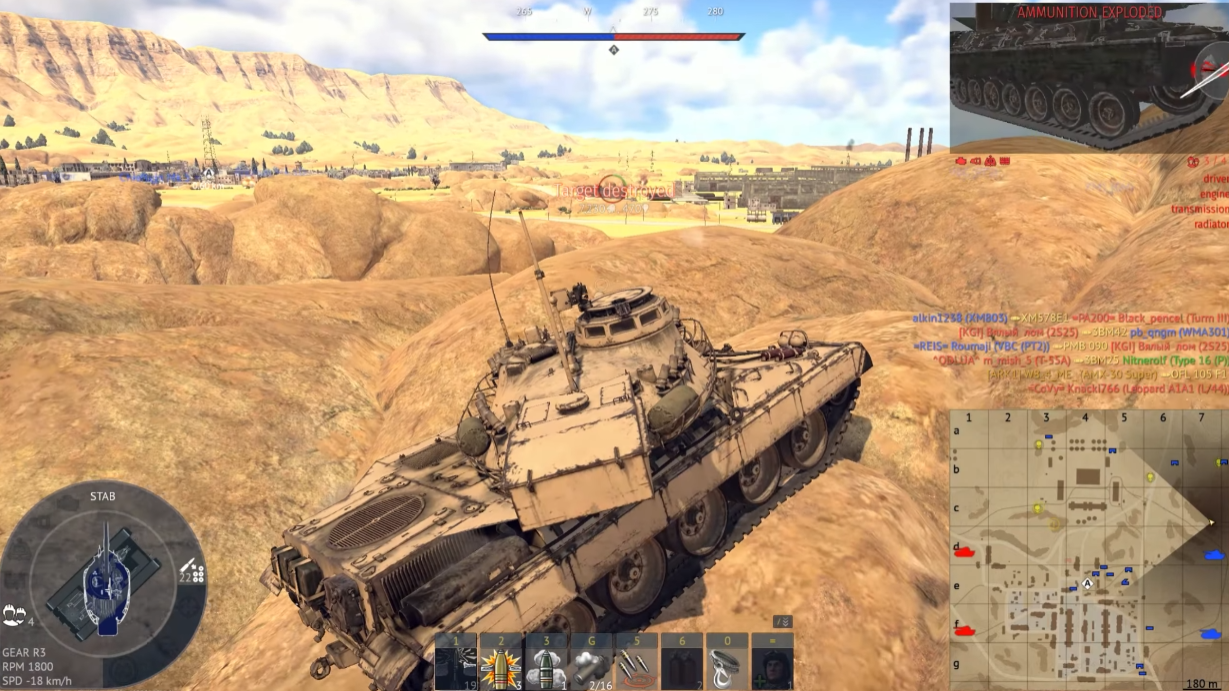
A very nice spawn peek covering the road that runs from the enemy spawn to the A point. That road is the enemy team's main artery early on — most of their A-side push flows down it — and this position puts your gun directly on the traffic. Vehicles on the road are moving predictably and watching the objective, not your angle, so the first several engagements are heavily in your favor. Set up as early as possible to catch the opening wave, prioritize the dangerous vehicles first, and expect the road to stay productive in waves as respawns keep feeding down it.

Tactical position on MiddleEast
Map overviewclick to expand

A full view of the road plus a flanking angle onto A — two jobs from one position. The road view lets you interdict traffic moving along the main lane, while the flank on A means you can punish anyone contesting the point from a direction they are not defending. The honest weakness: cover here is limited. You are relying on range and the enemy's attention being elsewhere rather than on hard protection, so this is a position for deliberate players. Take your shots in short exposures, avoid duels you did not start, and relocate once the enemy starts answering back with accuracy.

Tactical position on MiddleEast
Map overviewclick to expand

This is where you flank the road. The position sits off the shoulder of the main lane with a sniping angle along it, so instead of meeting the road traffic head-on you are shooting into its flank — side armor, tracks, and engine decks instead of frontal plates. Road users almost never scan this angle; their threats have always come from ahead. Set up, let the traffic flow into your sightline, and work methodically from the closest threat outward. When the road learns to fear this spot, its users start taking worse routes, which is a victory in itself.

SniperFlank
Tactical position on MiddleEast
Map overviewclick to expand

If you are careful enough, this works as a long sightline onto the players coming out of the bottom spawn, and it also lets you kill anyone rushing for B. It is extremely effective against inexperienced premium-vehicle players, who drive the same lines every match and never scan for this angle. The important qualifier: you need some team cover on your right to be properly effective — alone, that side is your blind spot and a flanker will eventually exploit it. Hold the position as part of a line rather than a solo adventure, take the spawn-exit and B-rush shots as they appear, and let your right-side teammates worry about the rest.

SniperDefensive
Tactical position on MiddleEast
Map overviewclick to expand

A good spot for sniping the enemies who peek in and out around B. Use third-person camera over your cover to find targets first, then expose only for the shot — the position covers the first sightline onto B and one of the routes to B from spawn, so there is steady peeking traffic to punish. The vehicle requirements are honest ones: good reverse speed to drop back behind cover after each shot, and preferably solid armor for the times your timing is off. Play the peek-duel patiently, let your camera do the scouting, and win the exchanges by exposing second, not first.

Danger ZoneDefensive
Tactical position on MiddleEast
Map overviewclick to expand

A great sniper position against players trying to flank your spawn — the angle covers exactly the approach the flankers use, with cover to fight from, so you become the wall they were not expecting. What makes the spot flexible is the fallback: back up a little and the same position covers the A point instead, letting you switch between counter-flank duty and objective defense as the match demands. Watch the flank early when the enemy light tanks are most adventurous, then lean toward A-coverage as the game settles. One tank playing this spot well quietly protects an entire side of the map.

SniperObjectiveDefensiveCover

Strategic Routes · 3 approved

Map overviewclick to expand
Wide Flank

An early flanking route — designed to be driven in the first minute of the match, before the enemy team has established its positions. The line swings you around the initial rush while everyone is still sorting themselves out, and delivers you onto an angle where the opening wave shows you its sides. Timing is everything: run it immediately off spawn, because the same path five minutes later crosses ground the enemy has learned to watch. Fast vehicles get the most from it, but anything mobile enough to arrive before the enemy settles will find targets waiting.

Map overviewclick to expand
Wide Flank

Good for flanking the enemies who rush the top capture point. Their route out of spawn toward the objective crosses this angle side-on, and the rushers are the ideal victims — they are committed, moving fast in straight lines, and watching the cap instead of their flanks. Position yourself along the line, let the wave commit, and work through it; a good run here is worth a solid three to five kills. The traffic renews with every respawn wave as long as that point stays contested, so after each harvest, drop back into cover and wait for the next batch to feed through.

Map overviewclick to expand
Wide Flank

An early flank that ends with shots into the enemy spawn while you sit in a fair amount of cover — a rare combination, and why this route is worth learning. Two warnings come with it. First, watch for rats and for players specifically covering this flank; the angle is good enough that experienced enemies sometimes pre-position against it. Second, the approach itself is not free — you can get shot on the way in, so drive the covered stretches properly instead of straight-lining. If you arrive intact, the spawn shots from cover pay for the trouble several times over.

See it on the map

Open MiddleEast in the RATLINE tool to view pins, draw routes, and contribute your own intel.

Open RATLINE → All Guides