Tactical Positions · 3 approved

Tactical position on MaginotLine
Map overviewclick to expand

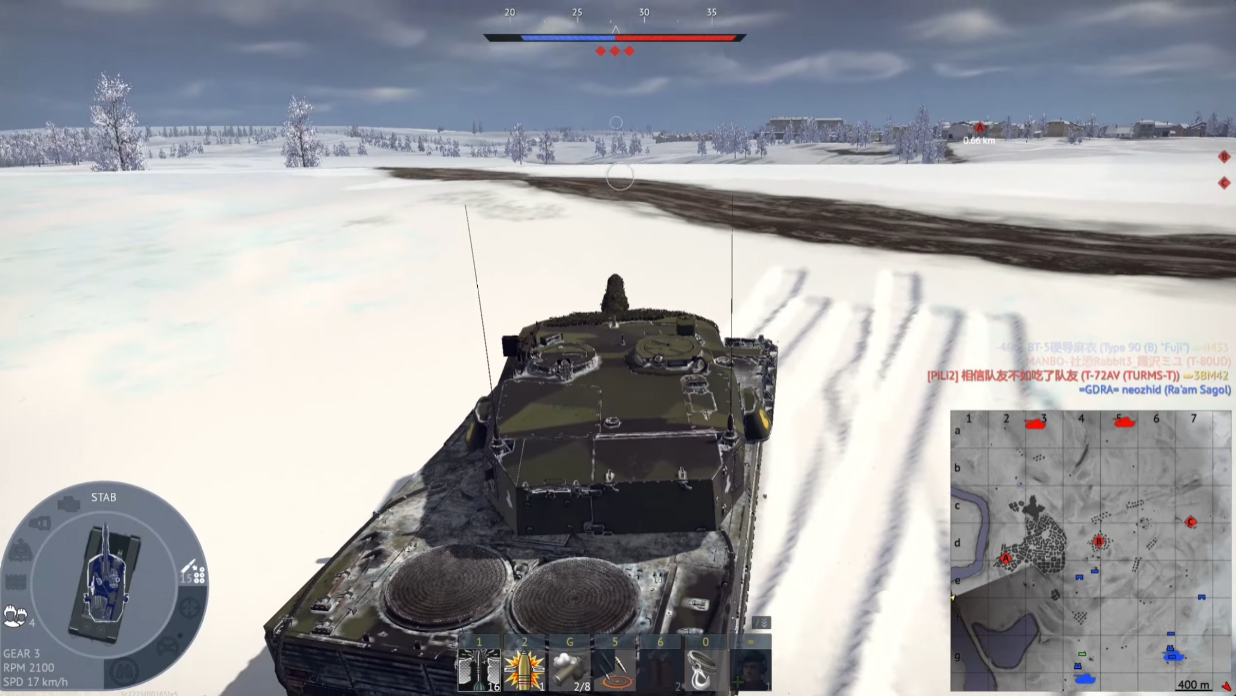
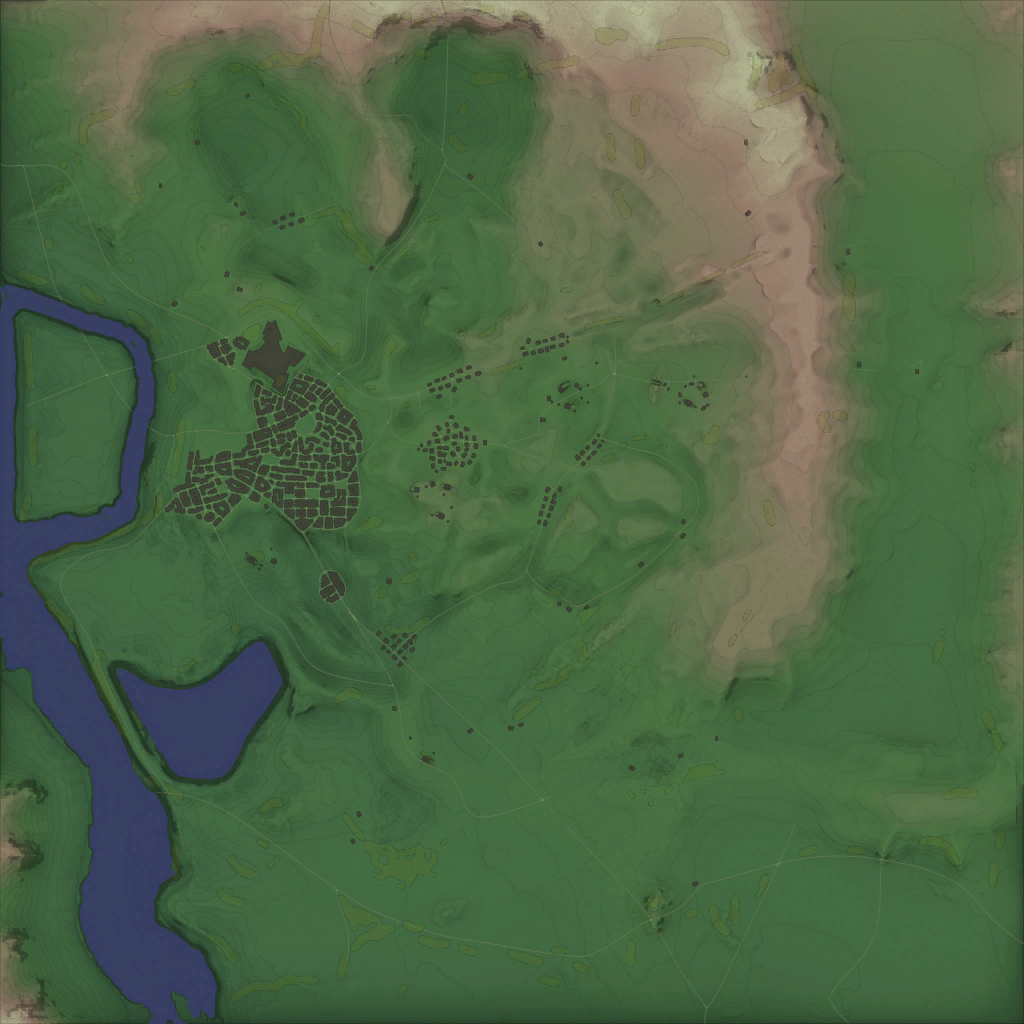
A very cheeky position — and the entire point is how hard it is for them to spot you here. The spot tucks you into an angle that simply does not read as a threat from the enemy's perspective; their eyes slide past it toward the obvious cover. That invisibility is your ammunition: targets wander through your sightline unaware, and even after you fire, most of them look in the wrong direction for the source. Settle in quietly, do not fidget or move when enemies scan past, and take your shots on targets that are committed elsewhere. Cheek only works while it stays subtle.
Tactical position on MaginotLine
Map overviewclick to expand

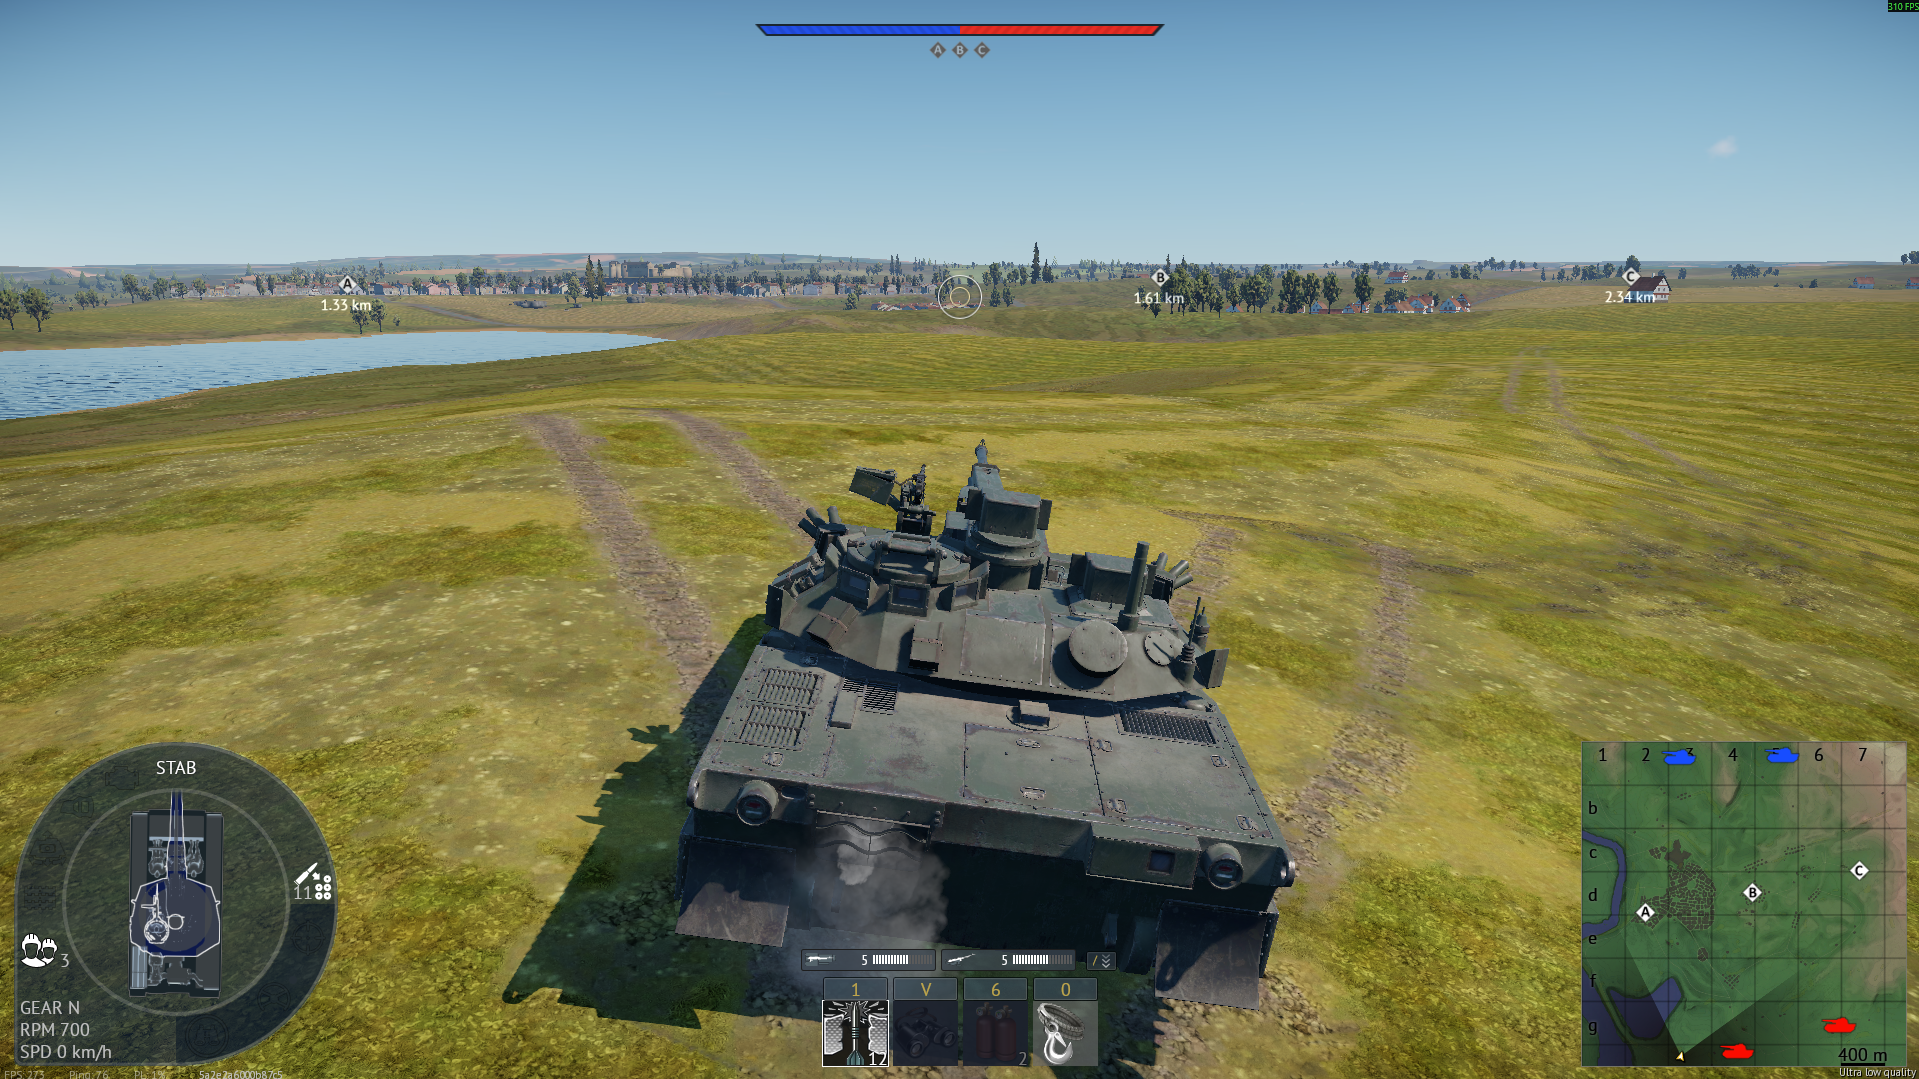
Sit here and wait — that is the discipline this spot demands. Your moment comes when the enemy team starts pushing out from the points: as they leave the objectives and cross the ground in front of you, you start sniping into their exposed sides and fronts. Firing too early wastes the position by warning them you exist; the value is in letting the push commit first. It is a counter-attack position rather than an early-game one, strongest in the mid-match when the enemy grows confident. Hold your fire, let them take the bait of open ground, then work through the wave.

Tactical position on MaginotLine
Map overviewclick to expand

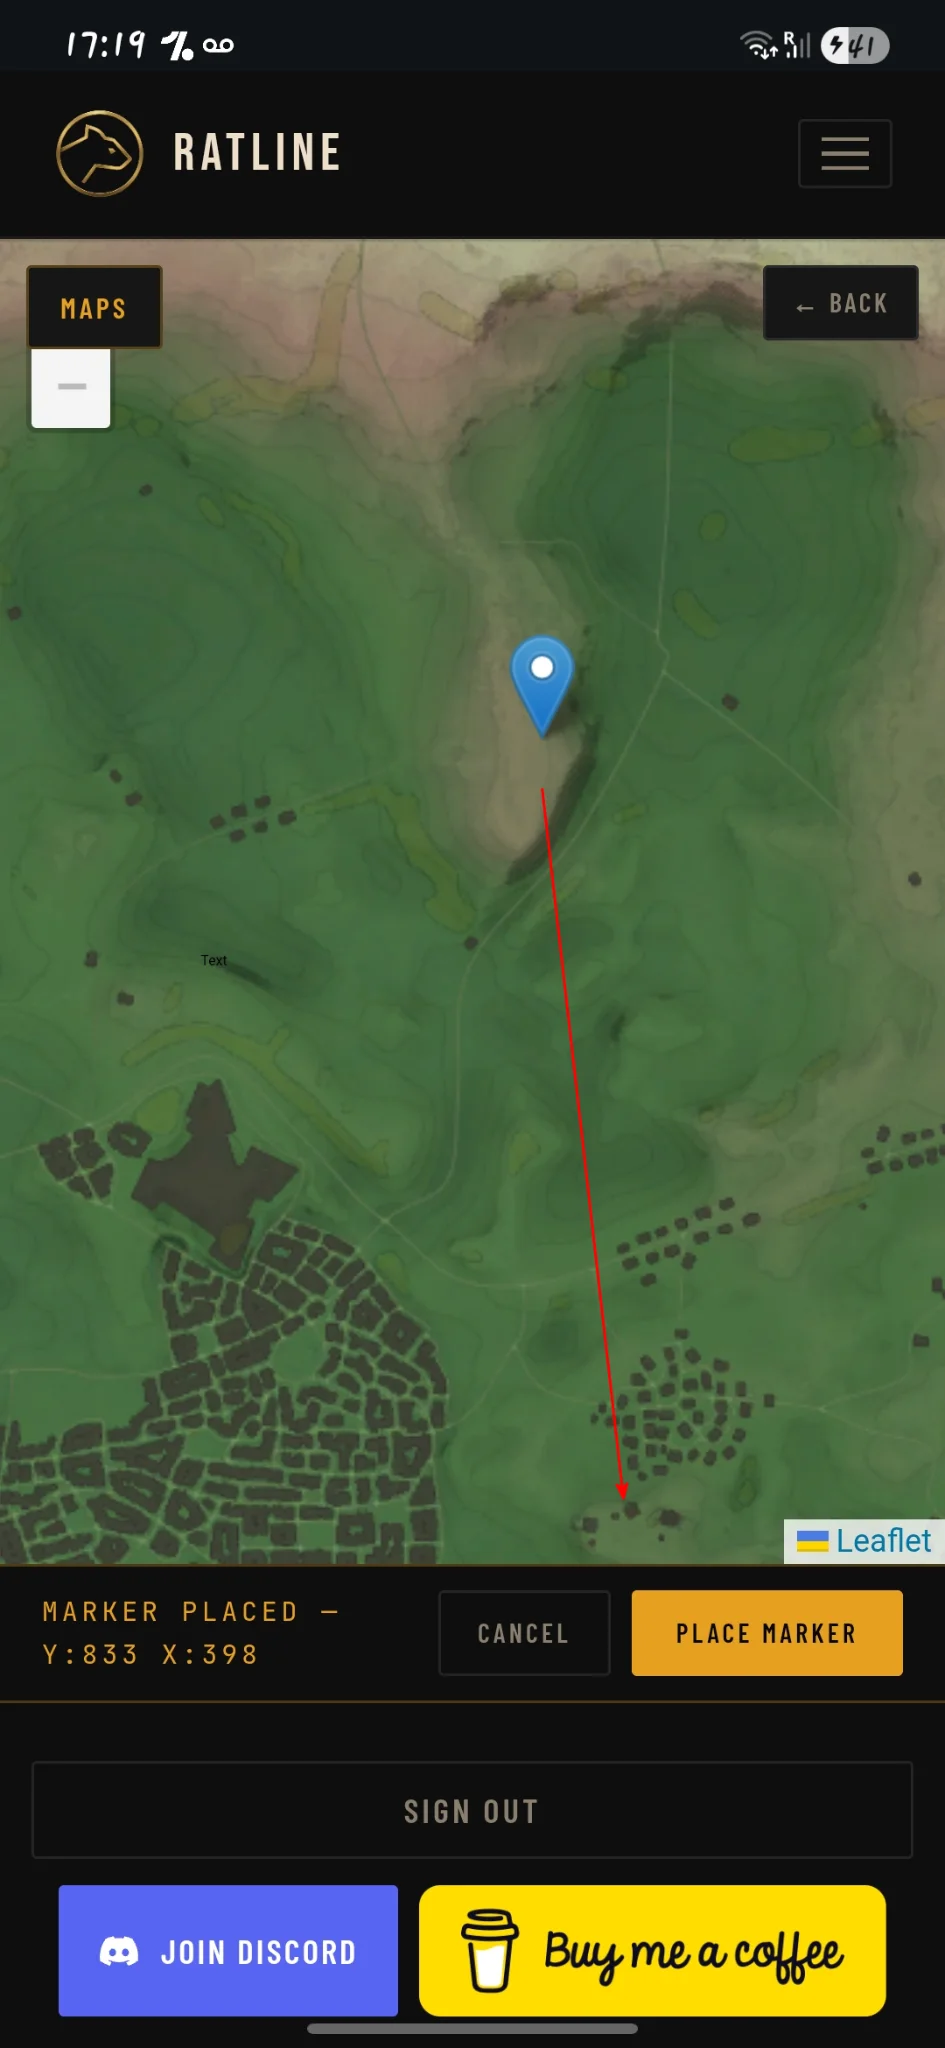
Go here to watch the players moving toward the bunkers near B. The high ground gives you a sniping window onto that approach, and bunker traffic is wonderfully predictable — everyone takes roughly the same line in, which means your gun is already waiting where they are going. It is marked as a danger spot for a reason: the elevation that gives you the view also silhouettes you to anyone deliberately scanning it. Take the bunker-lane shots as they come, stay off the skyline between them, and relocate after a few kills before someone dedicates themselves to removing you.

High GroundSniperDanger Zone

Strategic Routes · 1 approved

Map overviewclick to expand
Wide Flank

A flanking route with two strong positions built into it along the way. That structure is what makes it flexible: you are not committed to the full loop, because each of the two stops is a legitimate place to halt, fight, and generate value. Push to the first position and hold it if the traffic is good; if the lane is quiet, continue to the second for the deeper angle. On the full run you end up well around the enemy's side. Use the stops to re-assess — the route rewards players who read the match and choose the right depth rather than autopiloting to the end.

See it on the map

Open MaginotLine in the RATLINE tool to view pins, draw routes, and contribute your own intel.

Open RATLINE → All Guides