Tactical Positions · 2 approved

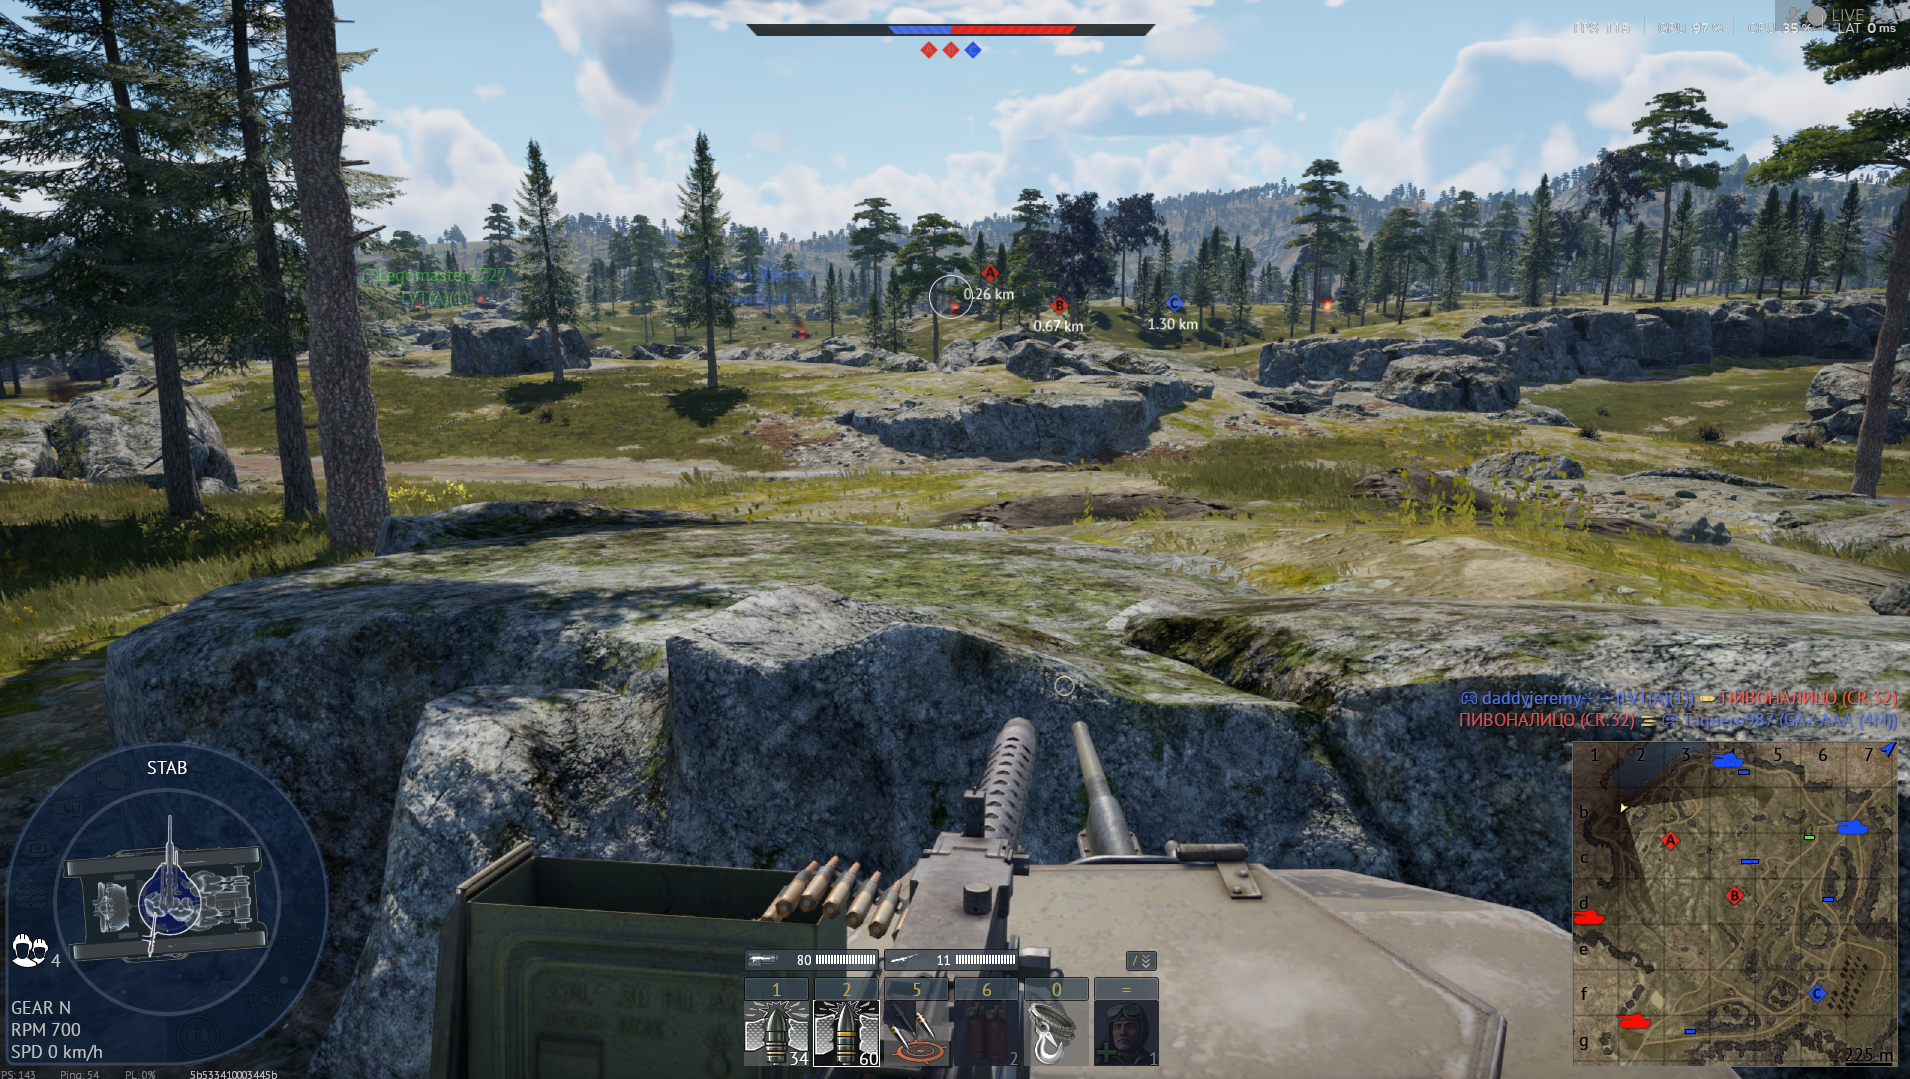
Tactical position on Kuban
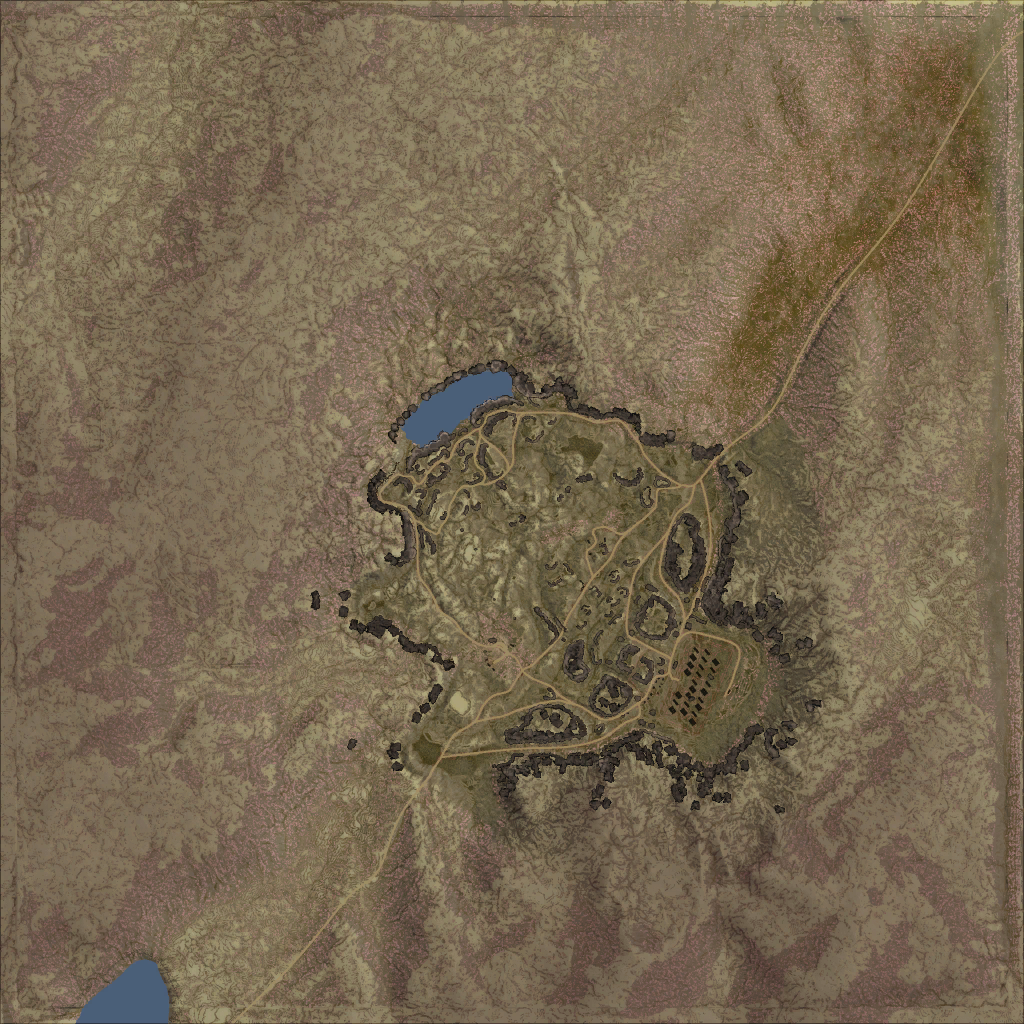
Map overviewclick to expand

A great sniping spot with long, productive sightlines over the surrounding area. The position gives you the range advantage: targets crossing your field of view are typically mid-rotation, focused on wherever they are going rather than on the horizon where you sit. Bring a vehicle with good optics and ballistics to make the most of the distance. Work the spot with standard sniper discipline — hull-down where the terrain allows, deliberate shots on the highest-value targets, and a small relocation after every couple of kills so counter-fire never quite catches up with you.
Tactical position on Kuban
Map overviewclick to expand

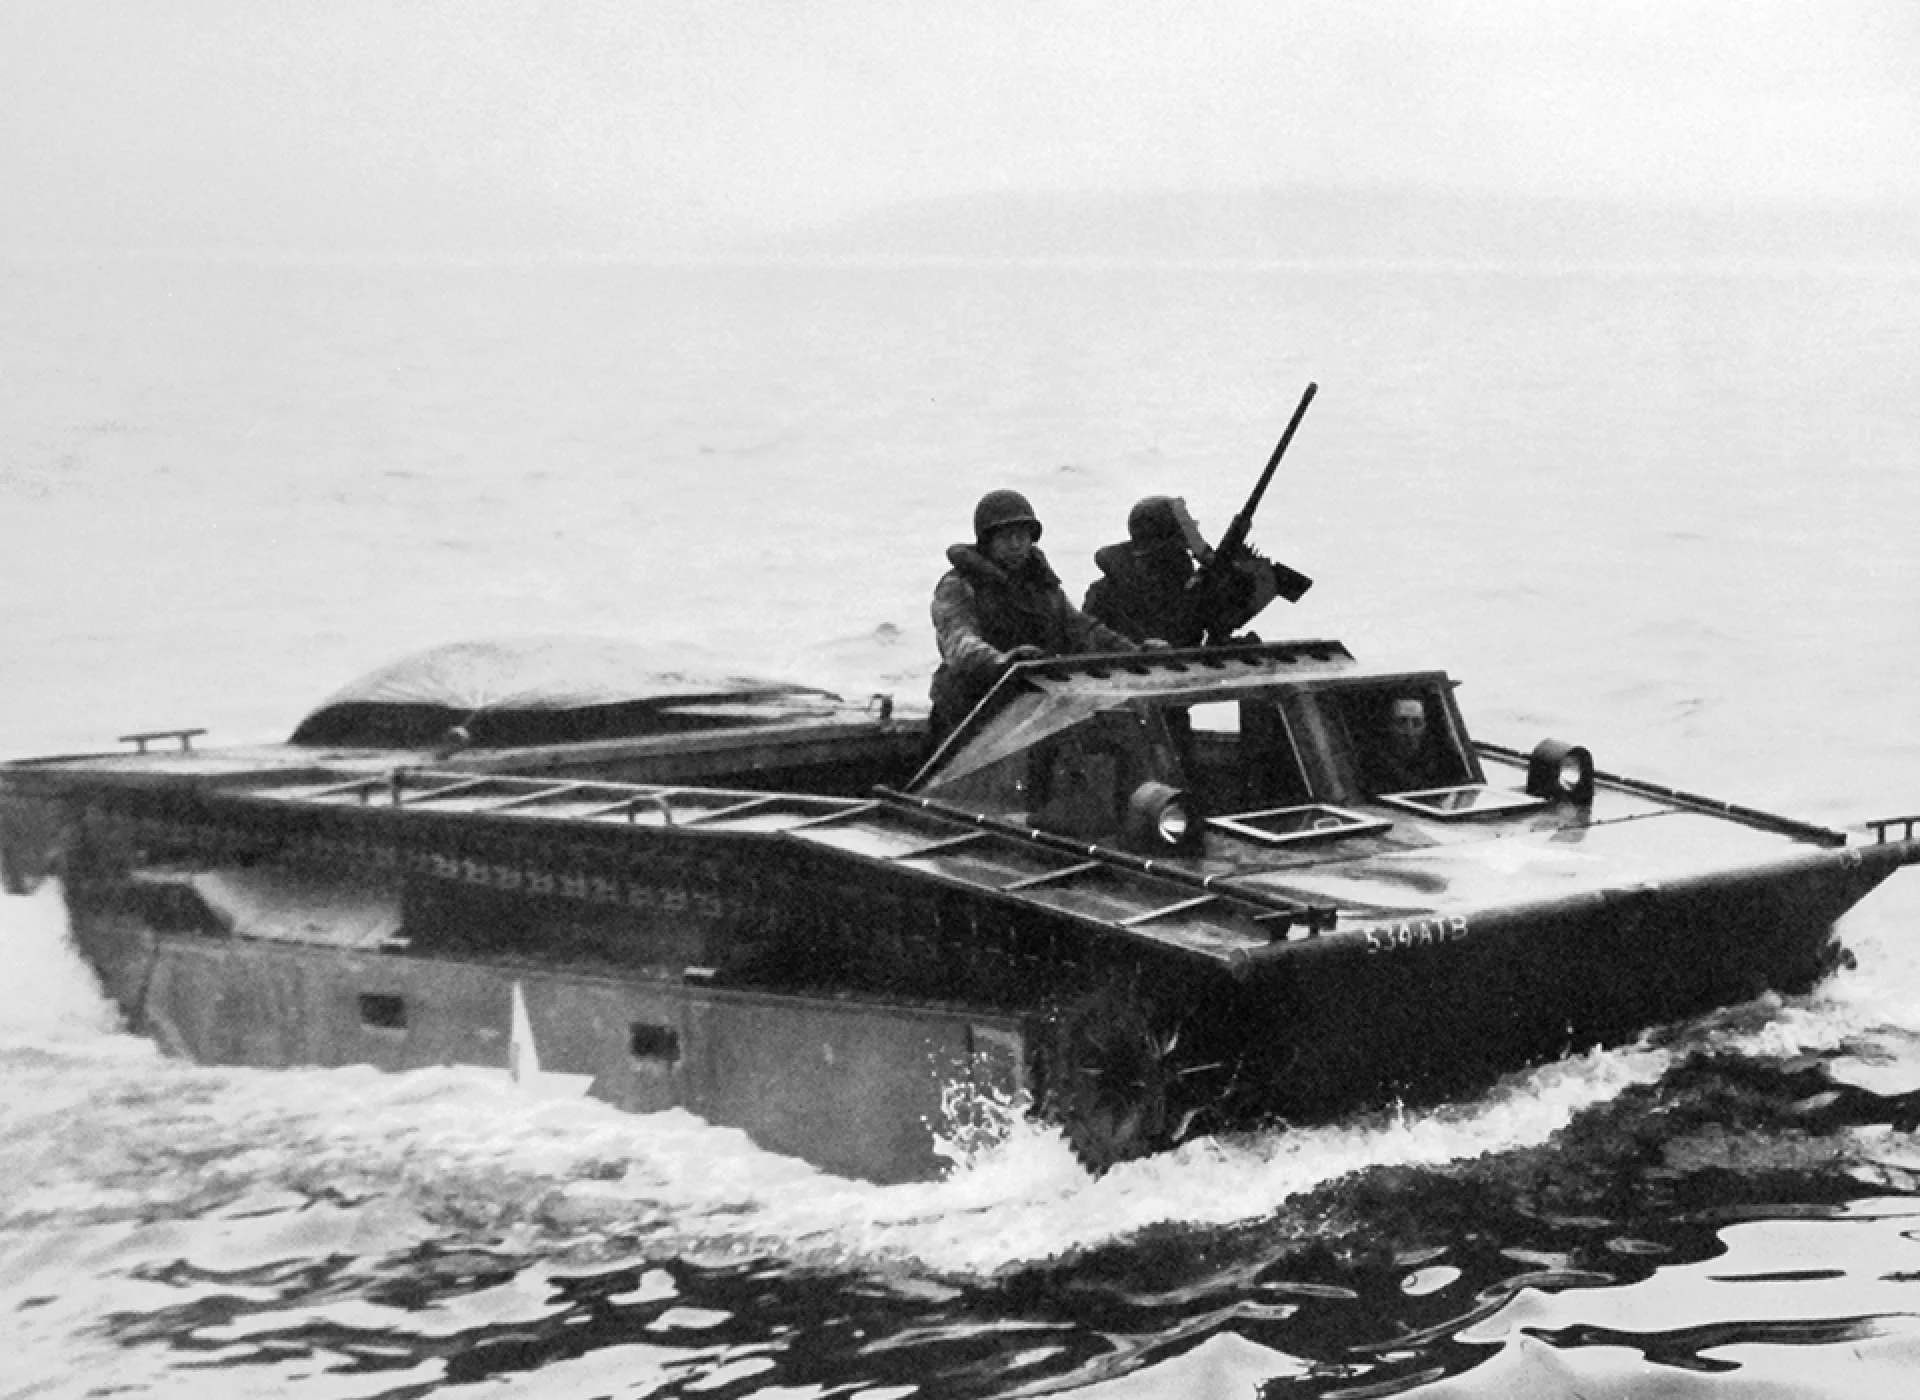
Not a strategic location — but very funny and deeply satisfying. The play: you have North spawn and an amphibious vehicle. Swim across the water behind the South team's lines, crawl out where no sane enemy is looking, and shoot three of them in the back before anyone processes what is happening. It contributes almost nothing to map control and everything to morale. The water crossing is slow and you are helpless during it, so commit only when the enemy is busy elsewhere. If you get caught mid-swim, you died doing something hilarious, which is its own reward.

Flank

Strategic Routes · 3 approved

Map overviewclick to expand
Wide FlankDirect Assault

This route is only for amphibious tanks — the line runs through water that everything else on the team simply cannot cross. That restriction is also the opportunity: because so few vehicles can take this path, nobody defends against it. If you are in something that swims, the route works as both a direct approach and a flank, arriving from water the enemy treats as a wall on their map. The swim itself is the vulnerable part — you are slow and exposed in the water — so time your crossing for when the enemy's attention is committed elsewhere, and exit the water into cover.

Map overviewclick to expand
Wide Flank

An amazing flank route with roughly a 75% success rate — and when it works, it works spectacularly: nine to eleven kills in a single run is the realistic ceiling. The path takes you wide around the enemy team into territory they abandon once the match settles into its lanes, arriving behind a force that is fully committed forward. From there it is a conveyor belt of engine decks and side armor. The 25% failure case is meeting someone else running the mirror flank, so take the first stretch alert rather than at full send. Once past the midpoint, commit completely — hesitation is the only thing that ruins the good runs.

Map overviewclick to expand
Direct Assault

Great overwatch on the routes enemies use to reach the capture points. The direct line up to this position is short, and from the top your gun covers the main approach lanes — meaning the enemy's objective players have to cross your sightline to do their jobs. This is interdiction rather than brawling: you are not contesting the points yourself, you are taxing every vehicle that tries to. Set up early so the first wave pays the toll, prioritize cappers and fast vehicles, and hold the angle as long as the traffic keeps coming. A patient gun here starves the enemy's caps all match.

See it on the map

Open Kuban in the RATLINE tool to view pins, draw routes, and contribute your own intel.

Open RATLINE → All Guides