Tactical Positions · 3 approved

Tactical position on Japan
Map overviewclick to expand

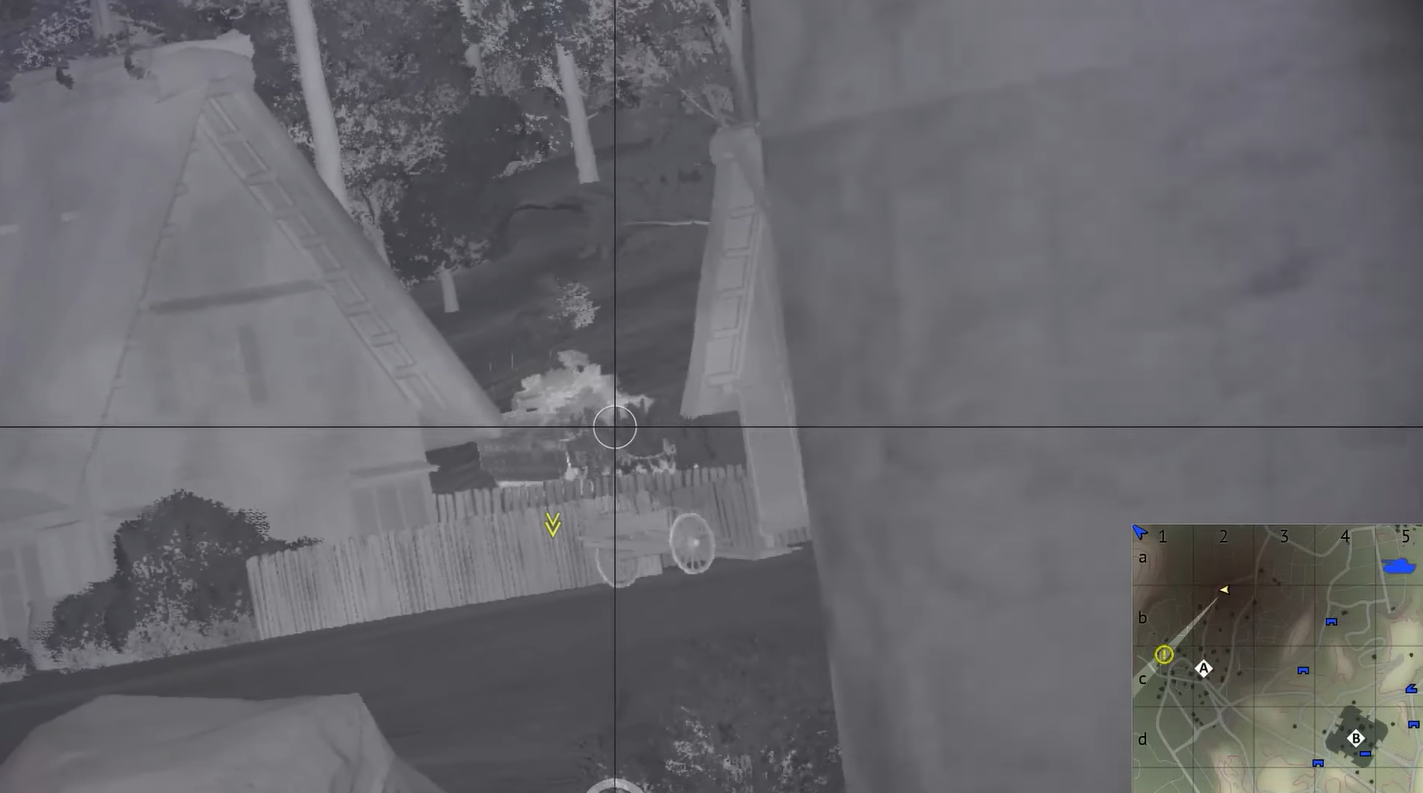
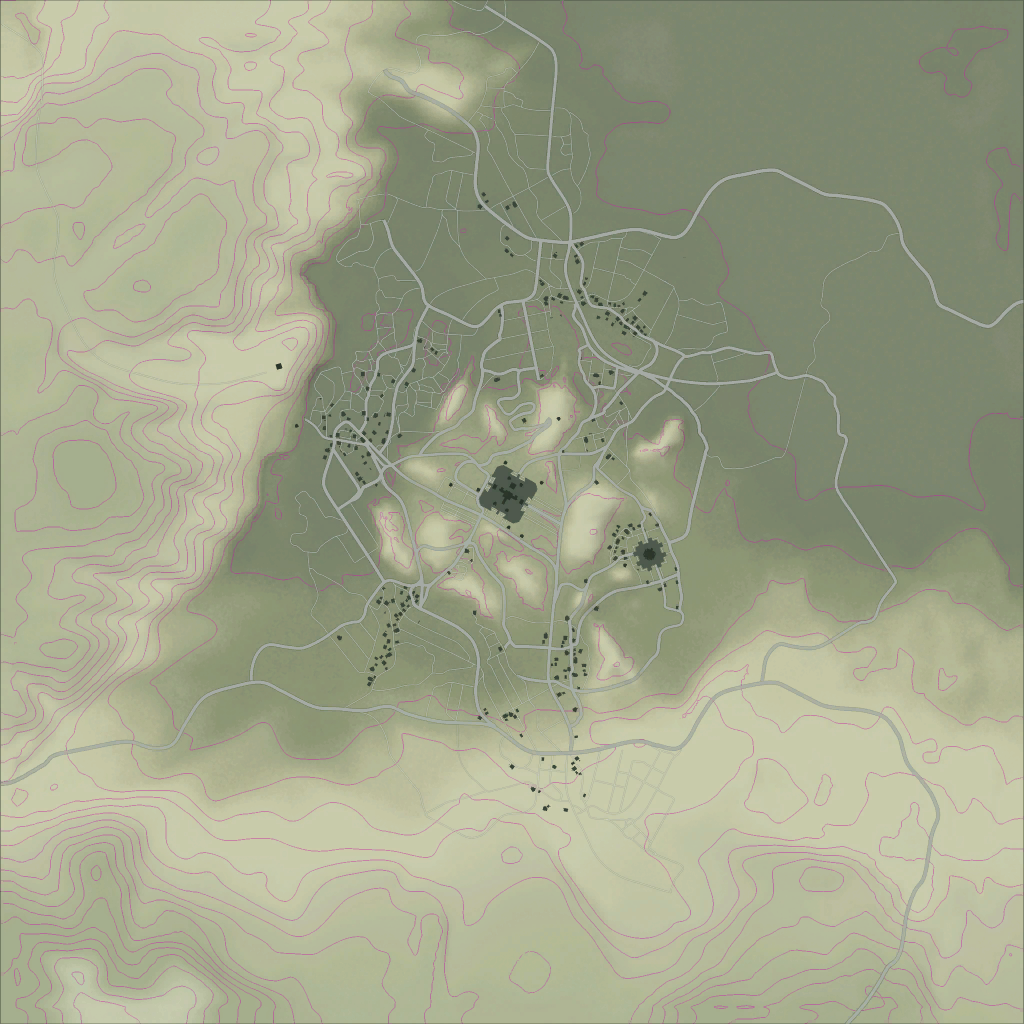
From behind the hill here you control two things at once: point A itself, and the passage enemies use to move toward point B. The hill is your armor — you sit behind it with only your turret working over the crest, while your gun covers both the objective and the transit lane. Anything that tries to cap A offers you a shot; anything that rotates toward B crosses your second sightline on the way. That dual coverage makes this one of the highest-value defensive positions on this side of the map. Hold it hull-down, service both lanes, and make the enemy pay for every rotation.
Tactical position on Japan
Map overviewclick to expand

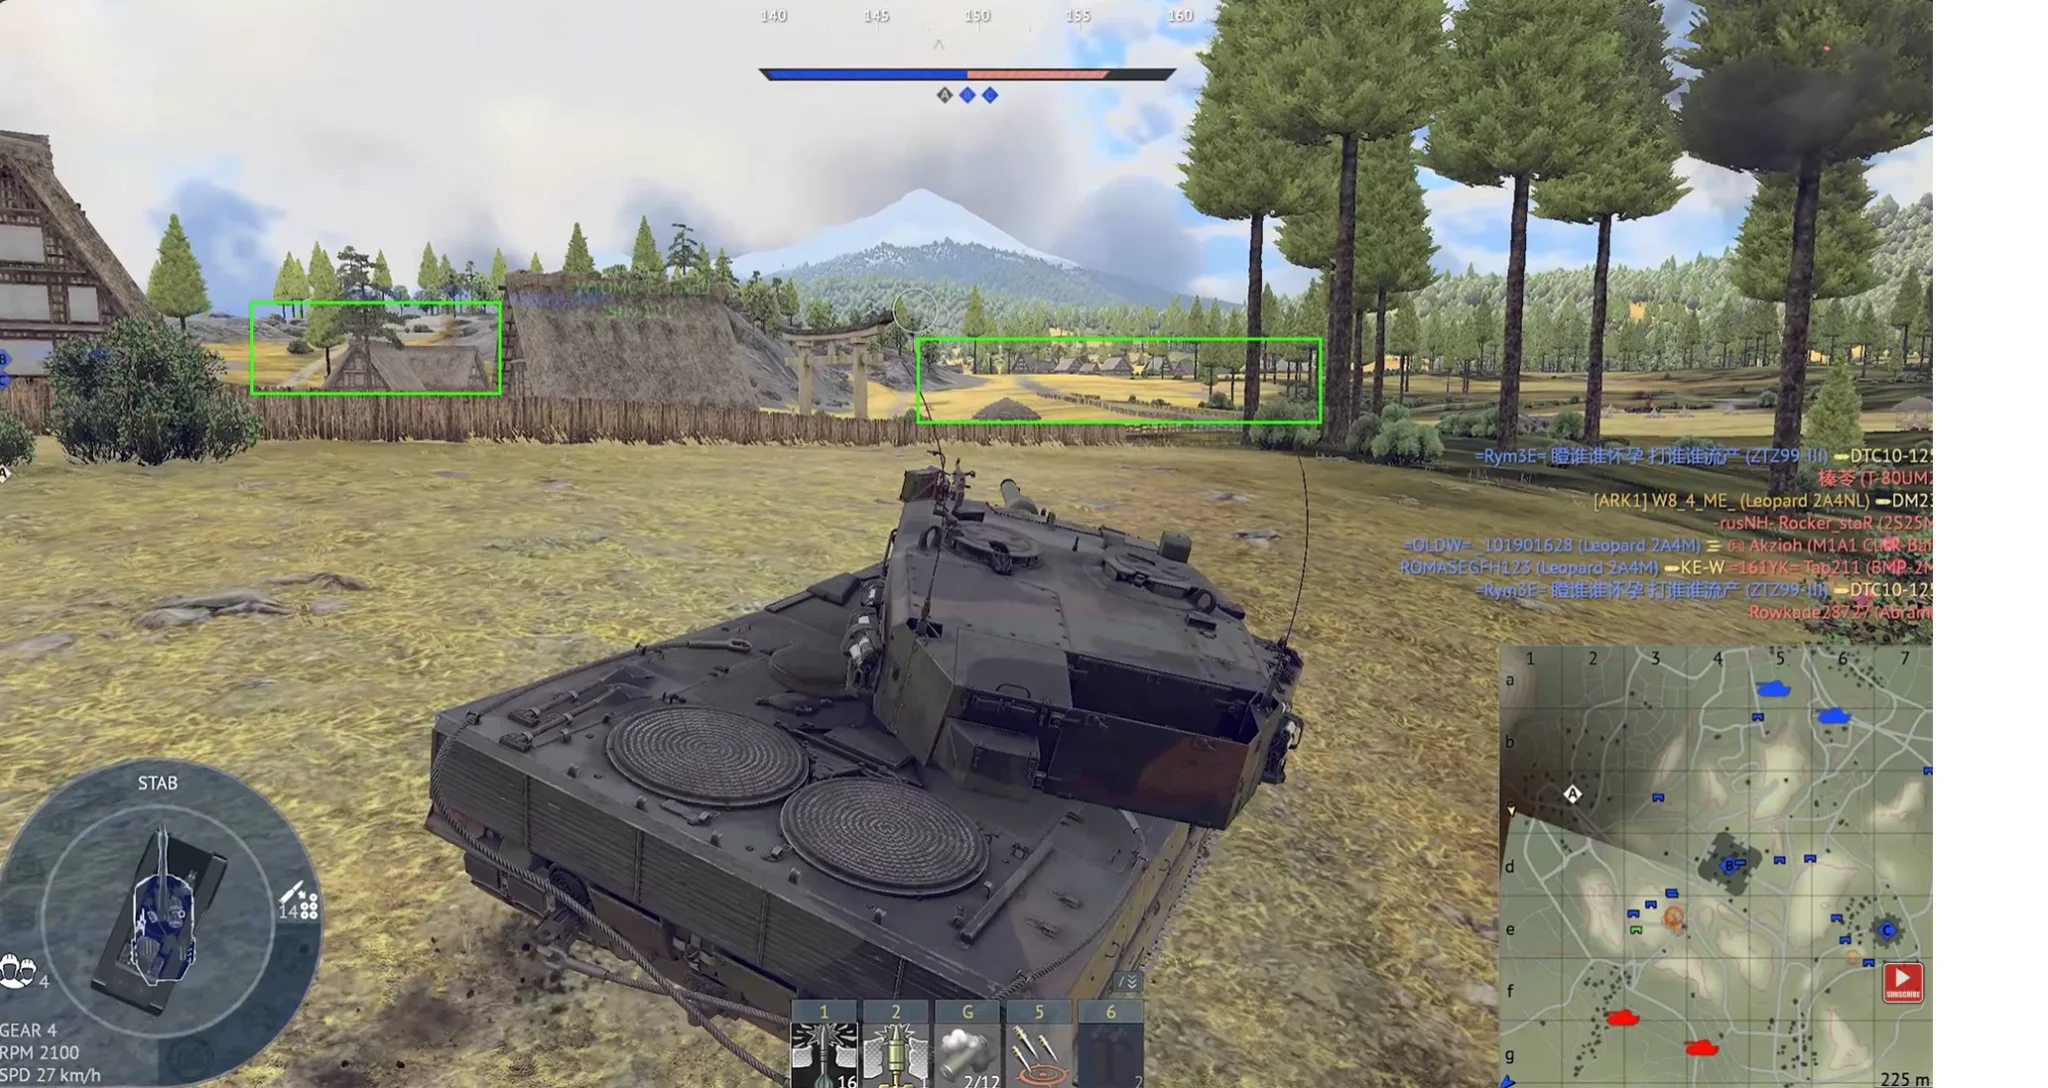
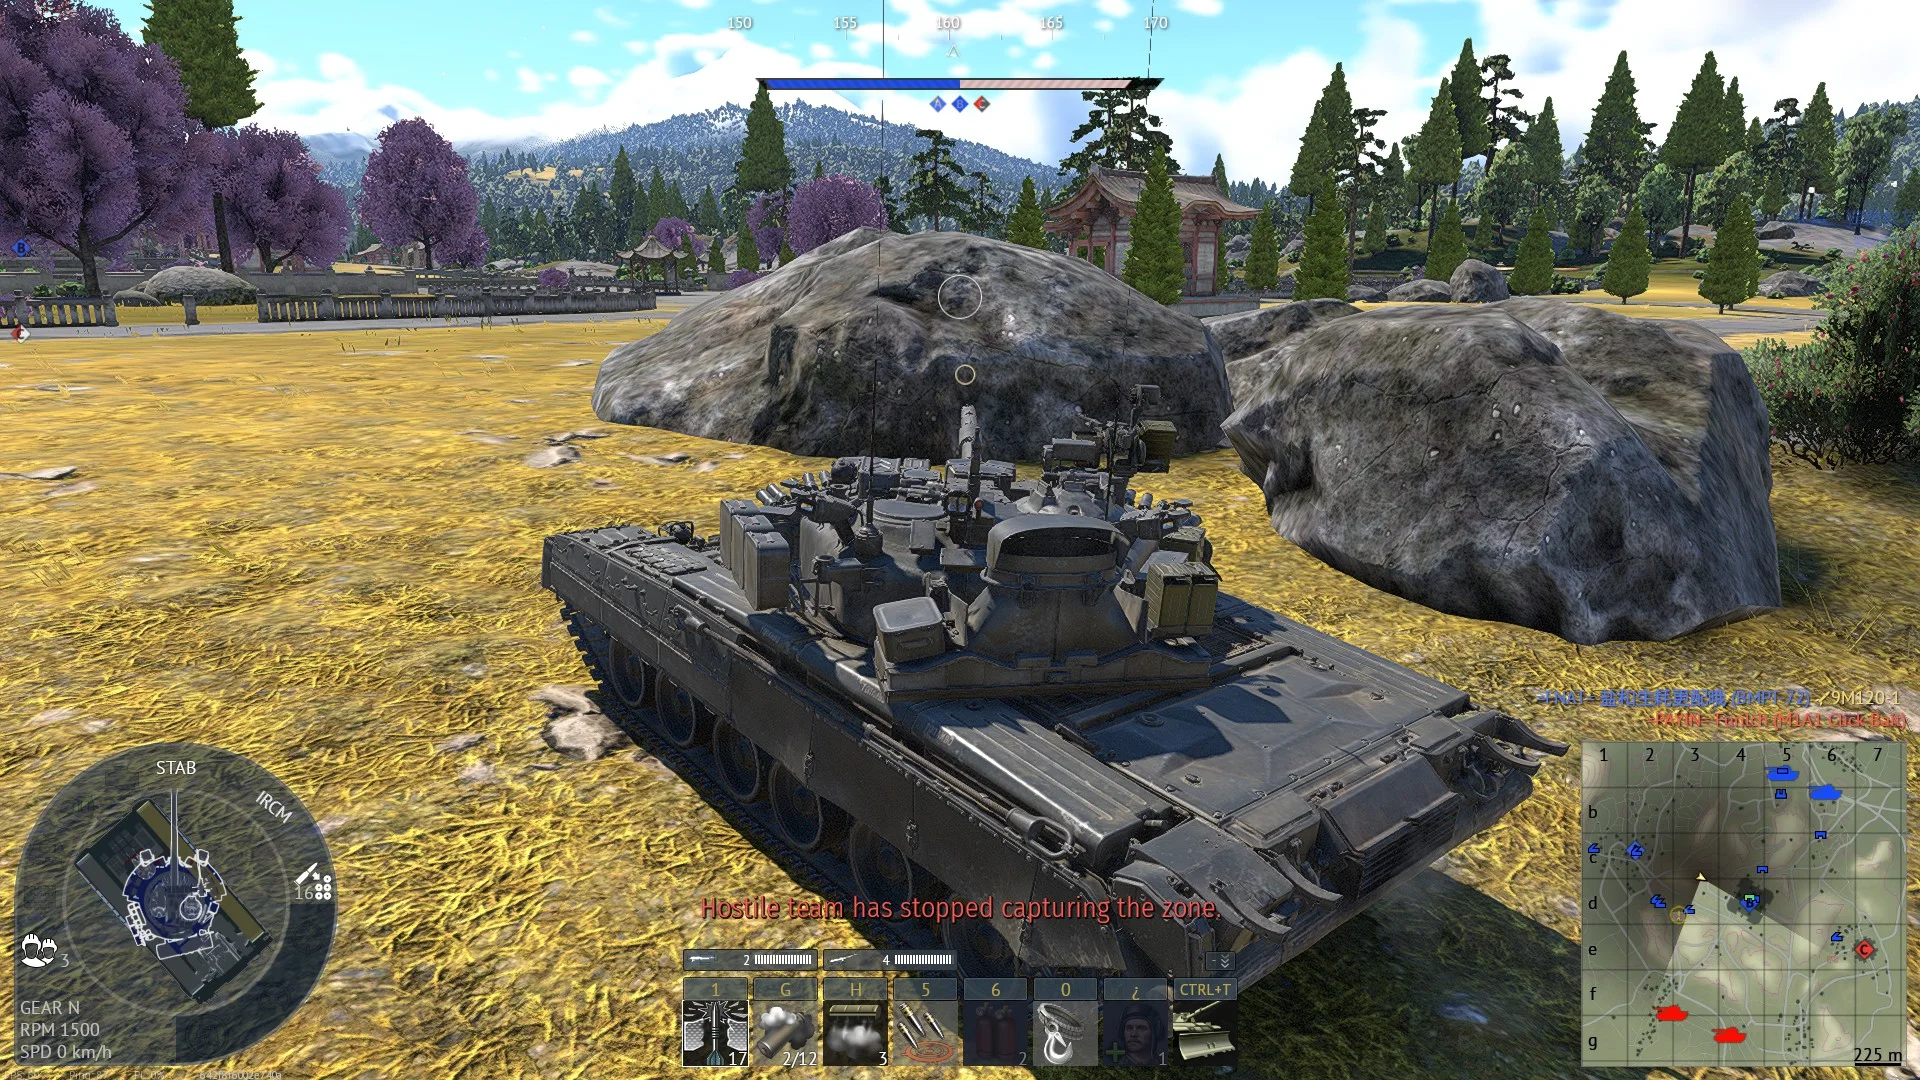
Move here one to two minutes after capturing A — the timing is the entire trick. Right after the cap, the enemy team organizes its counter-push, and this position sits on the angle where that counter-attack arrives. Arriving too early wastes time staring at empty ground; too late and the wave is already on top of your teammates. Hit the window and you catch the retake force mid-approach, exposed and focused on the point rather than on you. It is a spawn-peek flavored spot, so keep your profile low and treat it as an ambush posting: let the wave commit, then work through it from the flank.

Spawn PeakPush
Tactical position on Japan
Map overviewclick to expand

Posición para cubrir el centro del mapa. Desde aquí tienes línea de tiro sobre la zona central, que es por donde pasa buena parte del tráfico enemigo durante toda la partida — rotaciones entre puntos, empujes al objetivo y flanqueos improvisados terminan cruzando tu mira tarde o temprano. Juega la posición con paciencia: deja que el movimiento venga a ti, dispara sobre los blancos comprometidos que no pueden responderte, y usa el terreno para exponerte lo mínimo entre disparo y disparo. Si el enemigo empieza a buscarte, desplázate unos metros y sigue cubriendo el mismo sector desde otro ángulo.

Strategic Routes · 4 approved

Map overviewclick to expand
Protected CorridorDirect Assault

Standard route for Northwest spawn, protected route is key for controlling pushes/caps on A point, tanks with good and bad gun depression can utilize this route as a camping/sniping spot. Direct Route allows for a riskier push to control sniping enemies in grids F4 and F5 and lets you overlook west side of the B cap.

Map overviewclick to expand
Wide Flank

The flanking route for Northwest spawn, best driven in fast and/or low-profile vehicles — speed is key here. The line lets you snipe and scout the enemies working the corners of F4 and E4, catching them side-on while they duel your teammates. From the same run you get easy access to the A cap, so you can flip the point almost in passing. And if the flank goes cleanly, the route keeps going: there is a real option to push all the way to the Southwest spawn and end the match from behind their lines. Drive it quick, hit the F4/E4 angles, take A, then read the match — consolidate or go for the throat.

Map overviewclick to expand
Wide Flank

A spawn-camping flank, pure and simple. The route carries you around the active lanes and deposits you with guns on the enemy spawn area, where you farm vehicles as they roll out — catching them before they reach cover or awareness. Like every spawn-camp play, it lives on stealth during the approach: if you are spotted mid-route, the destination is compromised before you arrive, so drive it clean and quiet. Once set, take deliberate shots, prioritize anything that could shoot back, and keep one eye on your escape line. The spot is free until the enemy decides to fix it — leave before they do.

Map overviewclick to expand
Wide Flank

Nobody expects you to be there — that is the entire magic of this flank. The route puts you on an angle over the C point that simply does not exist in most players' mental map, so the defenders and cappers there never budget attention for it. The recommended tool is a tank with an autocannon, something like the 2S38: against targets that are static, distracted, and side-on, a fast-firing gun turns the position into a shredder, letting you chew through multiple vehicles before the first one finishes calling out your direction. Slip in quietly, open up on the C crowd, and relocate once the surprise is spent.

See it on the map

Open Japan in the RATLINE tool to view pins, draw routes, and contribute your own intel.

Open RATLINE → All Guides