Tactical Positions · 1 approved

Tactical position on IberianCastle
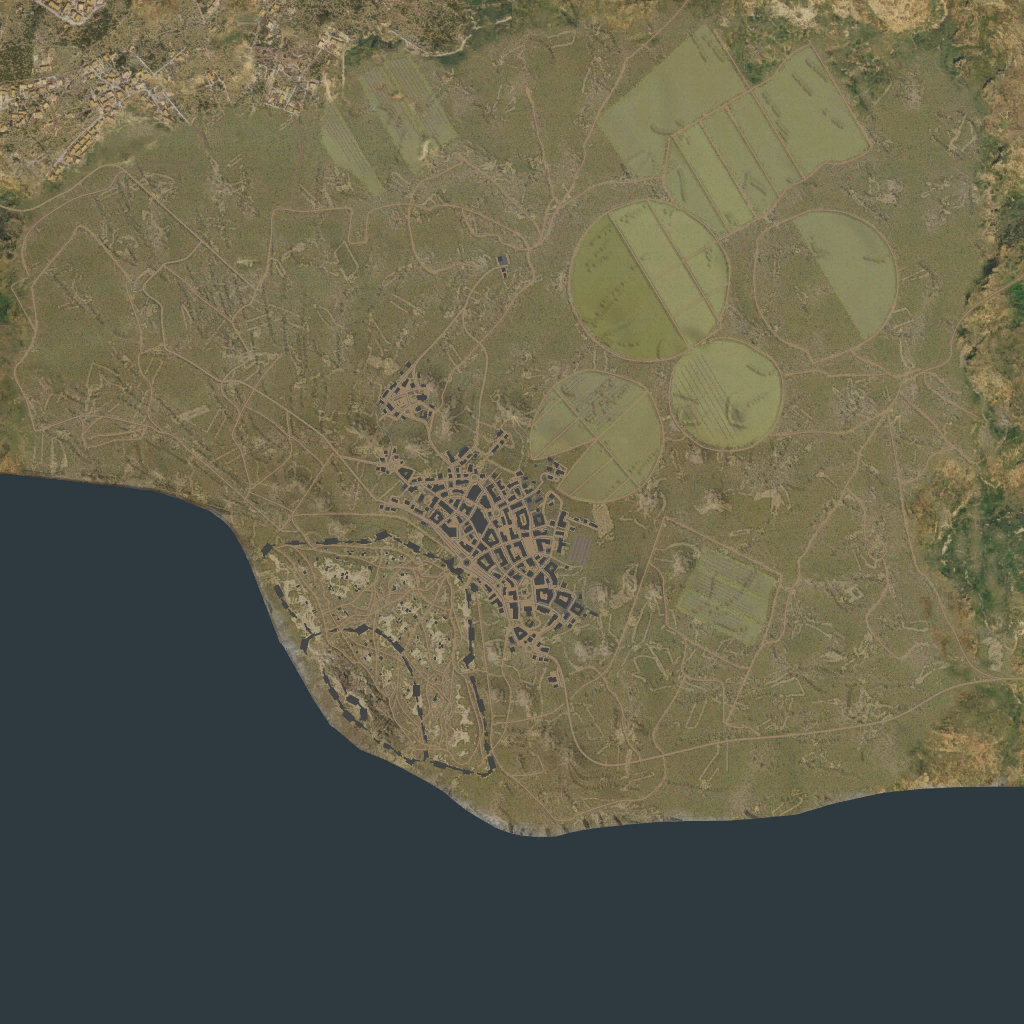
Map overviewclick to expand

Ten or more kills if you are here in the early game — that is not an exaggeration, it is what the position pays when you arrive on time. The spot combines a spawn-peek sightline with a flanking angle, catching the enemy team during their opening deployment when they are bunched, predictable, and blind to it. The window is the catch: the value front-loads into the first minutes, and the danger tag is earned once the enemy knows the angle exists. Rush it off spawn, work through the opening wave with quick, deliberate shots, and be prepared to fall back the moment the free kills stop — everything after that is on borrowed time.

FlankSpawn PeakSniperDanger Zone

Strategic Routes · 13 approved

Map overviewclick to expand
Direct Assault

The direct line to a position with a broad view over the C base. From the end of this route the whole point area opens up in front of you — the cap circle, its cover pieces, and the approaches enemies use to reach it. A view that wide means C traffic cannot operate without offering you shots, making this a natural overwatch posting for anyone supporting a C fight. The route in is straightforward, so claim it early before the enemy's own overwatch is established. Once set, service the point methodically: cappers first, then the support vehicles trying to dig you out.

Map overviewclick to expand
Direct Assault

From here you watch the lane running from the enemy base toward C — with a hill that lets you catch them mid-transit and duck away after each shot. The hill is the position's engine: peek, kill, hide, repeat, while the enemy traffic keeps feeding across your sightline. One specific tip from experience: stay more to the left side of the hill, where the view is noticeably better and the firing windows cleaner. Enemies commuting to C are watching the point ahead of them, not this angle, so your first shots in each cycle are usually free. Work the hill patiently and the lane becomes a toll road.

Map overviewclick to expand
Wide Flank

When you are worn down or ready to advance, this is the flank to use. The mission is specific: push the full length of the route to the rocks at its end, eliminating any enemies posted there, and take control of the hill. That hill is the prize — once it is yours, you have total control over the enemy spawn, with clean shots onto everything that respawns and tries to deploy. The route is the safer of the advancing options, keeping you covered for most of the drive. Clear the rocks carefully, since whoever holds them contests the hill, then settle in and lock the spawn down.

Map overviewclick to expand
Direct Assault

The direct route to a position with vision over A. It is a simple, fast line that ends with your gun covering the point — no clever geometry, just prompt arrival at a useful angle. Use it early when being the first set of eyes on A matters most: you see the cappers arrive before they see you, and your team gets warning of which direction the enemy is committing. As with any direct lane, the predictability is the tax; drive it with the known danger spots pre-aimed, and once in position, play the overwatch role rather than brawling for the circle itself.

Map overviewclick to expand
Direct Assault

This direct route sets you up with vision over A and, crucially, over the enemies coming to take it. The angle covers both the point and its enemy-side approach, meaning you engage attackers while they are still in transit — before they reach the cover around the circle and become a real problem. That makes this position an interceptor rather than a point defender: your job is to make sure the fight for A starts on your terms, several hundred meters before the enemy planned. Arrive early via the direct line, pre-aim the approach, and thin every wave before it touches the cap.

Map overviewclick to expand
Wide Flank

The second path for the same mission: advance to the rocks at the end of the route, clear out whoever holds them, and claim the hill for total control of the enemy spawn. This variant approaches the objective from a different angle than its sibling flank, which matters — if the enemy has learned to watch one approach, the other is usually still open, and a pair of teammates can run both simultaneously to guarantee the hill falls. The endgame is identical: from the hilltop, every enemy respawn deploys under your gun. Fight for the rocks deliberately; they are the only real obstacle on the way.

Map overviewclick to expand
Wide Flank

The direct version of the hill flank — riskier, but worth it. This line trades the safety of the wide approach for speed: you drive a more exposed path, deal with the enemy flank head-on, and reach the rocks and the hill sooner. The mission does not change — eliminate the enemy flankers you meet, take the rocks, control the hill — but the tempo does, and arriving early can mean claiming the hill before the enemy has anyone posted there at all. Take this option when you trust your vehicle in a straight fight and the clock matters; take the safer flank when it does not.

Map overviewclick to expand
Direct Assault

Go straight to the hill — this is the direct assault version of the play. Your duty on arrival is twofold: eliminate the enemy flank coming around from the right, and exchange fire with the vehicles trying to capture point A. The hill gives you the elevation to do both, but the right-side flankers are the priority; if they get around you, the position collapses from behind. It is an aggressive, contested posting rather than a quiet overwatch — expect to fight for it and on it. Bring armor or support, watch the right religiously, and the hill turns into the anchor of the whole A-side defense.

Map overviewclick to expand
Direct Assault

If you decide to advance, drive straight to this point — from there you hold full control over the main respawn areas of the enemy team. It is the end-game position: vehicles deploying from their spawns come out under your gun, and the match tilts hard once that starts. A direct route this deep is naturally a commitment; you are far from friendly support, and the enemy will eventually throw everything at removing you. Go when the enemy team is thinned and distracted, set up with whatever cover the position offers, and farm the respawns deliberately. Done at the right moment, this is how leads become stomps.

Map overviewclick to expand
Wide Flank

The safer option for the advance. Where the direct routes trade exposure for speed, this flank keeps terrain between you and the enemy's guns for most of the push, delivering you forward with far less drama. The cost is time — you arrive later than the aggressive lines — but you arrive intact, which matters more for slower or softer vehicles that cannot afford a mid-route duel. Use it when the enemy still has teeth, when you are the last vehicles your team can spare, or simply when patience is winning the match anyway. The advance ends in the same forward control; this line just guarantees you live to exercise it.

Map overviewclick to expand
Wide Flank

A fast way into the enemy spawn, and especially strong at lower battle ratings — five or more kills is a realistic haul. The route cuts quickly around the flank and drops you onto their spawn area while the match is still young; at low BR, where players scatter less and scan worse, the farm is even richer. Speed is the whole recipe: the quicker you complete the run, the more of the enemy team is still conveniently bunched near their deployment zone. Keep the throttle open the entire way, start shooting the moment targets appear, and remember that spawn campers who linger always die — take your five and go.

Map overviewclick to expand
Wide Flank

This route runs directly into their spawn and ends at a crazy sniping spot — mainly a lower-BR special, where five or more kills from it is routine. The line commits hard: you are driving into the enemy's home territory, but the payoff position gives you shots across their deployment area from an angle fresh spawns never check. At lower tiers the slower pace and worse awareness make the spot disproportionately powerful; at higher tiers, run it only when the enemy team is already reeling. Get set quickly, snipe the spawn traffic deliberately, and treat the first accurate return shot as your eviction notice.

Map overviewclick to expand
Wide Flank

From this route you control the early wave of players heading to the B point — and anyone else who happens to pass on your side of the wall. The line puts your gun across the opening B-rush at exactly the moment it is most crowded and least careful, letting you thin the wave before it ever reaches the objective. The wall traffic is the bonus: stragglers and flankers using that side cross the same sightline all match. It is a timing position first, so arrive fast enough to greet the opening push. After the first wave breaks, stay for the wall traffic or rotate — the early harvest is the guaranteed part.

See it on the map

Open IberianCastle in the RATLINE tool to view pins, draw routes, and contribute your own intel.

Open RATLINE → All Guides