Tactical Positions · 3 approved

Tactical position on GoldenQuarry
Map overviewclick to expand

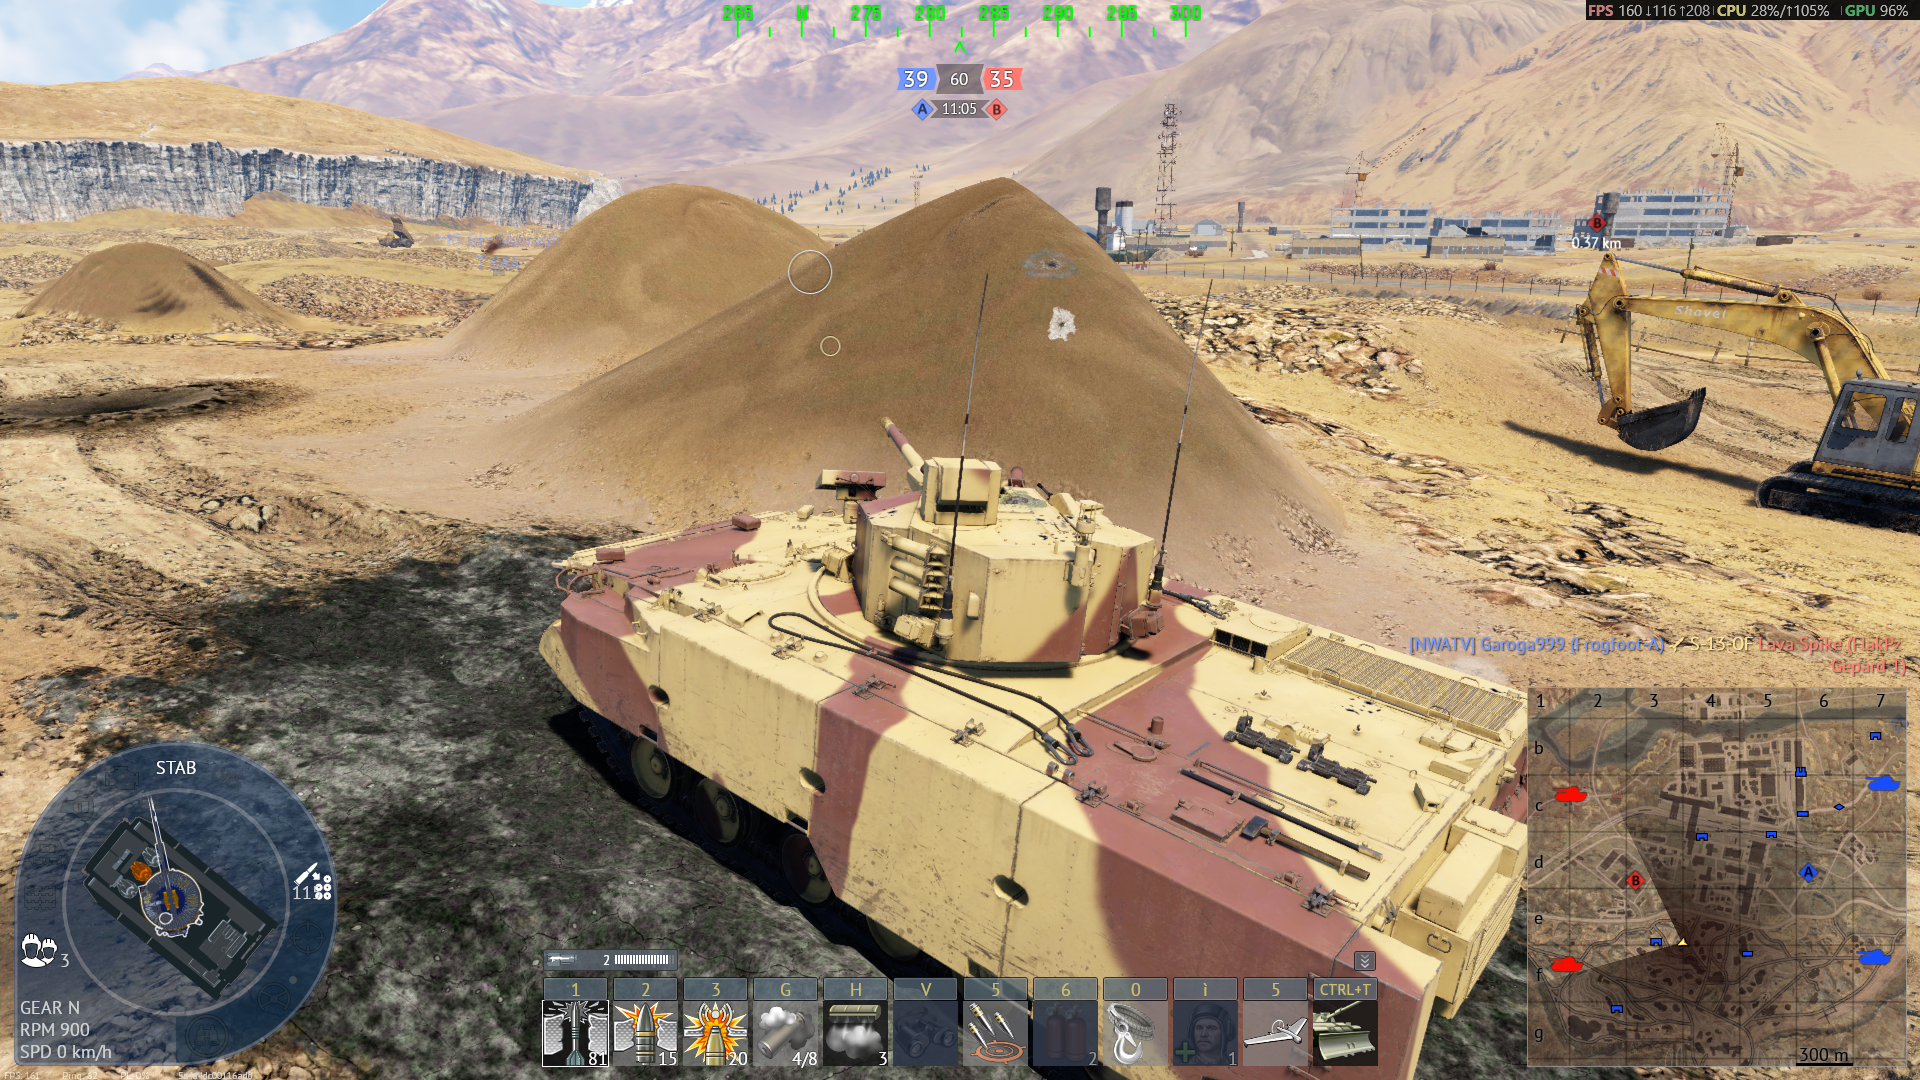
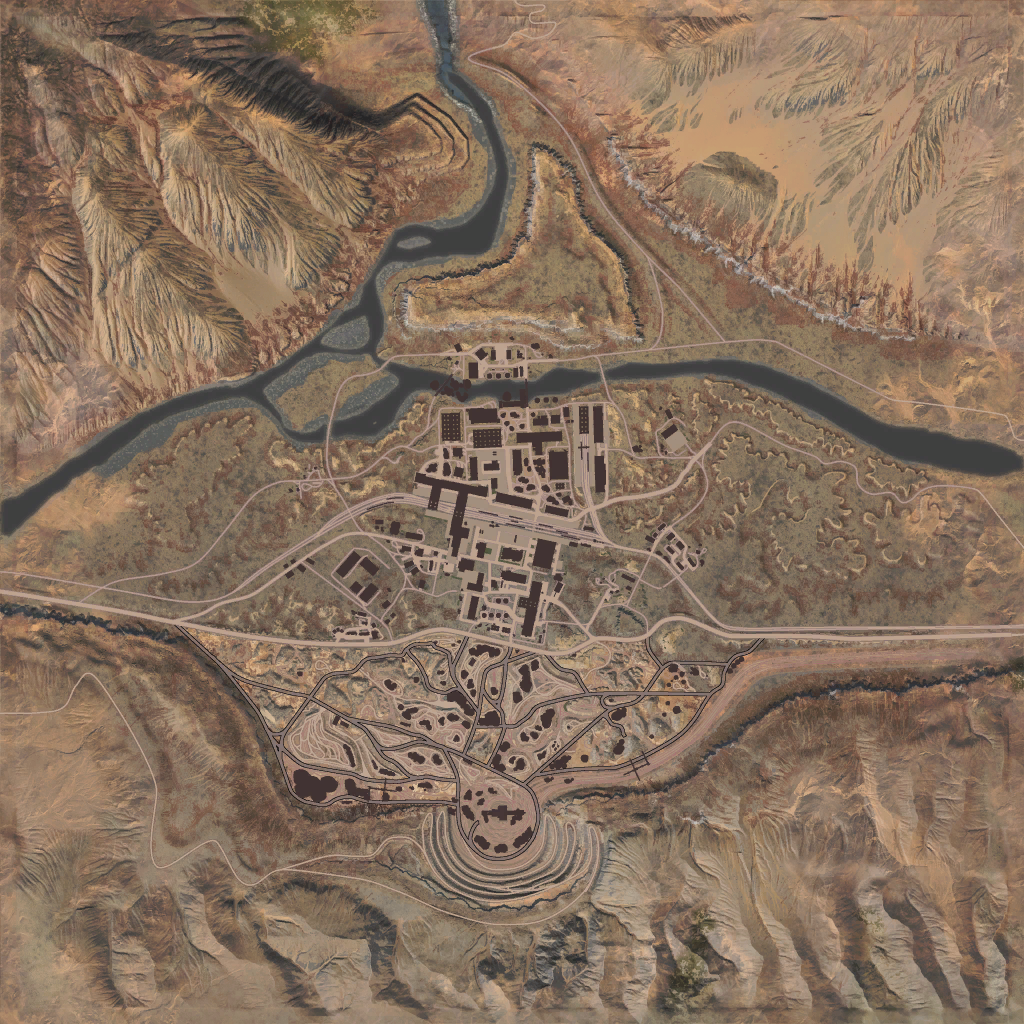
A nice spot with eyes on both enemy spawns at once — the lower spawn sits directly in front of you, and the upper one is off to your right. Dual spawn vision means the targets never stop coming: whichever side the enemy reinforces, you have an angle on their deployment. The terrain even grants you some protection from the right side, so the upper-spawn direction is not a free shot back at you. Play it like the overwatch position it is: hull-down, deliberate shots on the freshest targets, and a healthy respect for the fact that a spot watching two spawns will eventually have two spawns watching it.
Tactical position on GoldenQuarry
Map overviewclick to expand

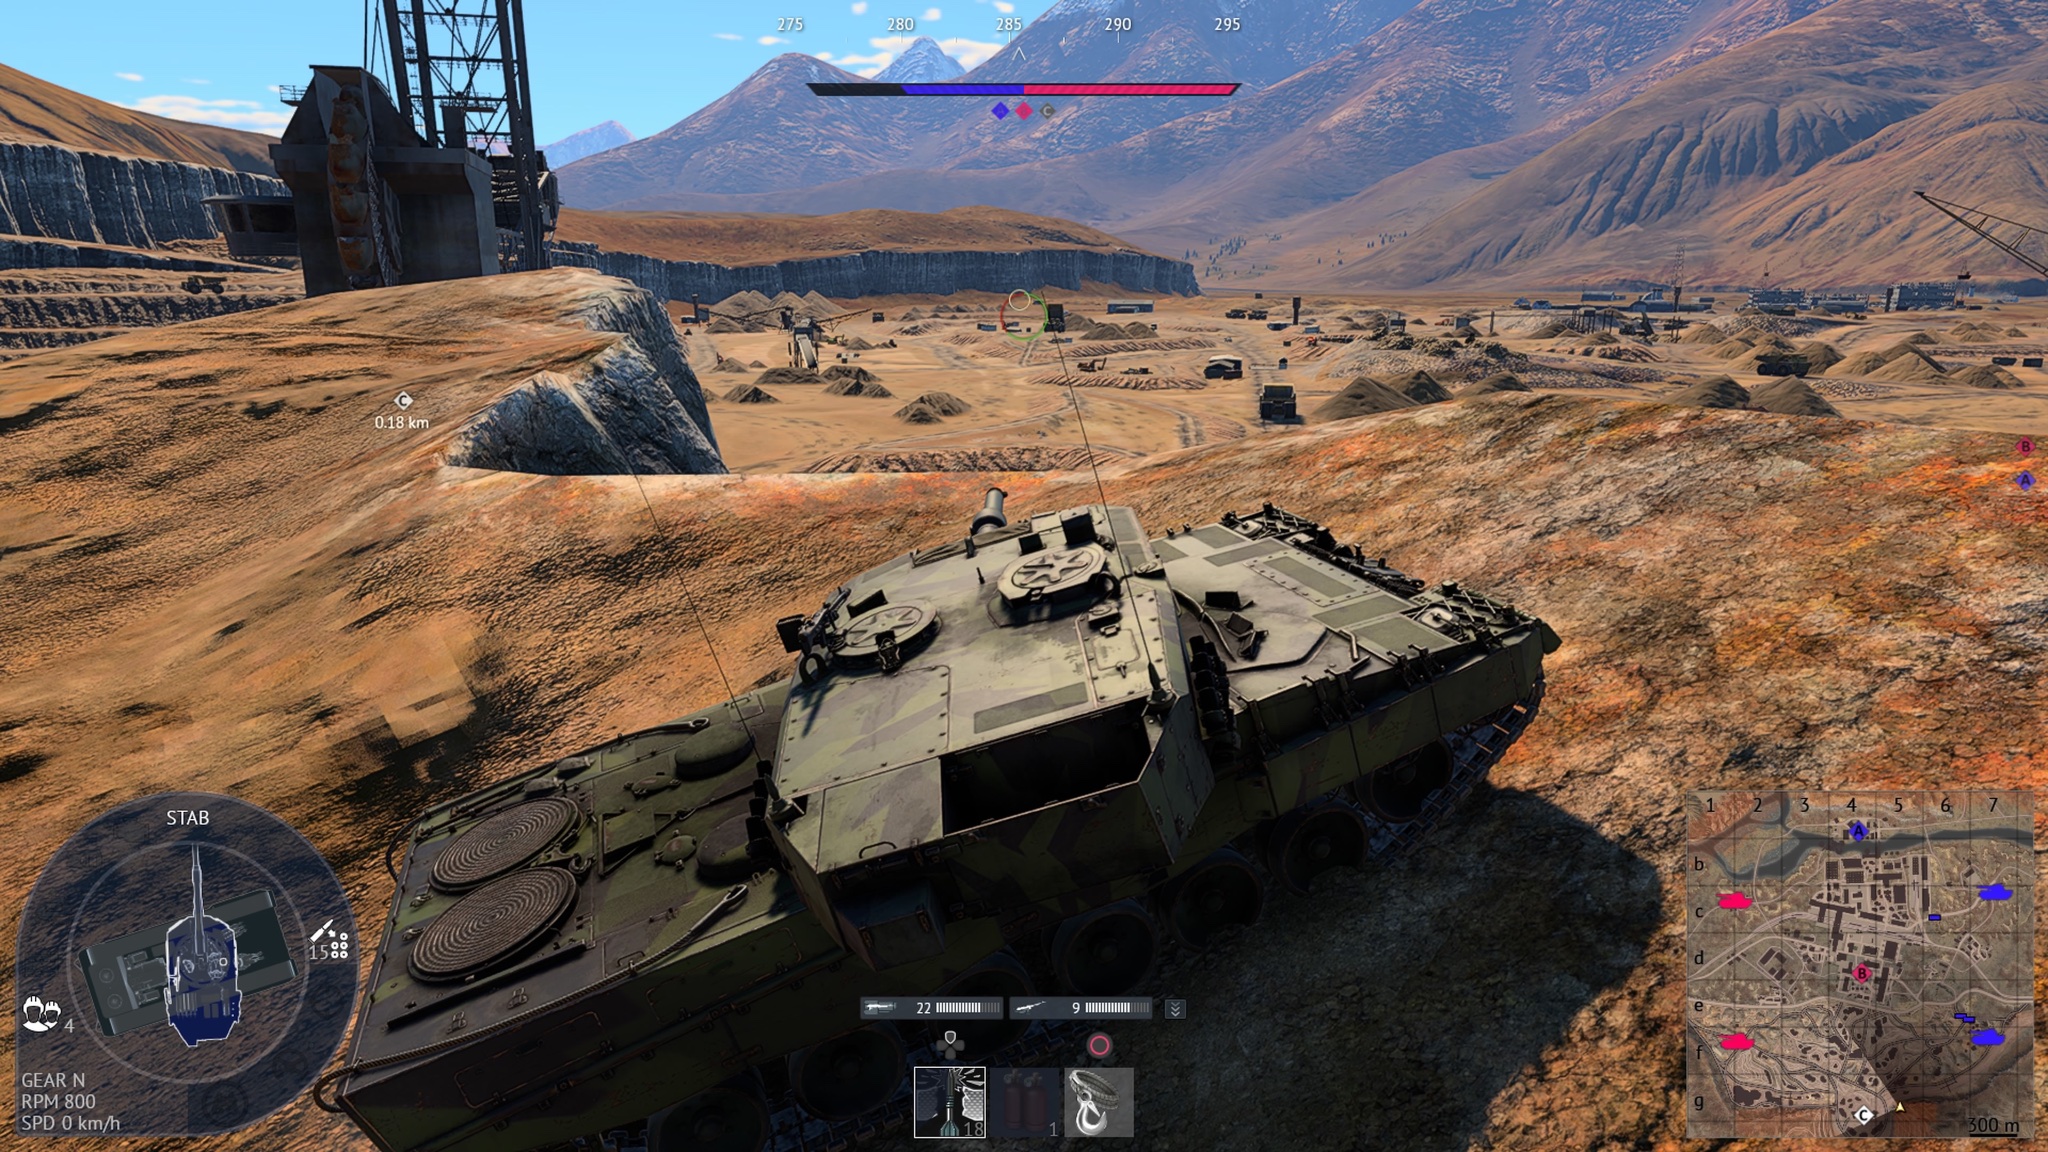
Very hard to get to — follow the marked route exactly, because improvising the climb does not work. The reward for the awkward drive: you can see basically the whole map around C and all the way to the enemy spawn, one of the widest sniping views this map offers. The position's quirk is that you must drive out of cover to actually take your shots, so each engagement carries a moment of risk — but between shots you sit covered from all sides, and absolutely no one expects a tank up there. Roll out, fire, roll back. The surprise factor lasts a long time simply because most players never learn this spot exists.

Sniper
Tactical position on GoldenQuarry
Map overviewclick to expand

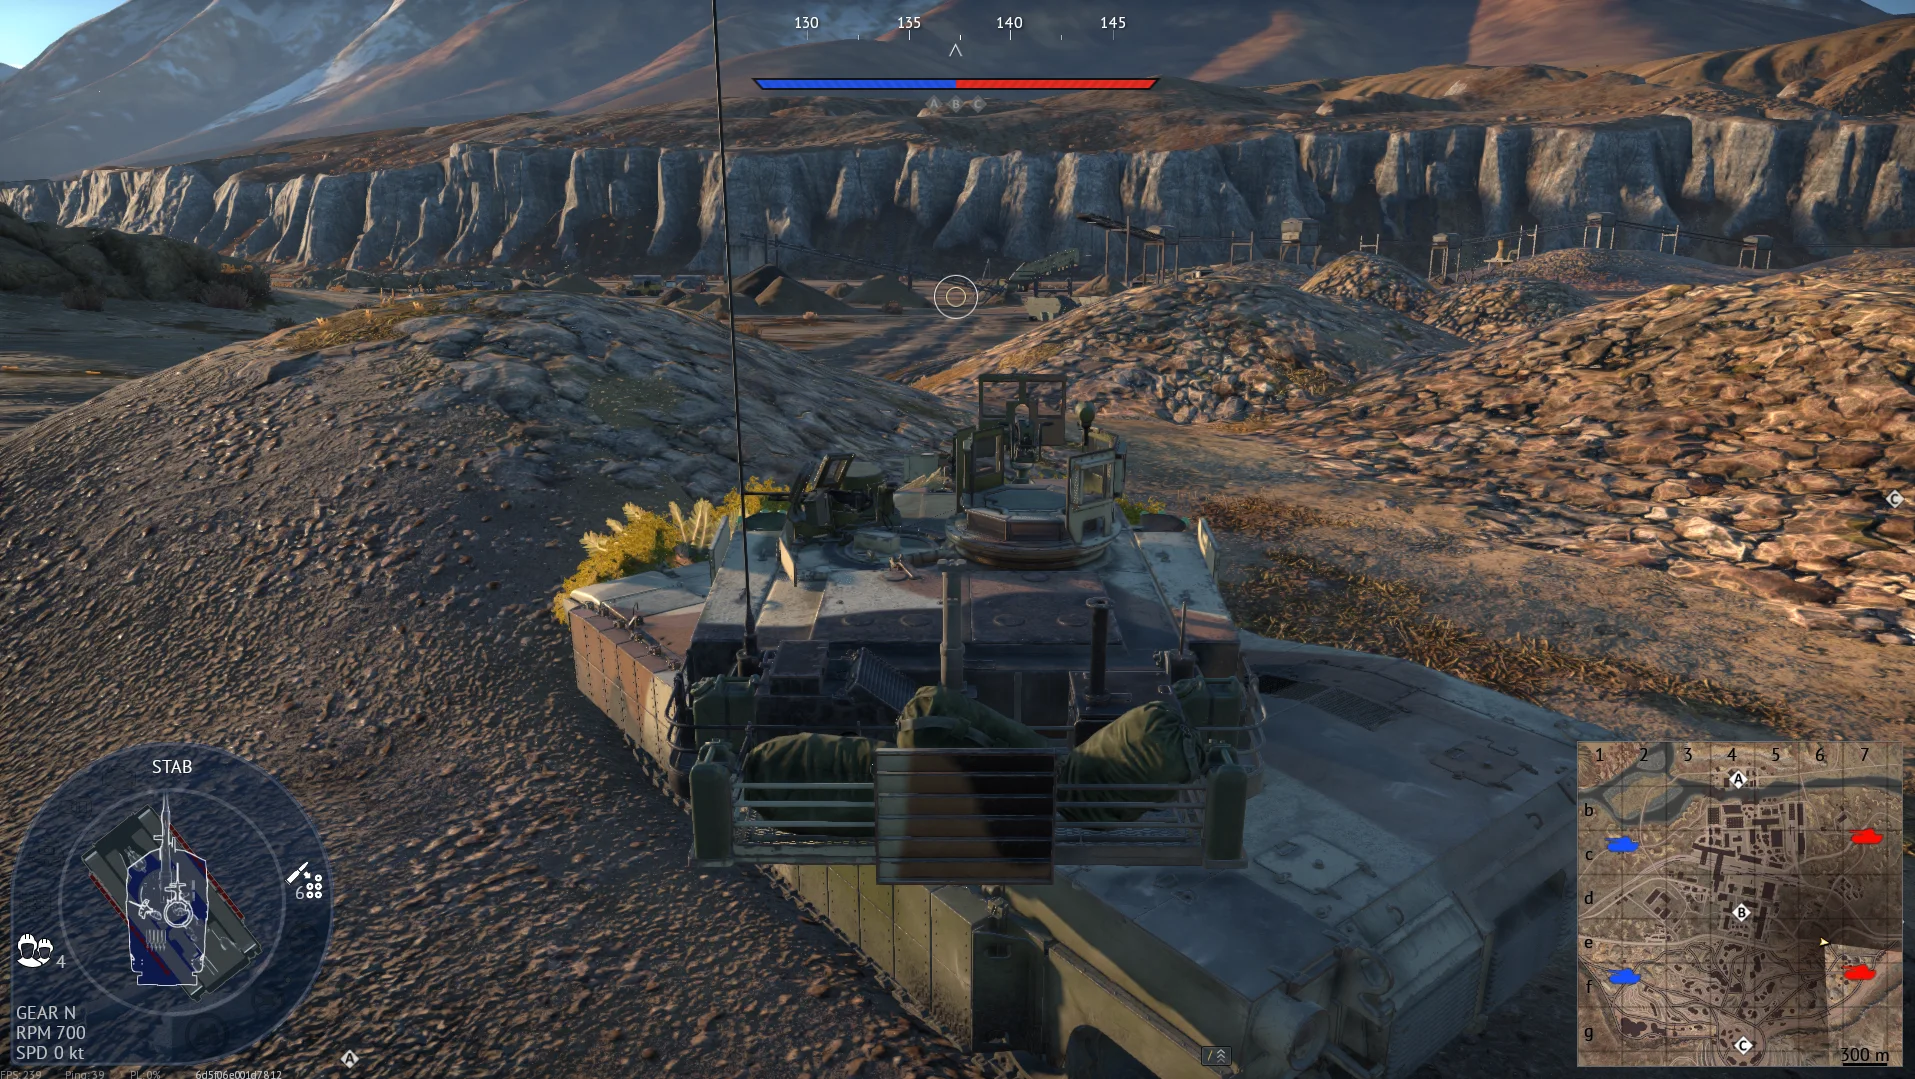
A camping spot built specifically for the lower spawn — if your team has the higher spawn, DO NOT use this, the geometry only works from below (credit to Mrvuuu_ for this one). From the lower-spawn side, the position gives you a spawn-peek angle with flanking and pushing options built in, catching enemies as they deploy and commit toward the objectives. Check which spawn you have before driving out; used from the wrong side, the same spot leaves you exposed to everything. Used correctly, it is an early-game farm with the usual spawn-camp rules: stay subtle, shoot deliberately, and leave before the retaliation organizes.

FlankSpawn PeakSpawn CampPushDanger Zone

Strategic Routes · 5 approved

Map overviewclick to expand
Wide Flank

A great flank — with one precondition: it works when the west team (yours) holds A. With A in friendly hands, the enemy's attention and traffic bend toward retaking it, and this route swings around exactly that preoccupied crowd. You arrive on an angle where the A-focused enemies are showing you their sides, and the flank rolls up their line from the outside in. Check the scoreboard before committing: without A, the route crosses ground the enemy still controls and the math flips against you. With it, this is one of the cleanest ways to convert a point lead into a kill lead.

Map overviewclick to expand
Wide FlankProtected CorridorDirect Assault

Just spawn camp. That is the honest job description — the route mixes protected stretches, a direct leg, and a final flanking angle, and all of it exists to deliver you onto the enemy spawn with your gun up. The path's variety is its strength: the covered sections get you across the dangerous middle, and the last turn brings you in from a direction fresh spawns do not scan. Once you are set, the position farms deploying vehicles until the enemy dedicates real resources to removing you. Standard camper discipline applies — deliberate shots, minimal exposure, and an exit plan you actually use.

Map overviewclick to expand
Direct Assault

You have to drive up the side of the cliff for this one — and yes, it is as ridiculous as it sounds. When you reach the steepest part, shimmy forward and backward up the slope to keep your tracks biting, and then ram over the rock at the top (you will see exactly what this means when you are there). You need a proper MBT for the climb; the Leopards are the recommendation, with the power-to-weight to actually finish it. It is difficult and slightly absurd, but worth it: the position at the top is one nobody defends against, because nobody believes a tank can get there.

Map overviewclick to expand
Protected CorridorDirect AssaultWide Flank

The ONYX 4.0-second-reload flank route — built for fast-firing Western tanks. Critical instruction: if you pass through B on your way to the spot, DO NOT cap it. Capping slows you down and, worse, rings the dinner bell — it pulls extra enemies toward the B point and makes the rest of the flank borderline impossible. The route's value is in arriving quietly and quickly, then letting a rapid reload chew through the targets the position serves up. A Western MBT with a 4-second reload is the recommended package: mobility to make the run, and fire rate to exploit it. Skip the cap, make the run, do the damage.

Map overviewclick to expand
Direct AssaultProtected CorridorWide Flank

An absolutely abominable route — in the best possible way. It threads protected ground with a direct leg and a flanking finish, ending at a position that artillery-style tanks dream about: if you have an artillery tank with a rangefinder, you are going to love this one. The rangefinder is what unlocks it — the firing solutions from the end position are long, and instant ranging turns lobbed shells into first-round hits on targets that never learn where the fire originates. Drive the line as drawn, set up at the end, and rain misery. Few victims ever figure out the angle, which is what earns the route its name.

See it on the map

Open GoldenQuarry in the RATLINE tool to view pins, draw routes, and contribute your own intel.

Open RATLINE → All Guides