Tactical Positions · 2 approved

Tactical position on Fulda
Map overviewclick to expand

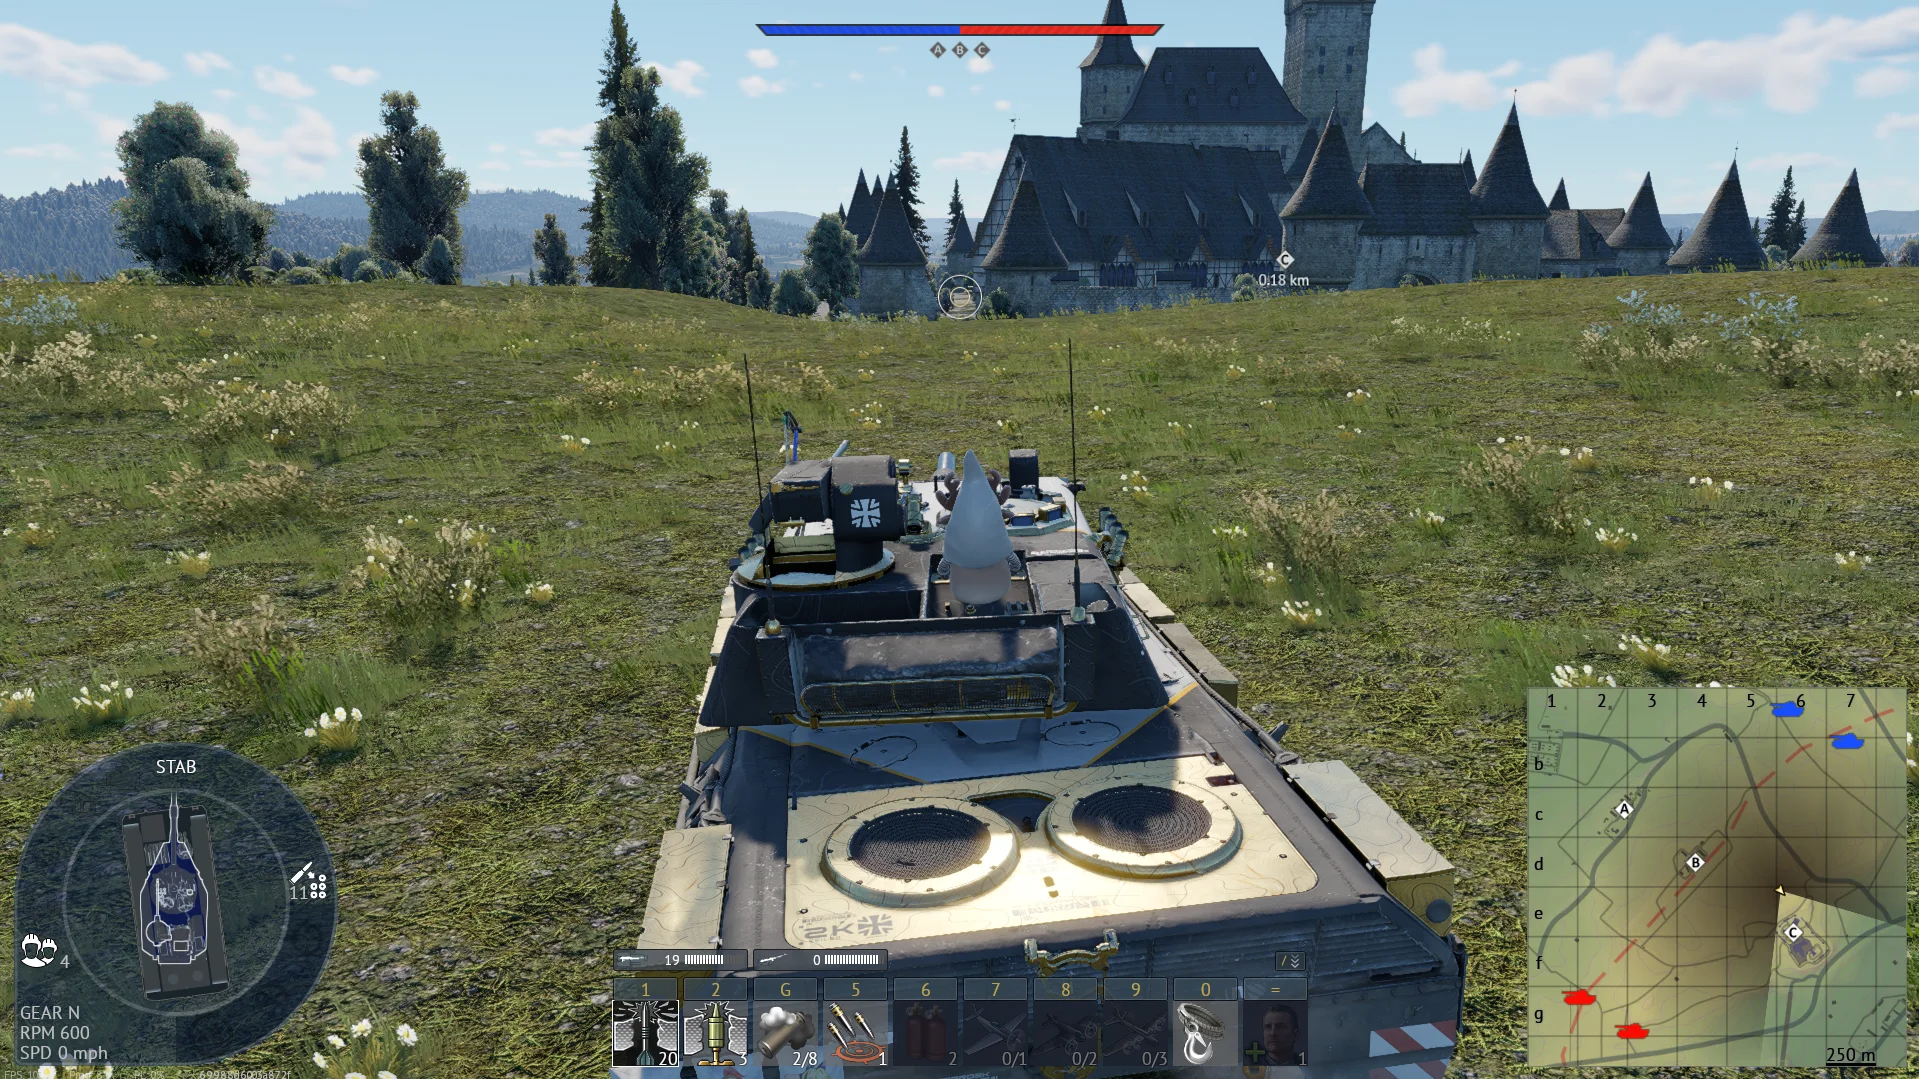
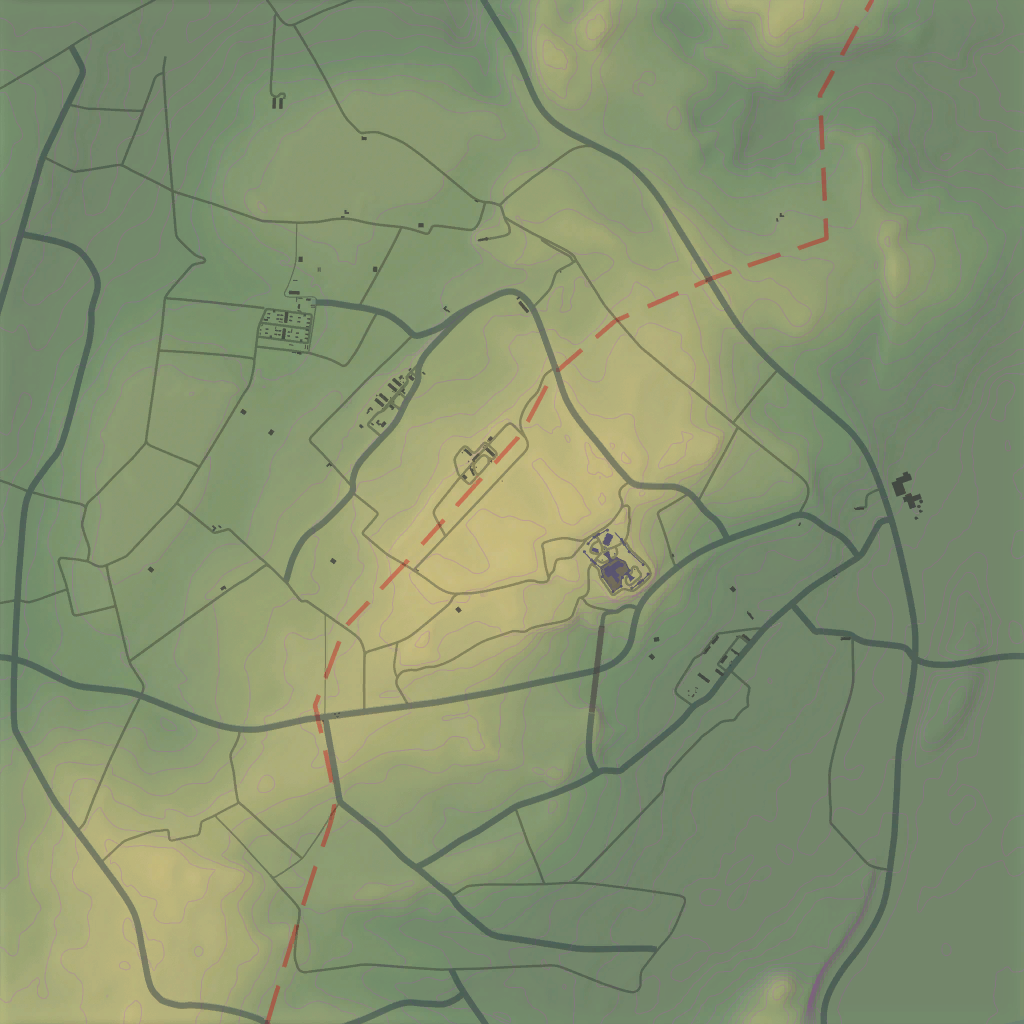
A good spot for denying the South side any advance past C. The position covers the ground south-siders must cross to progress beyond the point, and with hull-down play it lets you tax every attempt heavily. This is objective defense in its purest form: you are not trying to farm the whole enemy team, just making one specific piece of map math never work for them. Set up with your hull behind the terrain, service the lane with deliberate shots, and mind the danger tag — a position this annoying gets targeted, so vary your exact peek spot and never sit exposed after firing.
ObjectiveDefensiveHull DownDanger Zone
Tactical position on Fulda
Map overviewclick to expand

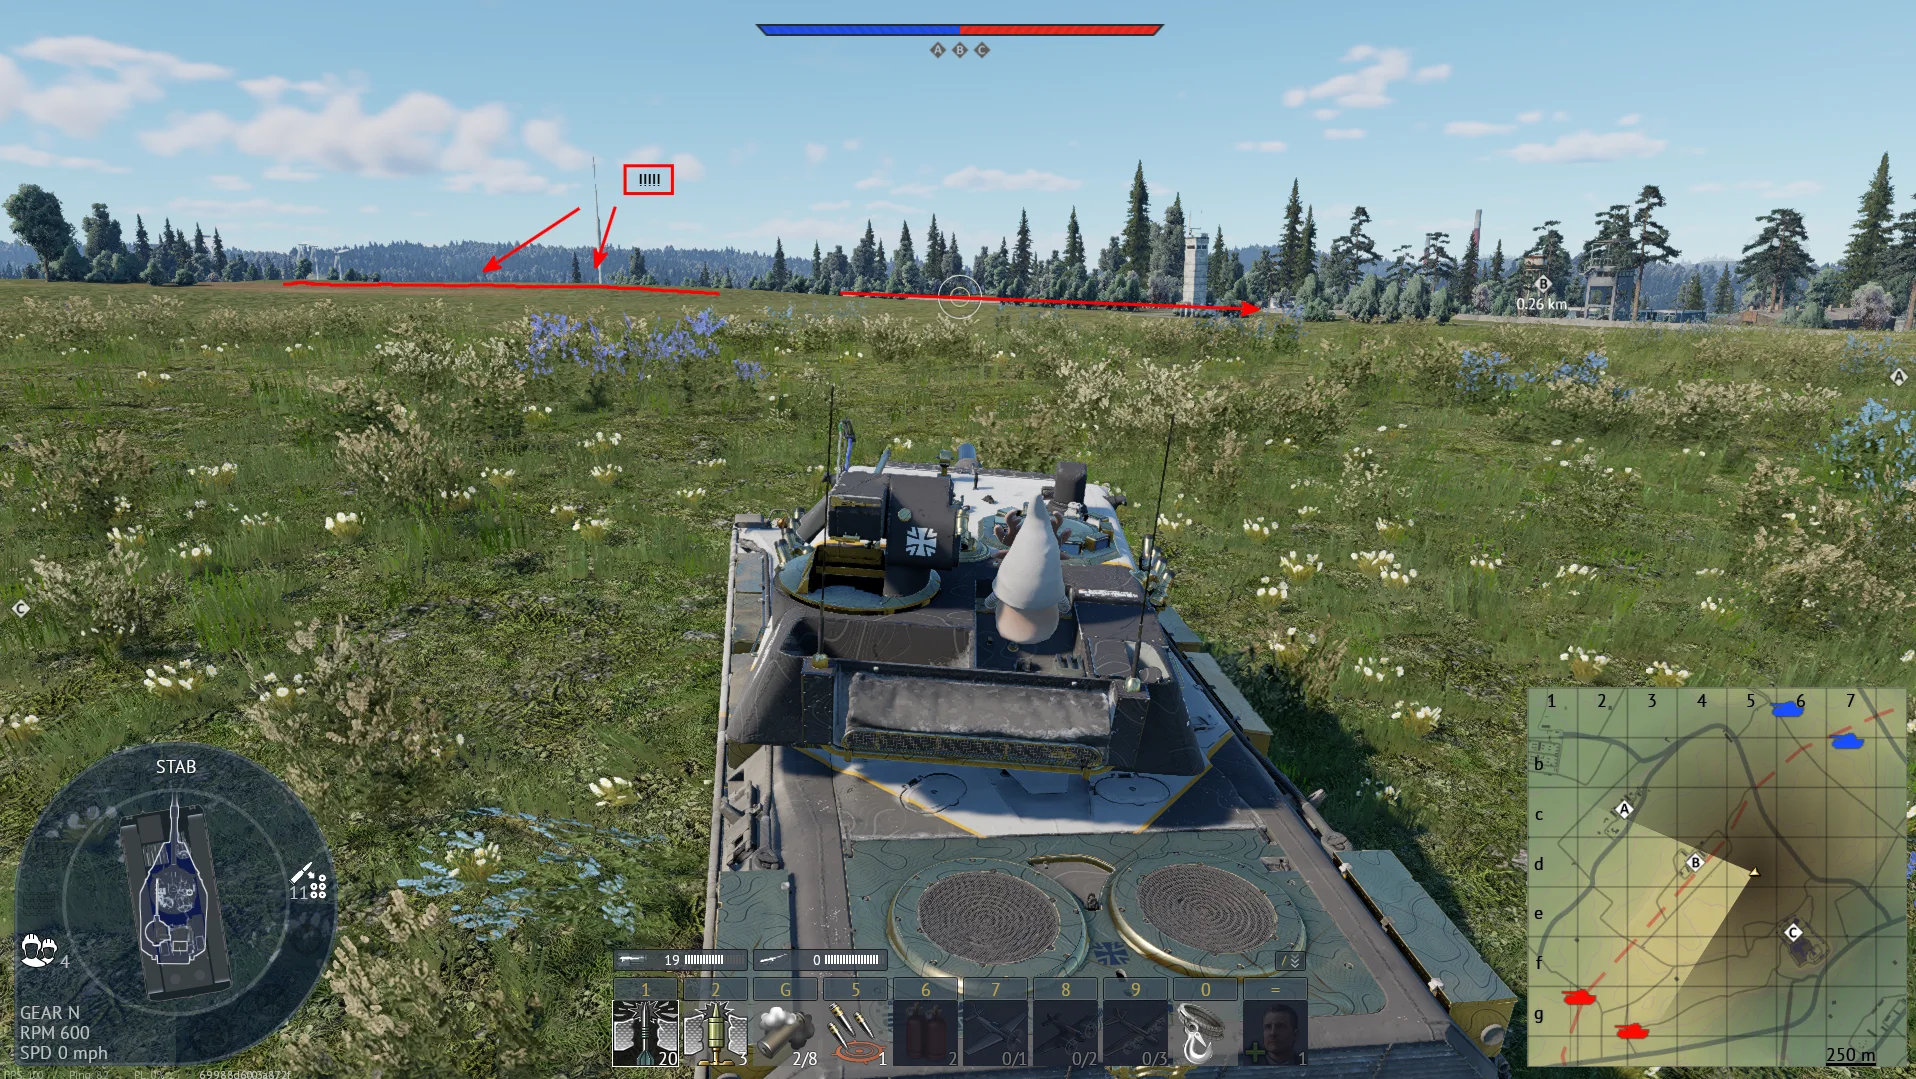
The spot for denying access to capture point B. Your gun covers the approaches into the circle, and the position supports hull-down play behind cover, so challengers have to duel a turret while fully exposed themselves. One warning shipped with this spot: be careful when peeking over the cover — the enemy side has angles onto the crest, and lazy, predictable peeks get punished by anyone pre-aiming it. Vary your timing and your exact spot along the cover, expose only for shots you have already decided to take, and B stays locked for as long as you stay disciplined.

SniperHull DownDefensiveObjectiveCover

Strategic Routes · 4 approved

Map overviewclick to expand
Wide Flank

This flank lets you spawn camp without triggering spawn detection — the route ends just outside the detection zone, so you farm the enemy's deployment area while their map never flags your position. That is the entire trick, and it is a big one: normally spawn camping paints a marker on you eventually, but from here the kills stay anonymous, and enemies waste their lives looking for a sniper in all the wrong places. Drive the flank quietly, settle at the endpoint, and shoot vehicles as they roll out. Without the detection warning working against you, this position lasts far longer than spawn camps usually do.

Map overviewclick to expand
Wide Flank

A flanking route that sets you up to snipe players advancing toward the point. The line takes you off the main axis and onto the shoulder of the enemy's approach lane, where the objective-bound traffic crosses your sightline steadily — vehicles moving with purpose, watching the cap, oblivious to your angle. Advancing targets are forgiving ones: they are committed to their line and rarely stop to scan. Set up at the route's end, work the traffic deliberately, and re-check the lane after each respawn wave; as long as that point matters to the enemy, this angle keeps producing.

Map overviewclick to expand
Wide Flank

From this position you control the enemy's routes to C — including the sneaky ones. The angle covers both the conventional approaches and the low-ground path that flankers use when they think nobody is watching, which makes you the answer to both the obvious push and the clever one. C-bound traffic has to solve you before it can do anything else. Set up early enough to greet the first wave, prioritize the low-ground flankers when they appear (they are the ones nobody else will catch), and hold the angle as long as C stays contested. One gun here quietly owns a third of the map.

Map overviewclick to expand
Direct Assault

Then just push their respawn — this is the finishing move, not the opening. Once the earlier positions have done their work and the enemy presence on this side has collapsed, this direct line takes you straight onto their respawn area to end the match. Timing is everything: pushed too early, it is a suicide run into a live team; pushed at the right moment, it is a formality that converts your lead into a closed-out game. Read the flow — when the lanes go quiet and the kill feed says their side is broken, take this line, set up on the respawn, and finish it.

See it on the map

Open Fulda in the RATLINE tool to view pins, draw routes, and contribute your own intel.

Open RATLINE → All Guides