Tactical Positions · 5 approved

Tactical position on FrozenPass
Map overviewclick to expand

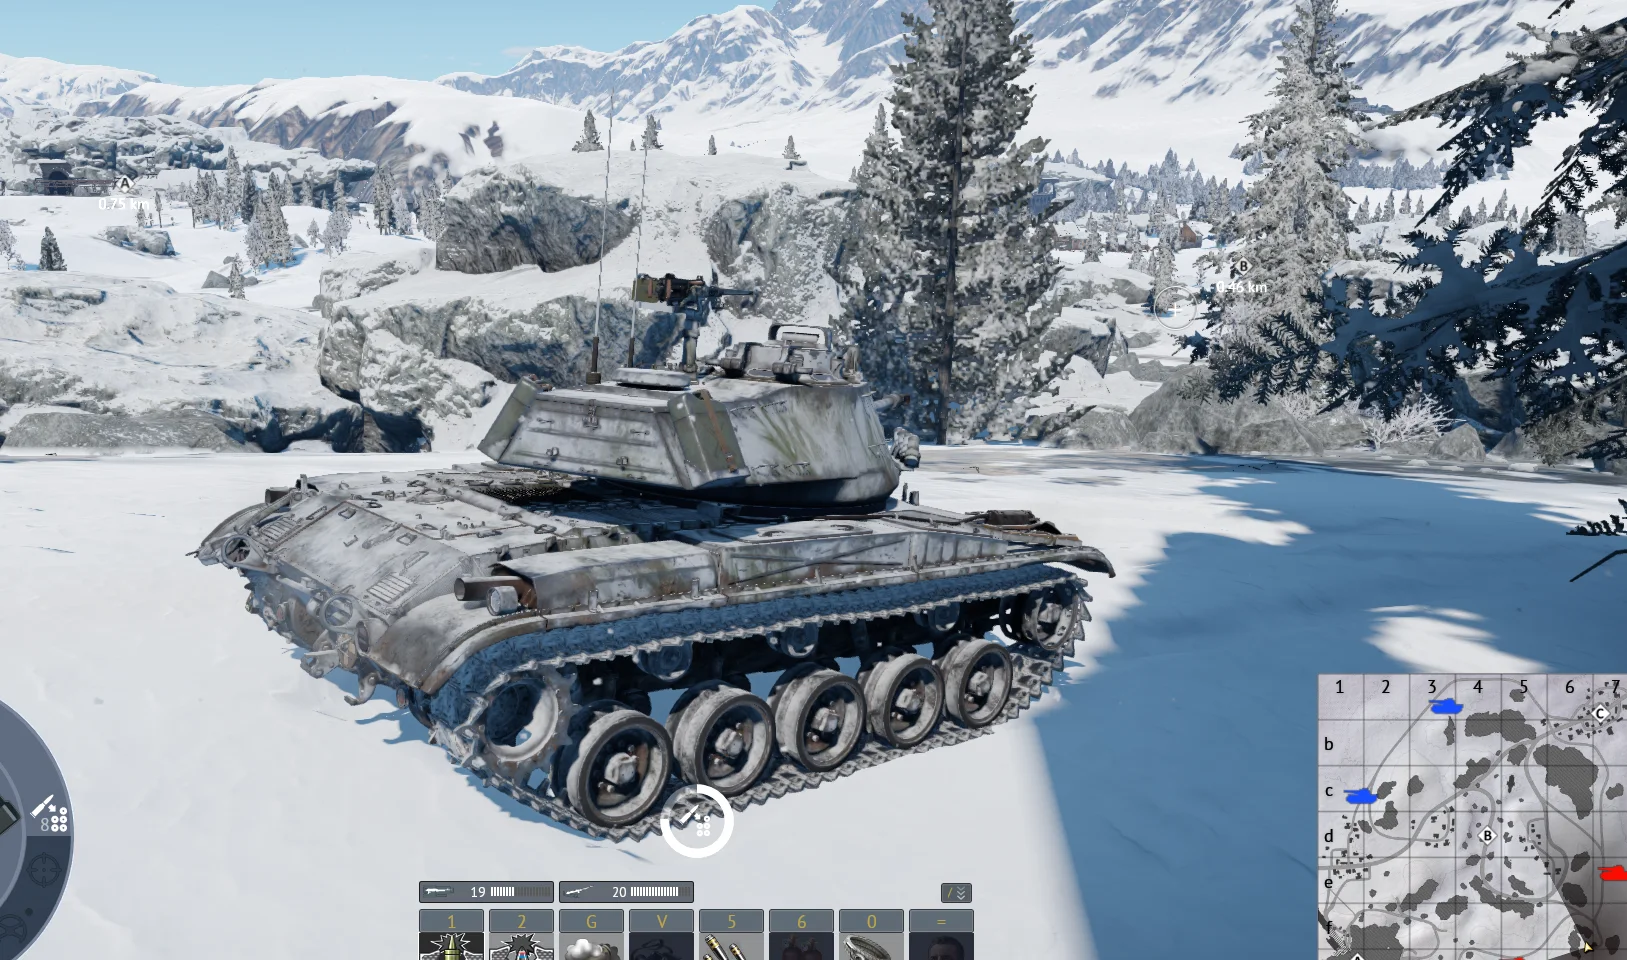
A small spot with a real trade-off attached: you get an elevated spawn-peek angle, but you can easily get sniped from the enemy spawn while using it — the sightline runs both ways. That makes this a position for careful players, not campers. Use it in short visits: roll in, take the shot the angle offers, and displace before the enemy spawn's longer-range guns find you. It rewards low-profile vehicles and punishes anything that lingers silhouetted. Treat it as a jab rather than a posting — quick damage, quick exit, and never the same peek twice in a row.
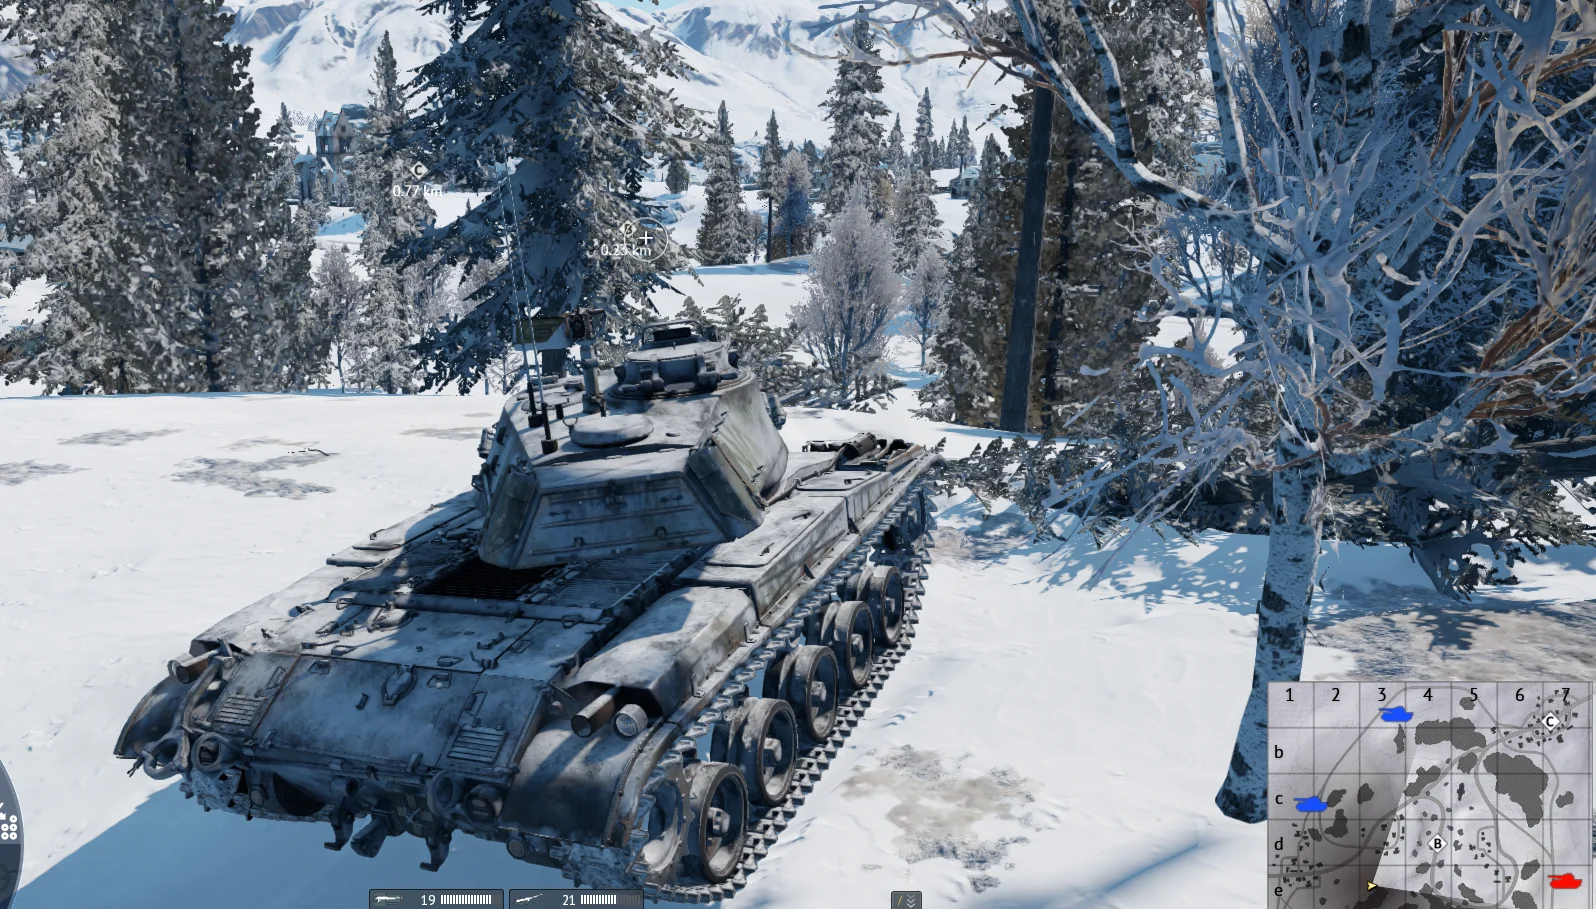
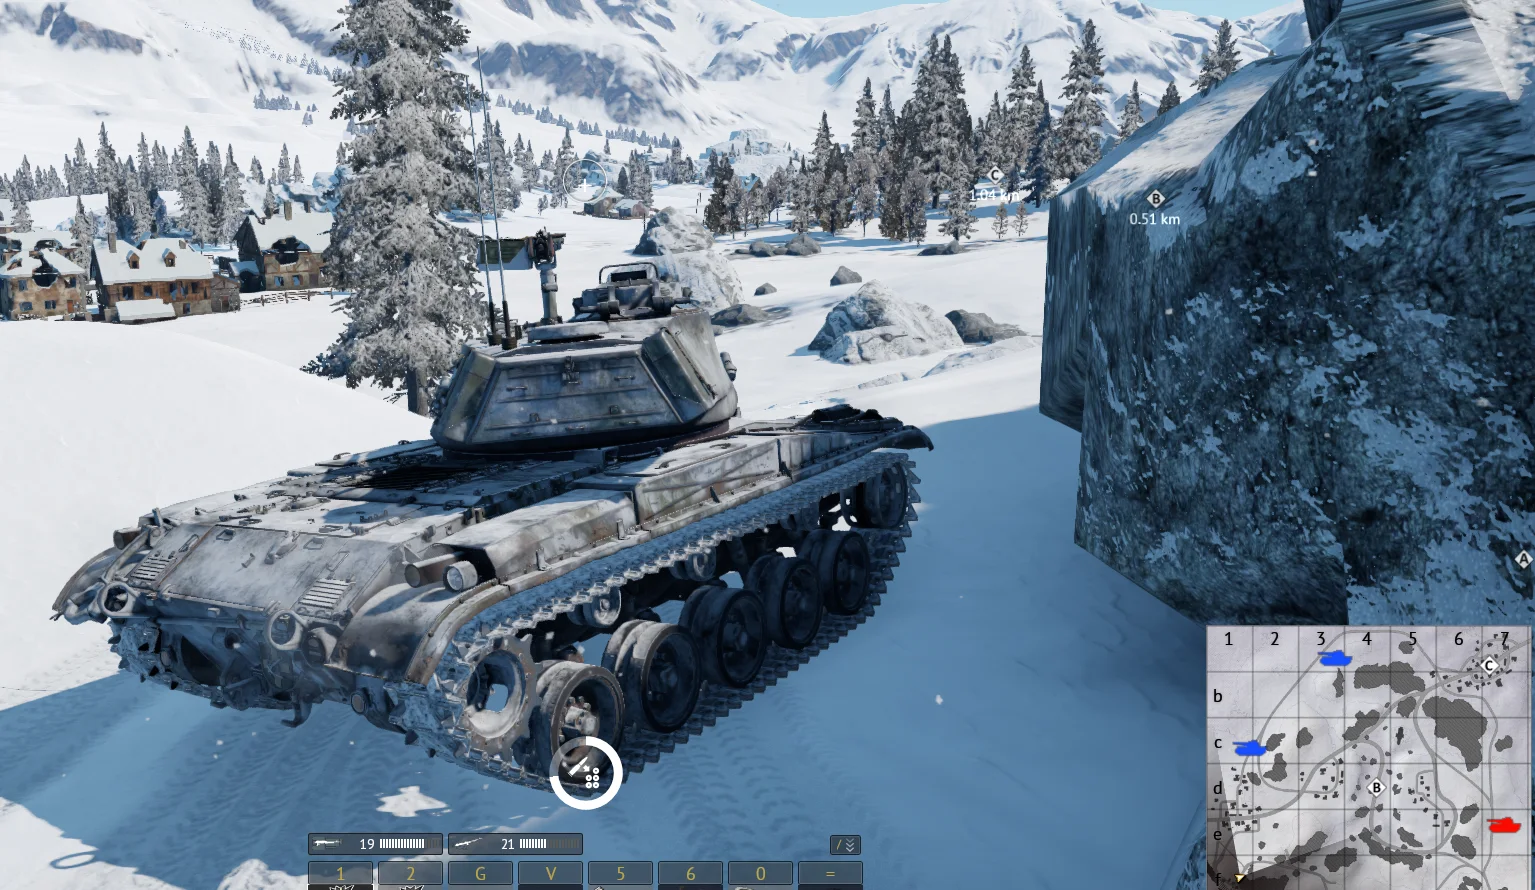
Spawn PeakHigh GroundSniperDanger Zone
Tactical position on FrozenPass
Map overviewclick to expand

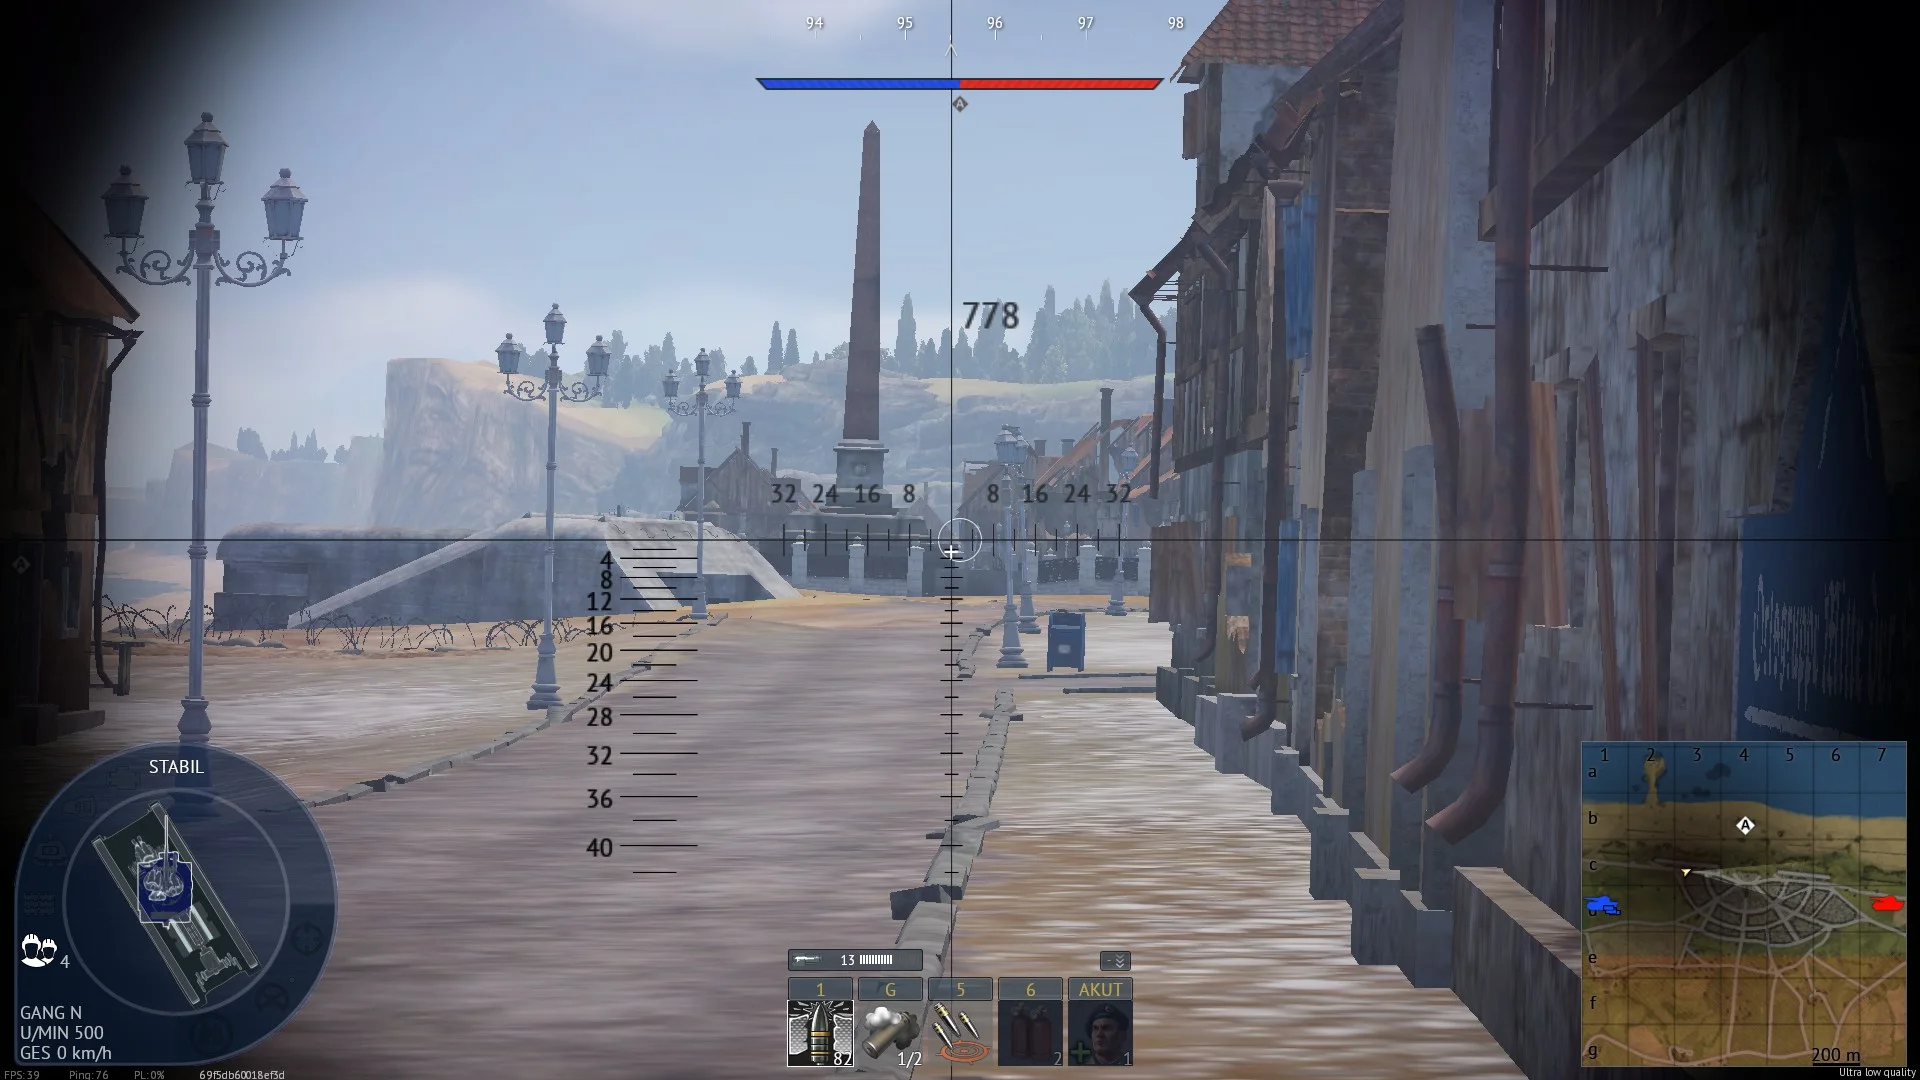
A good high-ground spot for sniping point B. The elevation gives you clean sightlines down onto the cap circle and its surroundings, letting you interrupt captures and punish defenders from a range where you dictate the engagement. B traffic is reliable on this map, so the angle stays productive all match. It carries a danger tag for the usual reason — good views cut both ways, and counter-snipers know the high ground is worth checking. Work it hull-down where the terrain allows, take deliberate shots on committed targets, and rotate your position after every few kills.

High GroundDanger ZoneSniperObjective
Tactical position on FrozenPass
Map overviewclick to expand

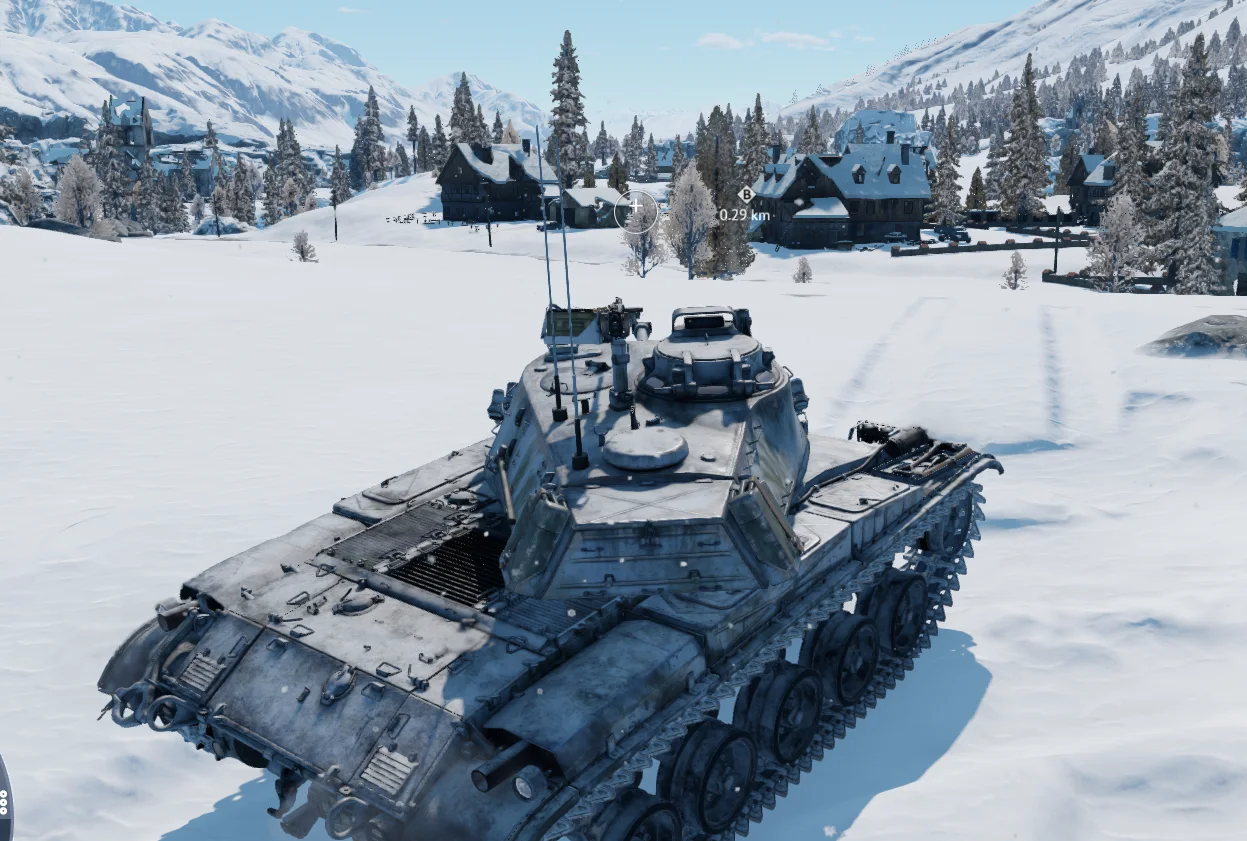
A good spot for killing spawn campers — the counter-position to the enemies farming your team's deployment. The angle looks onto the spots campers favor, catching them where they sit static, scoped in on your spawn, and blind to this direction. There is poetic justice in it: campers rely on tunnel-visioned targets, and this position makes them exactly that. Check it whenever your team's spawn is taking fire; clearing one camper here saves several teammates. The spot is high and marked dangerous, so make your visits purposeful — arrive, clear the camper, and either hold against the next one or move on.

Danger ZoneObjectiveSniperSpawn CampHigh Ground
Tactical position on FrozenPass
Map overviewclick to expand

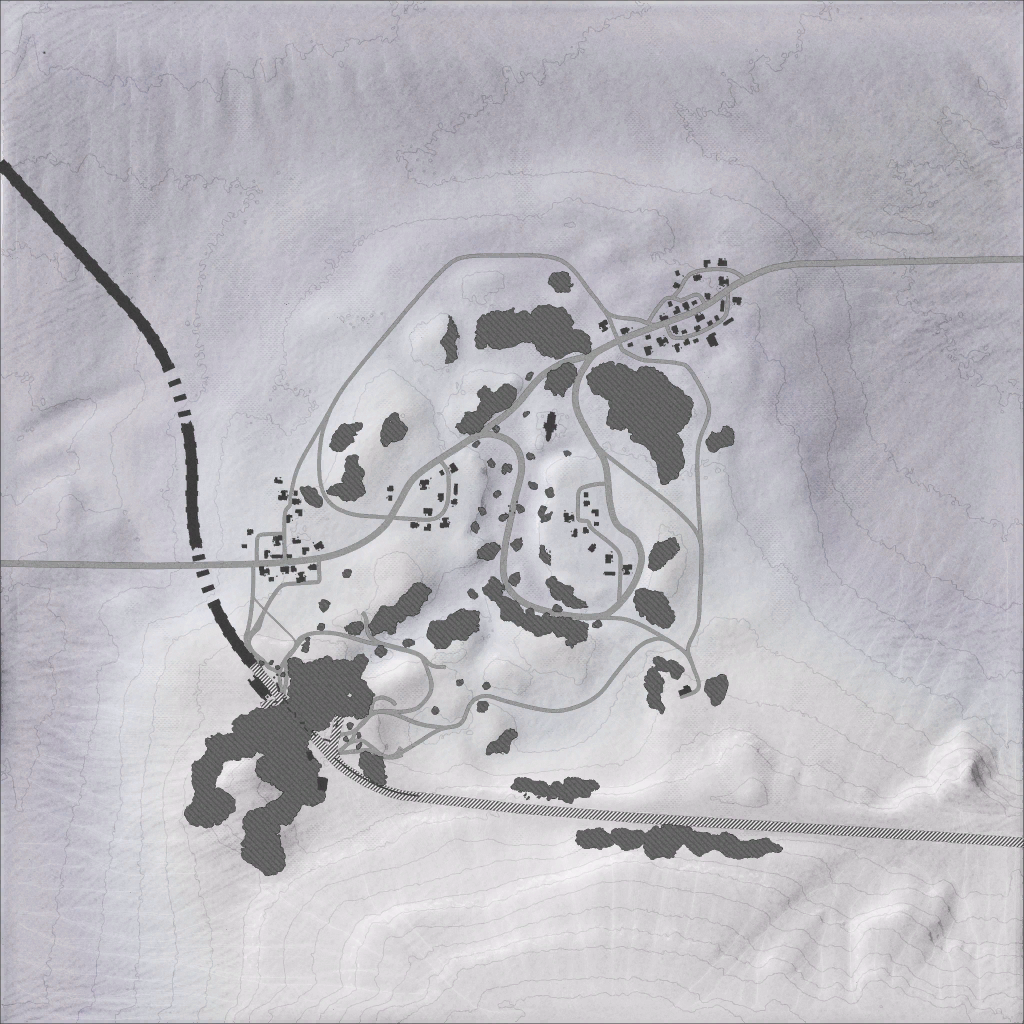
A great sniping position covering both point A and point B. From this high ground your gun reaches the two objectives and the ground between them, letting you support whichever fight matters at the moment without moving — a rare economy of position. The spot comes with cover and a defensive posture, so you can work hull-down and survive attention that would delete a more exposed sniper. Traffic between A and B is constant on this map, meaning the targets renew themselves all match. Establish early, split your attention between the points, and let the rotations feed your kill count.

High GroundSpawn PeakSniperDefensiveCoverObjective
Tactical position on FrozenPass
Map overviewclick to expand

A stürmen — der Plan ist genau das: den A-Punkt direkt und entschlossen angreifen. Diese Position markiert den Ansatzpunkt für den Sturm auf A; von hier aus committest du dich voll auf das Ziel, ohne zu zögern oder auf halbem Weg stehenzubleiben. Ein Sturm auf den Punkt lebt vom Tempo — wer langsam anrollt, gibt den Verteidigern Zeit, sich einzurichten. Fahr die Linie mit Schwung, nimm die Kappe, und halte danach die Zufahrten, statt weiterzurollen. Am besten funktioniert das früh im Match oder gemeinsam mit ein, zwei Teamkollegen, die den Sturm flankierend absichern.

Strategic Routes · 0 approved

No routes documented yet.

See it on the map

Open FrozenPass in the RATLINE tool to view pins, draw routes, and contribute your own intel.

Open RATLINE → All Guides