Tactical Positions · 3 approved

Tactical position on Flanders
Map overviewclick to expand

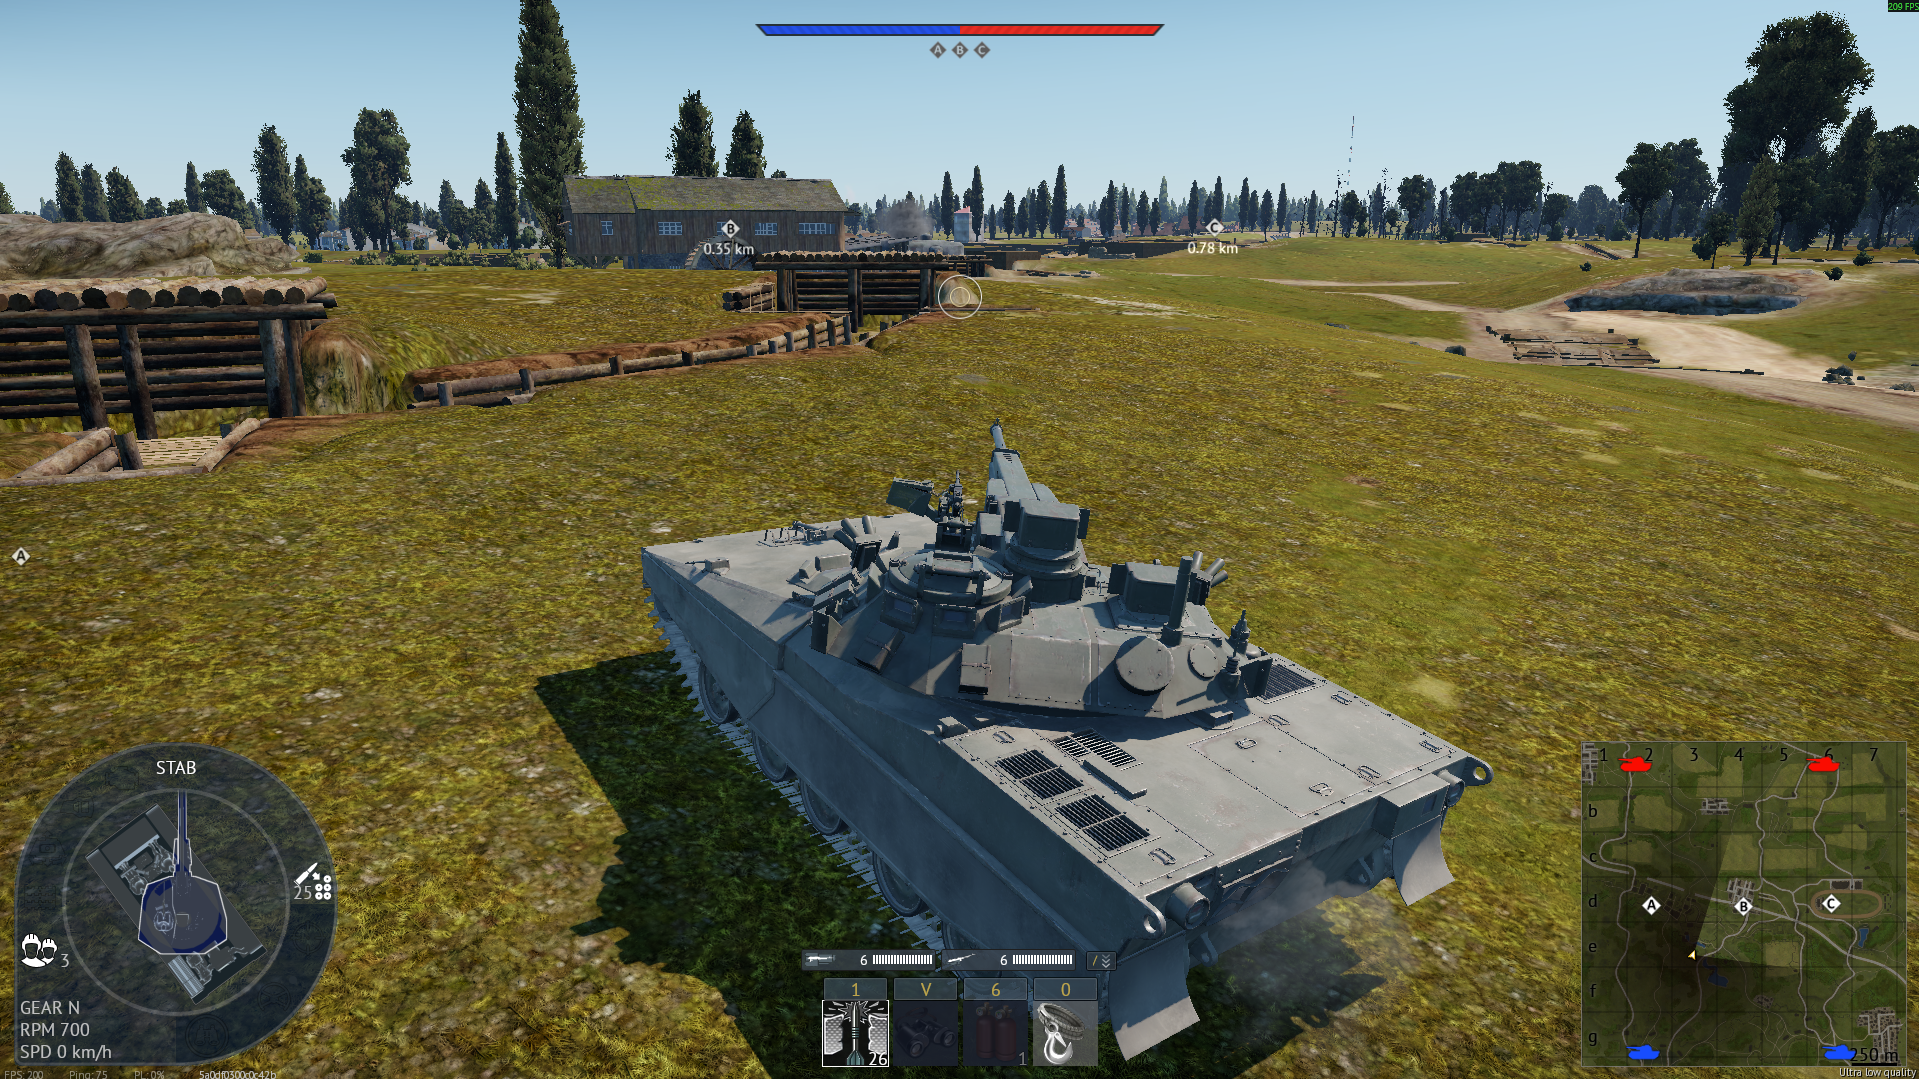
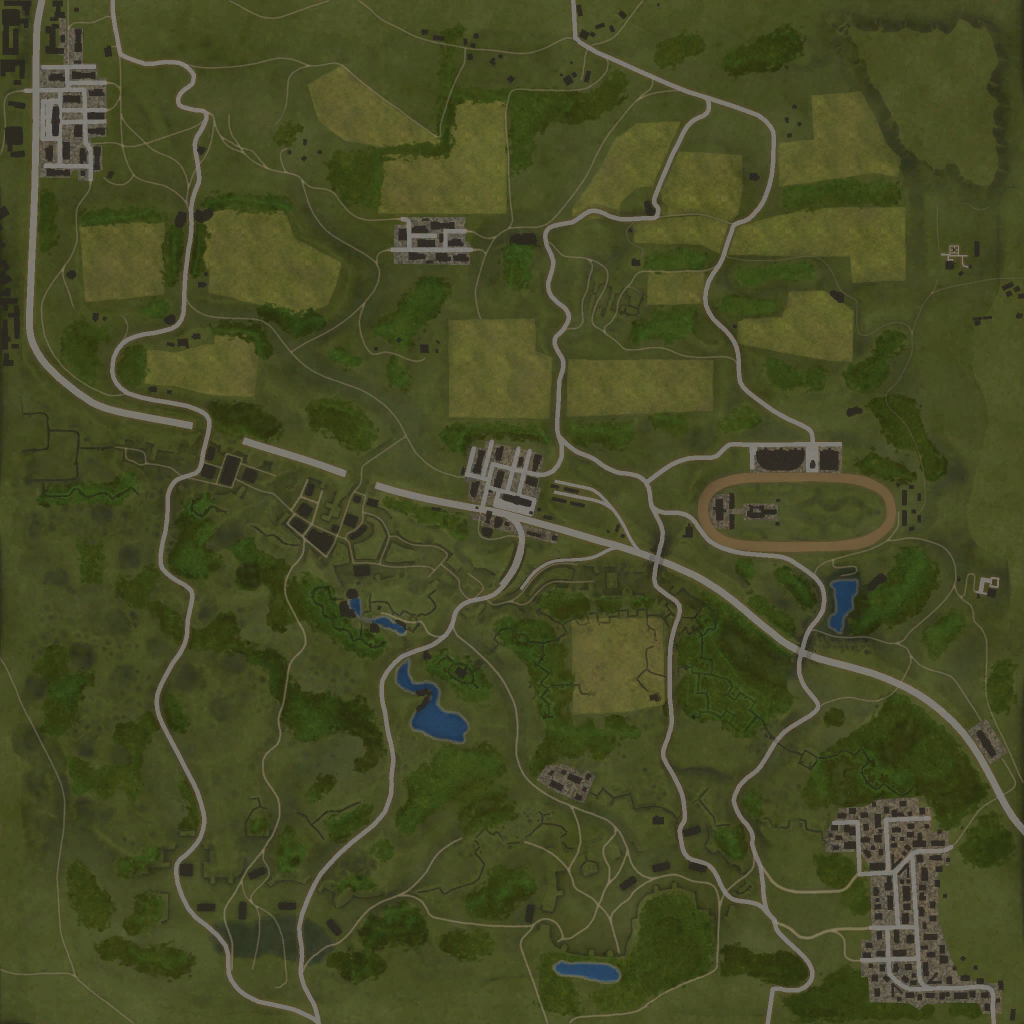
You can hold the whole map from here — the position's sightlines reach across such a span of Flanders that most of the enemy team's movement happens somewhere inside them. Claims like this usually oversell; this one mostly does not. The open terrain gives a well-placed gun enormous reach, and this spot is where that reach concentrates: lanes, crossings, and approaches all sampled from one piece of ground. It rewards long-range fundamentals — optics, first-shot accuracy, patience between opportunities. Establish early, scan in a rhythm, and let the map's traffic make your decisions. A position this wide does not chase; it presides.
Tactical position on Flanders
Map overviewclick to expand

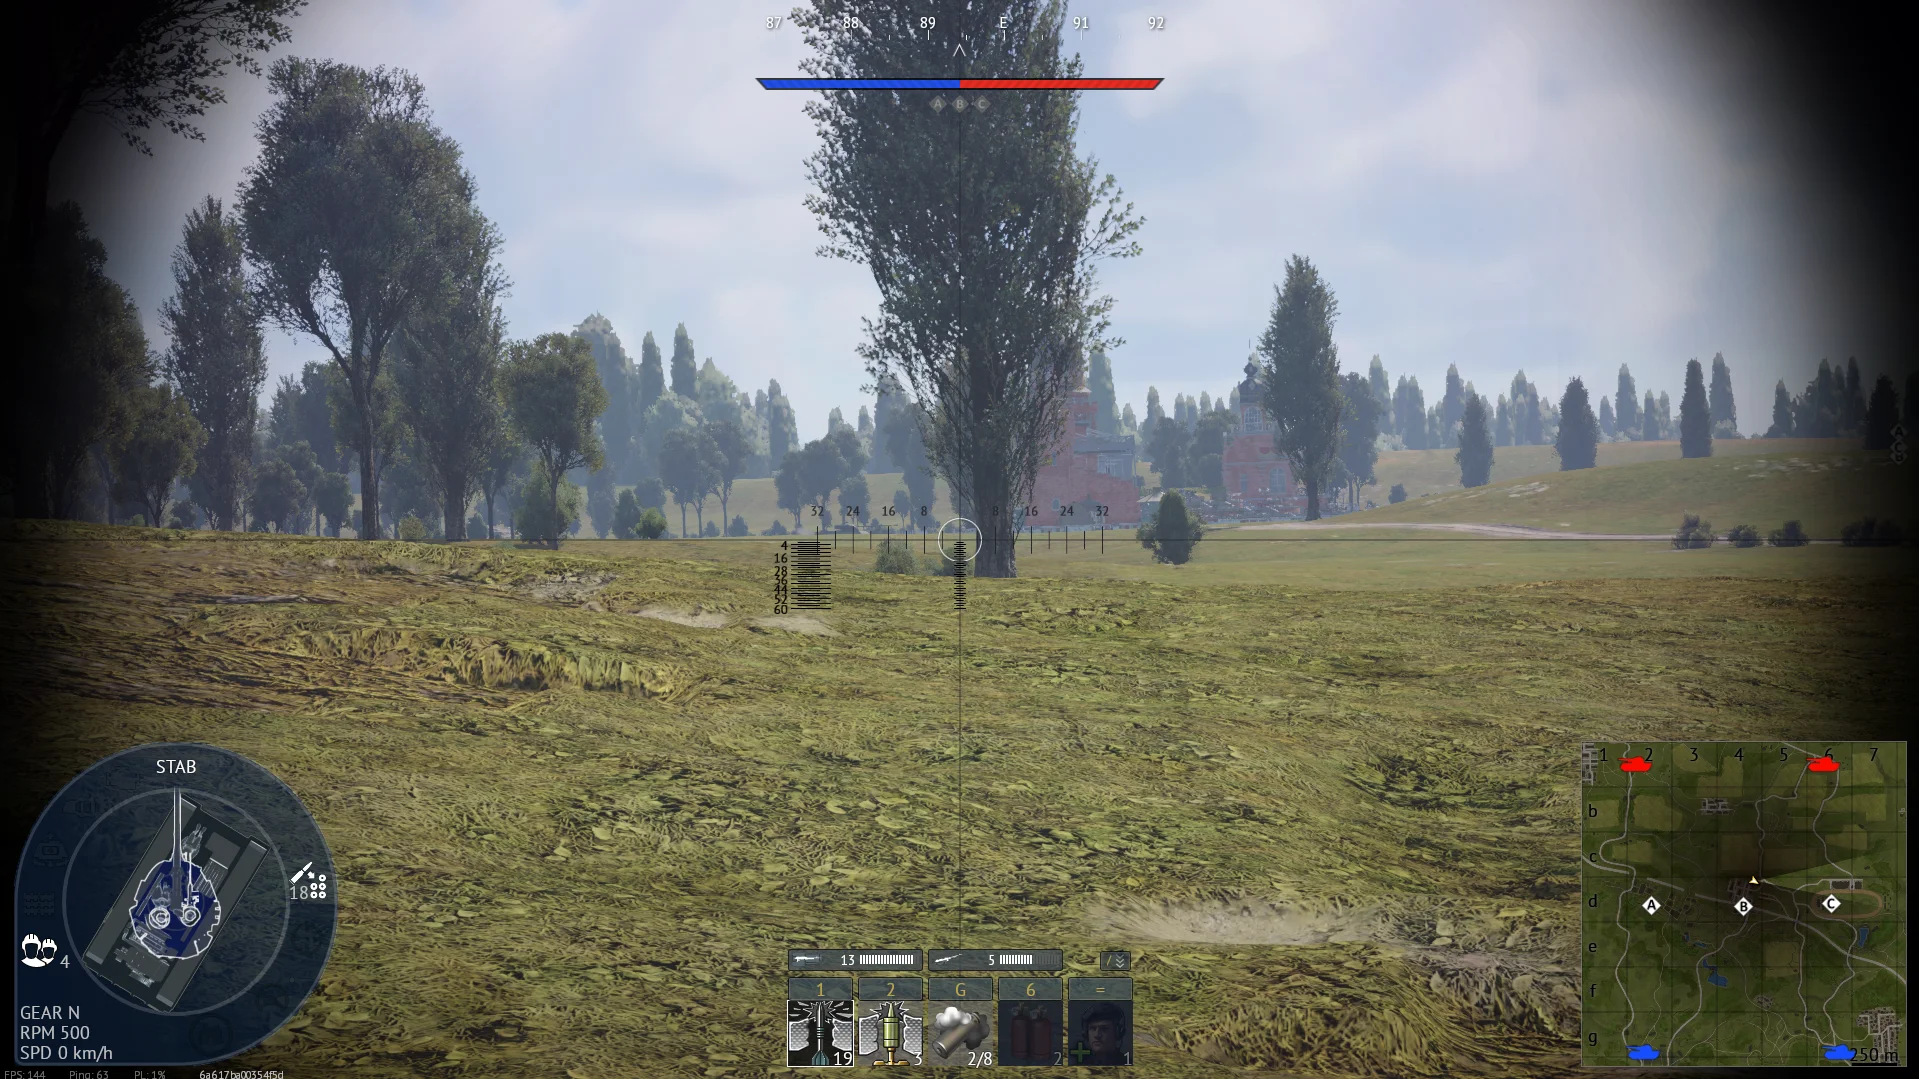
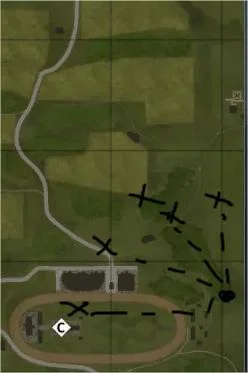
Go here after capturing B to snipe the people coming toward C — the timing is the trick, because the post-cap moment is when the enemy's attention reorganizes and this angle slips under it. They often will not expect you there: the position sits off the C traffic's mental map, with hull-down geometry and cover to work from, and the C-bound wave crosses it side-on. Cap B (or ride the wave that does), rotate here while the enemy is still reacting to the point loss, and set up on the lane. The first several kills come from pure anonymity; after that, the cover keeps the position honest.

FlankSniperHull DownCover
Tactical position on Flanders
Map overviewclick to expand

A nice hull-down position with visibility on the people going for C — and it doubles as a flank watch, covering the side approach while you work the main lane. The hull-down geometry is the foundation: your hull disappears behind the terrain while the gun services the C traffic, and the return fire has a turret-sized problem to solve. The flank-watch bonus means the position defends itself against the standard counter — anyone trying to work around you crosses the second sightline first. Set up on the crest, split your attention between the C lane and the side path, and hold the ground with patience.

Hull DownSniperCoverDefensive

Strategic Routes · 7 approved

Map overviewclick to expand
Direct AssaultWide Flank

A ratty position behind the opponent's sniper hill — you have to get there fast off spawn to avoid being cut off from the A point side, and the route mixes a direct sprint with a flanking hook to make it. Best in light tanks or quick MBTs. The destination is the mischief: you sit behind the hill their snipers climb, which means the enemy's overwatch sets up with its back to you. The kills are exactly as unfair as that sounds. Speed decides everything — arrive on time and you own the hill's blind side all match; arrive late and the cutoff turns the route into a trap. Commit at spawn or not at all.

Map overviewclick to expand
Wide Flank

The A flank — with okay cover from the grandstand and the small buildings along the way, and good at any stage of the game, which is rarer than it sounds. Most flanks age badly as the match settles; this one keeps working because the structures give it permanent concealment and the A point keeps generating traffic worth flanking. The line swings you onto the point's shoulder where cappers and defenders show their sides. Early, it catches the opening rush; late, it catches the retakes. Use the grandstand's shadow properly, take the side shots as they come, and re-run it every time A flares up.

Map overviewclick to expand
Wide Flank

From this route you can snipe the opponent's flankers on A — the counter-flank position, set one layer behind the layer everyone plays. The enemy's A-flankers run their route expecting to be the surprise; this angle makes them the target instead, catching their wide swing side-on from ground they assume is empty. Counter-flanking pays twice: the kills themselves, and the protection your A-side teammates never know they received. Set up as the match's flanking patterns emerge — the first minute tells you which way they lean — and let their cleverness deliver them to your gun.

Map overviewclick to expand
Wide Flank

A flank with protection built in — the route keeps cover along its length, so the swing around is a sheltered one rather than a gamble. The single caveat travels with it: look out for enemies on C. The route's geometry passes within the C area's reach, and players posted around that point are the one audience that can see stretches of your transit. Check the C angles before committing each exposed segment, and time the run for when C's attention is occupied. Do that, and the route delivers its flanking angle with the rare combination of surprise and safety; skip the check, and C's overwatch collects you mid-drive.

Map overviewclick to expand
Wide Flank

A pretty good flank route with an honest risk profile: the transit is not that safe, but the end position is protected — high risk on the way, high reward on arrival. That shape rewards decisiveness. The exposed stretches punish hesitation, so drive them at full speed with your next cover already chosen; the protected endpoint then repays the sprint with a flanking angle you can actually hold, rather than a drive-by. Judge the run by your vehicle and the enemy's posture — quick tanks in a distracted match make this look easy, slow ones in an alert match make it look like a mistake. Time it right and the reward end does the rest.

Map overviewclick to expand
Protected CorridorDirect AssaultWide Flank

From the end of this route you can shoot into their left spawn — the line threads protected ground with direct and flanking legs to reach that angle. It is recommended for fast tanks with good gun depression: speed for the transit, depression because the firing position works over terrain edges that flat-gunned vehicles cannot use. It is high risk, high reward, and the specific warning deserves bold text: be careful on the last two legs of the route — that is where the exposure concentrates and where the careless runs end. Clear those stretches deliberately, settle onto the spawn angle, and the harvest justifies the drive.

Map overviewclick to expand
Protected CorridorWide Flank

The flank — this side's fundamental swing, with protected stretches making the wide arc survivable. The route does what flanks are for: it trades distance for angle, carrying you around the enemy's facing so your first contact happens against sides instead of fronts. The protection along the line means the trade is a fair one even for vehicles that cannot sprint the whole way. Run it when the head-on lanes stall, when the enemy overcommits centrally, or simply as the opening move it also works as. Nothing exotic, no tricks — just the reliable geometry of arriving where they are not looking.

See it on the map

Open Flanders in the RATLINE tool to view pins, draw routes, and contribute your own intel.

Open RATLINE → All Guides