Tactical Positions · 2 approved

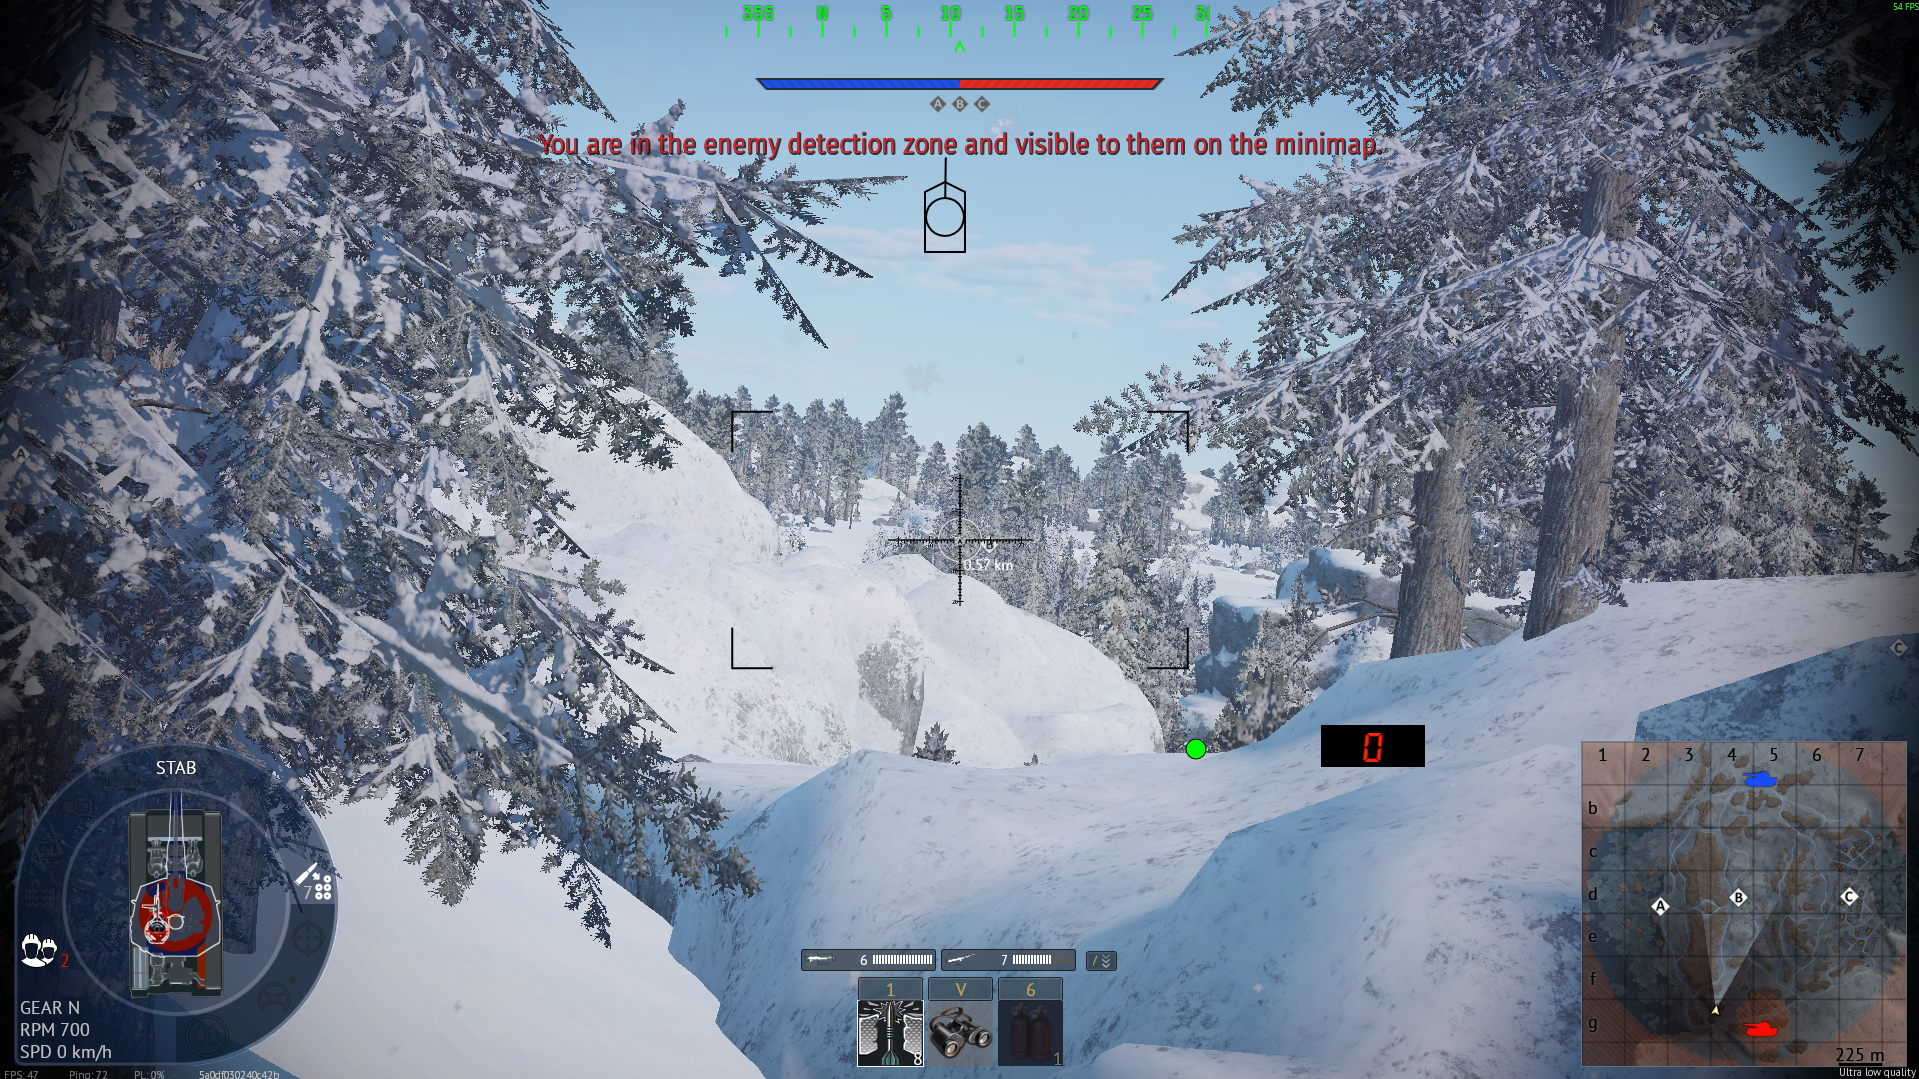
Tactical position on Finland
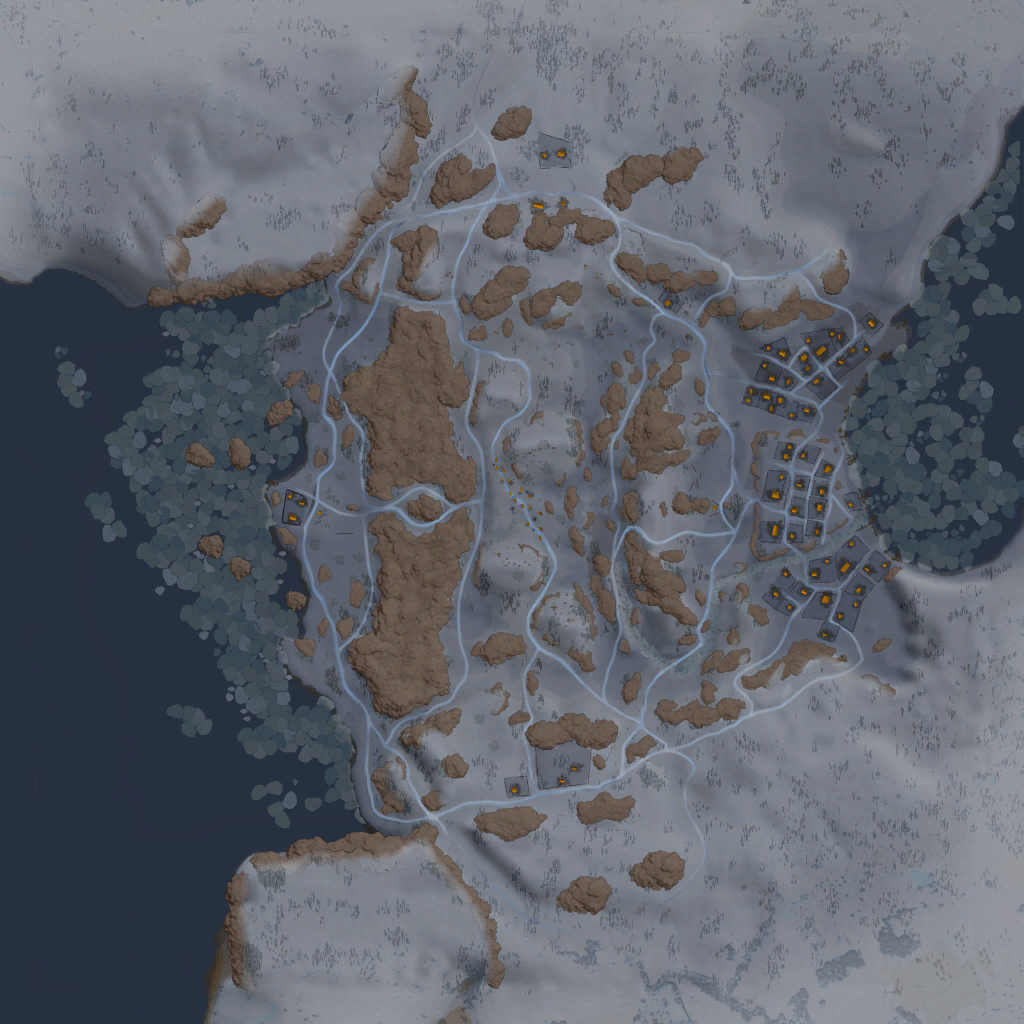
Map overviewclick to expand

There is some housekeeping first: you have to knock down a tree or two that block the view. Once that is cleared, the position opens into a clean sightline over the enemy road — the one that leads back to their spawn, which carries traffic in both directions all match. Vehicles commuting along it are moving predictably and rarely scanning this angle, making them textbook sniper targets. Clear the foliage early, before you need the shot, and settle in. The road never stops being a road; as long as the enemy uses it, this position keeps collecting tolls.
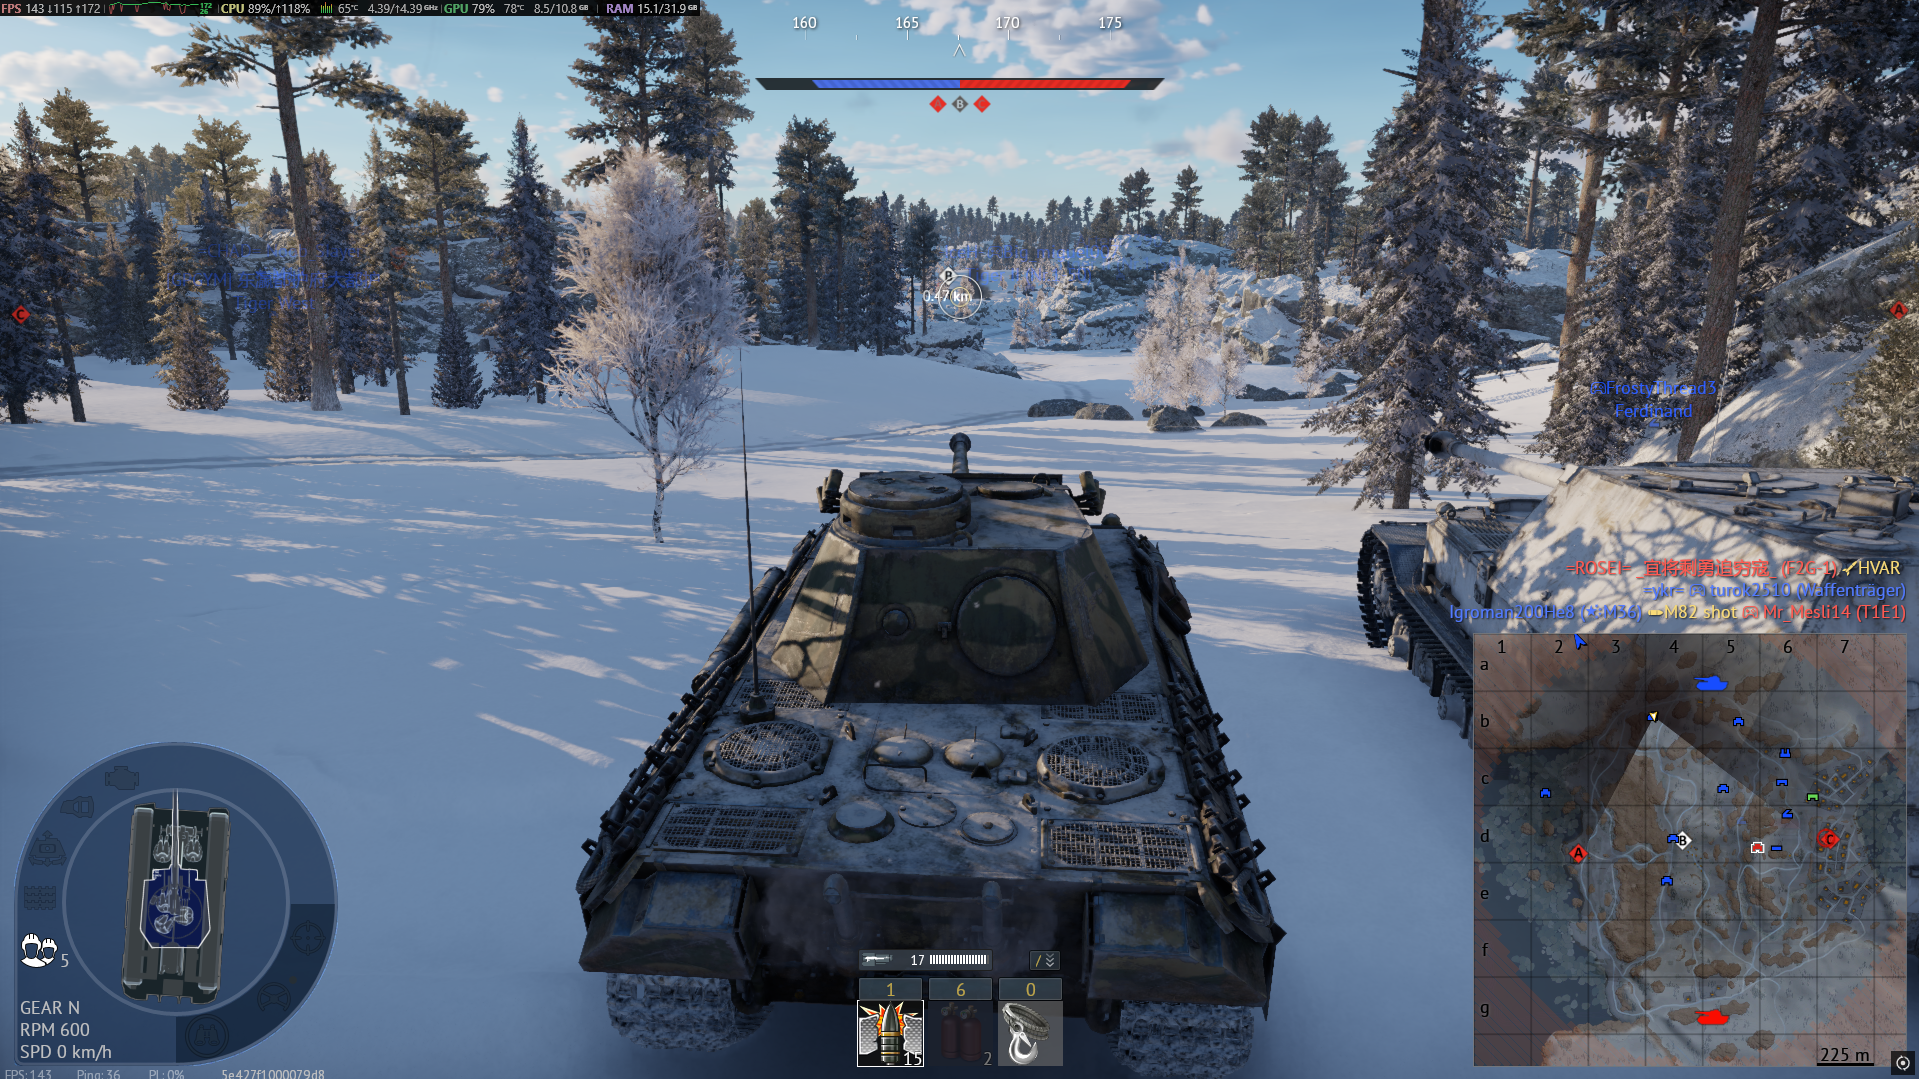
Tactical position on Finland
Map overviewclick to expand

From the position of the tank right next to me in the picture, you can see almost all of the B point — the cap circle and most of its surroundings sit inside one field of view. That makes this a premier B-overwatch posting: cappers and defenders alike have to operate inside your sightline. A practical tip that genuinely matters here: use a white winter camouflage. Against this terrain it makes you dramatically harder to spot, and the difference between being seen first and seeing first is the whole game at these ranges. Match the picture's position, wear the snow, and own B from a distance.

Strategic Routes · 4 approved

Map overviewclick to expand
Wide Flank

A very good sniping spot at the end of this flank — with a view over both B and C. Dual-objective coverage is what sets it apart: from one position your gun reaches two capture points and the rotation lanes between them, so there is always a fight somewhere inside your sightline. The flanking route in keeps you clear of the main lanes while you establish. It rewards proper sniper play — good optics, deliberate shots, hull-down posture where the ground allows. Set up early, decide which point needs you more moment to moment, and let the objective traffic feed the scoreboard.

Map overviewclick to expand
Wide Flank

This flank delivers the best sniping spot over the point, and it comes with good cover — the combination that separates great positions from merely brave ones. From the end of the route your gun owns the objective at range, while the cover lets you survive the attention that a productive sniper inevitably draws. Enemies contesting the point have to solve a hull-down gun they mostly cannot see. Drive the flank early to claim it before anyone else does, tuck in properly behind the cover, and work the point traffic methodically. This is the anchor position for this side of the map.

Map overviewclick to expand
Protected Corridor

A protected route that leads to a hull-down, concealed spot with firing lanes onto multiple positions. Every word of that matters: the approach keeps you covered while you move, the destination hides your hull behind terrain, the concealment keeps you off enemy screenshots, and the multi-angle sightlines mean you are never waiting on a single lane for targets. It is the complete sniper package for this area. Take the protected line in, settle behind the crest, and rotate your attention between the covered positions — whichever one the enemy uses, you already have the angle on it.

Map overviewclick to expand
Wide Flank

A great rear flank — just be careful. The route swings all the way around into the space behind the enemy team, where every target faces away from you and the shots are as good as shots get. The warning is attached for a reason: a rear flank means being far from help, and everything between you and home is hostile. Getting spotted mid-route usually means dying tired and alone. So drive it clean — use the cover, avoid optional fights on the way, and commit fully once you are behind them. Executed with care, the position turns engine decks into a scoreboard; executed carelessly, it is a long drive to nowhere.

See it on the map

Open Finland in the RATLINE tool to view pins, draw routes, and contribute your own intel.

Open RATLINE → All Guides