Tactical Positions · 2 approved

Tactical position on FieldsOfNormandy
Map overviewclick to expand

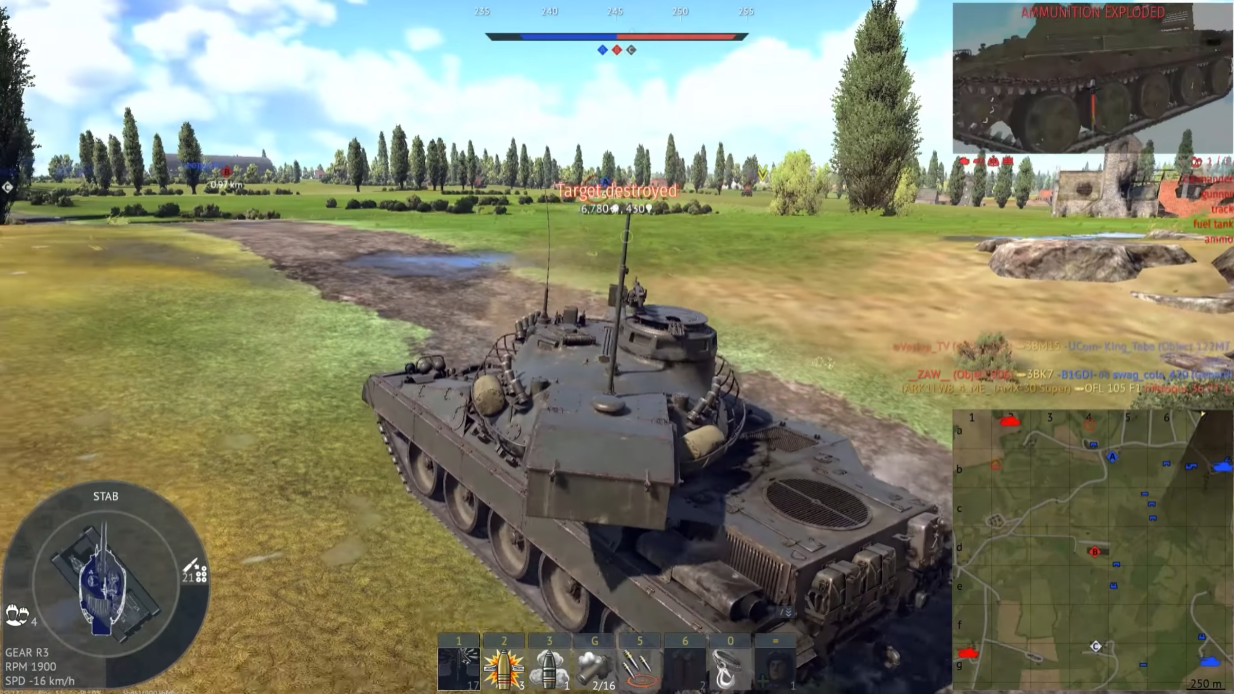
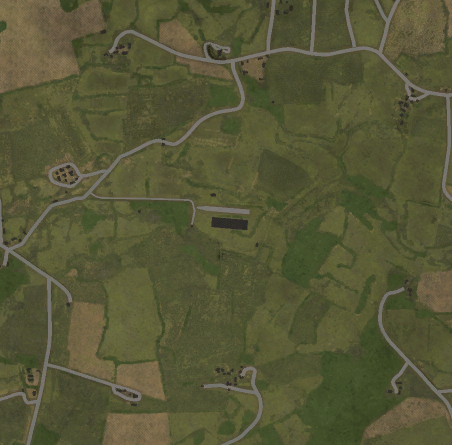
A very good sniping spot. The position gives you long, clean lines over the ground the enemy has to cross, letting you work targets at a range where most of them cannot meaningfully answer. Open-field maps like this reward exactly this kind of posting: whoever establishes the better long-range angle first taxes every movement the other team makes. Bring optics and a gun that shoots flat, arrive early enough to claim it uncontested, and play the classic pattern — deliberate shots on committed targets, small relocations after every couple of kills so the counter-battery never quite finds you.
Tactical position on FieldsOfNormandy
Map overviewclick to expand

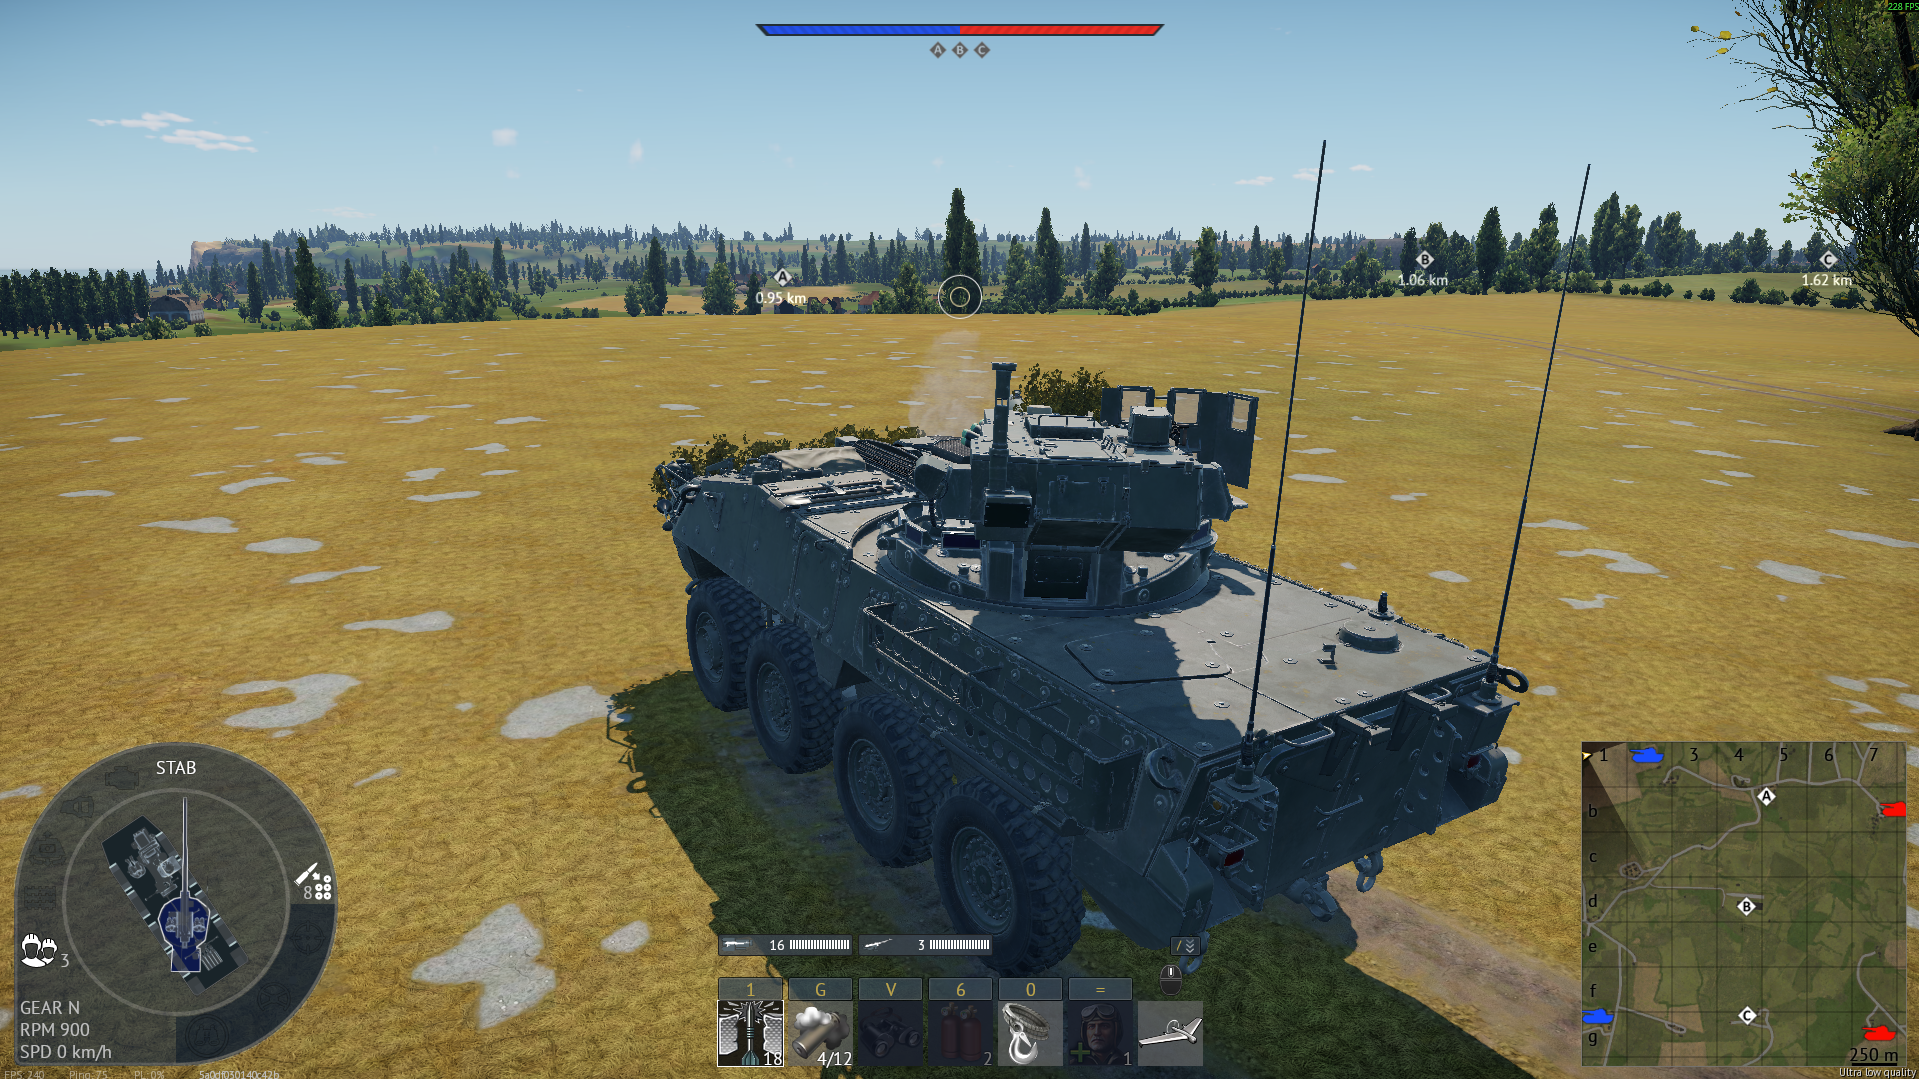
Spawn on the left side, then climb the hill directly behind your own spawn — the position is above where you started, not out in the map. That is what makes it work: nobody scans the ground behind a spawn for threats, and the hill's elevation opens firing lanes across a huge share of the battlefield. The climb costs you the opening minute, but you spend it in perfect safety, and the angle you buy with it keeps paying all match. Bring something with the mobility to make the slope and the optics to use the view. From up there, the enemy's advance unfolds beneath you like a map.

Strategic Routes · 3 approved

Map overviewclick to expand
Wide Flank

You can spawn camp their entire spawn from the end of this flank — without ever being spawn detected. The route terminates just outside the detection radius, which is the detail that changes everything: the enemy map never flags you, so the kills read as random deaths and the survivors hunt phantom snipers in the wrong directions. The line itself swings wide and quiet around the active lanes. Once set, you have the whole deployment area under your gun. Farm it with discipline — deliberate shots, low profile, no greed — and this single position can quietly end the enemy team's ability to leave home.

Map overviewclick to expand
Protected Corridor

This protected line gets you to the center point with side-shot angles onto either end of the map — a middle position that punishes both directions. The covered approach matters because the center is naturally contested ground; arriving unspotted is half the battle. Expect company: you will usually find one or two enemy players with the same idea, so clear the area on arrival rather than assuming it is yours. Once established, the position is a pivot — side armor presents itself on whichever flank the enemy pushes, and you swing between the two angles as the match demands. Center control from cover is how this map is won.

Map overviewclick to expand
Wide Flank

A sniping route that serves both conventional tanks and ATGM slingers — the end position works at gun ranges and at missile ranges alike. The flank in keeps you off the contested lanes, and the destination offers the long, open sightlines this map is famous for. In a tank, you work the angle as a standard sniper: hull-down, deliberate, patient. In a missile carrier, the position is even better — the extended reach turns distant, comfortable enemies into targets, and the standoff distance keeps you outside most return fire. Either way, claim it early and let the open ground in front of you do the funneling.

See it on the map

Open FieldsOfNormandy in the RATLINE tool to view pins, draw routes, and contribute your own intel.

Open RATLINE → All Guides