Tactical Positions · 2 approved

Tactical position on EuropeanProvince
Map overviewclick to expand

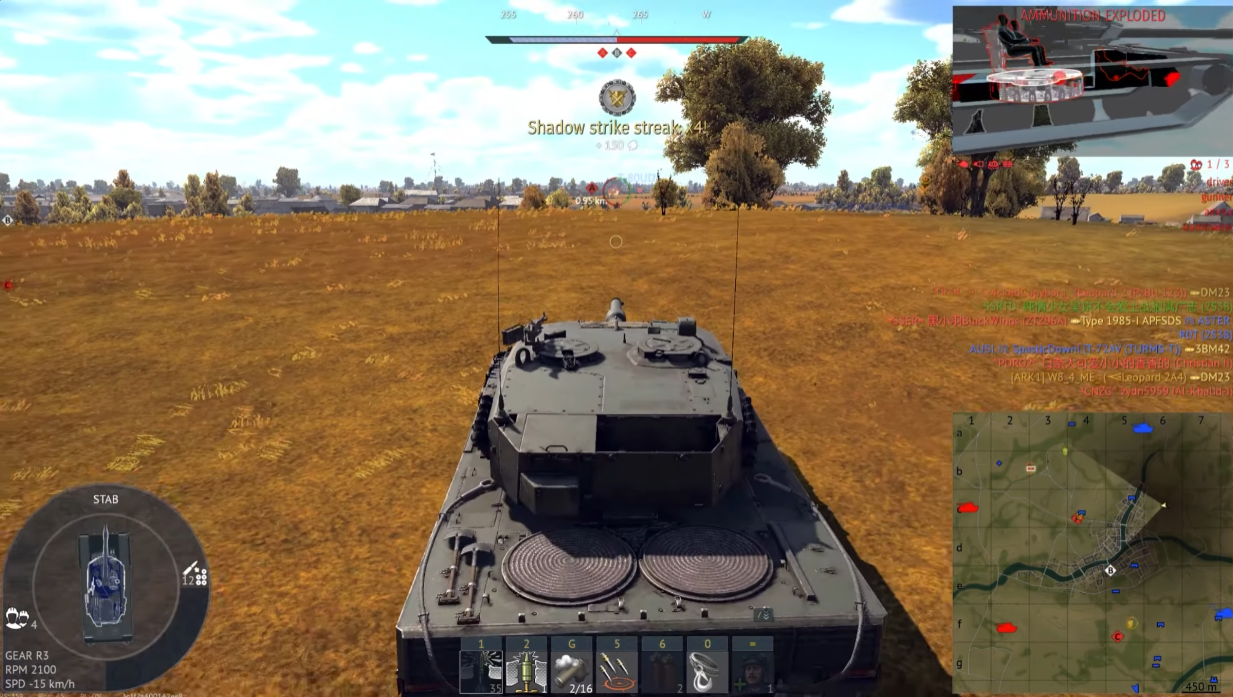
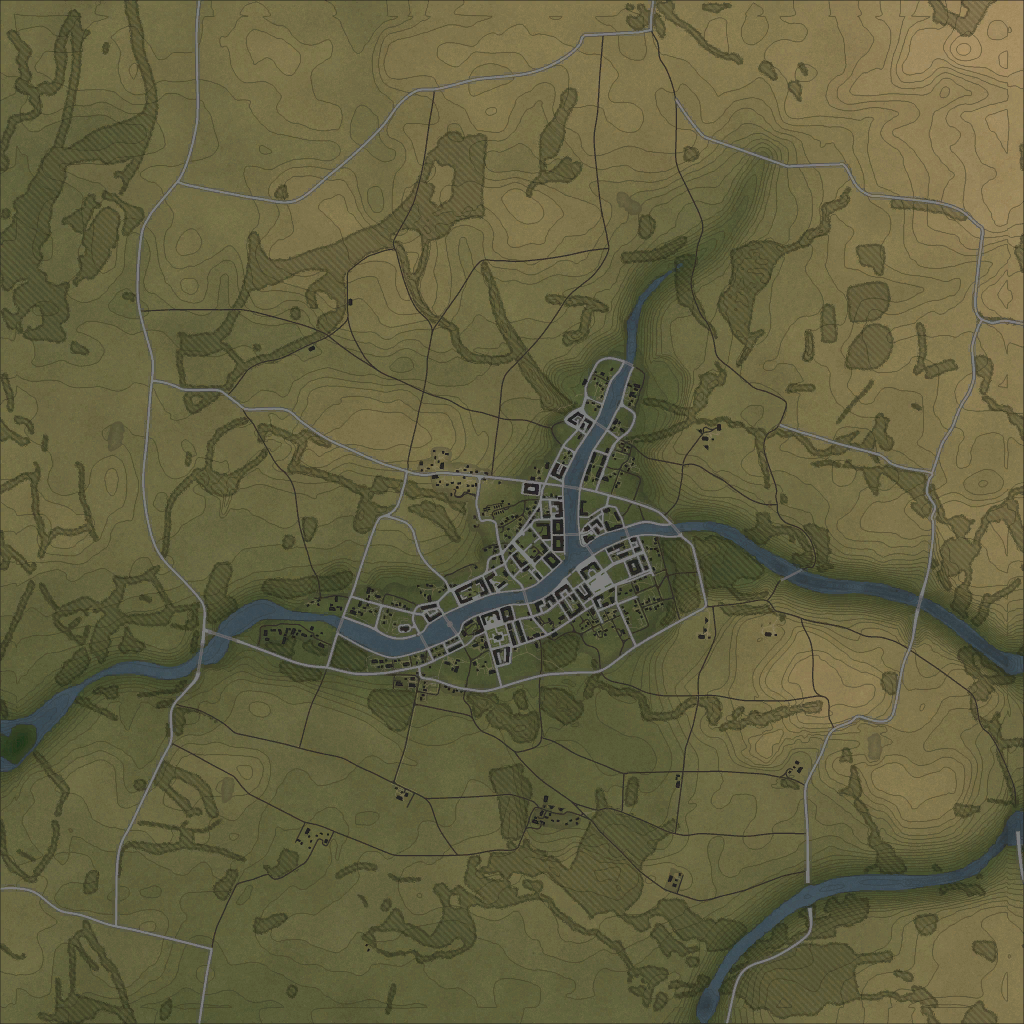
From this one position you control A, C, and the enemy spawn lanes — a three-for-one that very few spots on any map offer. Your gun reaches both objectives, so cappers on either point have to account for you, and the same sightline catches players as they deploy and commit from spawn. That much coverage means constant decisions: prioritize the spawn snipes early when the traffic is thickest, then lean toward whichever point is being contested. A position this valuable draws counter-attention once discovered, so play it hull-down, keep your exposures brief, and move a few meters between kills to stay ahead of the return fire.
Tactical position on EuropeanProvince
Map overviewclick to expand

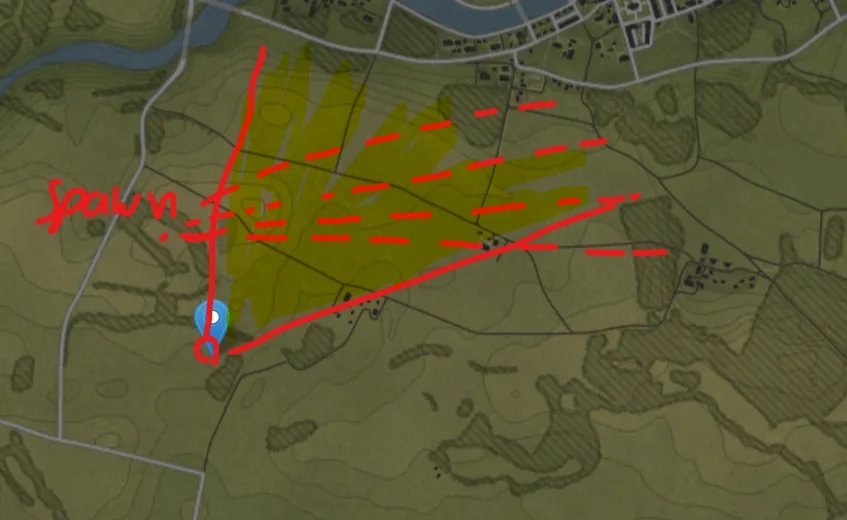
A nice position for killing the second spawn wave — the first wave is usually gone before you can establish, but the reinforcements walk straight into this angle. There is a hill here, and it is your best friend: stay low behind it, hide your hull completely, and work over the crest with just your turret when targets appear. The second wave arrives less alert than it should be, assuming the lanes are already mapped, and pays for it against this spot. It is marked risky because you are deep enough to be cut off — so farm the wave, watch your flanks, and do not wait around to meet the third wave on their terms.

Spawn CampDanger Zone

Strategic Routes · 2 approved

Map overviewclick to expand
Wide FlankDirect Assault

A risky nuke route — from the match start, RUSH non-stop along the near side of the map. Do not slow down, do not trade, do not cap anything: the run only works at full commitment. You may see enemies on your one-through-six o'clock during the drive; keep going anyway, because stopping to fight is how the run dies. When you reach the enemy spawn area you will not be spotted on their map, and that is where the play pays off — spawn camp them from the unmarked position and effectively cancel that respawn for the enemy team. High risk, enormous reward: when this run lands, the nuke is usually just paperwork.

Map overviewclick to expand
Wide Flank

An early-game push with a clear mission: reach the city as fast as possible and go deep — deeper than feels comfortable — then stop and wait. The enemies filtering into the city do not expect anyone that far forward that early, and the ambush from inside their own approach writes itself. Patience after arrival is the skill here: let them come to you rather than announcing yourself on the way in. Once the first surprise is spent, transition to the second phase — continue into the forested area and set up hull-down, converting the aggressive opening into a sustainable position that holds the ground you stole.

See it on the map

Open EuropeanProvince in the RATLINE tool to view pins, draw routes, and contribute your own intel.

Open RATLINE → All Guides