Tactical Positions · 4 approved

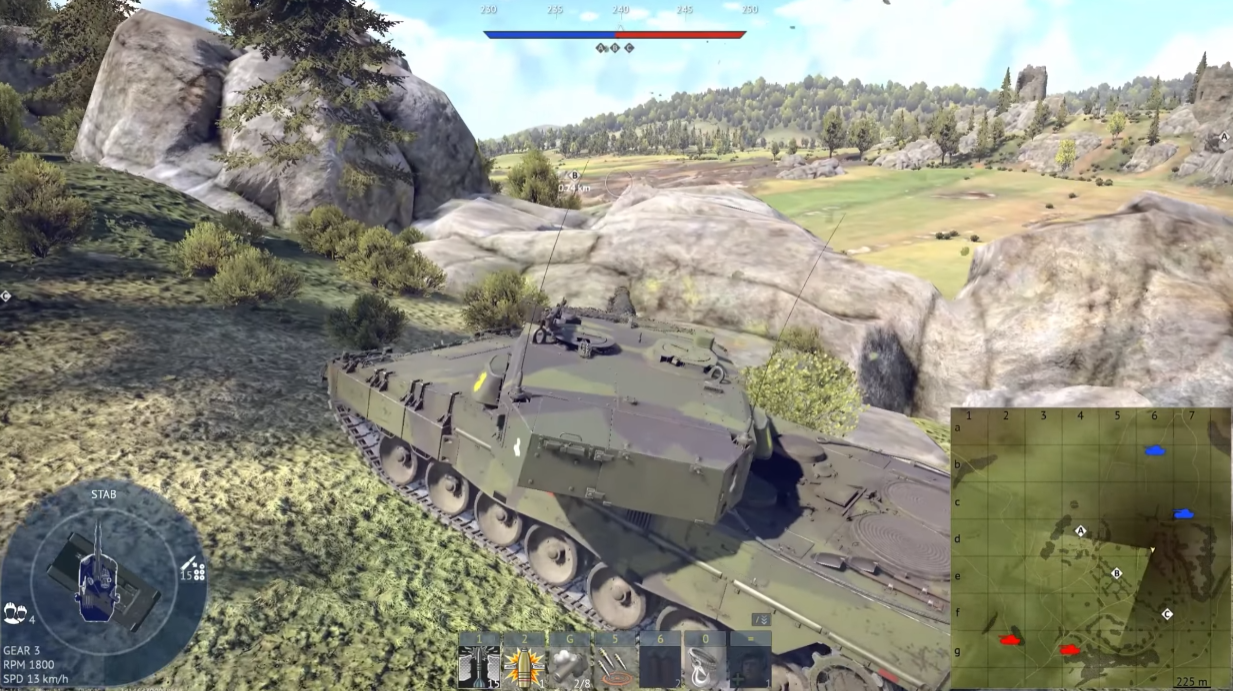
Tactical position on Carpathians
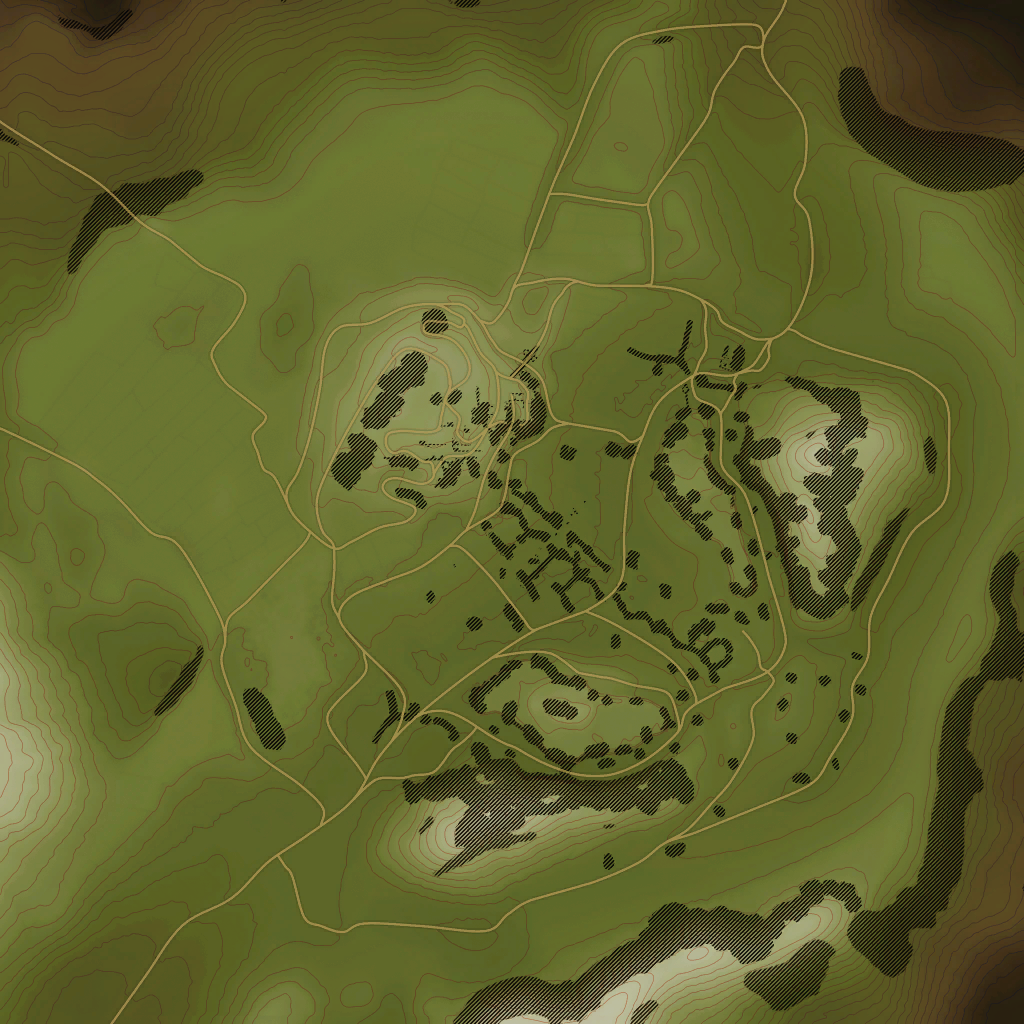
Map overviewclick to expand

This whole area is a peeking playground — it has spots to peek from almost everywhere while keeping you behind cover the entire time. Rather than a single magic position, think of it as a network: rocks, folds, and edges that each offer a firing window, connected by covered ground you can move through freely. That mobility is the real advantage. You take a shot from one window, displace two lengths sideways, and appear from another angle before the return fire finds the first one. Enemies fighting this area feel like they are fighting three tanks. Learn the connections between peeks and you become genuinely hard to pin down here.
Tactical position on Carpathians
Map overviewclick to expand

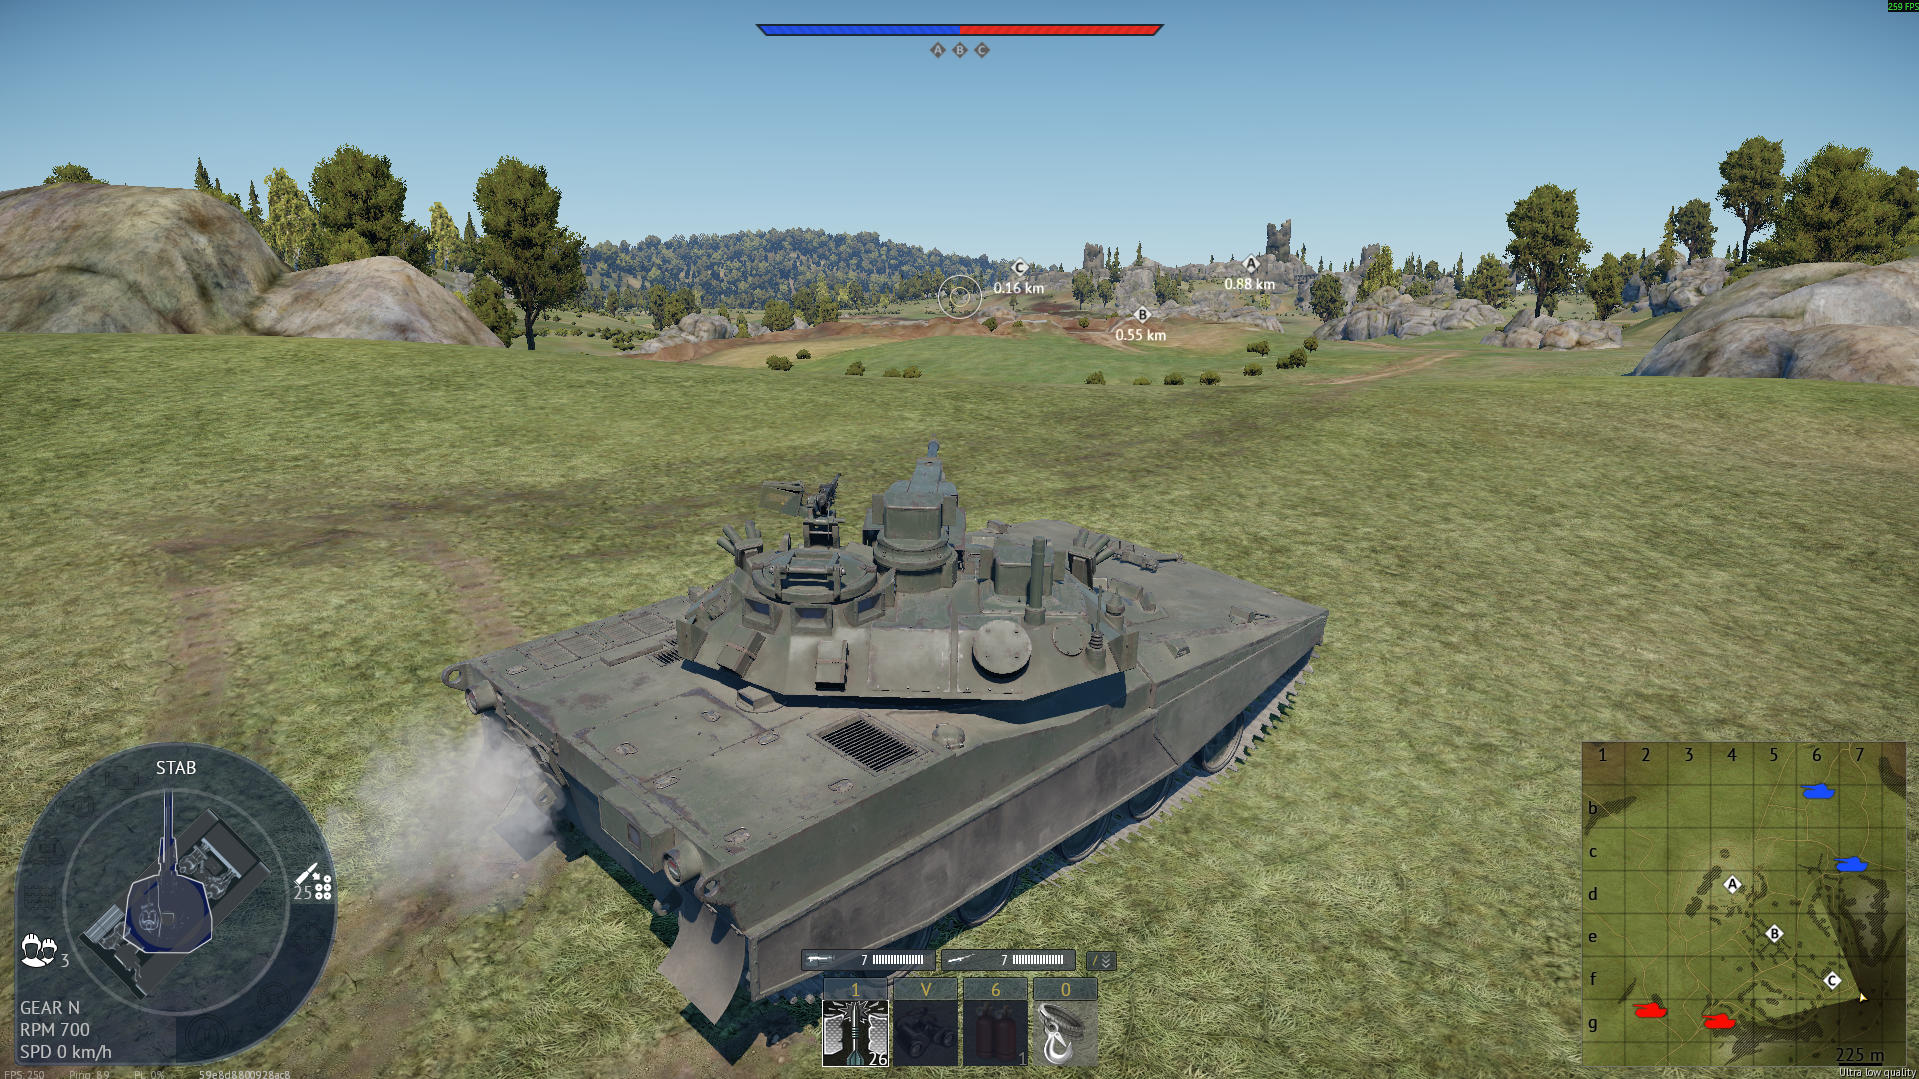
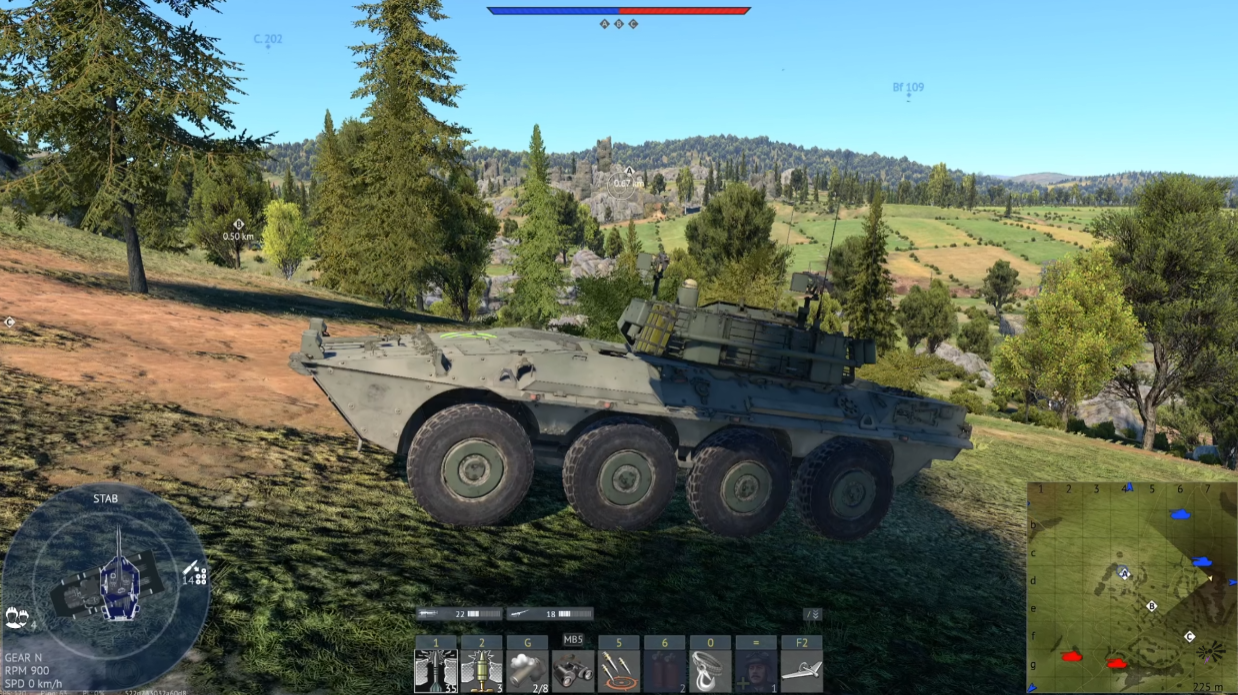
Take the C point first, then set up in the gap between these two rocks — the sequence matters, because the position exists to protect the cap you just made. Wedged between the rocks you have hard cover on both sides and a commanding view over C, B, and anyone trying to climb the hill toward you. That coverage turns you into the anchor of the whole area: the enemy cannot retake C, contest B, or use the hill without crossing your gun. The rocks make you a miserable target from every angle except straight ahead, and straight ahead is exactly where you are looking. Cap, wedge in, and hold the region.

Tactical position on Carpathians
Map overviewclick to expand

You need a fast tank — something that holds 60 km/h — to make it up the ramp, and if your vehicle qualifies, go, because at the top you are the king of the map. The climb filters out nearly everyone: heavies and mediums stall on the slope, which is exactly why the summit is never defended. From up there the sightlines run over everything that matters, and the few vehicles fast enough to follow you up announce themselves by the same ramp you used. Make the climb at match start while the lanes are still forming, and spend the rest of the game reminding the enemy why high ground is undefeated.

Tactical position on Carpathians
Map overviewclick to expand

A Russian favorite. Use a low-profile tank and shoot everything in front of you — the position works because enemies simply do not imagine a tank could be there, and the vegetation covers your peeking on top of it. The one rule that makes it work: wait for the enemy to fully emerge from cover before you peek. Firing early on a half-exposed target warns them and wastes the position; letting them commit puts their whole side in your sights with no way back. Low silhouette, green concealment, and patience — simple as that, no picture needed. The spot punishes every push through this area for as long as you stay disciplined.

Spawn CampHull DownCoverFlank

Strategic Routes · 7 approved

Map overviewclick to expand
Wide Flank

This flank ends with a view into the enemy spawn — without triggering spawn detection. You sit just outside the radius that would flag you on their map, which means the kills come with no return address: enemies die leaving spawn and their teammates hunt for a sniper in the usual places while you keep working from the unusual one. The route in swings wide and stays quiet. Once established, the position gives you first-round shots on vehicles at their most vulnerable — freshly spawned, stationary, and sorting themselves out. Farm it calmly and it lasts; the detection mechanic that usually ends these positions never fires.

Map overviewclick to expand
Wide Flank

The common route — common because it works. It functions on both the double-spawn and single-spawn layouts, can be driven from either side of the map, and ends with firing angles toward and into the enemy spawns. That reliability is its selling point: whatever configuration the match rolls, this line delivers you to relevant ground with shots waiting at the end. Because it is well-known, expect the possibility of company — the mirror version of you may be driving it from the other side. Take the route early, win or avoid the meeting engagement in the middle, and the spawn-facing angles at the end do the rest.

Map overviewclick to expand
Wide Flank

A very good sniping spot at the end of this flank. The route pulls you out of the main lanes and up to a position with long, productive sightlines over the ground the enemy needs to cross. It is the kind of spot that rewards proper sniper habits: arrive early, set up hull-down, take deliberate first-round shots, and relocate a few meters after every couple of kills. The flank approach means you establish without being tracked, so your first several engagements come with full surprise. Bring optics and patience — the position supplies the targets.

Map overviewclick to expand
Protected CorridorDirect Assault

Requires a fast vehicle — the plan has two stages and the clock matters for both. Stage one: push hard up the hill overlooking the enemy spawn chokepoint and kill everyone pushing C or stuck bunched in the choke; the traffic jam there is the richest target this map offers early. Stage two, once the choke is broken: move on to the high ground overlooking the entire middle of the map, including the routes to the A hill. From there you transition from ambusher to overseer, taxing every rotation the enemy attempts. Speed gets you to stage one before the choke clears; discipline gets you to stage two alive. The full sequence, done right, decides the match.

Map overviewclick to expand
Wide Flank

You need a very fast tank for this one — the route only works at speed. The destination is the little valley: once you get down into it, as long as you do not push too far forward, you sit outside the detection range, invisible on the enemy's map while remaining perfectly positioned. From there you catch people going up toward A, shooting them mid-climb while they have no idea the valley is occupied. The boundary matters — creep too deep and the detection flags you, ending the magic. Learn where the line is, stay behind it, and the valley farms the A-traffic quietly all game.

Map overviewclick to expand
Wide FlankDirect Assault

The B-and-C camping line — with a condition attached: take it if you think your team can capture A on its own. The route sets you up watching the B and C areas, taxing the traffic around both points, but it contributes nothing to the A fight, so somebody else has to win that one. When your team has A handled, this position is where the rest of the match comes to you: rotations between B and C cross your gun steadily. Read your team at spawn — if they are obviously A-bound in force, take this line and own the other two-thirds of the map.

Map overviewclick to expand
Direct Assault

The direct way to B, and somewhat protected while it does it — a rare combination for a straight-line route. Most direct lanes trade safety for speed; this one keeps enough terrain and cover along the path that you arrive at the point quickly without being fully exposed on the way. That makes it the sensible default for reaching B: fast enough to matter in the opening cap race, covered enough that you are not gambling your vehicle on it. Drive it with normal caution at the known gaps, and use it again later whenever B needs reinforcing in a hurry.

See it on the map

Open Carpathians in the RATLINE tool to view pins, draw routes, and contribute your own intel.

Open RATLINE → All Guides