Tactical Positions · 5 approved

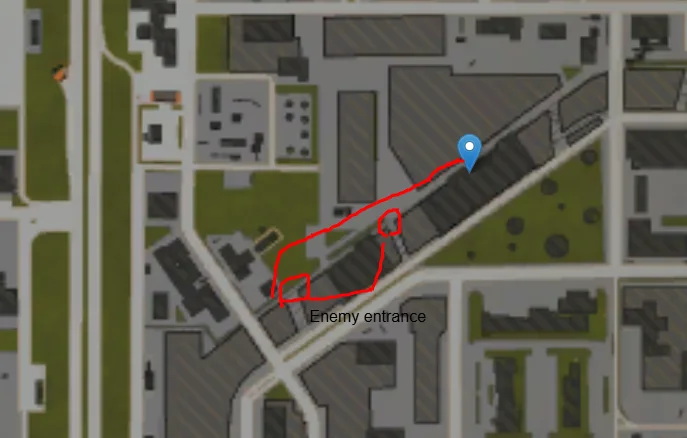
Tactical position on CargoPort
Map overviewclick to expand

Position yourself behind this bridge and two jobs open up at once: you can spawn camp the enemy and hold B from the same piece of cover. The bridge structure hides your tank while giving you firing lanes onto the enemy's deployment side and onto the B point, so you alternate between the two as targets present themselves. It is an efficient posting — objective defense that also generates spawn pressure. The bridge makes you hard to dig out frontally; your real risks arrive from the flanks, so glance sideways between shots and reposition under the span if attention builds.
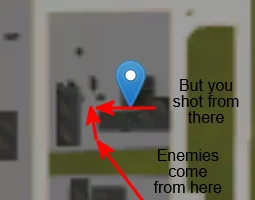
Tactical position on CargoPort
Map overviewclick to expand

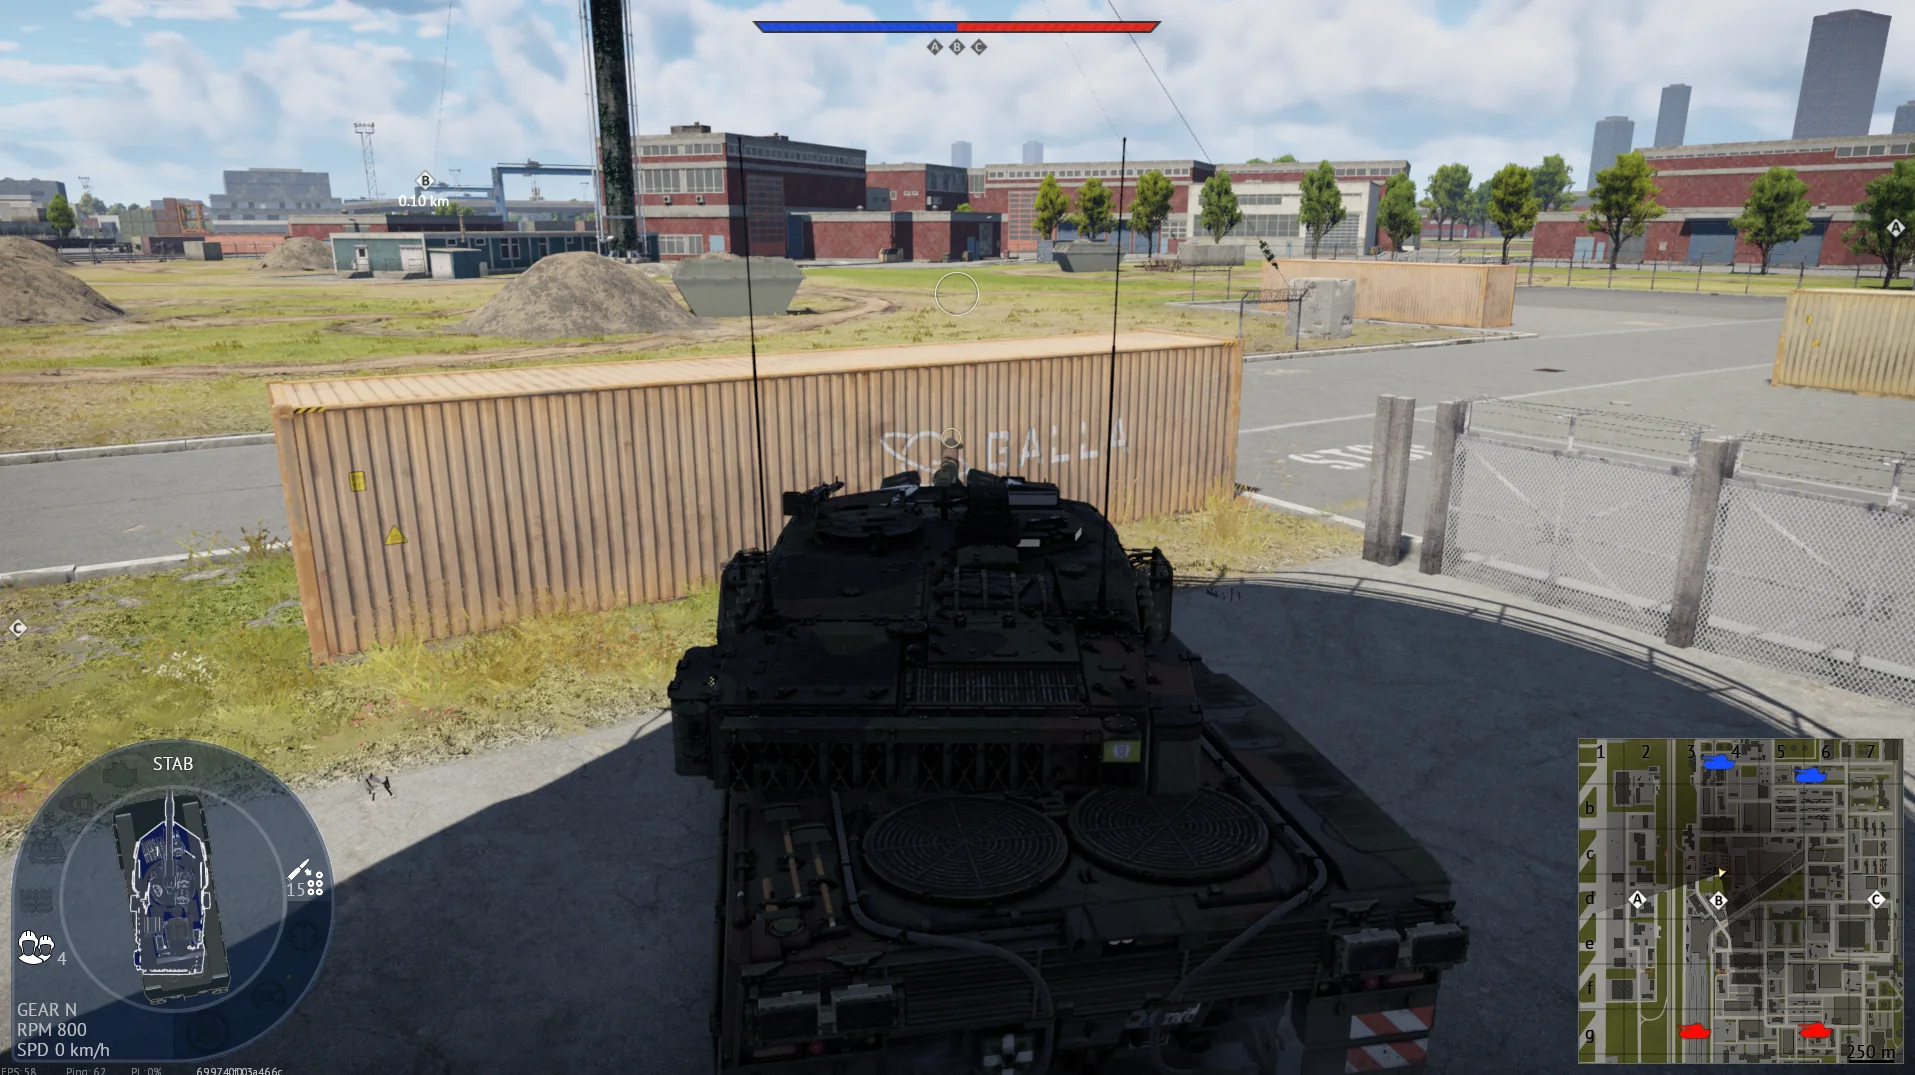
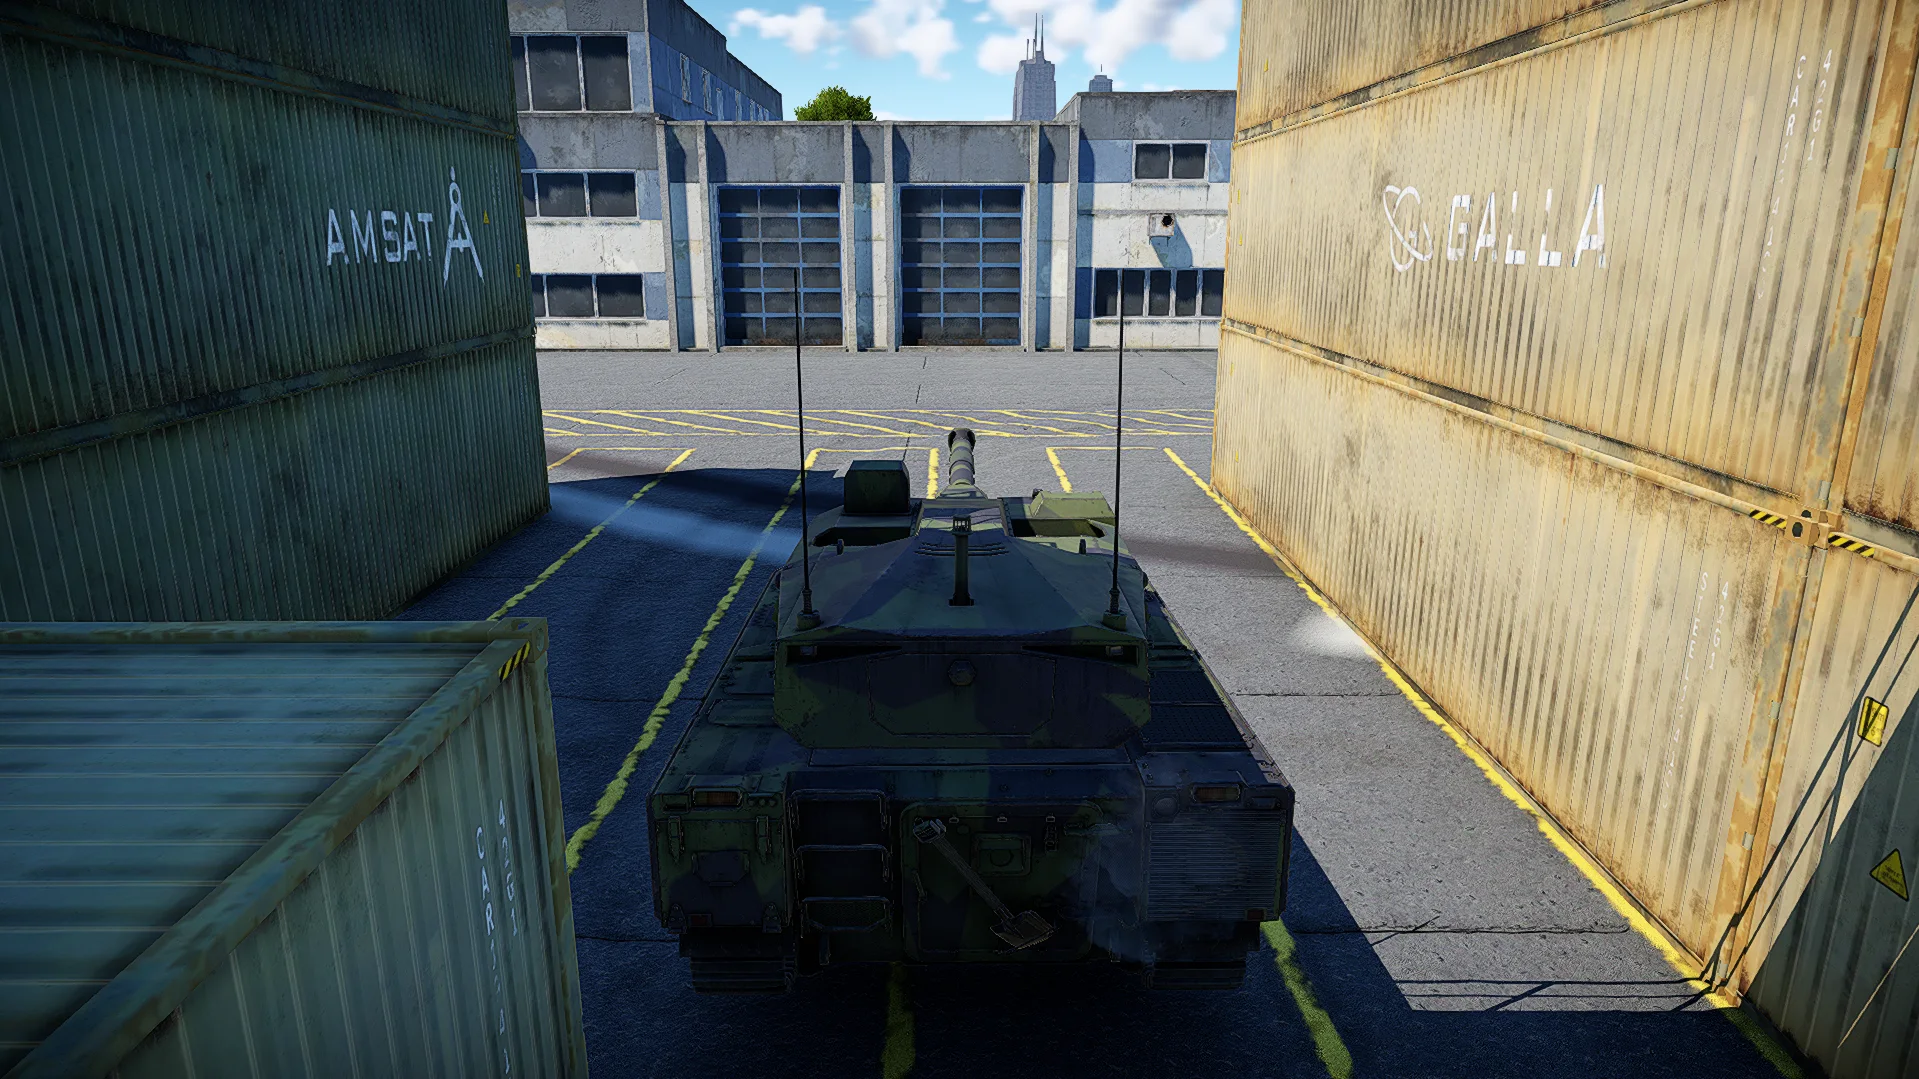
If you have enough penetration — high-tier or top-tier APFSDS territory — you can sit behind these containers and shoot straight through them at the people pushing from the B point. The containers act as concealment you can fire through while the enemy cannot see you at all: they push past a wall of metal boxes and die to a gun that never showed itself. Know the risks that come with the spot: a flank can come down the parallel lane, and the sniping positions over at the A cap have angles on you. Check both periodically, and as long as your dart can chew the containers, the position is uniquely unfair.

DefensiveCoverDanger Zone
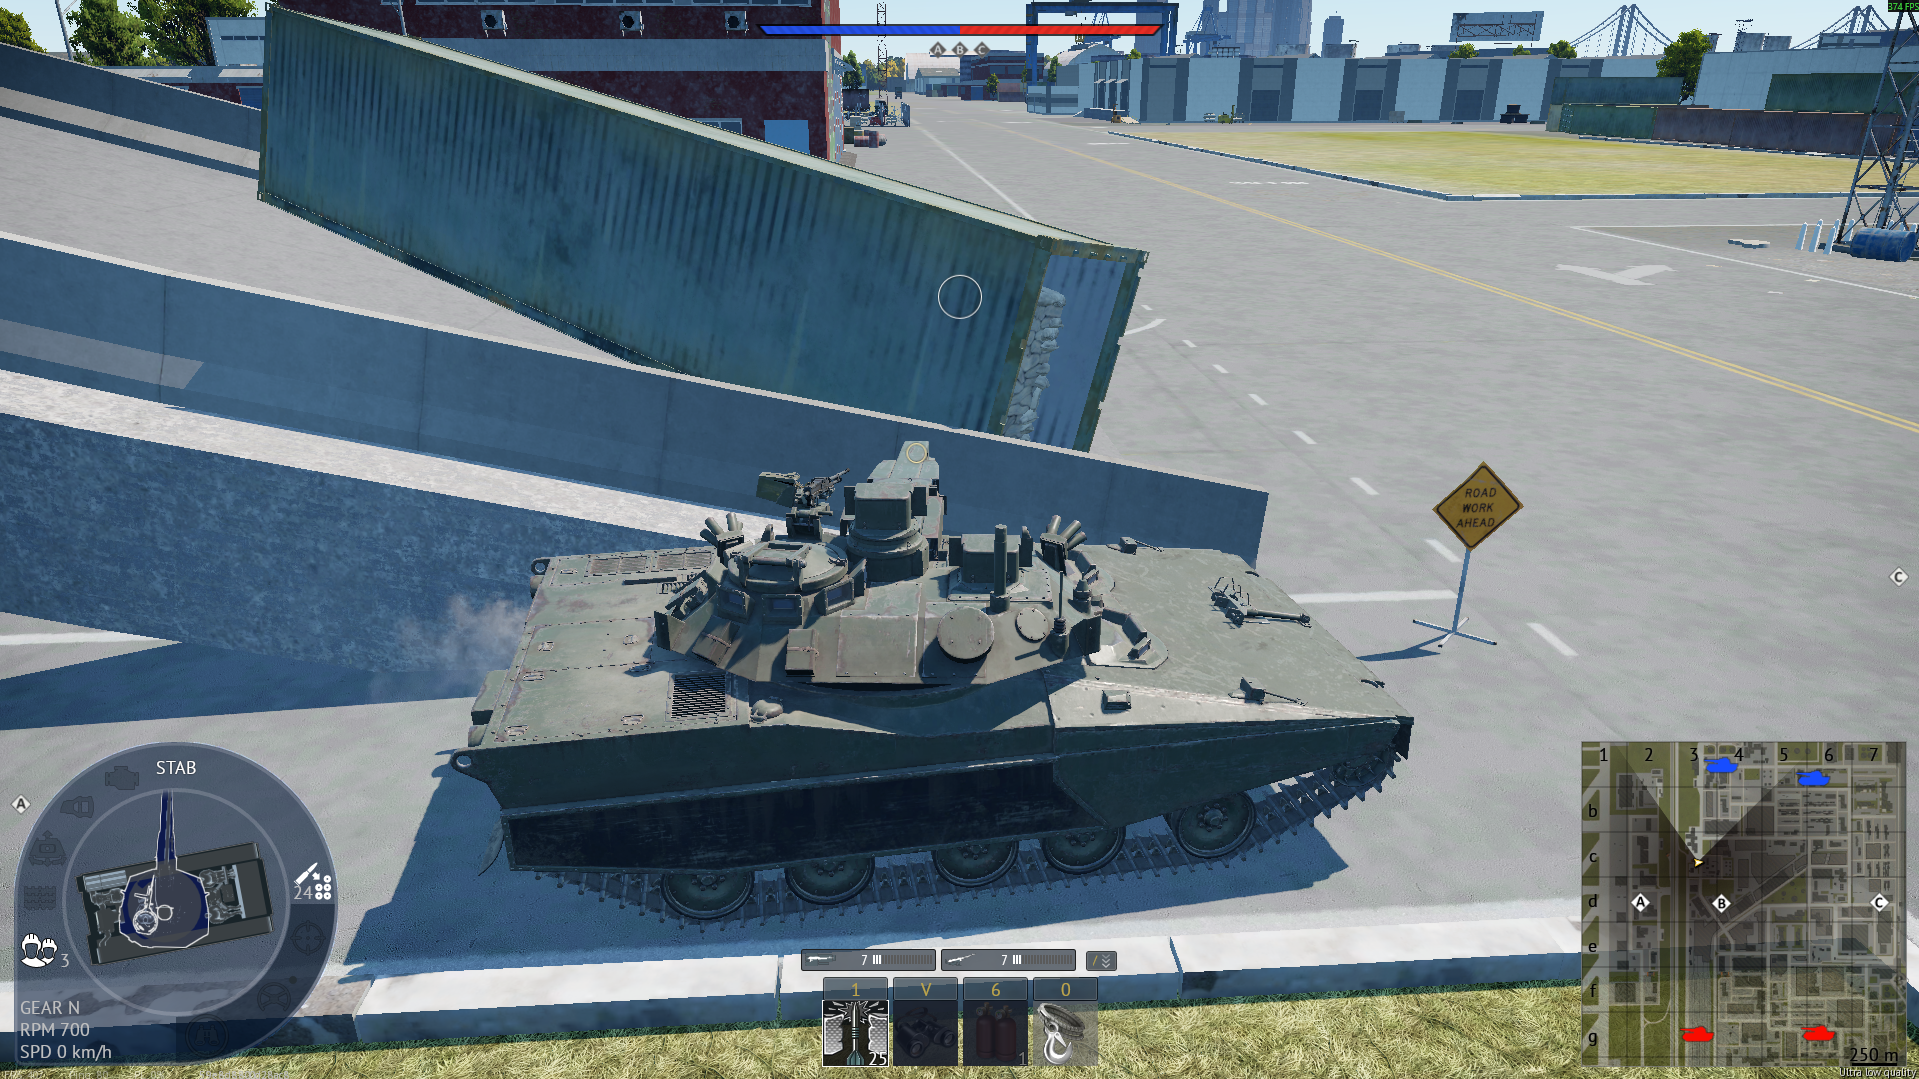
Tactical position on CargoPort
Map overviewclick to expand

An interesting spot — you will not be seen here, and enemies will sometimes drive right in front of you without ever checking the angle. You may need to creep forward a touch to get your gun onto them, and that is where the catch-them-off-guard moment happens: side shots at close range on targets that believed the area was empty. Fair warning from the original scout: the C point is not the most popular, so the traffic here can be thin and the kills less frequent than flashier spots. But when C matters — and some matches it does — this position quietly owns the approach.

FlankObjectiveDefensiveCover
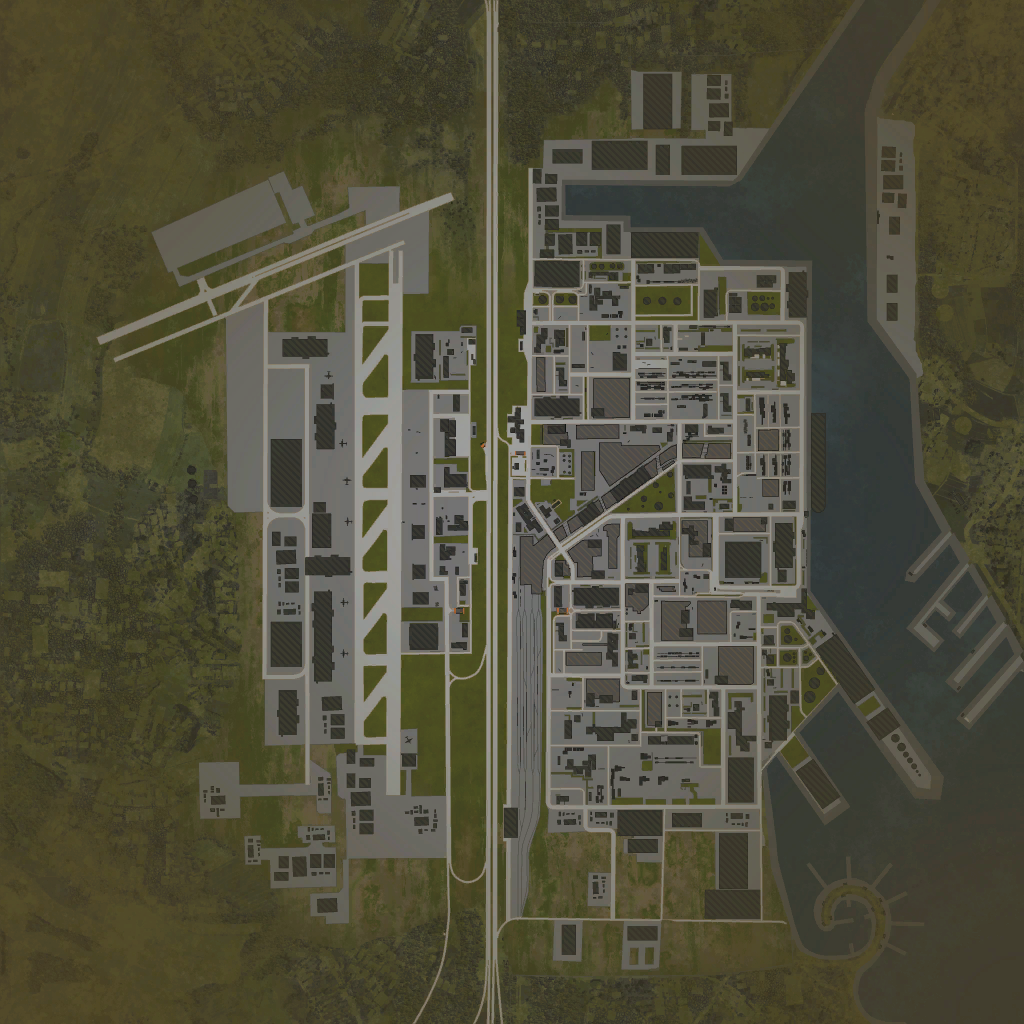
Tactical position on CargoPort
Map overviewclick to expand

A good spot tucked behind the train wagon and inside the train garage, with strong visibility over the mid capture zone and the enemy's entrance into it. The rolling stock is your armor: the wagon and garage structure break your silhouette completely, while your gun covers the two things that matter — the point itself and the doorway the enemy uses to reach it. Anyone contesting mid has to enter through your sightline. It carries a danger tag because the position sits close to the action; if the enemy takes the garage area in force, you are in a knife fight. Hold the angle, service the entrance, and keep an ear on your own doorway.

FlankObjectiveCoverDanger Zone
Tactical position on CargoPort
Map overviewclick to expand

You can defend point A from here silently — that word is the whole position. The spot combines cover, a sniping angle onto the objective, and a flanking geometry that keeps you off the enemy's mental map: they fight for A against the defenders they can see while you subtract vehicles from the edge of the fight, unattributed. Silent defense is the most efficient kind — nobody pushes your position because nobody knows it is a position. Take the deliberate shots, resist the urge to chase, and let the A fight come apart around your gun. If discovery ever comes, you have cover to fall back through.

CoverObjectiveSniperFlankDefensive

Strategic Routes · 6 approved

Map overviewclick to expand
Wide Flank

An honest route: it is an okay flank, not the best, so do not build your match around it — one to three kills is the realistic expectation. It swings you around the near lanes into moderate side angles, and the targets it finds are real enough, just not abundant. That said, okay flanks have their uses: when the premier routes are contested or the enemy has adapted to them, this line is usually unwatched precisely because it is second-tier. Run it as a change-up, bank the couple of kills it offers, and fold back into the main fight without overstaying.

Map overviewclick to expand
Wide Flank

An early-game flank, built for the opening minutes. The route works before the enemy team establishes its positions — while they are still driving out and sorting themselves, you swing around the forming lanes and arrive on their side with side shots waiting. Its value decays sharply after that window: five minutes in, the same path crosses ground somebody now watches. So treat it like the timing play it is — commit at spawn or not at all, take the opening-wave kills it produces, and transition into a standard position once the early chaos settles into lanes.

Map overviewclick to expand
Protected Corridor

Get behind the container quickly — speed to the position is part of the play — and then shoot through it at the enemies coming from their spawn. The container is penetrable concealment: your rounds pass through while their eyes cannot, so the spawn traffic drives into fire from a wall of cargo that never resolves into a visible tank. The protected route in keeps you covered while you establish. The trick works for as long as the enemy fails to deduce the angle, which is usually a long time — dying to a shipping container is not something players learn from quickly. Set up early and let the through-cover shots do the talking.

Map overviewclick to expand
Protected CorridorDirect Assault

Very good at catching enemies off guard — the route's protected stretches and direct finish deliver you onto an angle that does not exist in most players' expectations. The line keeps you concealed during the approach, which is what preserves the surprise: you arrive unannounced, and the first the enemy learns of the route is the shot that hits them. Positions born from unexpected angles are the most efficient kind, trading on attention rather than armor. Drive it as drawn, arrive quietly, and spend the surprise on the highest-value targets in view — you only get to be unexpected once per audience.

Map overviewclick to expand
Wide Flank

This route makes people leave the game a lot — that is the measure of it. High risk, high reward: the line commits you deep into territory where being caught means dying alone, but the position it delivers produces the kind of repeated, unanswerable kills that break players' patience entirely. The risk is real and front-loaded in the approach; survive the drive and the reward phase begins. Bring a vehicle you trust, drive the dangerous stretches with full attention, and once established, farm methodically. Somewhere on the other team, someone is alt-F4ing because of you.

Map overviewclick to expand
Wide FlankDirect Assault

See it on the map

Open CargoPort in the RATLINE tool to view pins, draw routes, and contribute your own intel.

Open RATLINE → All Guides