Tactical Positions · 3 approved

Tactical position on Campania
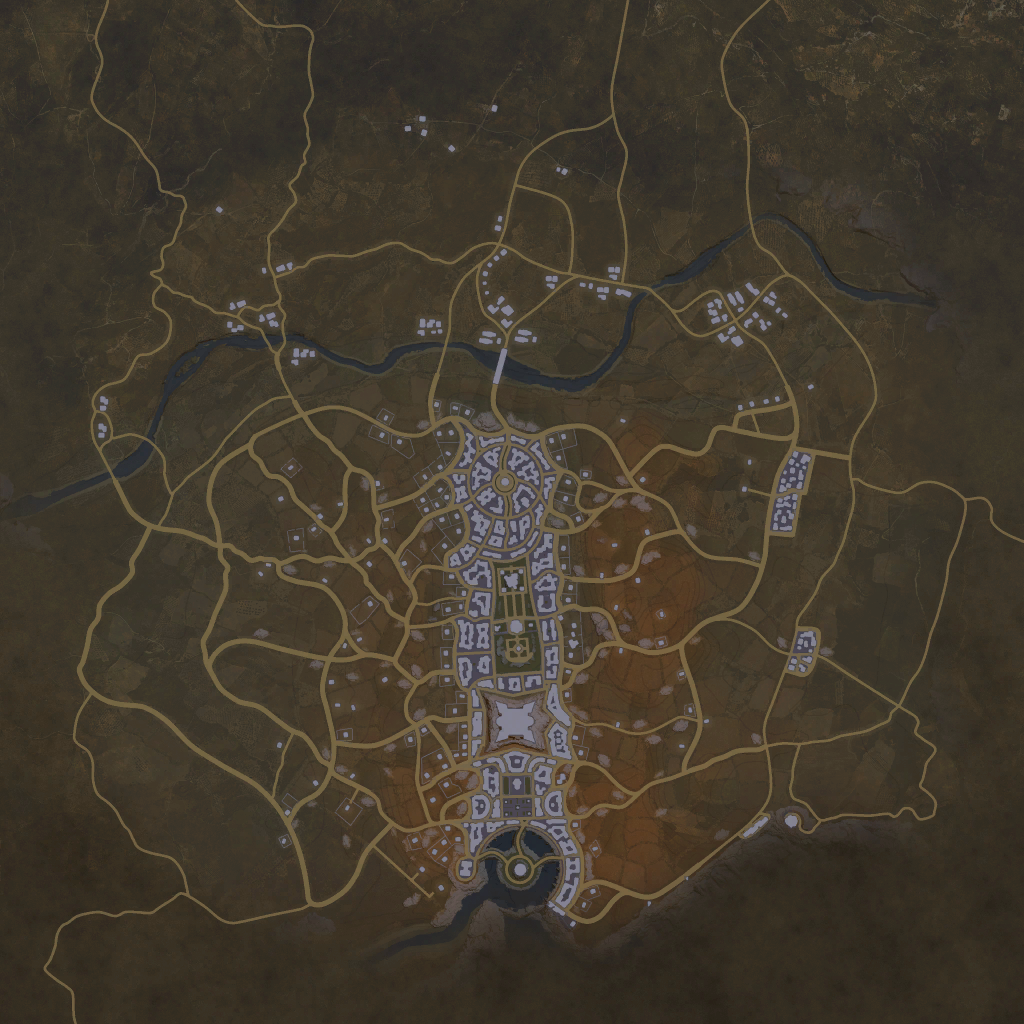
Map overviewclick to expand

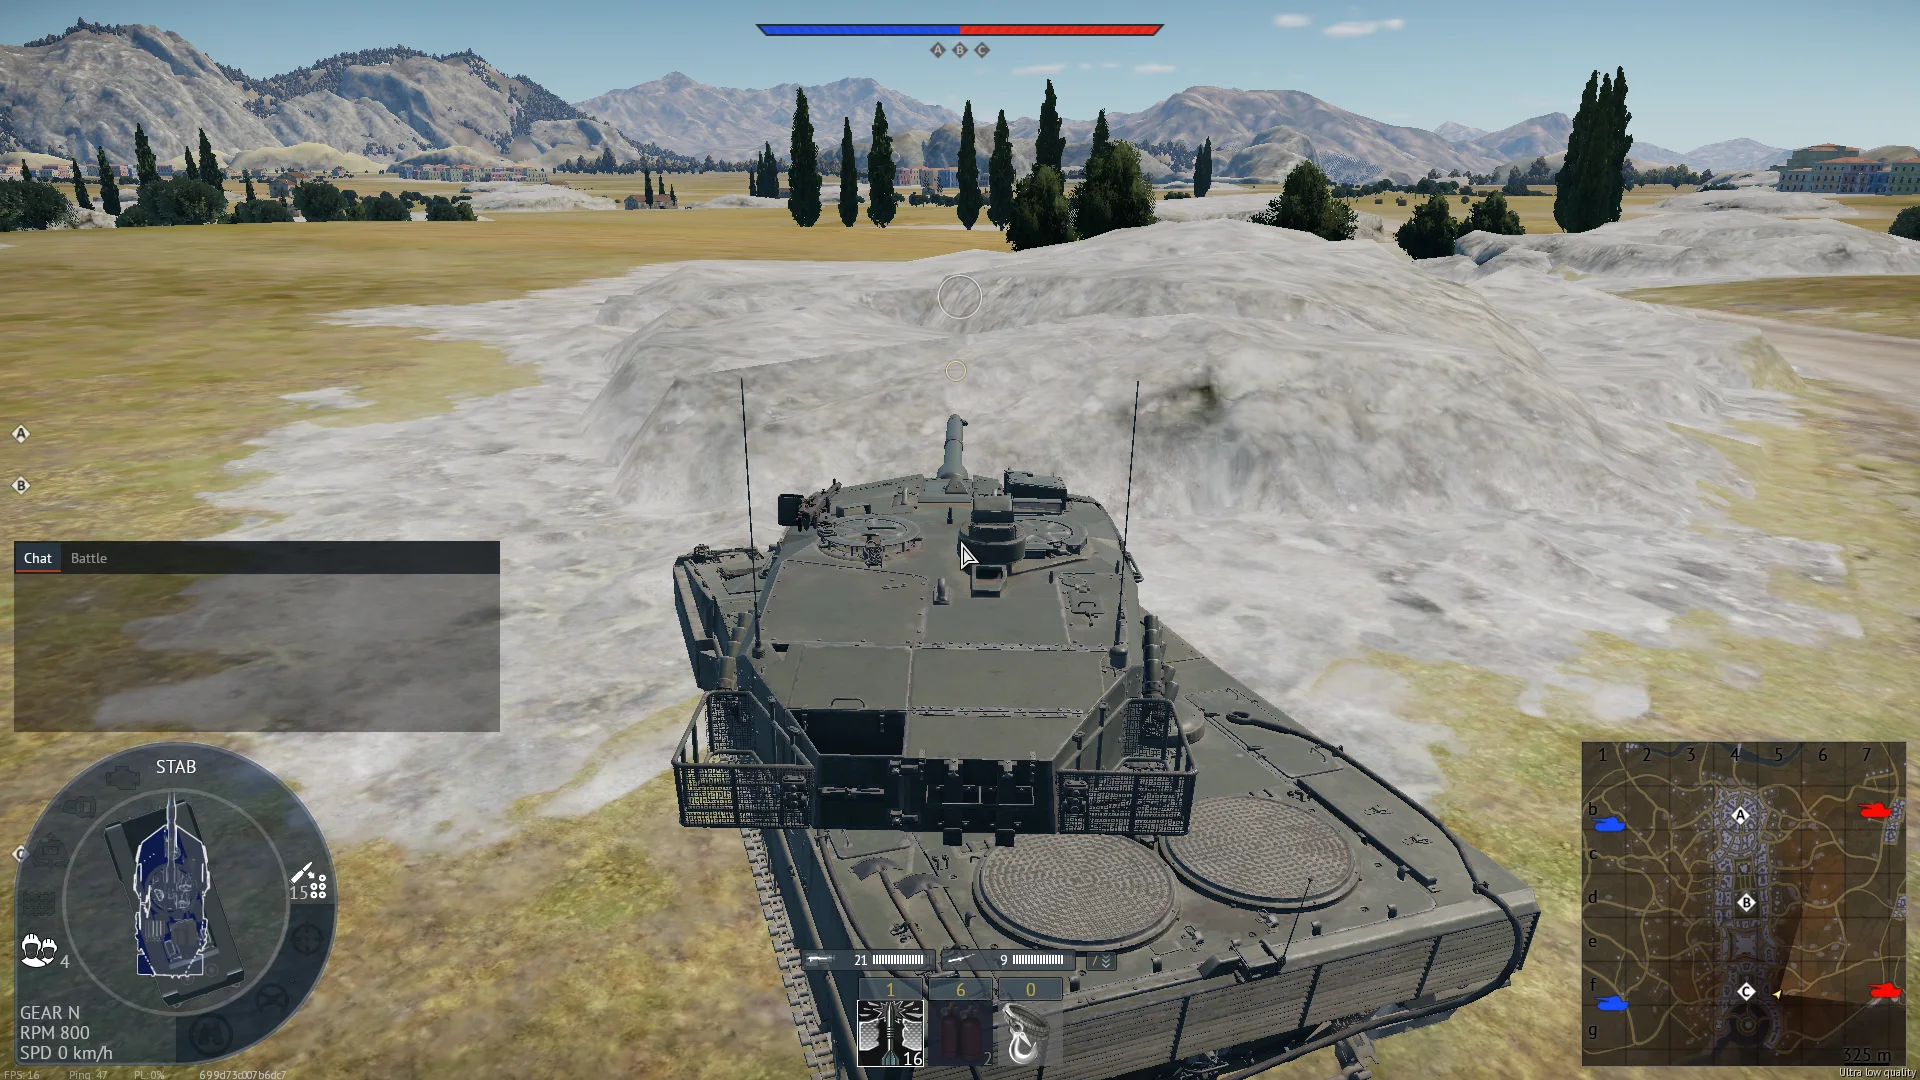
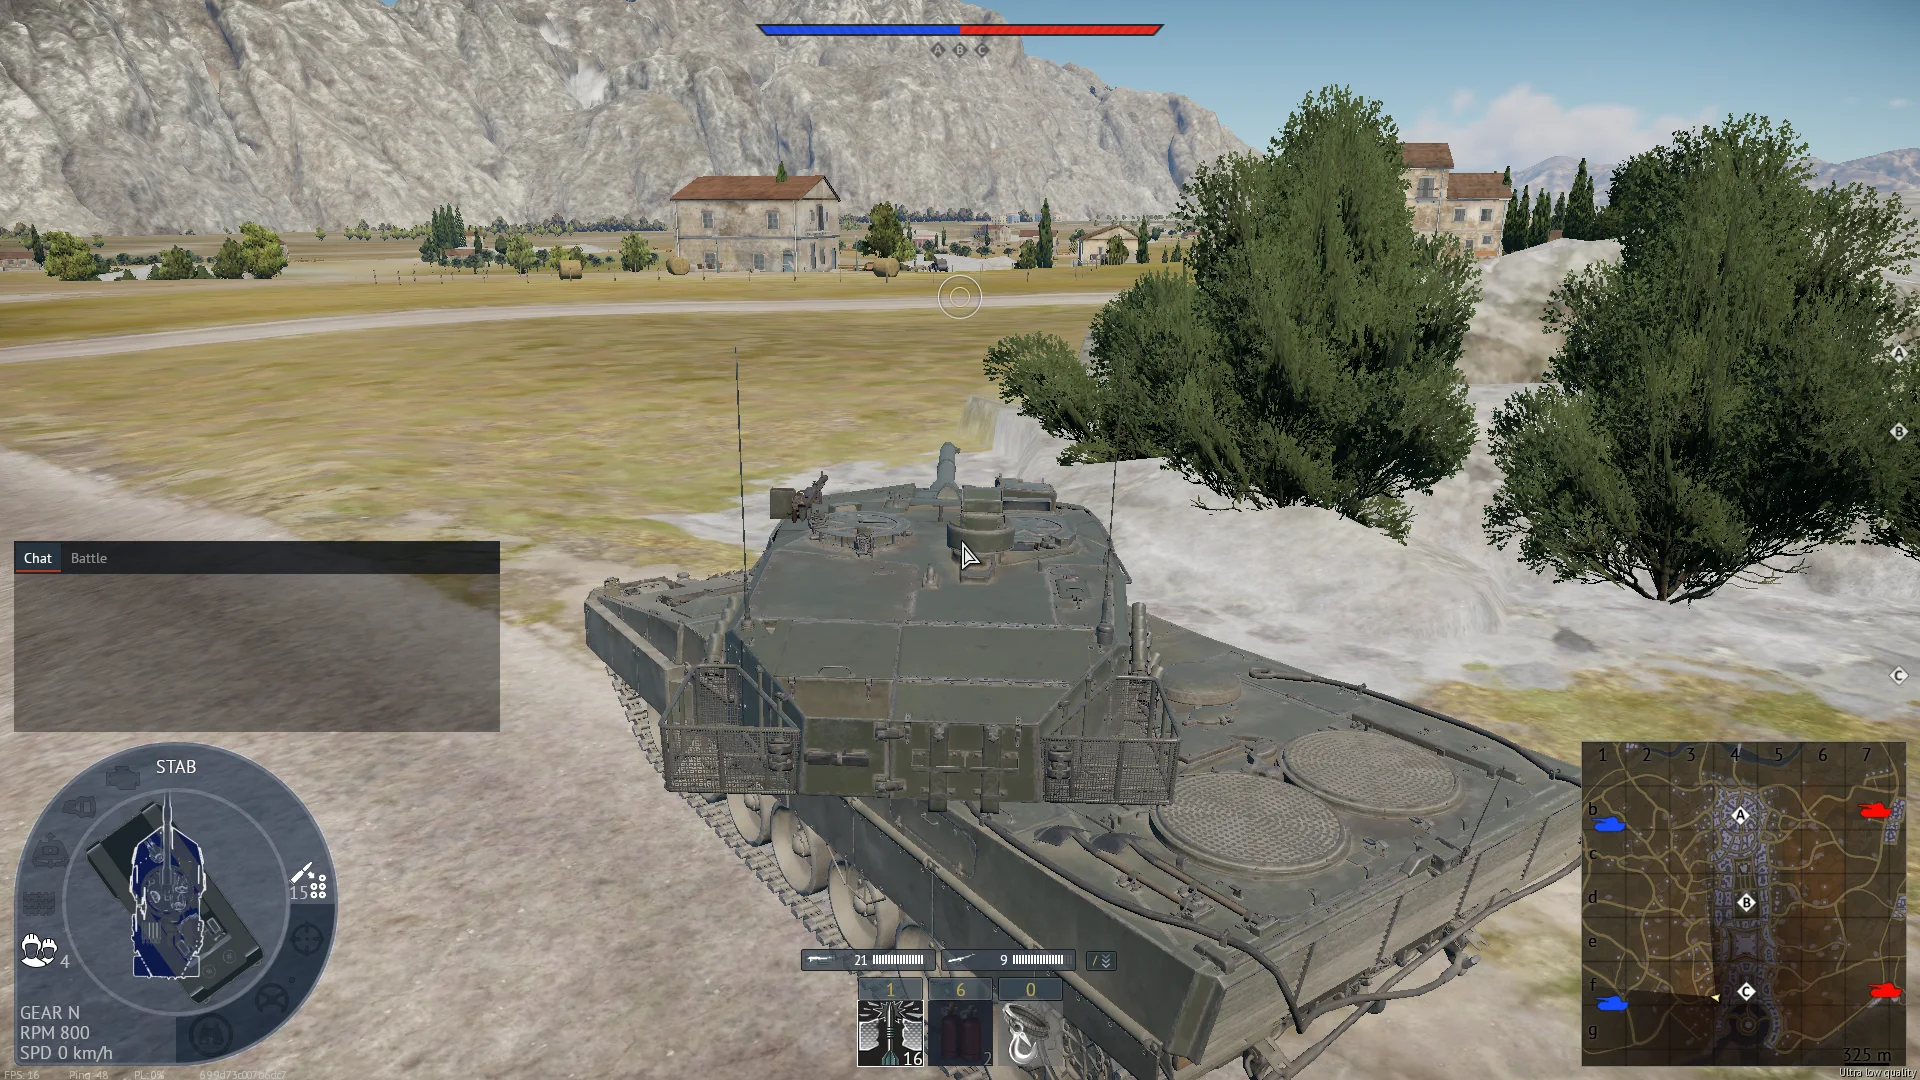
A good angle for sniping into the C point. The position gives you a clean line onto the cap circle and the ground defenders use around it, letting you interrupt captures and thin the C crowd from a distance where most of them cannot effectively reply. Objective snipers live on the point's traffic, and C draws enough here to keep the angle fed. It wears a danger tag for the usual reason — a productive sightline eventually gets traced — so work it in short exposures, prioritize the vehicles actually sitting in the circle, and be somewhere slightly different by the time the counter-fire arrives.
SniperDanger ZoneObjective
Tactical position on Campania
Map overviewclick to expand

A sniping spot on the enemy spawn that never stops being a defensive position — from the same setup you cover the zone and the other spawn approach as well. That is the geometry that makes it special: most spawn-watching spots abandon your team's needs to farm, but this one multitasks, taxing the enemy's deployment while still guarding what matters behind you. Work the spawn sightline as the priority — those targets are the freshest and least aware — and swing to the zone defense when the match demands it. One well-played tank here does the work of two postings.

SniperSpawn PeakSpawn Camp
Tactical position on Campania
Map overviewclick to expand

The mirror of the position on the other side of the zone — same concept, same value: both enemy spawns are visible from here. Dual spawn vision means the target supply never depends on which side the enemy reinforces; whichever spawn feeds, your sightline is already on it. Between the two mirrored positions, a coordinated pair of snipers can watch everything the enemy team does from the moment it deploys. Play it like its twin: hull-down, deliberate shots on the freshest spawns, and enough movement between kills that the inevitable counter-attention finds an empty crest.

SniperSpawn PeakSpawn Camp

Strategic Routes · 5 approved

Map overviewclick to expand
Wide Flank

A good flank worth two to four kills in the right tank — mobility and a competent gun are what qualify a vehicle for it. The route swings you off the contested lanes and onto side angles where the enemy's attention is spent elsewhere; the kills come from targets that never budgeted for the direction. It is a solid, repeatable play rather than a spectacular one: run it, collect what the angle offers, and rotate back before the position sours. In something fast with a quick reload, the upper end of that kill estimate is very reachable.

Map overviewclick to expand
Protected Corridor

A good protected route for catching the people capturing B completely off guard. The line keeps cover between you and the map's attention while you approach, delivering you onto the point at close quarters with the cappers — who are, by definition, stationary, committed, and staring at a progress bar. Few targets in this game are more vulnerable than a mid-cap tank, and this route manufactures exactly that engagement. Time it for when B is actually being taken, arrive quietly, and clear the circle before anyone inside it finishes processing the first kill.

Map overviewclick to expand
Wide Flank

This flank ends in a sniping angle into the C point — the route is the delivery mechanism, the C sightline is the product. You swing around the near fighting and set up where the point's traffic crosses your gun: cappers in the circle, defenders on its shoulders, reinforcements on the approach. C-focused players rarely scan this direction, which keeps the first several engagements one-sided. Establish early if you want the opening rush, or run it mid-match when C changes hands and the traffic renews. Either way, deliberate shots and small relocations keep the angle alive.

Map overviewclick to expand
Wide Flank

This flank ends with a direct view of the enemy spawn — the sightline runs straight into their deployment area, catching vehicles at the moment they exist and nothing more. Fresh spawns are the most predictable targets in the game: they roll out along the same few lines, unbuttoned and unaware, and this angle owns those lines. The route in swings wide enough to keep you off the enemy's radar while you establish. Standard spawn-watching rules apply — take the deliberate first-round shots, do not linger visible after firing, and treat organized return attention as your cue to relocate.

Map overviewclick to expand
Wide Flank

Perfect for flanking with small, powerful tanks — the compact, high-output vehicles that can use every fold of this route's terrain. It is high risk, and honestly so: the line commits you to ground where a single mistake goes unforgiven. But normally, if the run succeeds, a good reward is granted — the position at the end feeds you the kind of side and rear shots that turn a match. Small silhouettes survive the risky stretches that would kill anything bulky, which is why the vehicle recommendation matters. Drive it sharp, arrive unseen, and make the reward phase count.

See it on the map

Open Campania in the RATLINE tool to view pins, draw routes, and contribute your own intel.

Open RATLINE → All Guides