Tactical Positions · 2 approved

Tactical position on Breslau
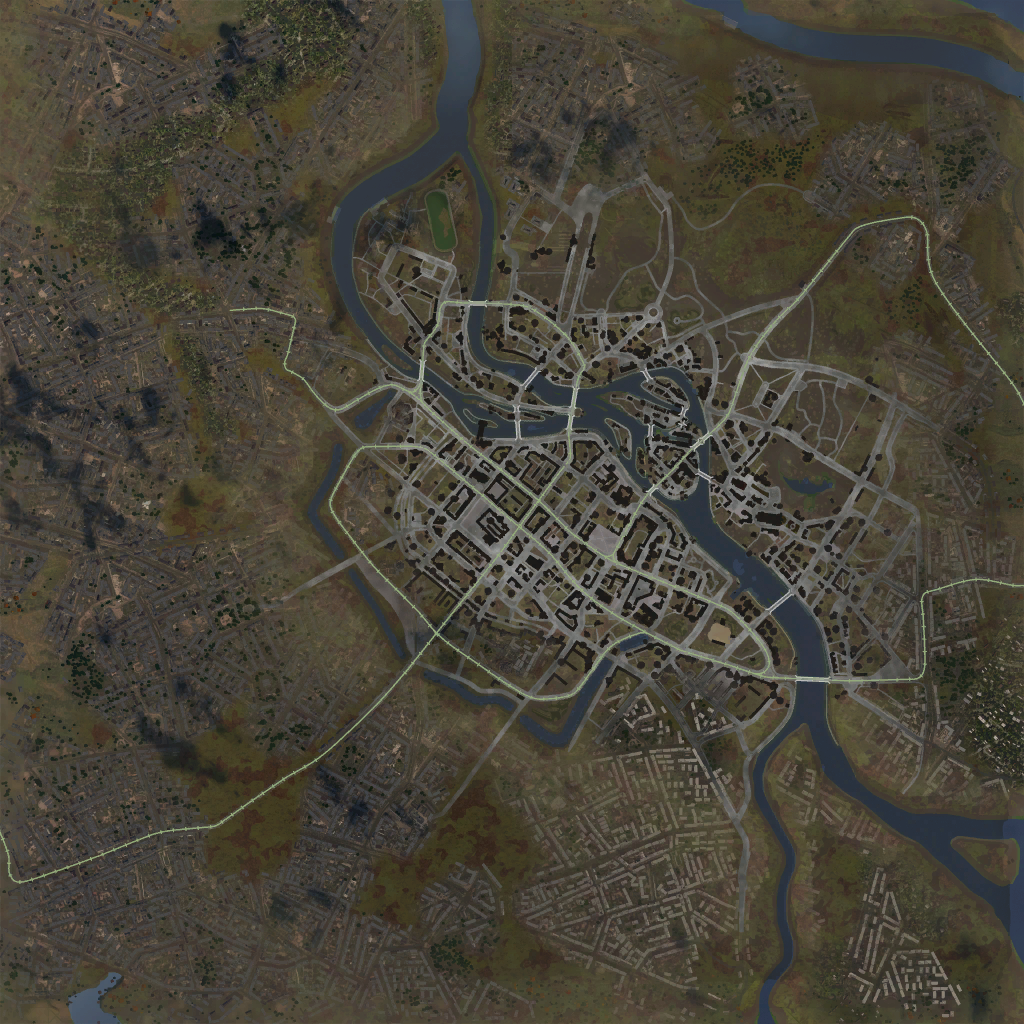
Map overviewclick to expand

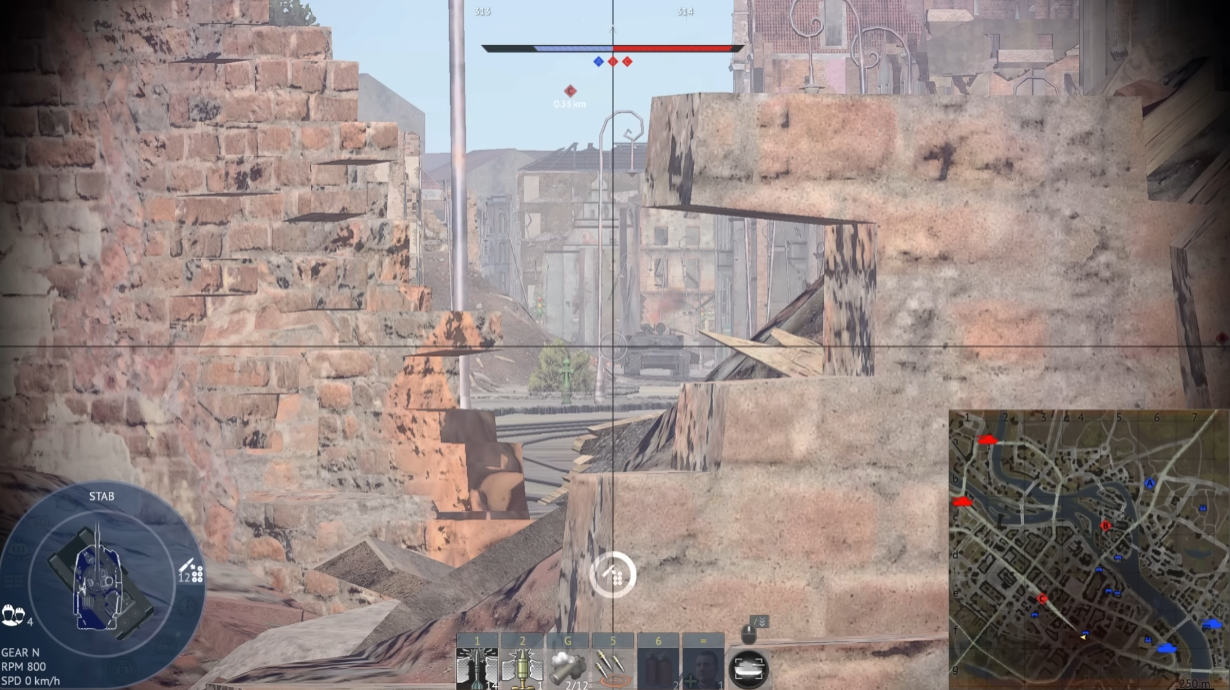
Hide behind the building and wait for the enemies to push up — an ambush position in its purest form. The structure conceals you completely from the push lane, so the advancing wave commits past your corner with no idea it is occupied. Your moment is when they are fully committed: side-on, moving, focused on whatever your teammates are showing them. Take the closest threat first and work outward. The waiting is the skill — peek early and the ambush becomes a fair fight against numbers. Let the building do its job, let them come, and collect the push one vehicle at a time.
Tactical position on Breslau
Map overviewclick to expand

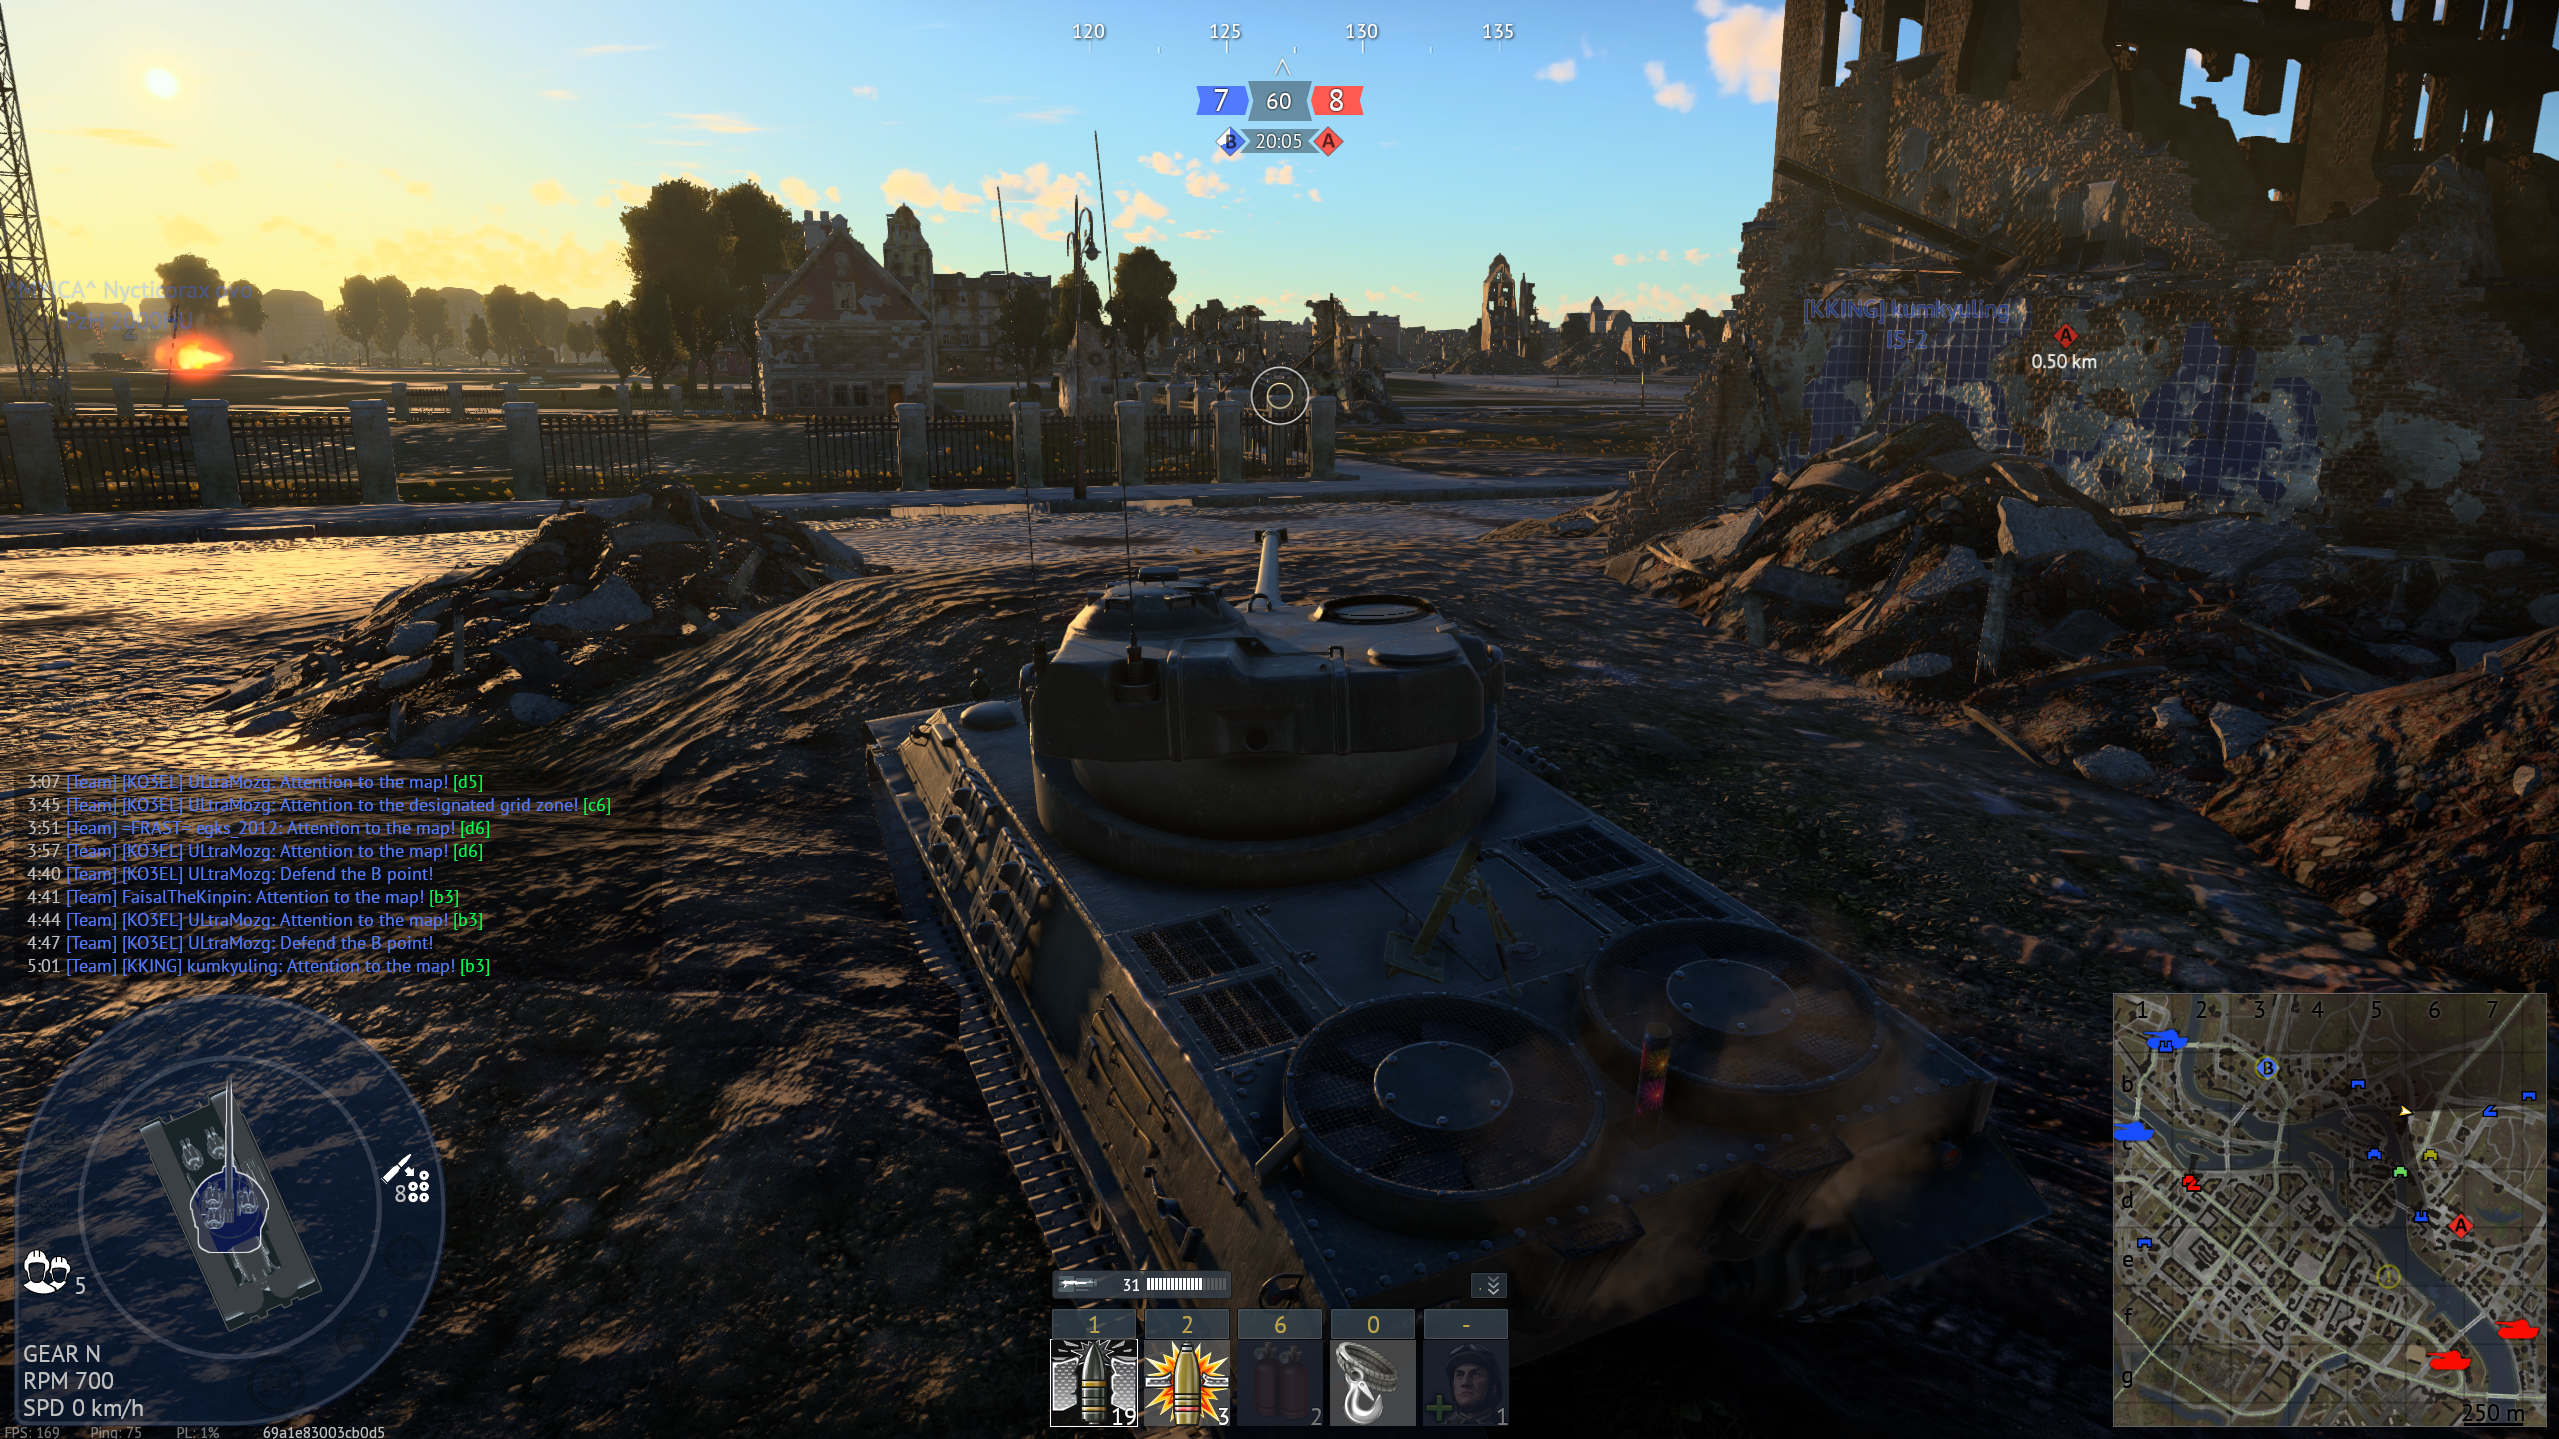
A good holding position against enemies coming down from the upper spawn — with a built-in second act: when the upper lane goes quiet, you can rotate toward the middle without surrendering much ground. The cover here lets you fight the upper-spawn traffic on your terms, breaking their advance one exposure at a time. That flexibility is the position's real value; most defensive spots commit you to one lane, this one keeps two relevant. Read the pressure: hold while the upper push lives, rotate mid when it dies, and you stay useful through the whole shape of the match.

DefensiveCover

Strategic Routes · 5 approved

Map overviewclick to expand
Wide Flank

A nice flanking route with layered value: as you drive it, the perpendicular streets open up one by one, each a quick sightline onto crossing traffic — and at the end of the line, you settle into a camp on the enemy's spawn exit. Play the streets like windows: glance down each as you pass, take the opportunistic shots, and keep moving. The destination is the payoff, a position on the exit lane where fresh vehicles funnel out predictably. Urban flanks like this reward map knowledge; after a match or two you will know exactly which street tends to feed kills and where along the route to slow down.

Map overviewclick to expand
Wide Flank

A flanking route for seeing the enemy approach early — strictly for super-small vehicles like the Wiesel 1A4 or 1A2. The line threads gaps and cover that simply do not accommodate anything full-sized; in the right machine you slip through and gain eyes on the enemy's advance while they are still forming it. That early information is worth kills for your whole team even before your own gun contributes. In a Wiesel-class vehicle, the route also sets up ambush angles the enemy cannot pre-aim, because no tank should fit where you are. If your vehicle is even medium-sized, this is not your route — the geometry will trap you.

Map overviewclick to expand
Wide Flank

A good initial push to a watching position: from the end of this route you cover the advance from the statue and the A point traffic coming out of the enemy's top spawn. It is an opening-minutes play — you take the ground while it is still cheap and set up before the enemy's push develops, so their first wave walks into a prepared gun. The two covered lanes complement each other; when the statue side is quiet, the A-bound traffic usually is not. Hold the angle through the first exchanges, and once the opening waves are spent, you are already forward and positioned to dictate what happens next.

Map overviewclick to expand
Direct Assault
Map overviewclick to expand
Wide Flank

Rush straight to waypoint 9, between the two buildings — no detours, the spot between the structures is the position. Then the patience begins: hold there and watch. If nobody comes past after a few minutes, advance two waypoints along the wall, and that push should put you onto the people going to C. The two-stage design is what makes the route smart: the first position tests whether the enemy is using this side at all, and the second goes and finds them if they are not. Rush hard to stage one, judge the traffic honestly, and only then commit to stage two along the wall.

See it on the map

Open Breslau in the RATLINE tool to view pins, draw routes, and contribute your own intel.

Open RATLINE → All Guides