Tactical Positions · 3 approved

Tactical position on Berlin
Map overviewclick to expand

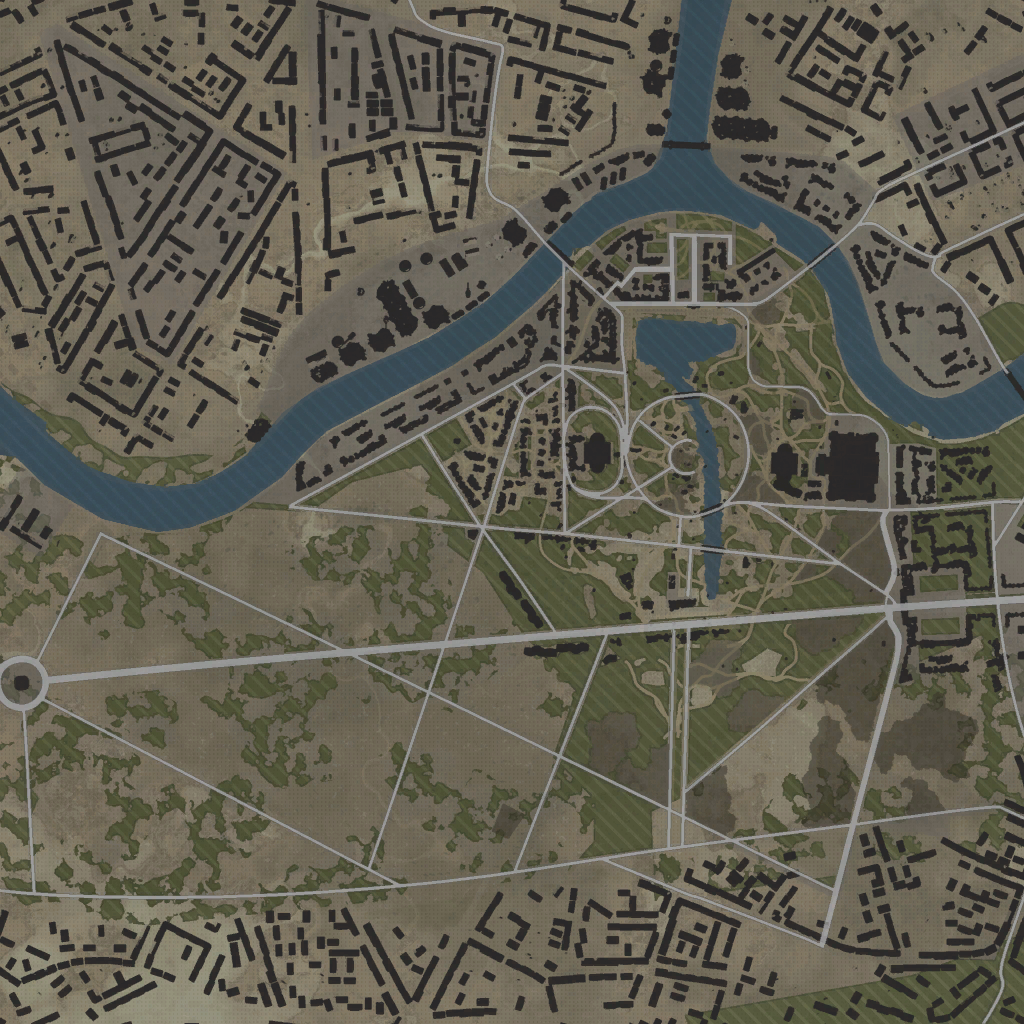
A sniping spot with good coverage of both the B and C points — the sightlines reach the two objectives and the ground between them, so whichever point the fight concentrates on, your gun stays relevant. Berlin's long avenues reward exactly this kind of posting: targets crossing between the points appear in your lanes at predictable spots. The specific warning that comes with this position: be careful of flankers to the right of the Reichstag. That approach is the known counter to this spot, and everyone who dies to you eventually thinks of it. Check right between shots, and the position holds for a long, productive time.

Tactical position on Berlin
Map overviewclick to expand

A rat spot — and a contested one, usually rushed by the North team at match start. Its value is blunt: from this position you can see into the South team's spawn, catching vehicles at deployment before the match has even properly shaped itself. Winning the race matters; arriving second means walking into whoever arrived first. If you are North, commit early and claim it. If you are South, know that this spot exists, assume it is occupied, and either clear it or deny it with pre-fire — because leaving it alone means eating spawn-exit losses all game. Classic rat geometry: small, unglamorous, and match-warping.

Tactical position on Berlin
Map overviewclick to expand

The second rat spot — unlocked by a successful North-team flank along the west edge of the map. Complete that run and this position gives you access to the South team's spawn, with sightlines onto their deployment that turn every respawn into a hazard. The west-edge approach is the gate: it is long, it commits you away from your team, and being caught on it means dying alone. But the flank rewards the discipline — arrive intact and the enemy's spawn stops being safe. South players reading this: the counter is watching the west edge early, because once the rat is installed, digging it out costs far more than preventing it.

Strategic Routes · 1 approved

Map overviewclick to expand
Protected Corridor

The alternate route — its entire reason for existing is to keep you from being culled by a Flakbus. The standard lane crosses ground that a well-placed SPAA with a rotary gun turns into a shredder, and everyone who has died to it knows exactly the stretch in question. This protected line threads around that killing zone, keeping structures between you and the autocannon spray for the length of the transit. It costs a little time and gives back your vehicle. Take it whenever the kill feed suggests wheeled flak is farming the main route — arriving late is a strictly better outcome than not arriving.

See it on the map

Open Berlin in the RATLINE tool to view pins, draw routes, and contribute your own intel.

Open RATLINE → All Guides