Tactical Positions · 7 approved

Tactical position on AshRiver
Map overviewclick to expand

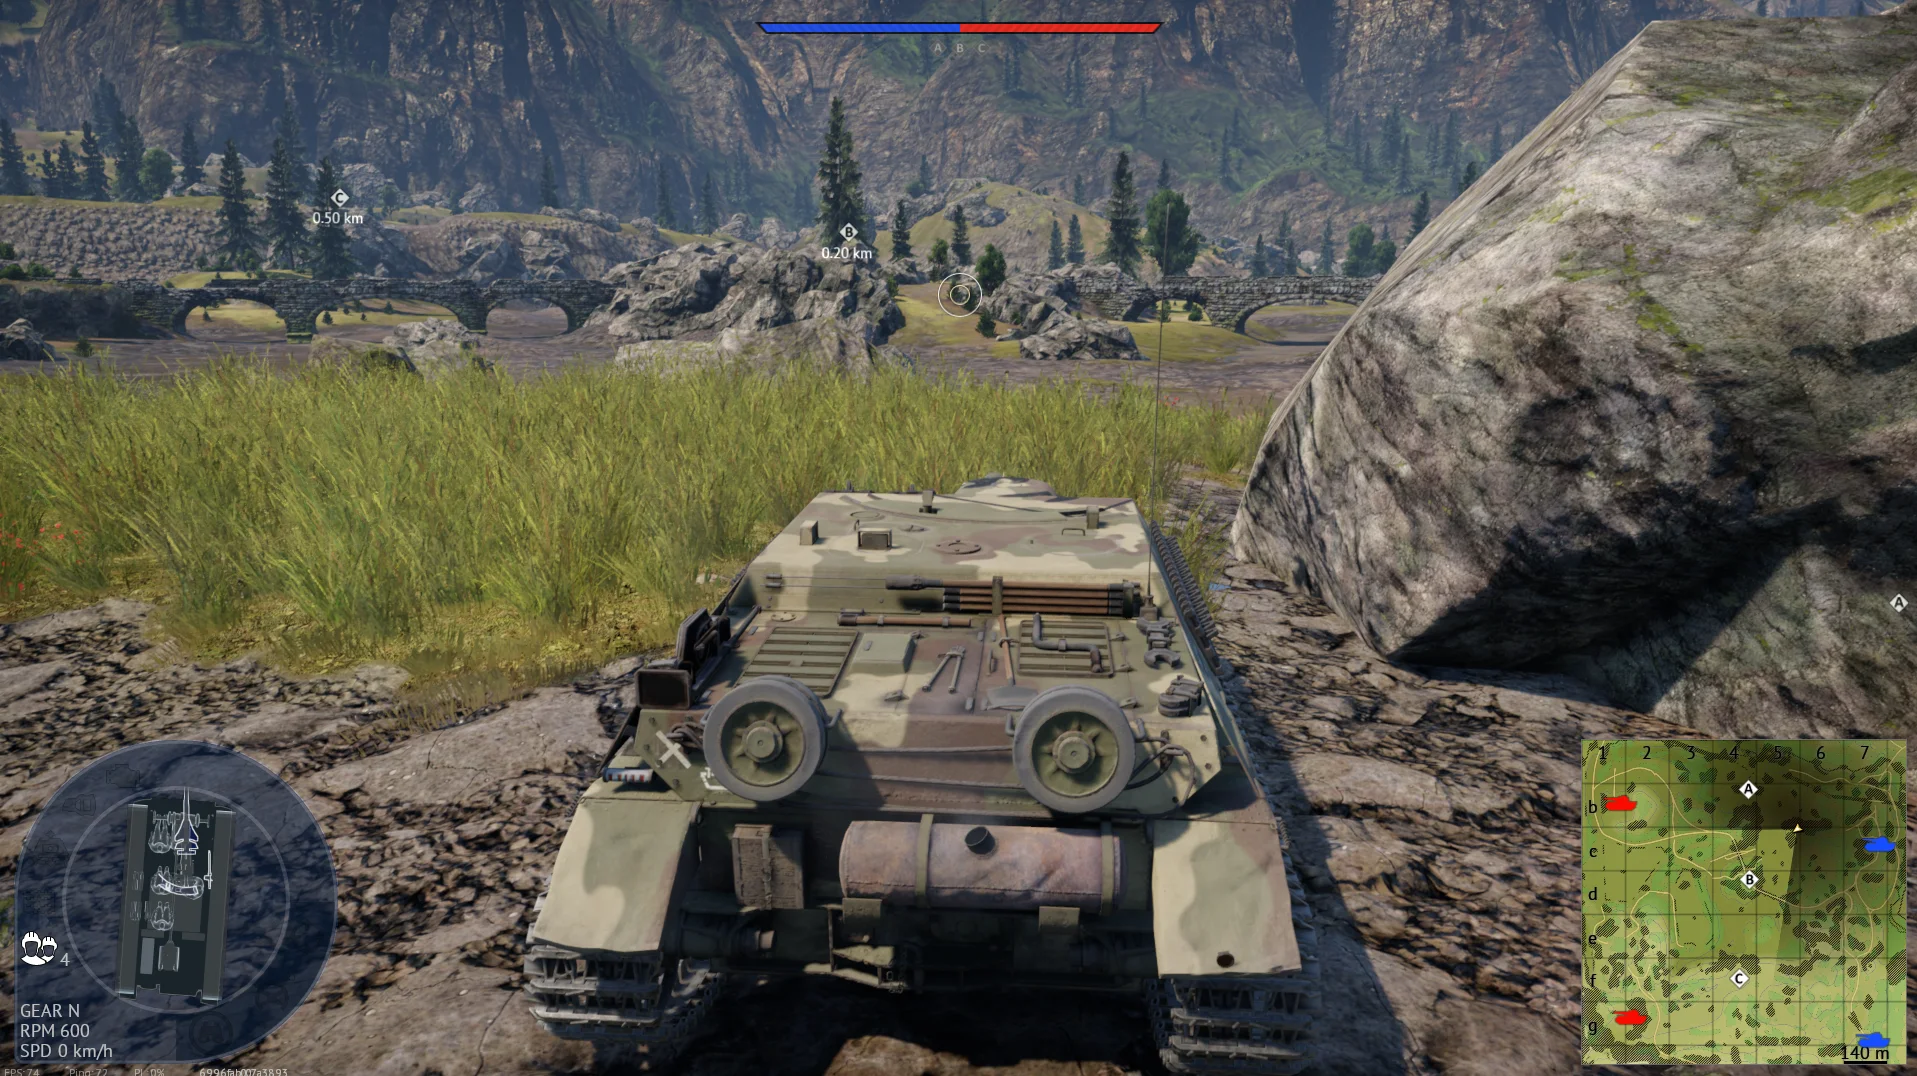
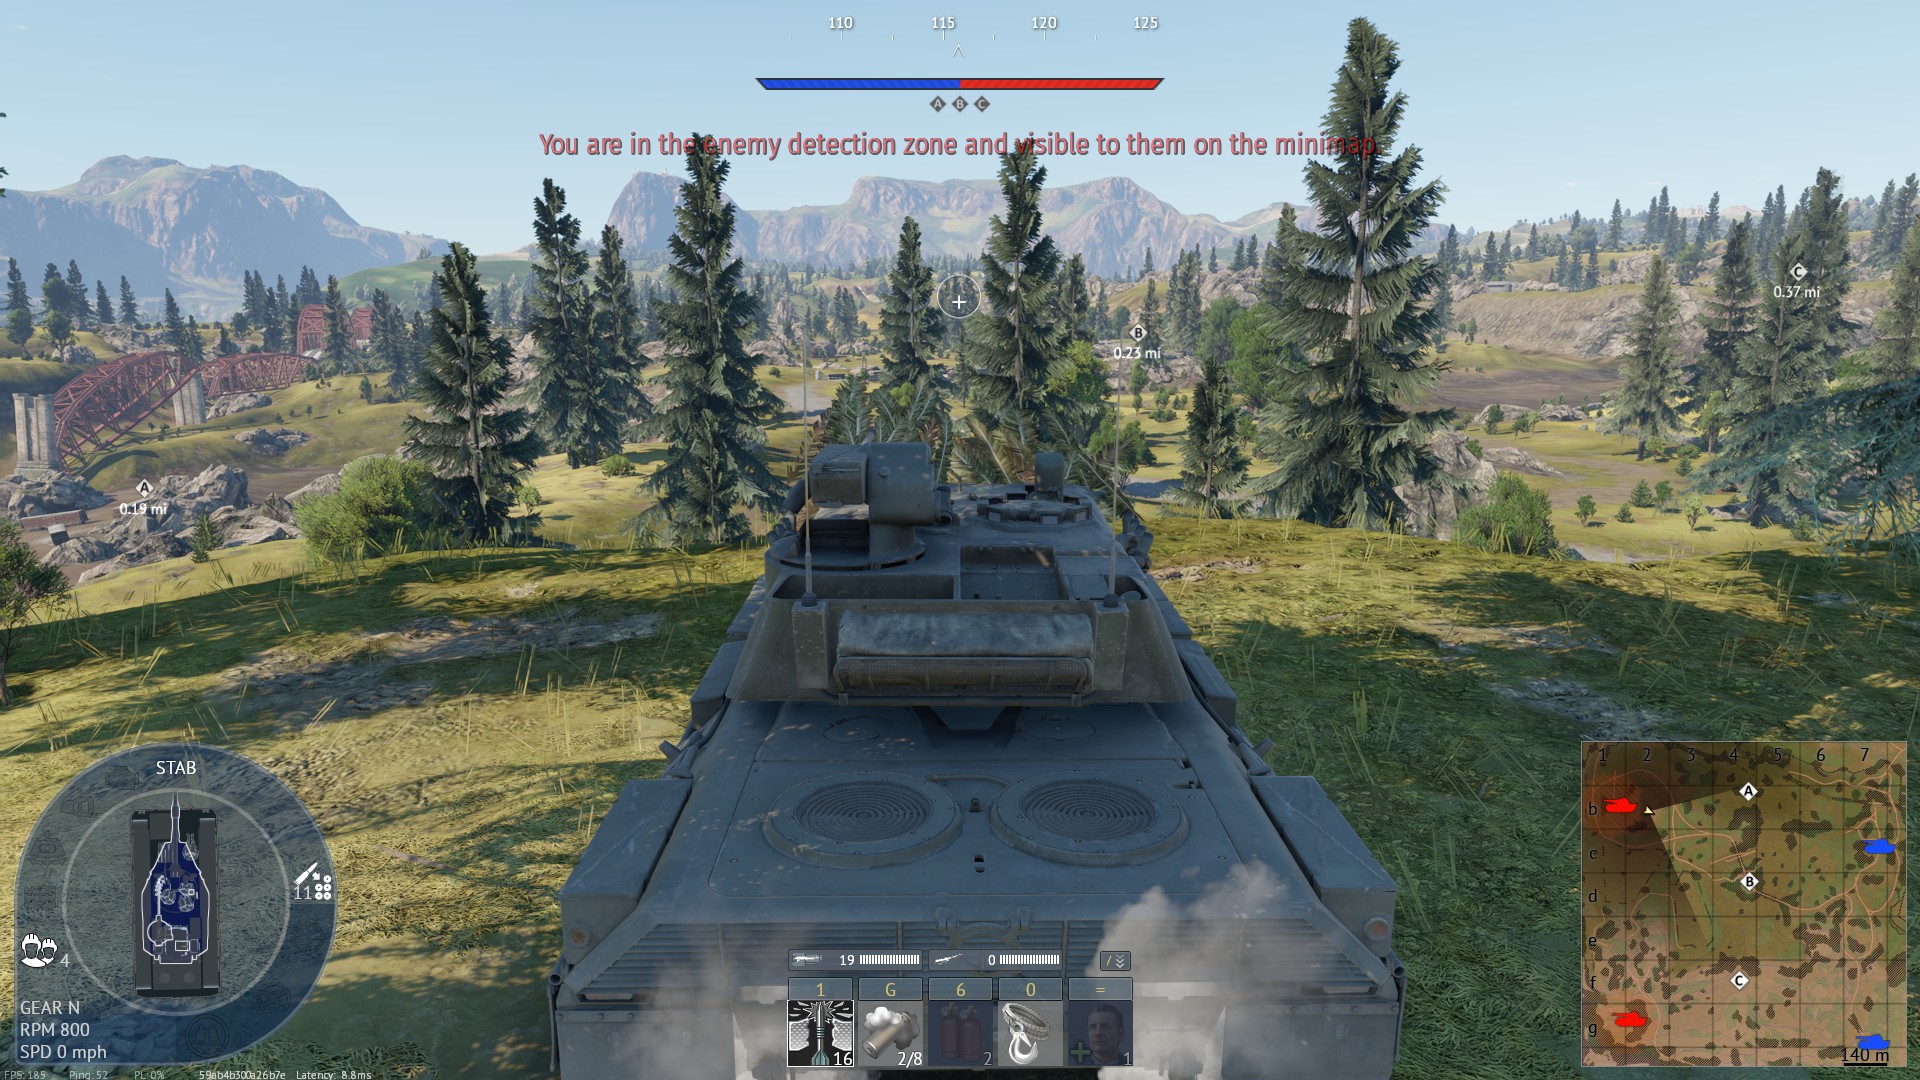
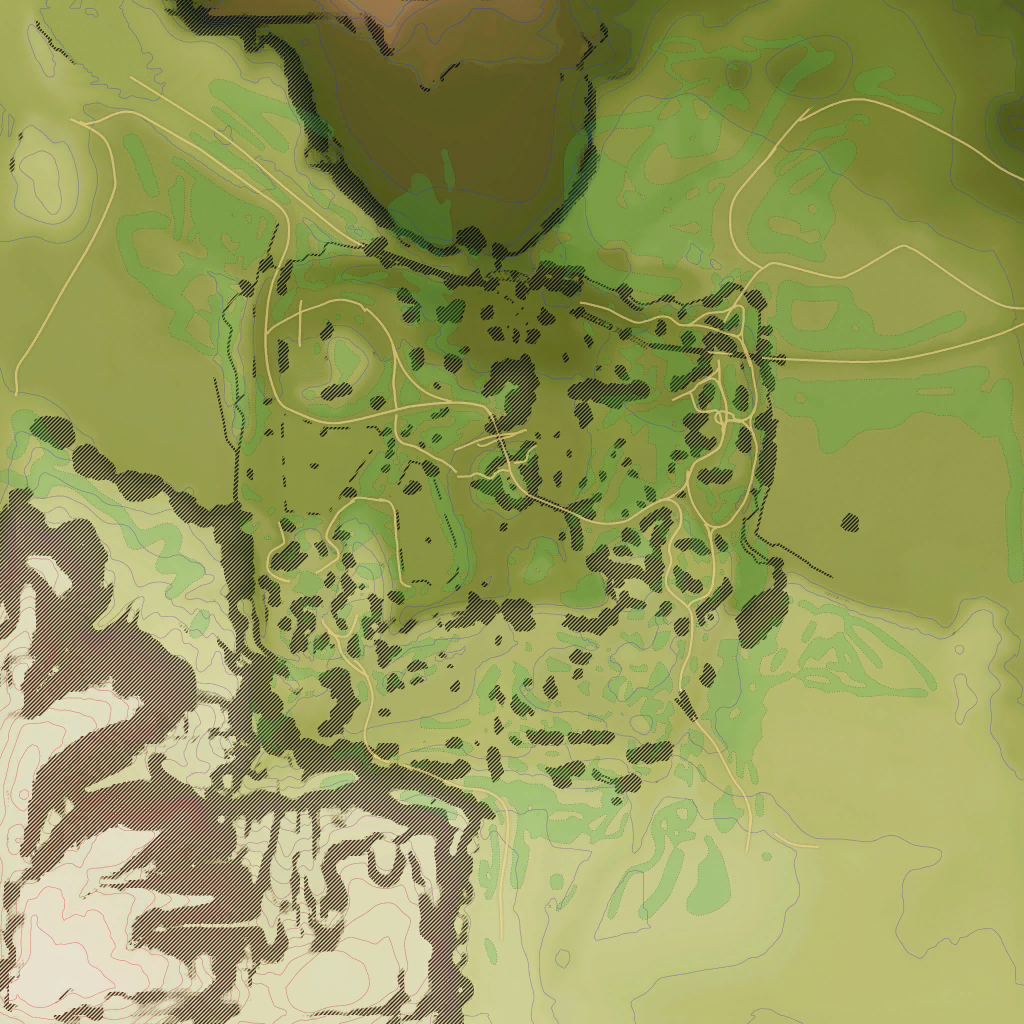
Spawn Hill Climb (SL10) - Somewhat common | This peek lets you see almost the entire bottom parts of the map, and even up into some of the top. This hill has almost no cover yet you have concealment. This spot works in a more heavily armored tank for longer times, or lightly armored vehicles for a few quick shots. I recomend playing on the backside of the hill so you stay hidden and its less likely the enemy will see your muzzle flash.
Tactical position on AshRiver
Map overviewclick to expand

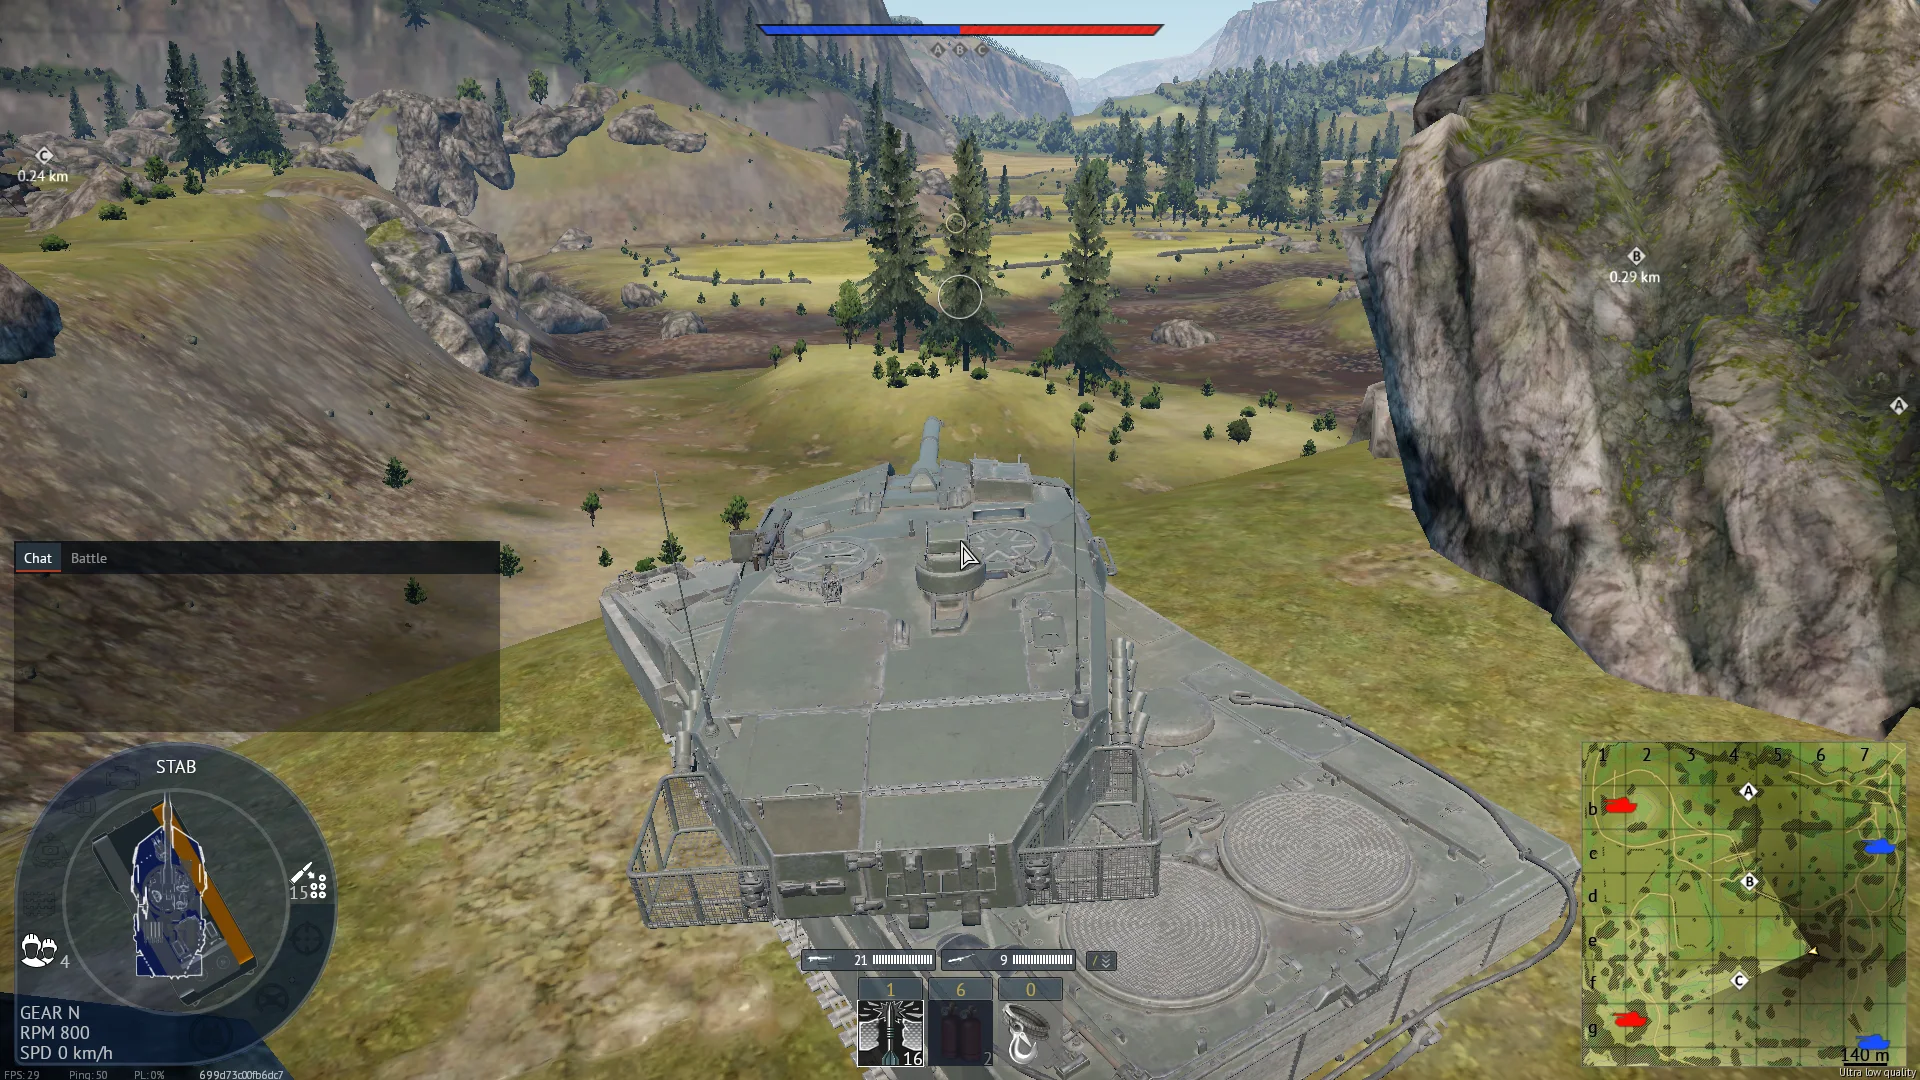
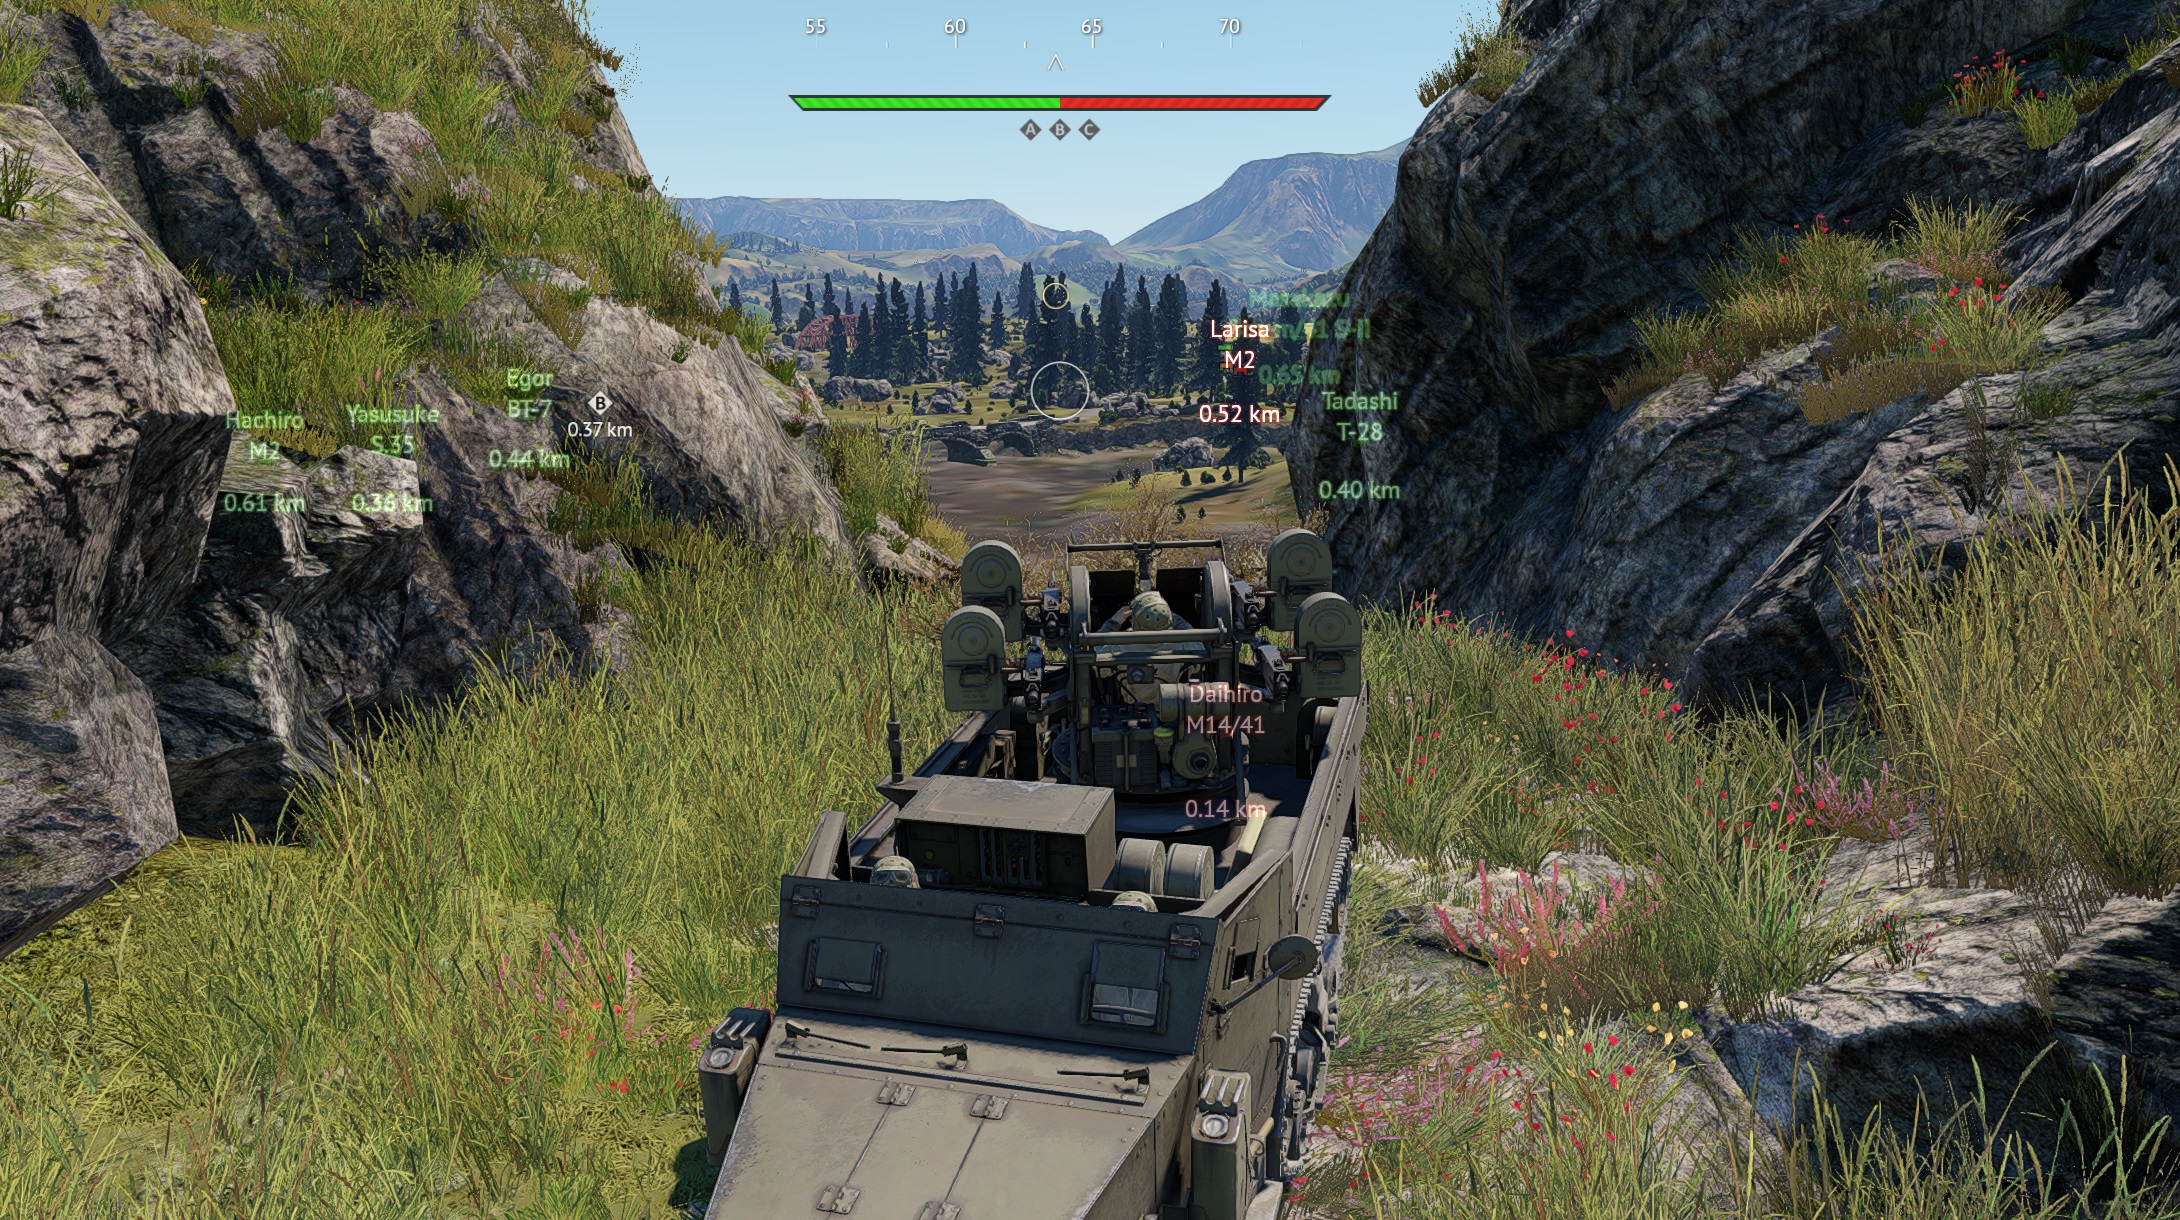
Common knowledge for a reason: Sniper Hill. The hill overlooks the approaches to both the B and C points, and from its crest the map's main traffic crosses your sightlines wave after wave. Everyone who plays Ash River learns this hill eventually — as the place they snipe from or the place they die to. Its popularity is the one real caveat: expect company from teammates and counter-fire from enemies who pre-aim the known silhouette spots. Work the less obvious folds of the hill rather than the textbook crest, relocate along it between kills, and the traffic below will keep the scoreboard moving.

Tactical position on AshRiver
Map overviewclick to expand

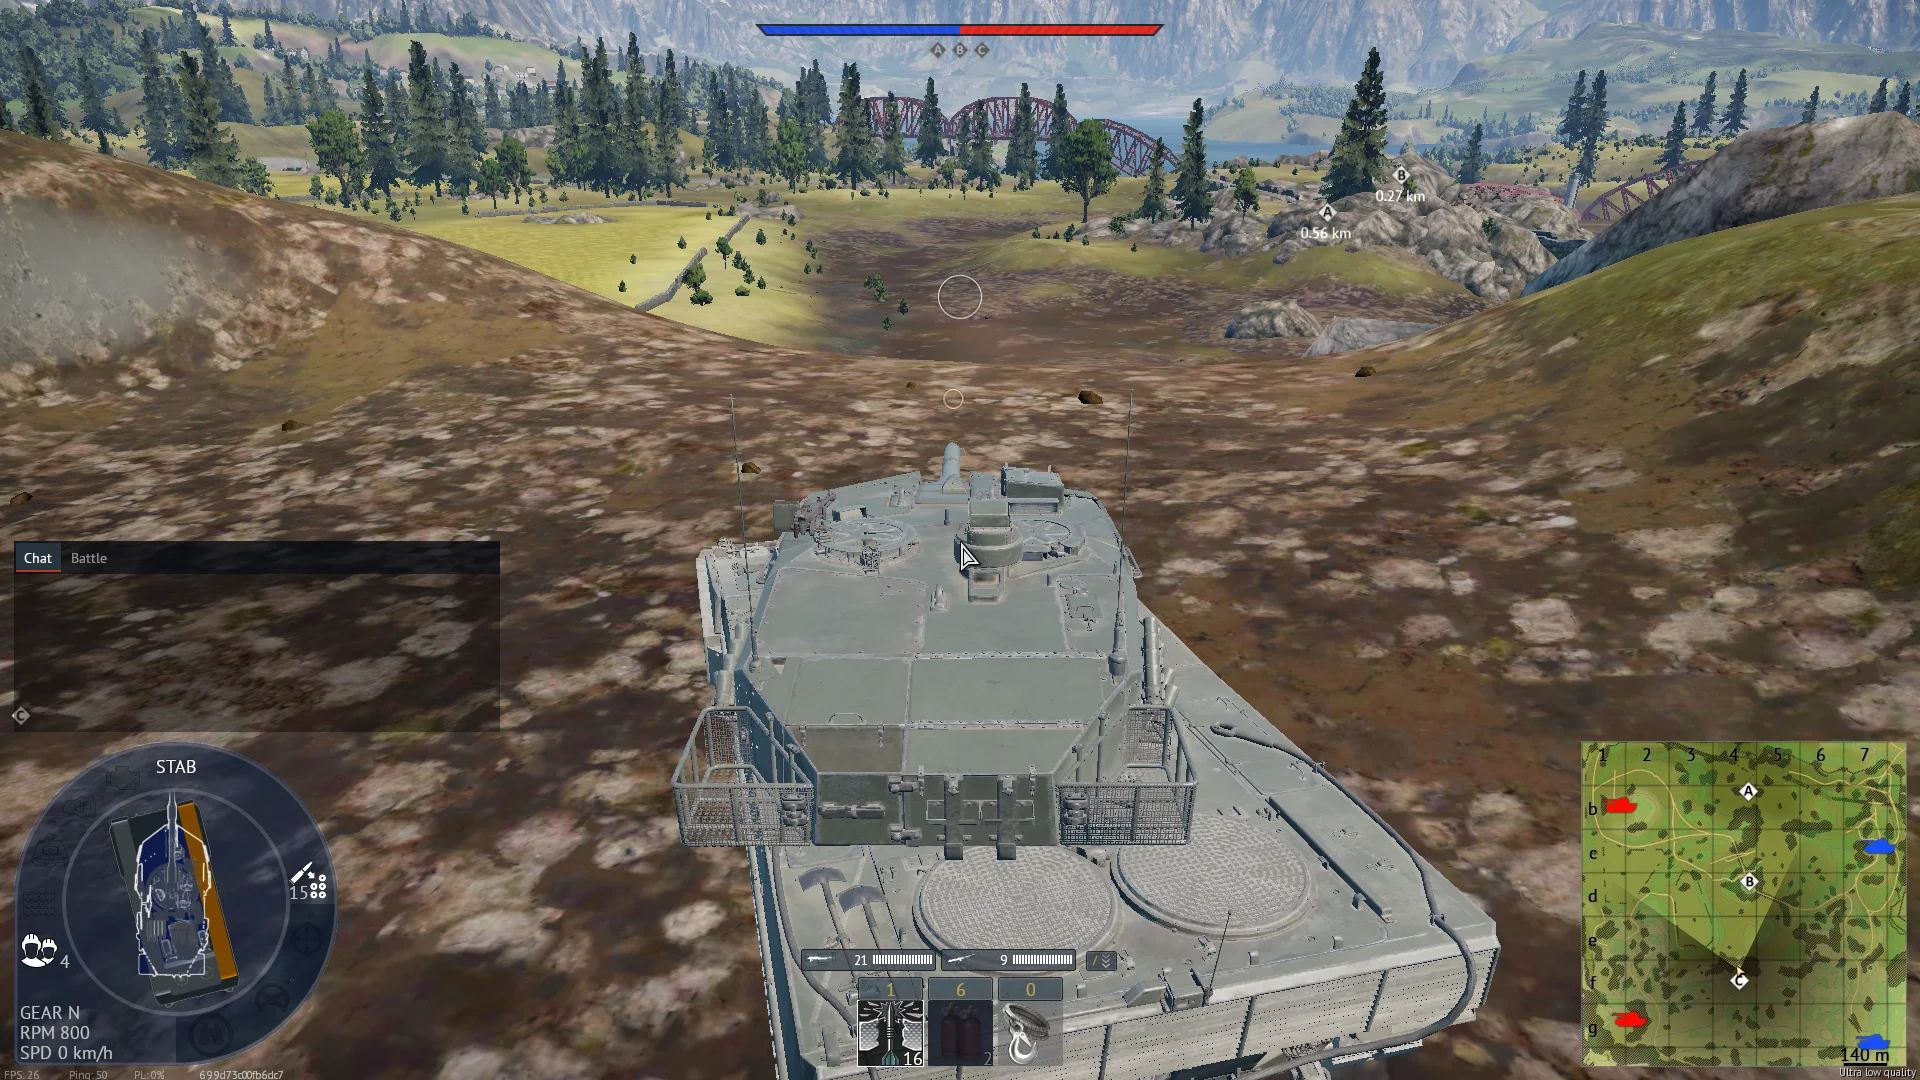
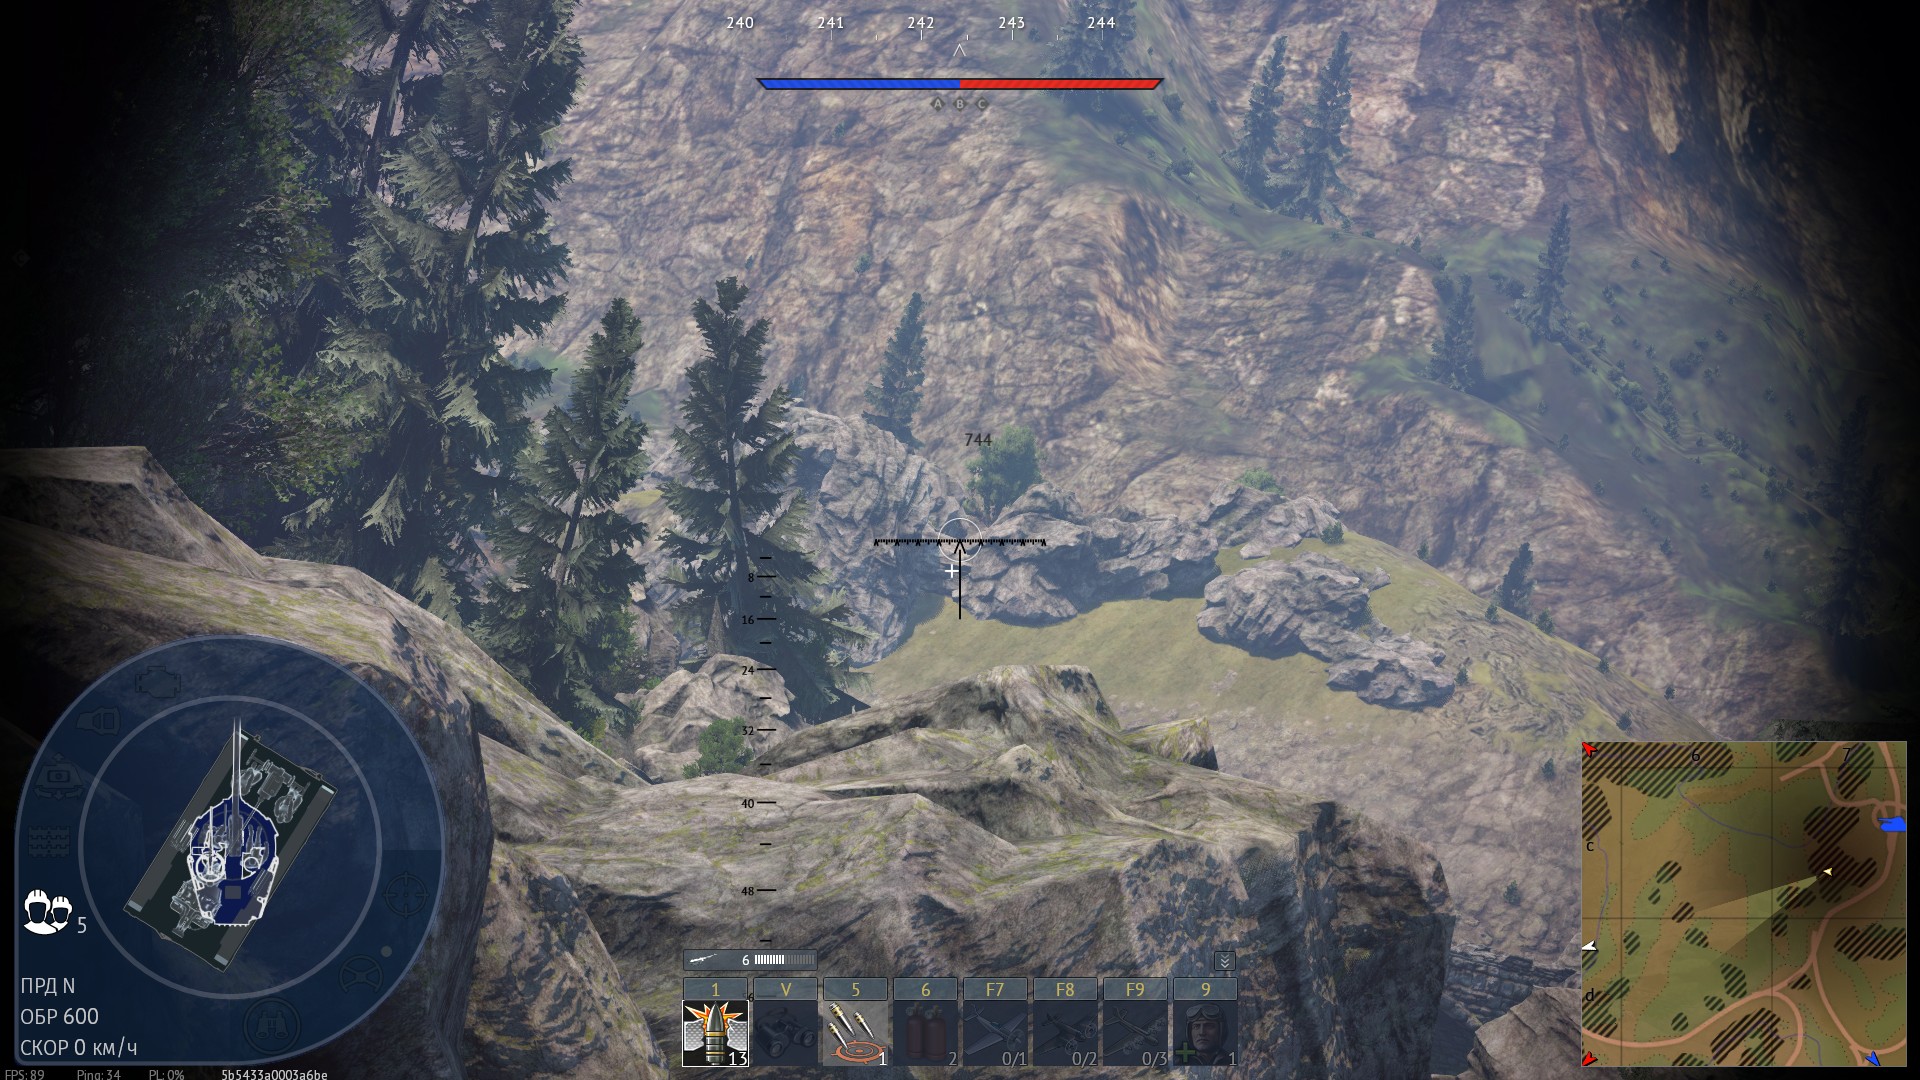
A position for shooting at the balcony — the range is 700 meters from the main setup, and if you creep forward a bit there are a couple of rocks beyond which it shortens to 600. Those numbers are the position's manual: pre-set your sights and the first shot becomes a hit instead of a rangefinder. It is worth taking this position early in the fight, because sooner or later someone always moves onto the balcony — it is too attractive a perch to stay empty. So you sit ready, sights dialed, and the moment a silhouette appears at 700, it dies mid-setup. Patience plus known ranges equals free kills.

Tactical position on AshRiver
Map overviewclick to expand

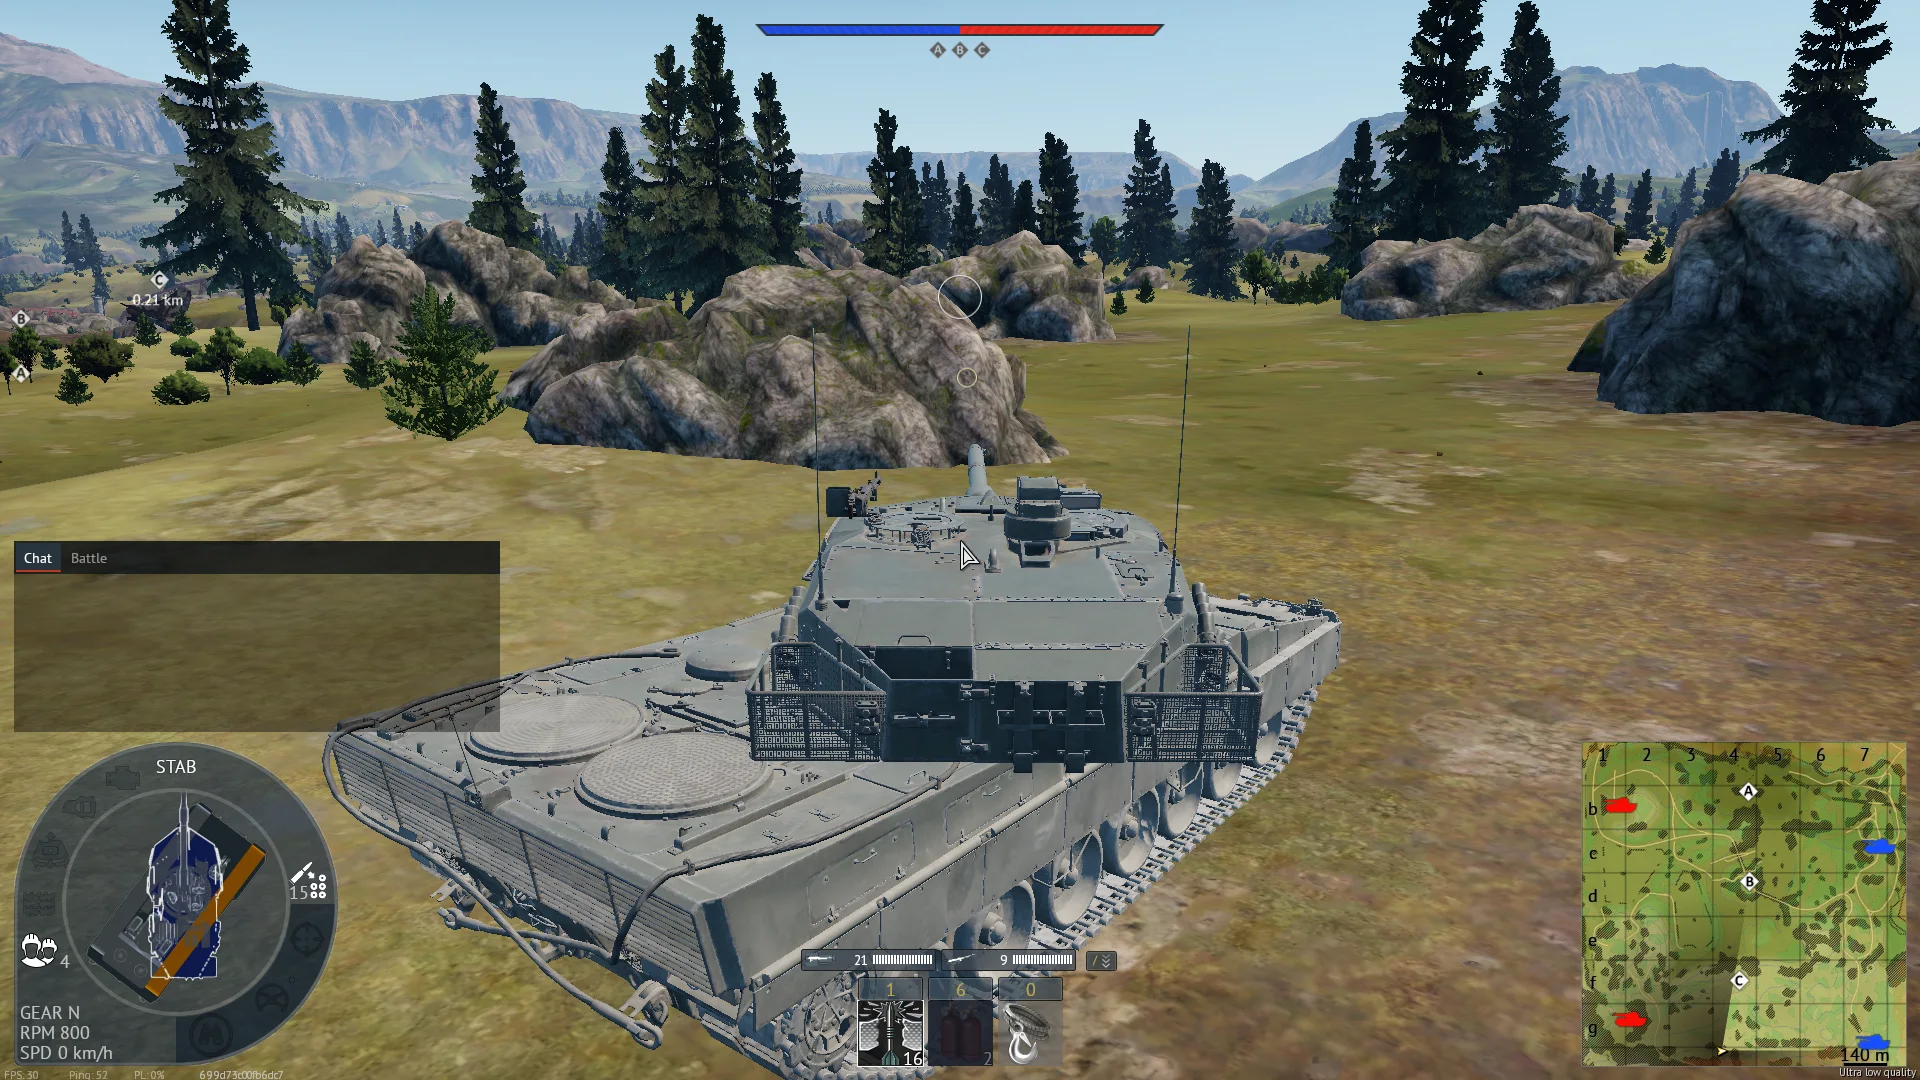
Its a very safe defensive position if you want to play slower and more relaxed. Behind the right rock formation your obscured from view and can kill enemies driving to the B cap while also controlling parts of C cap(500m away) the cliff side behind it (around 700m) and even the sniper spot on the cliff.

DefensiveSniperCover
Tactical position on AshRiver
Map overviewclick to expand

A flexible high-ground position with two modes. Play it safe and it guards the close zone — covered, defensive, protecting the ground your team actually holds. Or extend, and the same spot snipes across to B and onto the enemy's spawn road, taxing traffic at range. The cover and elevation support both roles; what changes is how much you expose and how far you look. Read the match to pick the mode: guard when the enemy pushes your side, reach when they commit elsewhere. Positions that let you rechoose your job mid-match are rare — this one does it without moving more than a few meters.

High GroundSniperCoverDefensive
Tactical position on AshRiver
Map overviewclick to expand

The common sniping spot — productive and known, which is exactly the trade. From here you get spawn-peek reach, high ground, and lanes onto the objective, and the targets come steadily because the position sees so much of what matters. The risk is equally real: it takes one flanker to end you here, and the cover is thin — the spot is marked dangerous for a reason. Everyone you kill knows exactly where you were. So farm it with an exit plan: deliberate shots, constant awareness of the flanking approach, and the discipline to leave two kills earlier than greed suggests. The spot rewards visitors and buries residents.

Spawn PeakHigh GroundSniperDefensiveObjectiveDanger Zone
Tactical position on AshRiver
Map overviewclick to expand

A common spot that earns its popularity: it covers the C zone easily while simultaneously providing protection to your spawn — offense and home defense from one piece of high ground. The C sightline taxes the point's traffic all match, and the spawn coverage means flankers trying to farm your team's deployment meet your gun instead. Because the spot is well-known, play it a little off-textbook: use the folds beside the classic position rather than the exact silhouette everyone pre-aims. The dual responsibility suits patient players — service C when it is loud, watch the spawn approaches when it is quiet.

SniperFlankHigh GroundDefensive

Strategic Routes · 3 approved

Map overviewclick to expand
Direct AssaultWide Flank

The best option for covering and supporting the A point early in the match — built for medium and light tanks that can make the drive on time. The route puts your gun on the point's approaches during the opening scramble, when a single supporting tank decides whether A's first fight is won or lost. Then the upgrade: after securing the point, climb the hill to the left (the orange line) and the position matures into a vantage over everyone sniping on the hill — the overwatch above the overwatch. Phase one wins A; phase two taxes the people who thought they were taxing you. Speed makes both phases possible.

Map overviewclick to expand
Wide FlankDirect Assault

The A camp — this line delivers you to a holding position on the A point, where you settle in and make the objective yours by attrition. Part direct, part flank, the route arrives at an angle that lets you watch the cap circle and its approaches without standing in the open. Camping A is unglamorous and effective: the point's gravity pulls enemies to you all match, each arrival crossing a sightline you have had zeroed for minutes. Set up, service the circle, and relocate a few meters after each kill or two — campers die when they become furniture, and live when they stay slightly unpredictable.

Map overviewclick to expand
Wide Flank

The B flank — a route around the point's shoulder that ends with you overlooking B's traffic, and from the right spot you can almost see into the enemy spawn beyond it. That near-spawn reach is what elevates the line: you interdict the B fight and glimpse the reinforcements before they arrive, which is intelligence your whole team benefits from. The flank approach keeps you off the main lanes while you establish. Work the B targets first — they are closer and more committed — and use the deeper sightline as your early-warning system for what is coming next.

See it on the map

Open AshRiver in the RATLINE tool to view pins, draw routes, and contribute your own intel.

Open RATLINE → All Guides