Tactical Positions · 9 approved

Tactical position on Ardennes
Map overviewclick to expand

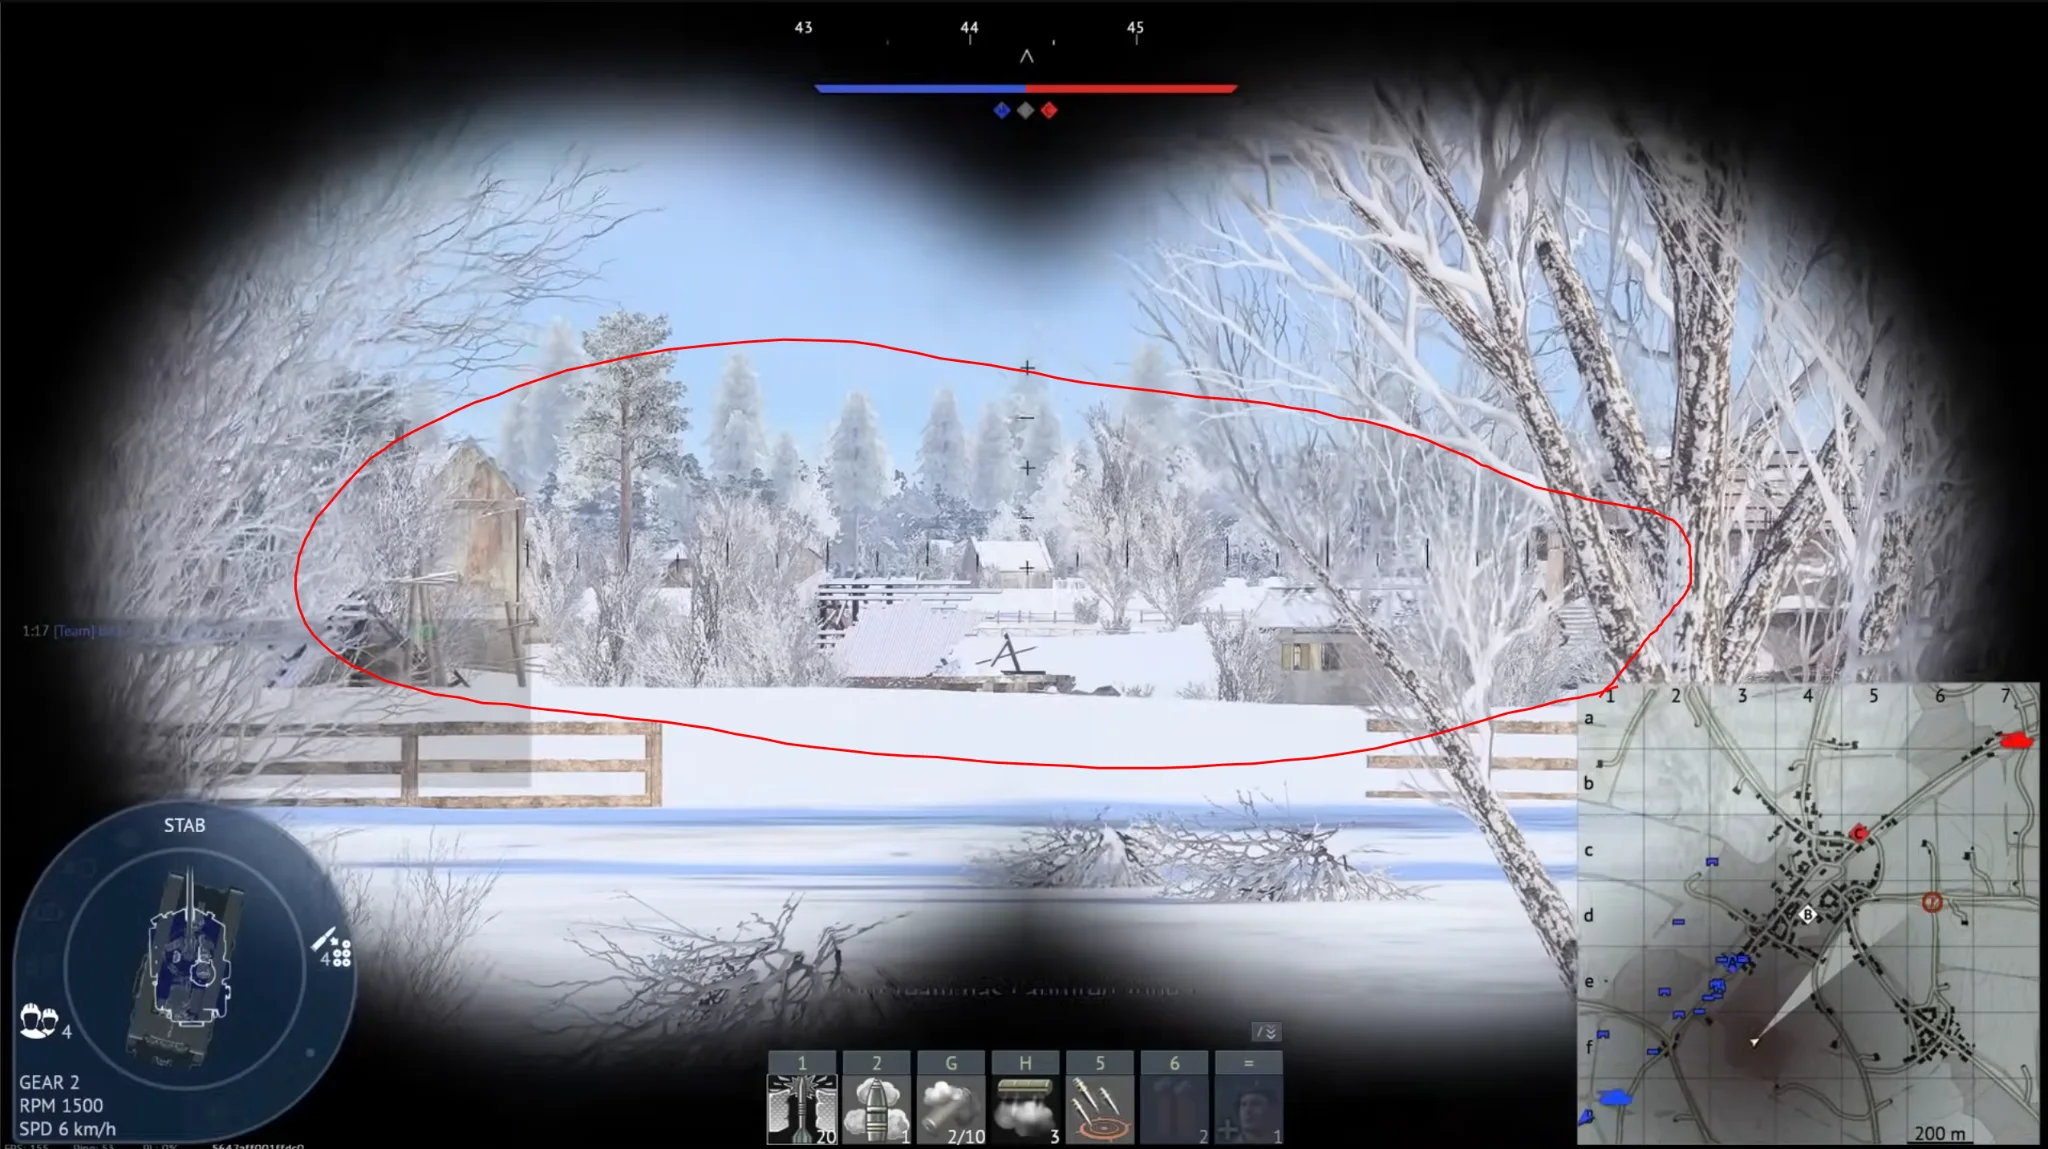
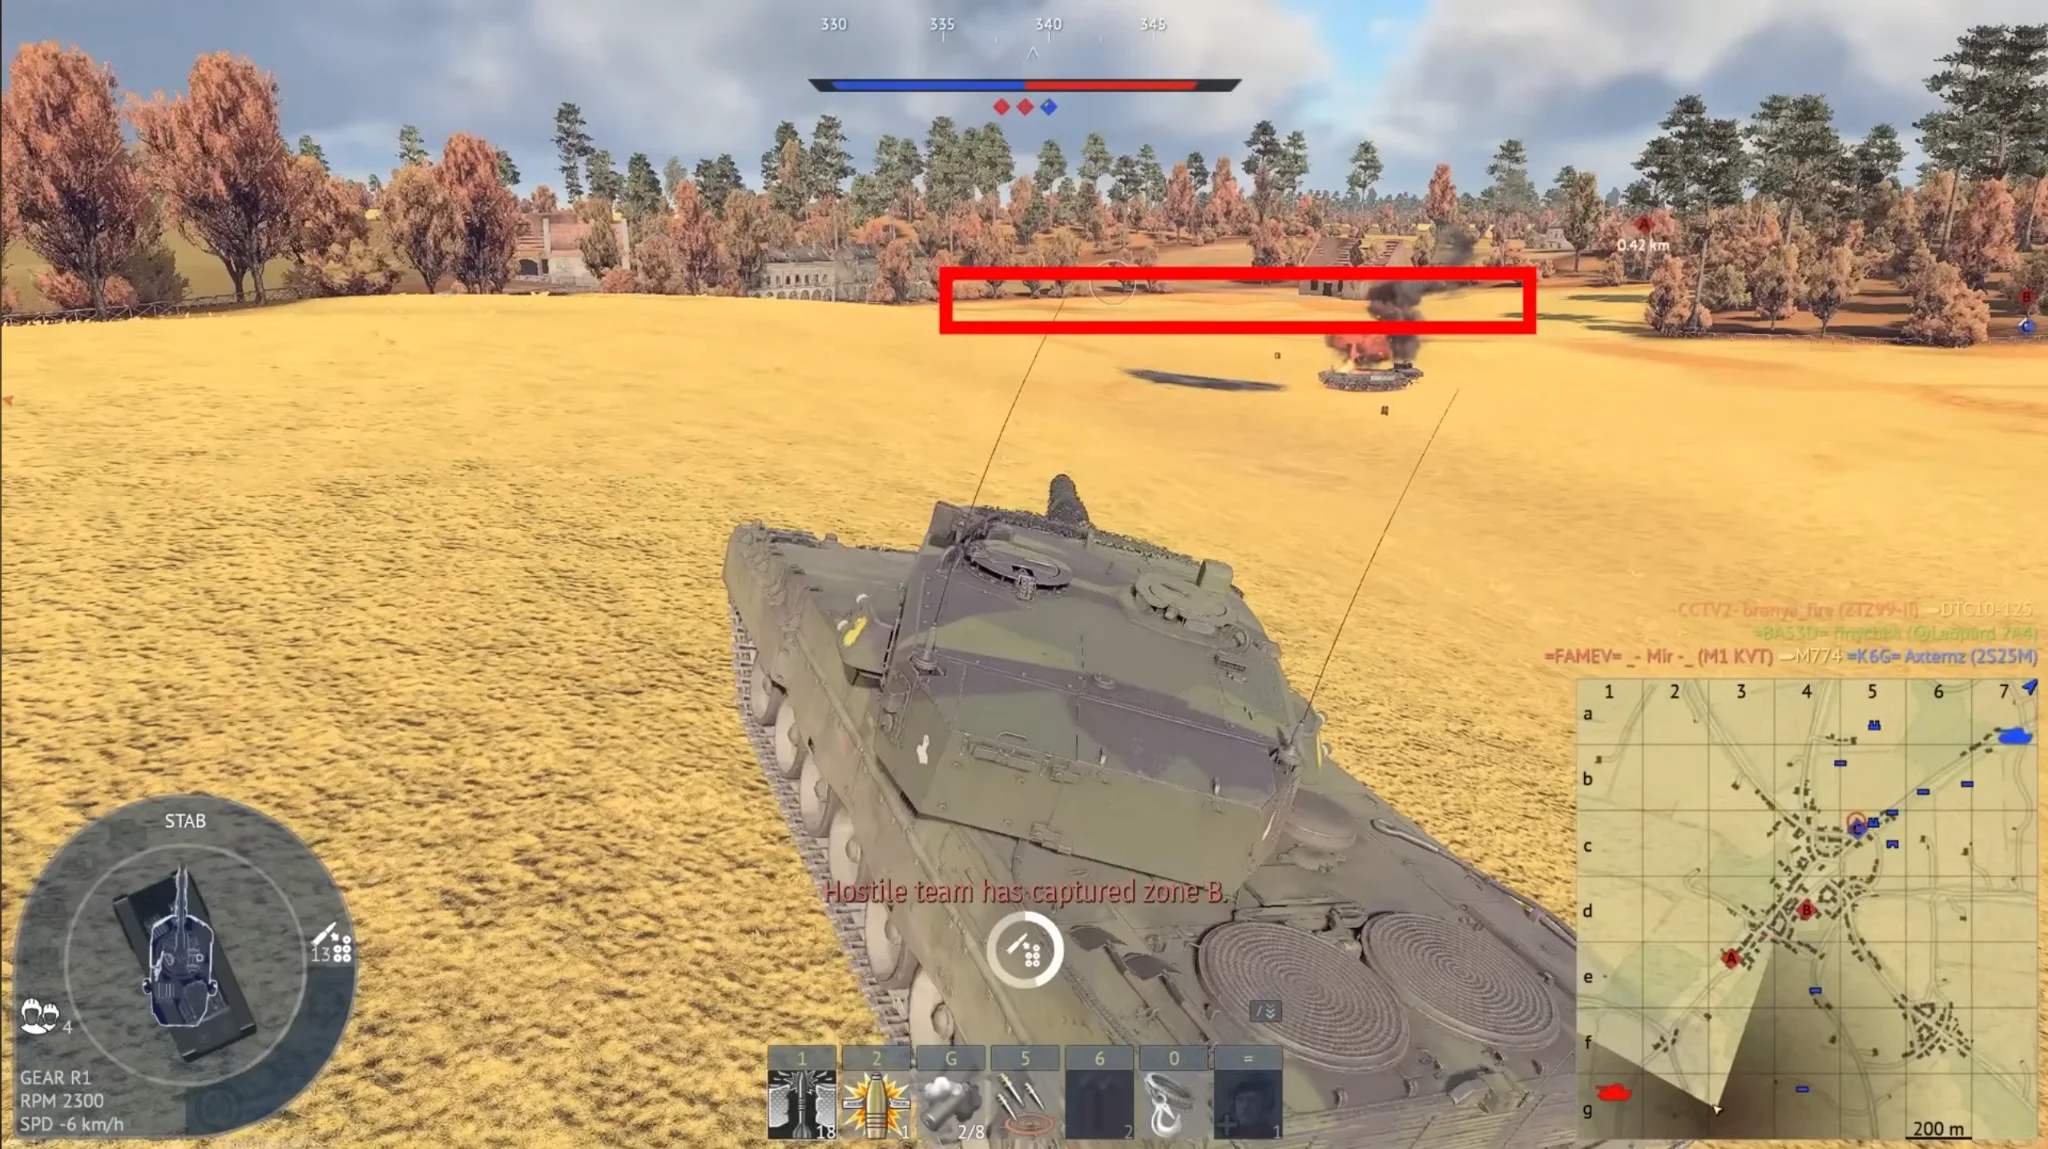
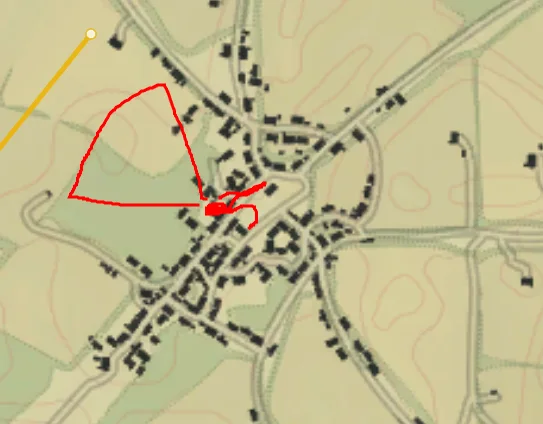
The trees here are the position. In the picture I have cleared some to show you exactly what the spot can hold — the lanes and angles it controls — but you do not have to knock them down yourself: just hide between the trees and take out the enemy as they cross your sightlines. The foliage breaks your silhouette so thoroughly that targets drive through your field of fire without ever resolving you into a threat. Pick your gap, settle in, and let the concealment do the defensive work while your gun does the rest. Forest positions like this die only to impatience — stay planted and stay hidden.

Tactical position on Ardennes
Map overviewclick to expand

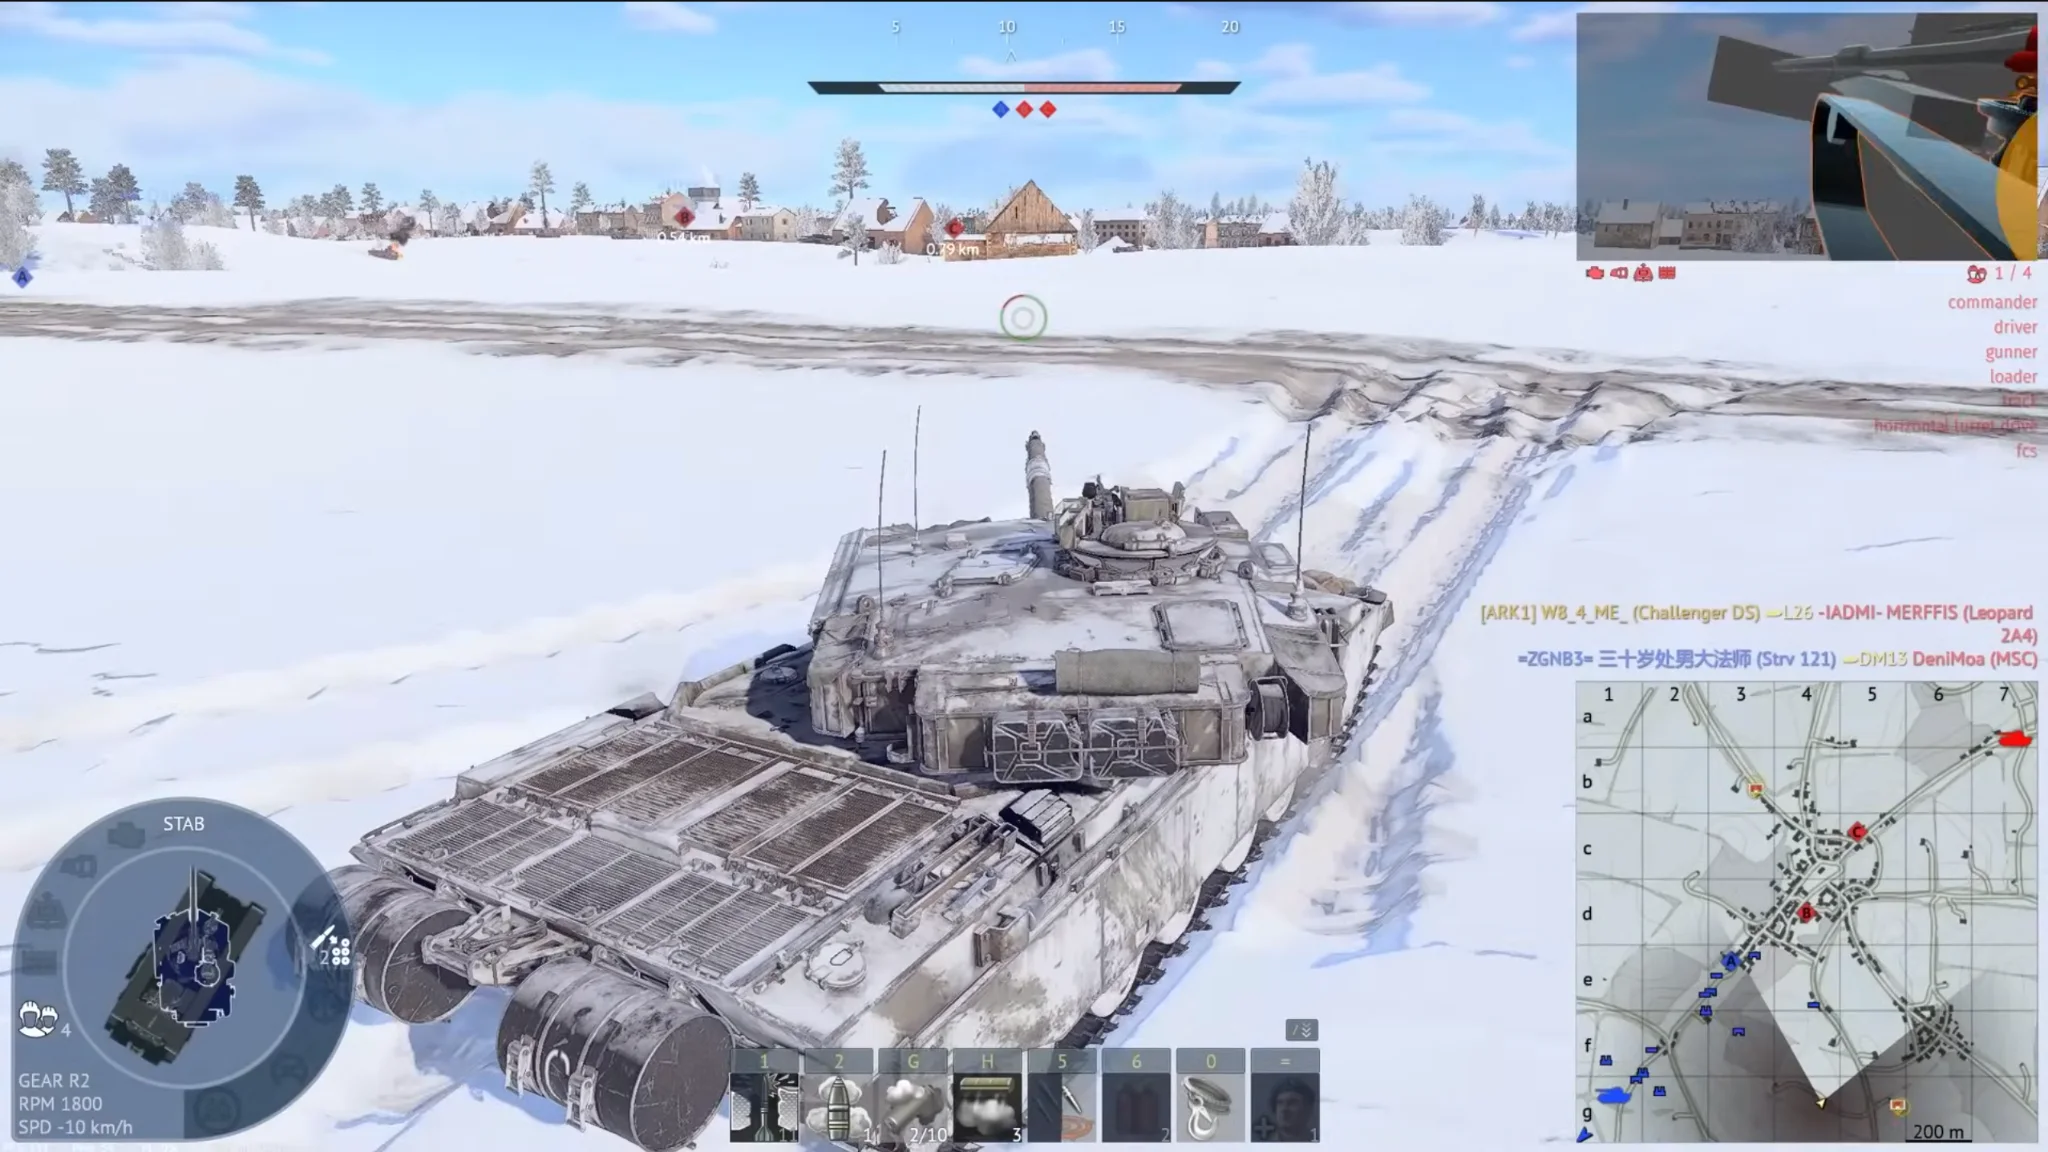
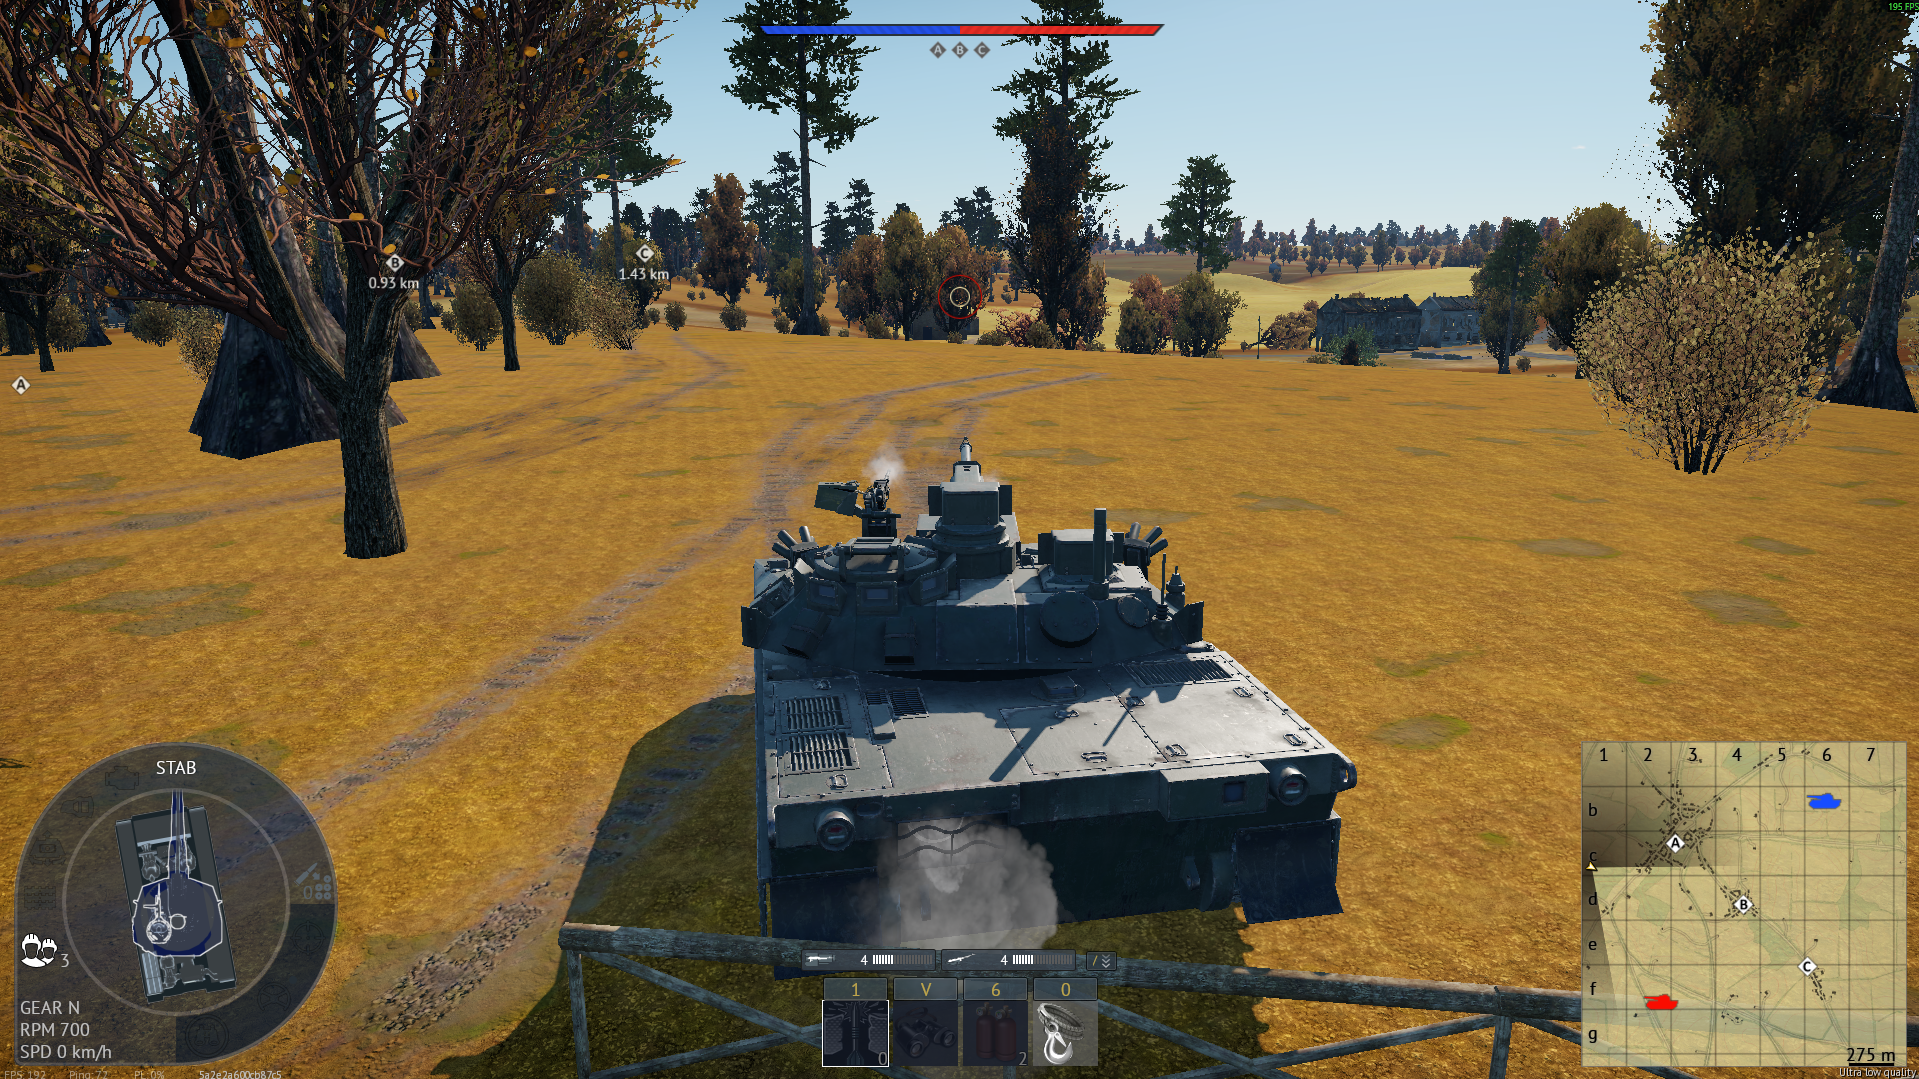
You can lowkey collect a pile of kills here if you pick the right hill to peek from — hill choice is the entire skill of this spot. The area offers several crests with spawn-peek sightlines, but they are not equal: the right one for the match depends on which lanes the enemy is feeding, and finding it turns a decent position into a farm. Test a peek, read what you can see, and commit to the crest that shows the most traffic. Work it hull-down with brief exposures, and be willing to swap hills mid-match when the enemy's flow changes. The kills are there; the hill decides whether you get them.

SniperSpawn PeakSpawn Camp
Tactical position on Ardennes
Map overviewclick to expand

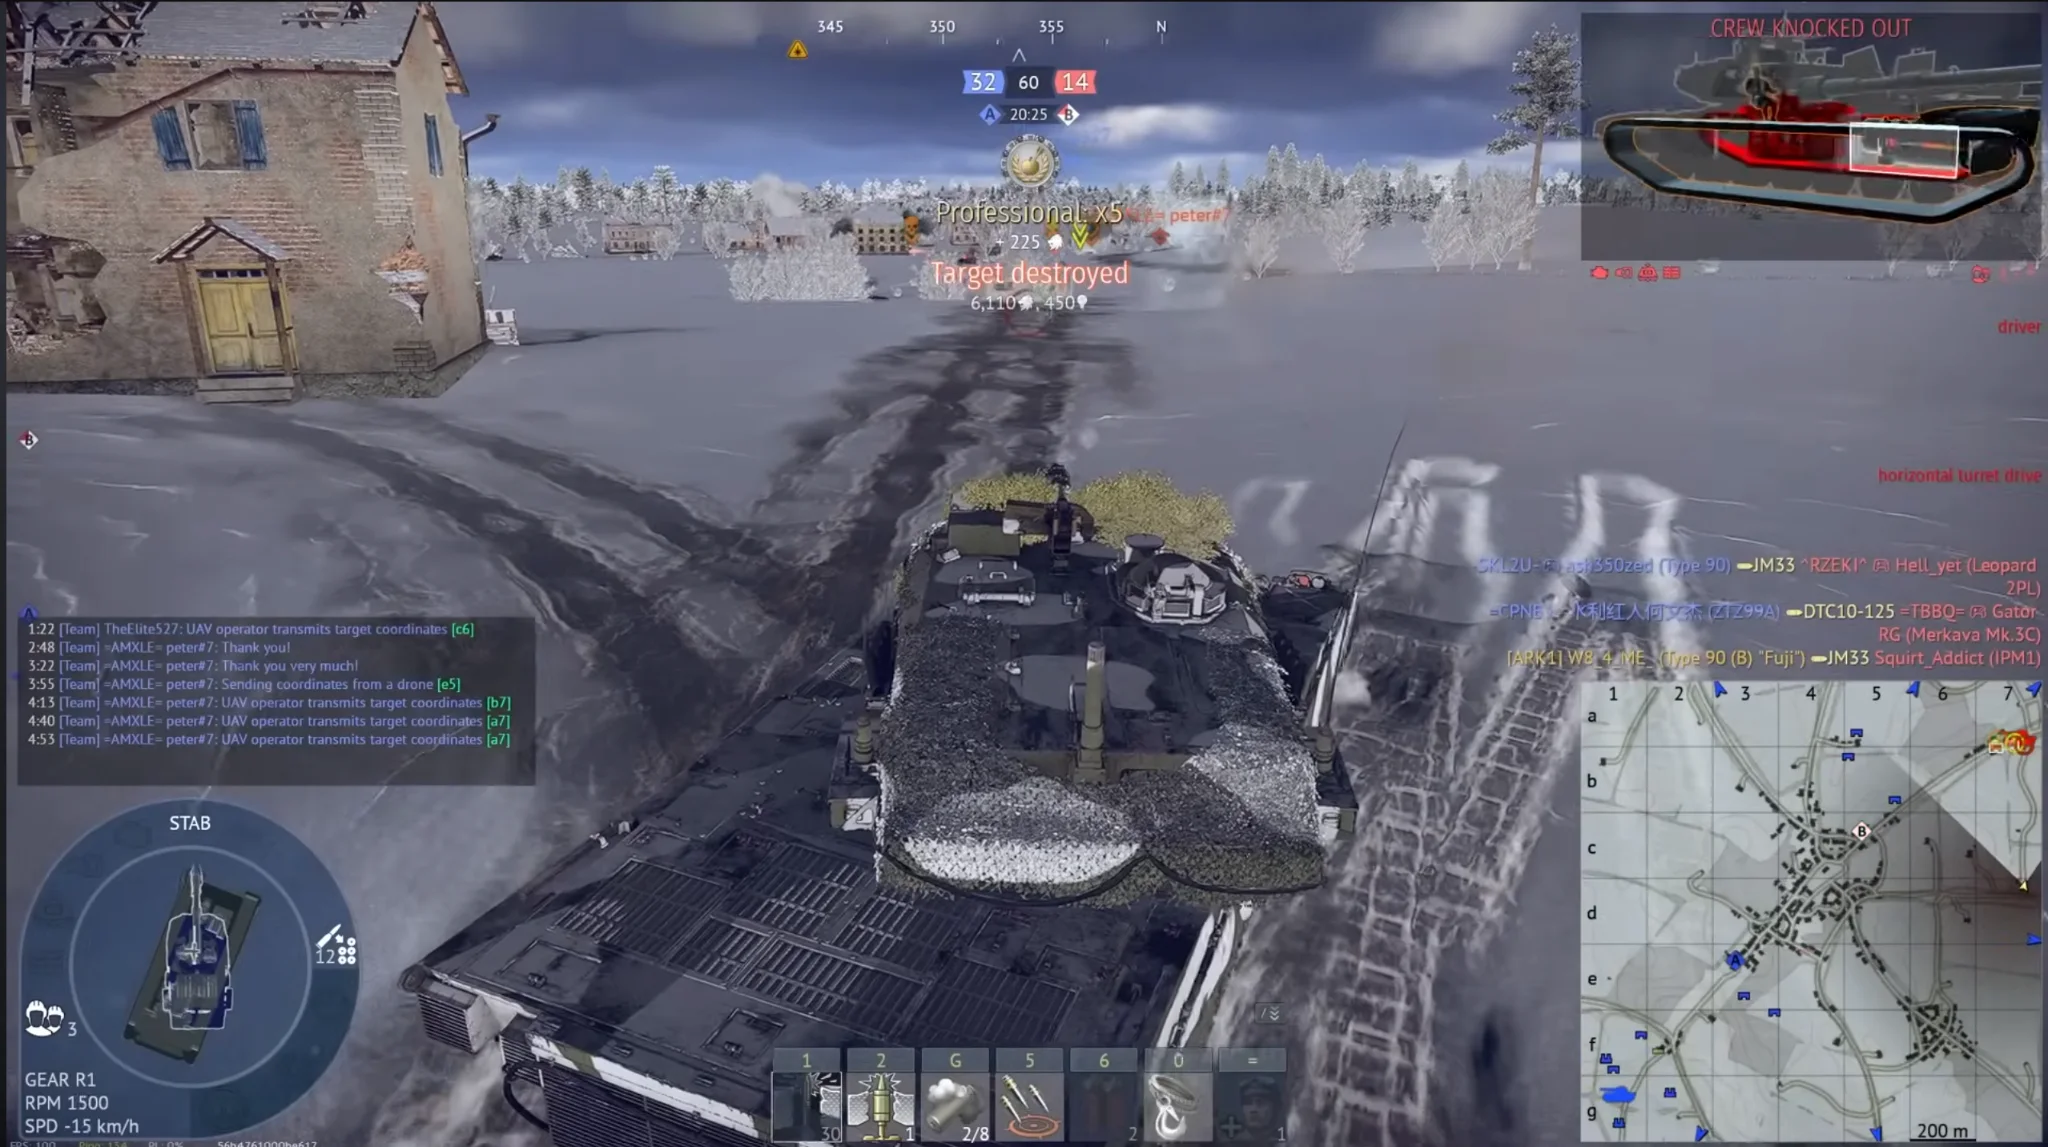
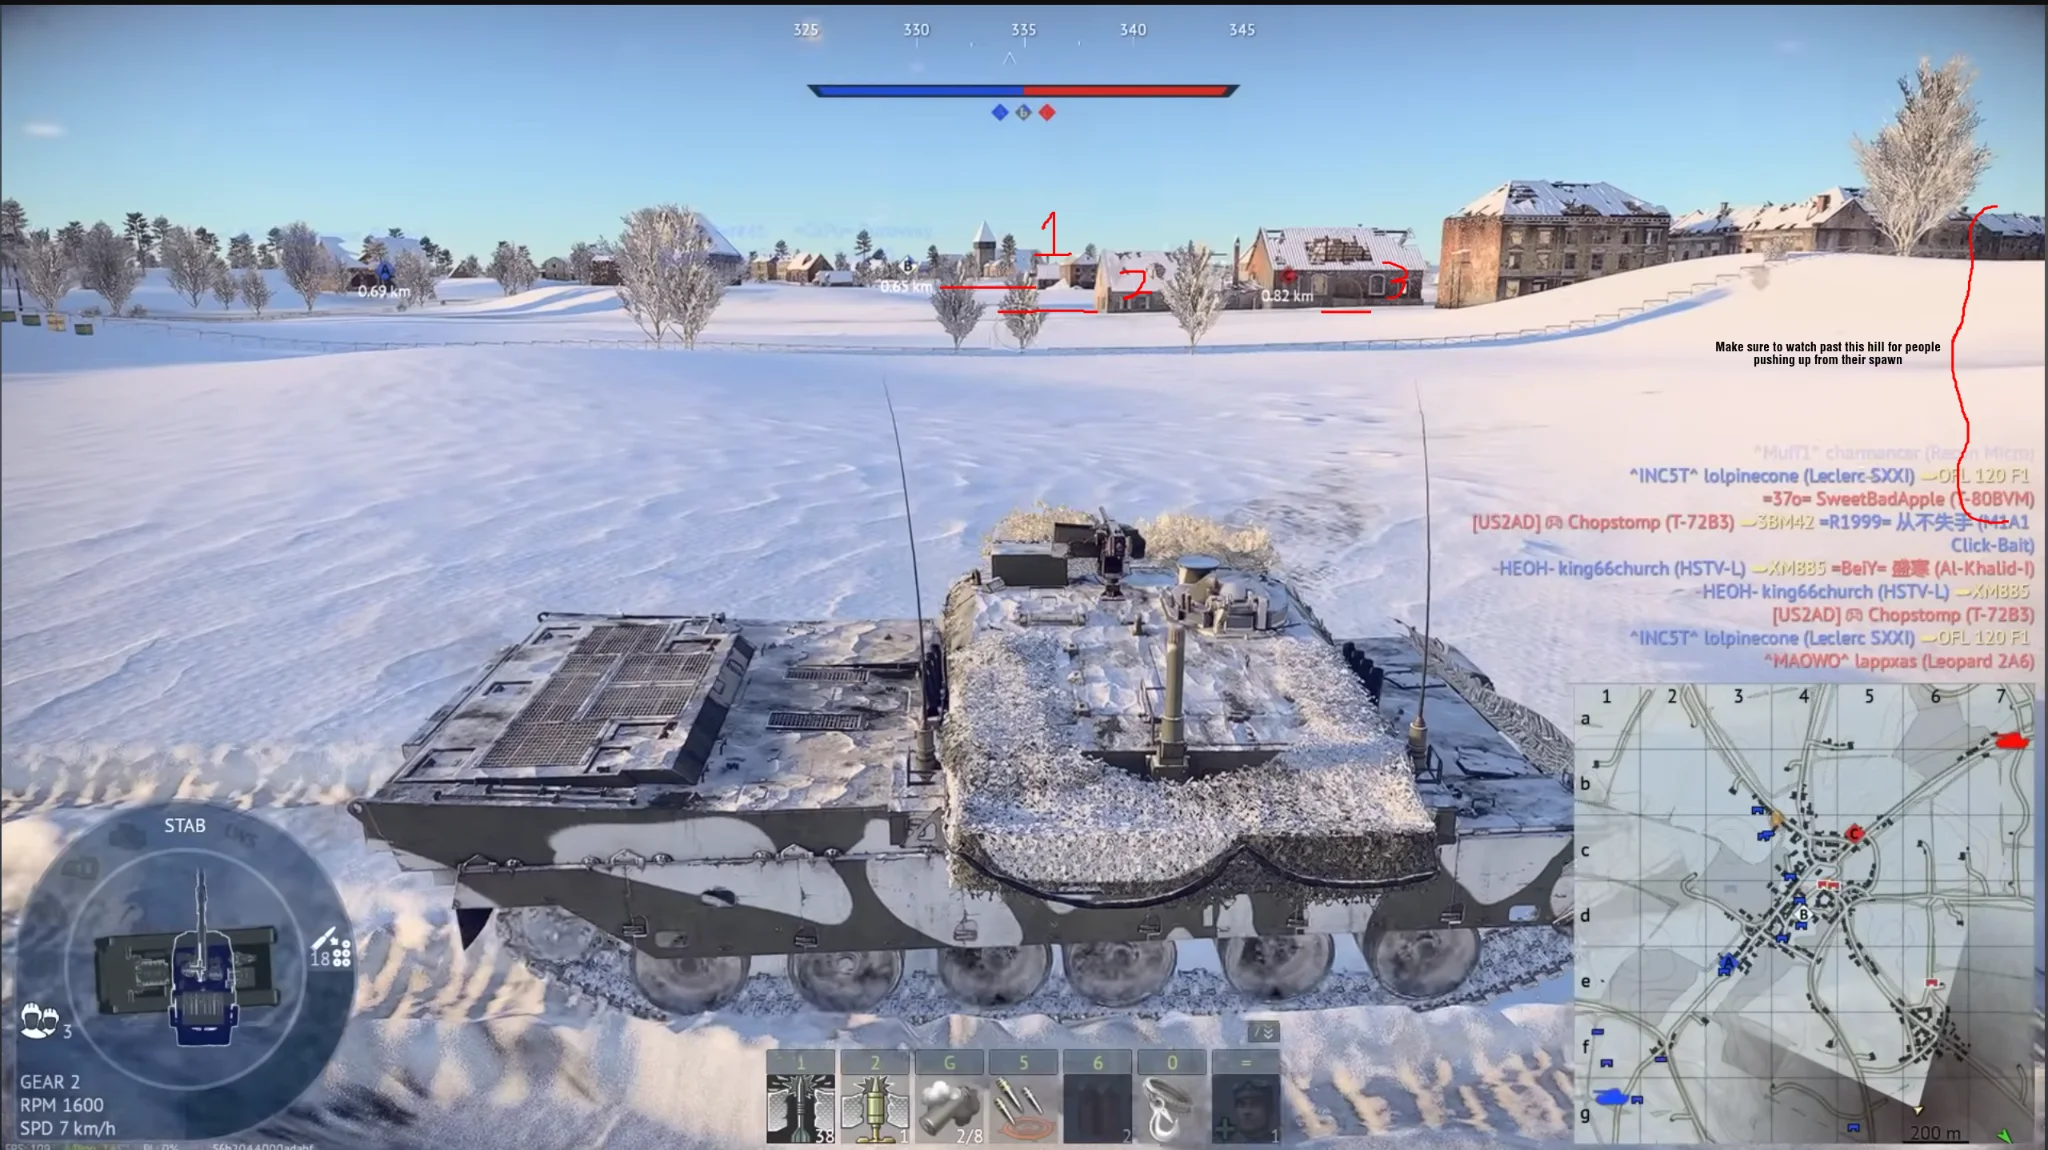
Great spot to hold at the beginning of the map after spawning at southwest SP, showcased in Wait For Me!'s video "ARDENNES Tactics You MUST Know!" Positions underlined and marked 1,2, and 3 are commonly peeked areas by enemies, and should be watched with high importance. Additionally (unmarked) you should aim to watch the gap between the building housing area 3 and the building to its right. Peek area 3 and 4 when necessary as enemies like to use the area behind them to set up from time to time.

DefensiveCover
Tactical position on Ardennes
Map overviewclick to expand

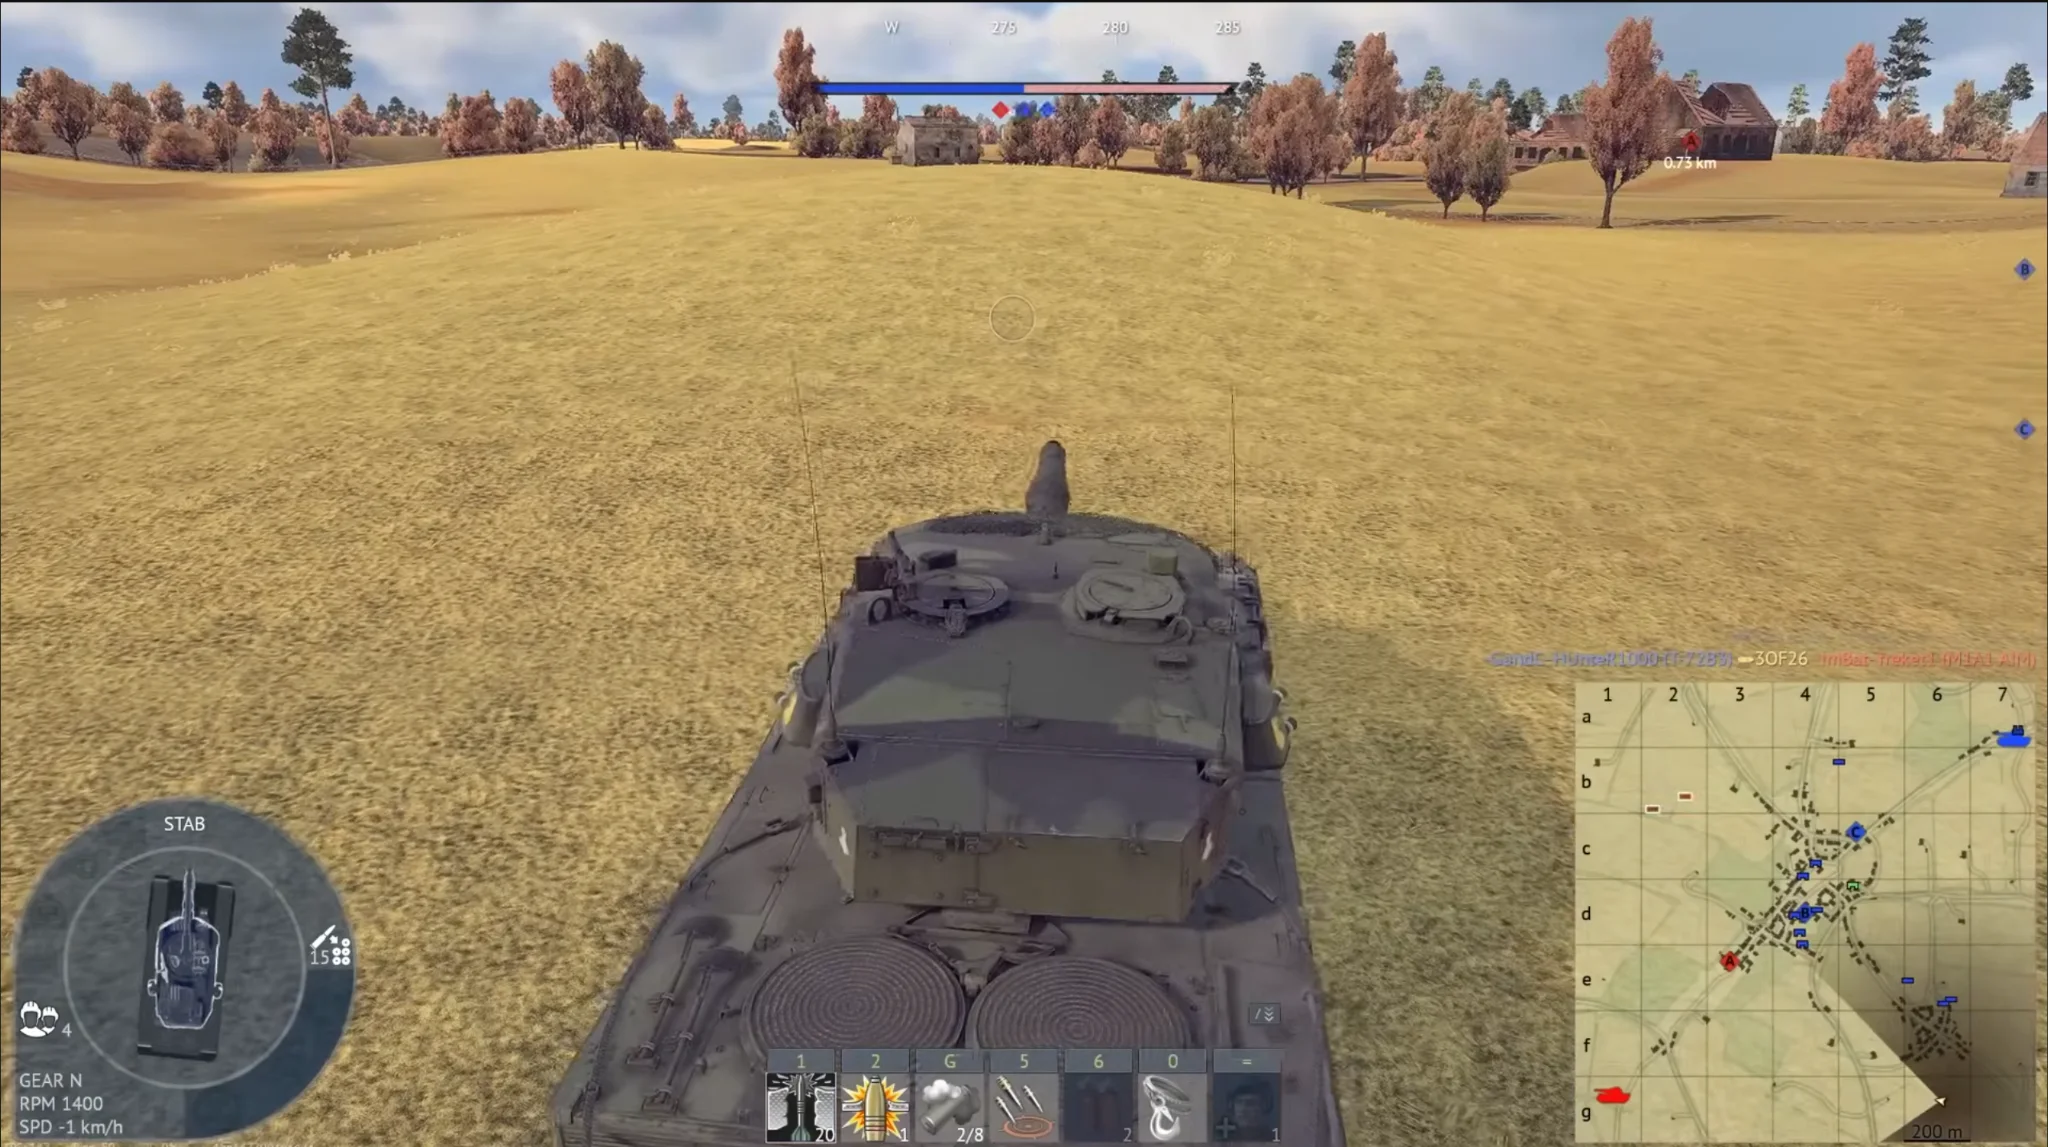
Quick spot set on a ledge to peek from to try to catch enemies off-guard upon spawning on southwest spawnpoint. Not sure how good it is with >10deg of depression. Don't linger for more than 15-20 seconds, not worth the opportunity cost. Image shown is generally where you're gonna want to be looking.

Spawn PeakHull DownDefensive
Tactical position on Ardennes
Map overviewclick to expand

Great spot to set up in early-on in battle to catch rushing enemies on their sides. Only weakness is that if you get pushed from your right flank you have no fallback. Probably isn't effective with low depression tanks given you're peeking up and over the ledge made by the road. Gives good field of view over a lot of positions.

Hull DownCoverDefensive
Tactical position on Ardennes
Map overviewclick to expand

This hill gives an amazing view of the enemy spawn — one of the best spawn-watching angles on the map. Two disciplines make it work. On the approach, watch across the right flank: the route in is exposed to enemies working that side, and most deaths associated with this position happen before arrival. Once set, the position wants tanks with fast reverse and solid gun depression — you work the crest, fire, and drop straight back off the line before the answer arrives. With the right vehicle and a clean approach, the spawn traffic below funds your whole match. It is marked dangerous because everyone it kills remembers it.

Spawn CampHigh GroundDanger Zone
Tactical position on Ardennes
Map overviewclick to expand

The northeast-spawn counterpart to the other pin — a great position for holding the entire right flank plus a couple of the routes in and out of the main city. The ground here is generous: solid cover, good hills to peek over and around, and enough depth to adjust your exact spot as the pressure shifts. One tank playing this well seals the whole right side, forcing the enemy into the city fights or the long way around. The standing instruction: keep your head on a swivel. The position covers a lot, which means a lot can eventually come looking — rotate your attention as habit, not as reaction.

DefensiveCover
Tactical position on Ardennes
Map overviewclick to expand

A great spot for holding one of the main routes out of the enemy spawn — the picture shows the general area to keep your eye on, and that zone is where the traffic appears. You are interdicting at the source: vehicles committing to this route meet your gun before they reach the map's real cover, which makes each engagement heavily yours. High ground helps the sightline; the danger tag reflects how close you are working to their deployment. Watch the pictured zone with sights pre-set, take the deliberate shots as the route feeds, and treat organized attention — CAS, artillery, a coordinated push — as the signal to displace.

Spawn CampHigh GroundDanger Zone
Tactical position on Ardennes
Map overviewclick to expand

A dual-purpose spot: good for killing the traffic that drives past it, and blessed with a clean view of the rushing side. You sit at the seam between two kinds of target — the casual passers-by who cross your gun at close range, and the committed rush traffic you can watch develop from distance. The cover and flanking geometry let you engage both without being an obvious position for either. Work the passing lane opportunistically and keep the rush view as your early warning: when the wave forms, you see it first, and your team hears about it before it lands. Push forward with them when the moment is right.

FlankDefensiveCoverPushObjective

Strategic Routes · 2 approved

Map overviewclick to expand
Wide Flank

A high-risk flank with running instructions built in: watch your right side the whole way, and watch what develops in front of you. The line commits you to contested ground where the right flank is the classic kill direction — most of this route's failures come from there. The reward for surviving the drive is arrival behind the enemy's attention with real side-shot opportunities. And the final instruction matters most: push farther only if your team is pushing too. Alone, deep is just dead; with a team advancing behind you, this flank becomes the cutting edge of the whole push. Read the minimap before extending.

Map overviewclick to expand
Wide Flank

A good sniping spot — when the objective layout cooperates. If there is no capture point in this area, the ground goes quiet and this position turns into a clean overwatch: long sightlines over terrain that enemies cross carelessly precisely because nothing here is contested. Check the match's objective configuration at spawn. When the area is objective-free, set up and tax the transit traffic; when a point spawns here, the same ground becomes a brawl pit and the sniping angle collapses. It is a conditional position — but in the right configuration, it is quietly one of the better guns on the map.

See it on the map

Open Ardennes in the RATLINE tool to view pins, draw routes, and contribute your own intel.

Open RATLINE → All Guides