Tactical Positions · 3 approved

Tactical position on AralSea
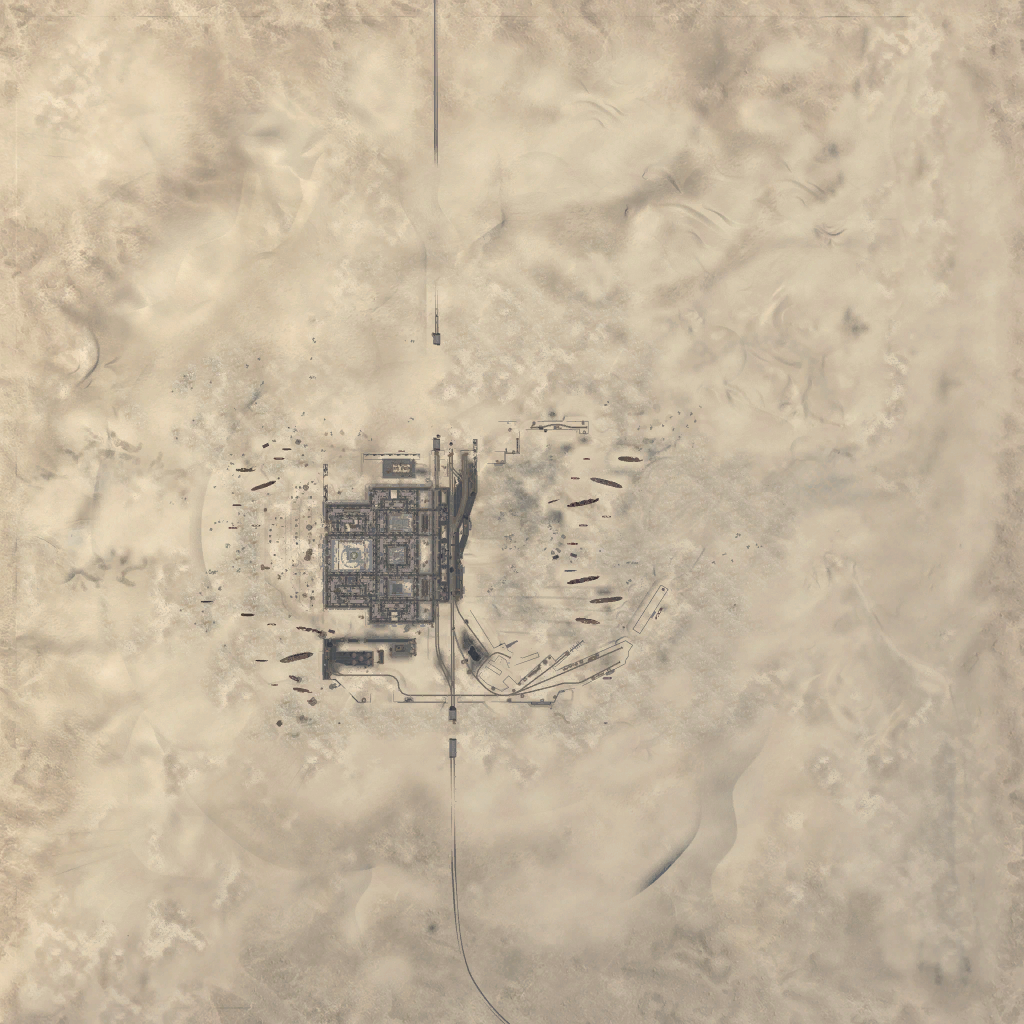
Map overviewclick to expand

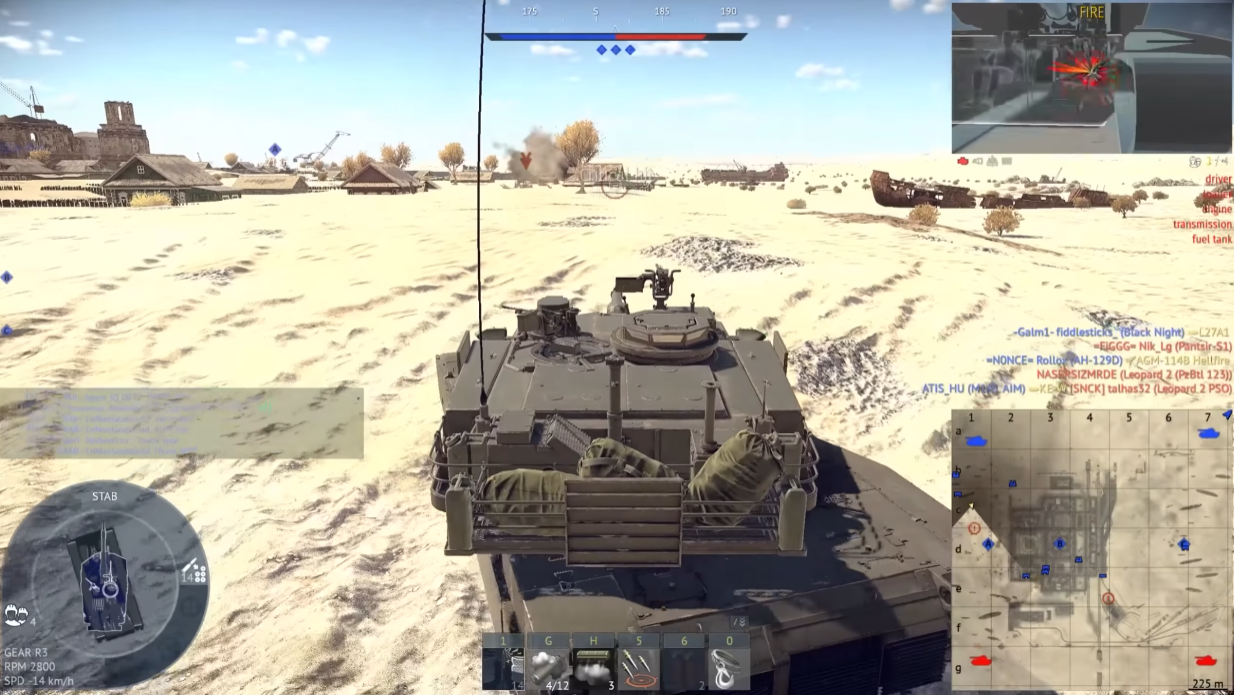
This position is excellent for peeking out and defending point A — the geometry gives you a clean firing window onto the point's approaches while keeping your hull tucked away between exposures. One piece of housekeeping makes or breaks it: remove the small tree directly in front of you, or it will blur your line of sight at exactly the wrong moment. Knock it down when you arrive, before you need the shot. After that, the spot plays itself — peek on your timing, punish whatever is pushing A, and drop back into cover to reload. A defender here makes the point miserable to take.
Tactical position on AralSea
Map overviewclick to expand

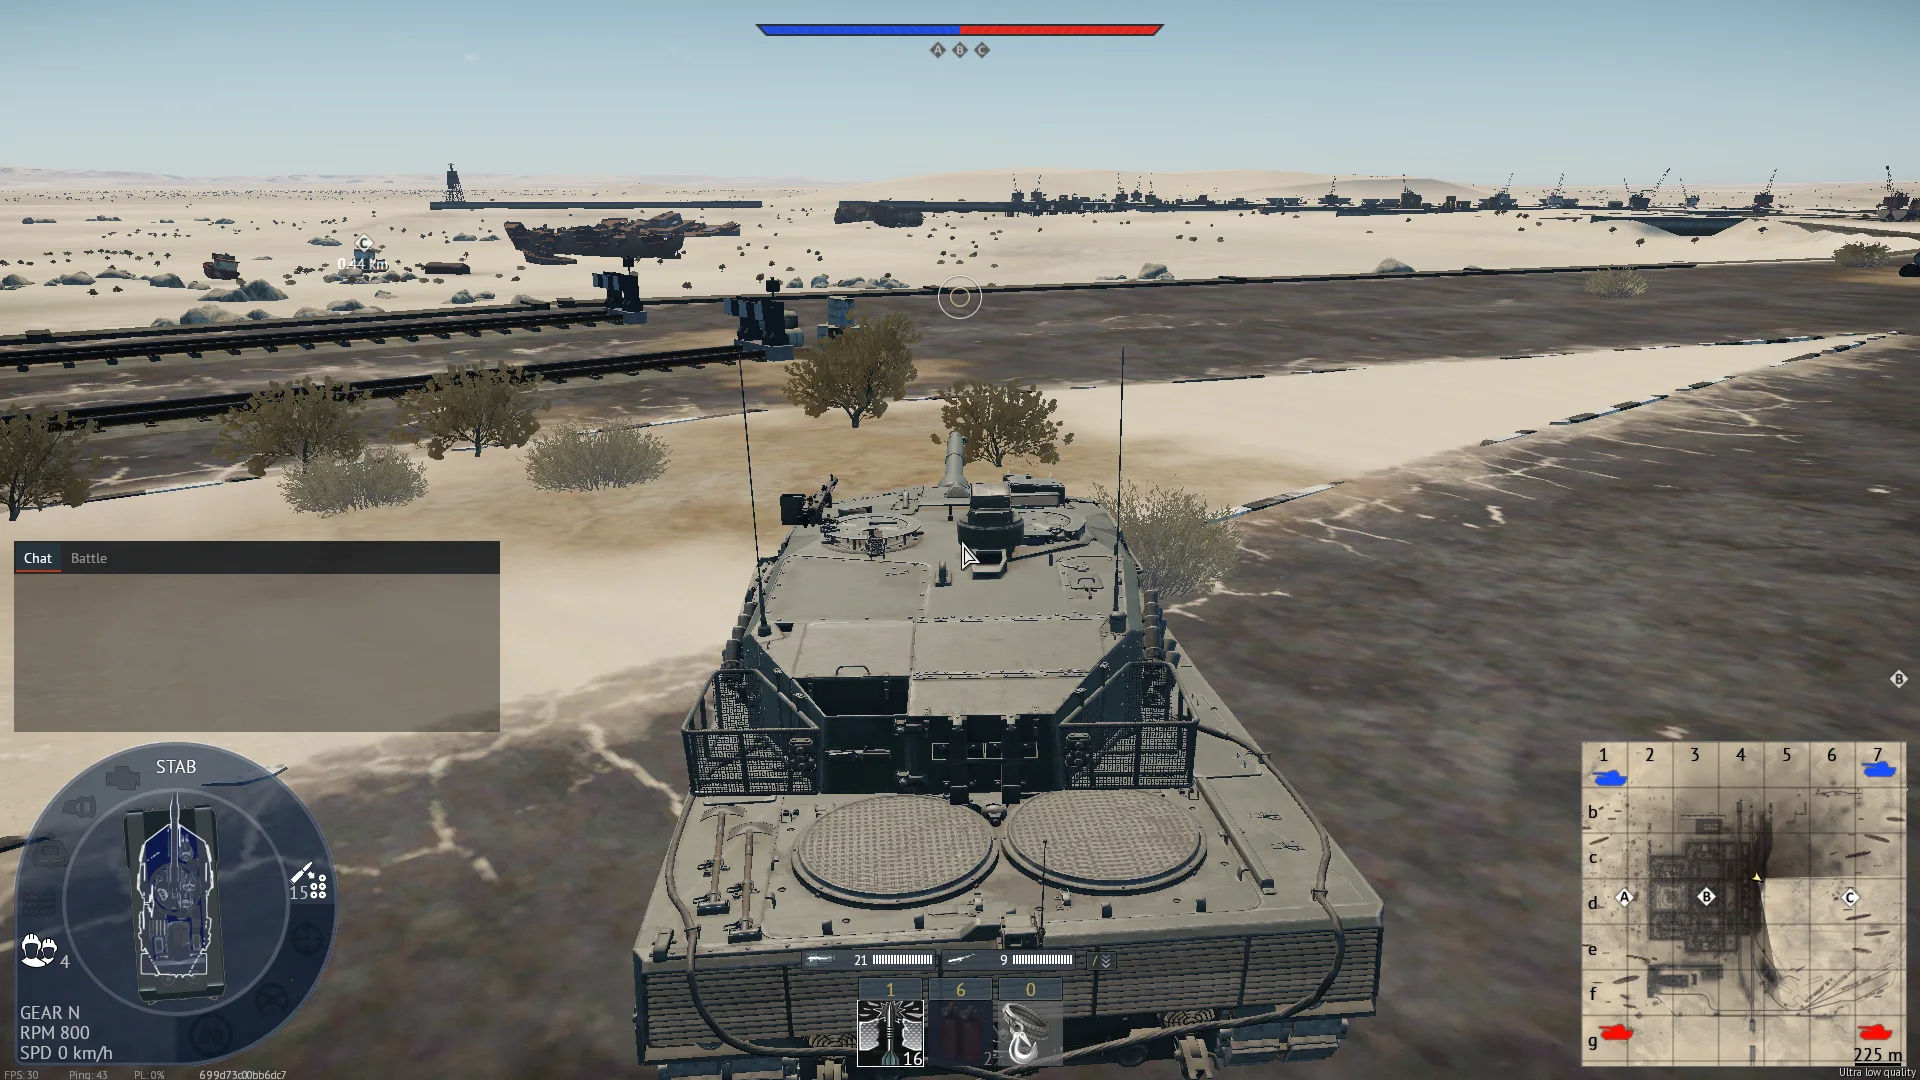
From this high ground you can snipe toward the enemy spawn area — roughly, not perfectly, the angle reaches their deployment zone but not every corner of it. The same position protects the entire C point, which is its steadier job: nothing contests C without crossing your sightline. Now the honest part: the sides and back of this position are genuinely risky. The elevation that gives you reach gives flankers a naked target, and everyone you kill will consider the trip. Split your attention — spawn reach when the traffic offers it, C defense as the baseline, and a glance over each shoulder as a tax you always pay.

Danger ZoneSniperHigh Ground
Tactical position on AralSea
Map overviewclick to expand

A great look over the C point — the sightline covers the circle and the ground around it, letting you punish cappers and defenders from a spot they rarely trace. It supports hull-down play, so you work with only your turret offered to the point's return fire, and the spawn-peek reach adds early targets before C's traffic properly starts. No picture came with this one, but the position is simple to find from the map marker and forgiving to learn. Set up on the crest, service the point's comings and goings, and shift a few meters between kills to stay ahead of the enemy's guesses.

Spawn PeakSniperHull Down

Strategic Routes · 8 approved

Map overviewclick to expand
Protected Corridor

A protected route that ends with a somewhat clear view onto the A point — the sightline is honest rather than perfect, with cover available at the destination to fight from. The line's value is the combination: you reach an A-relevant angle without crossing the open ground that makes other approaches expensive, and once there, the cover sustains you through the point's exchanges. Use it early to be part of A's first fight, or as the safe rotation when A flares up mid-match. The view does what defensive overwatch needs — interrupts captures and chips the pushers — even if it never feels spectacular.

Map overviewclick to expand
Wide Flank

A sorta common flank — nothing too special, and kinda risky, which is the fairest possible label. The route is known well enough that experienced enemies sometimes watch it, and the ground it crosses offers only moderate protection. But common routes stay common because they keep working: the angle it reaches still catches the map's traffic side-on, and on the matches where nobody bothered to watch it, it pays like the fancier lines. Treat it as a coin worth flipping — drive it alert rather than on autopilot, bank whatever it offers, and do not force it when the first contact suggests the enemy came prepared.

Map overviewclick to expand
Wide Flank

Rush the B point through the safe route — this line is the answer to how to be aggressive on B without paying the open-ground tax. The path threads cover the whole way, so your rush arrives as a surprise rather than a spectacle, and you hit the point while the enemy's B force is still organizing. Speed and the covered line together mean you often reach the circle first or contest it seconds after it flips. Take it at match start for the opening cap race, and again whenever B needs retaking — the route's protection makes it repeatable in a way naked rushes never are.

Map overviewclick to expand
Wide Flank

There is a small gap in the window here — a literal slot — that lets you see along the side of the boat where the enemy flank runs. It is one of those absurd, specific angles this map hides: from the gap, the flankers' favorite route is a shooting lane, and from their side, the window reads as scenery. Set up on the slot and the enemy's clever wide play delivers itself to your gun in single file. The angle is narrow, so this is a patience position — watch the gap, take the shots as they cross, and enjoy killing people through a hole they will never identify.

Map overviewclick to expand
Wide Flank

A great look over the point — this flank ends on an angle where the objective sits inside a clean, sustained sightline. Point overwatch is the most reliable job in the game: the objective's gravity pulls enemies into your field of fire all match, cappers hold still for you, and defenders posture predictably around the same cover. The flanking approach keeps your arrival quiet, which buys the first several engagements at full surprise. Establish, zero the circle and its shoulders, and work the traffic deliberately. When the point changes hands, the view stays just as valuable — only the targets' direction flips.

Map overviewclick to expand
Protected CorridorDirect Assault

Good if a lot of people spawn at C — this route is a conditional answer, and the condition is readable at match start. When the enemy team weights its deployment toward C, the line's protected-then-direct path carries you onto ground that punishes exactly that crowd: their C-heavy traffic flows across your arrival angle in numbers. If the enemy spreads elsewhere, the route still functions but the payoff thins. So watch the opening minimap: a fat C-side deployment is your green light. Commit when the condition holds, and the route converts the enemy's own spawn choice into your target supply.

Map overviewclick to expand
Protected CorridorDirect AssaultWide Flank
Map overviewclick to expand
Wide Flank

Nuke path

See it on the map

Open AralSea in the RATLINE tool to view pins, draw routes, and contribute your own intel.

Open RATLINE → All Guides