Tactical Positions · 7 approved

Tactical position on AmericanDesert
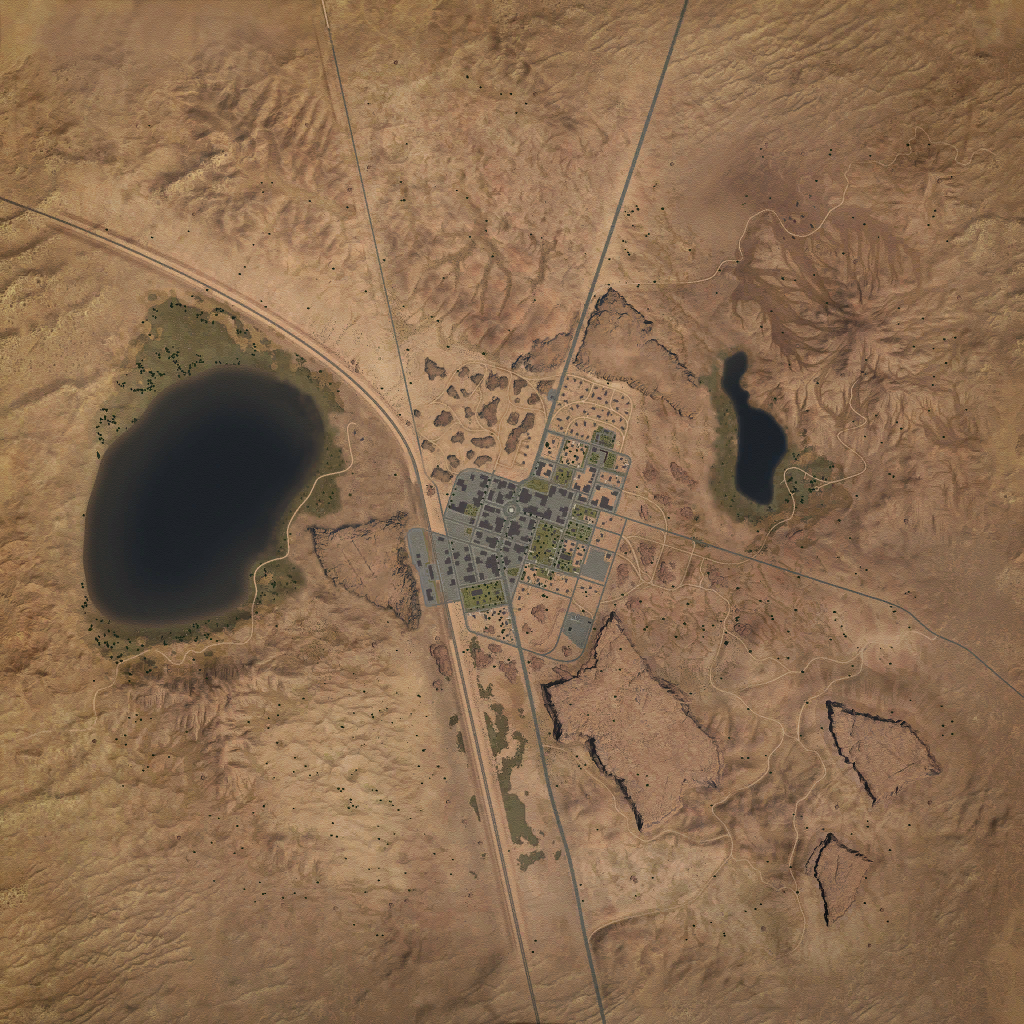
Map overviewclick to expand

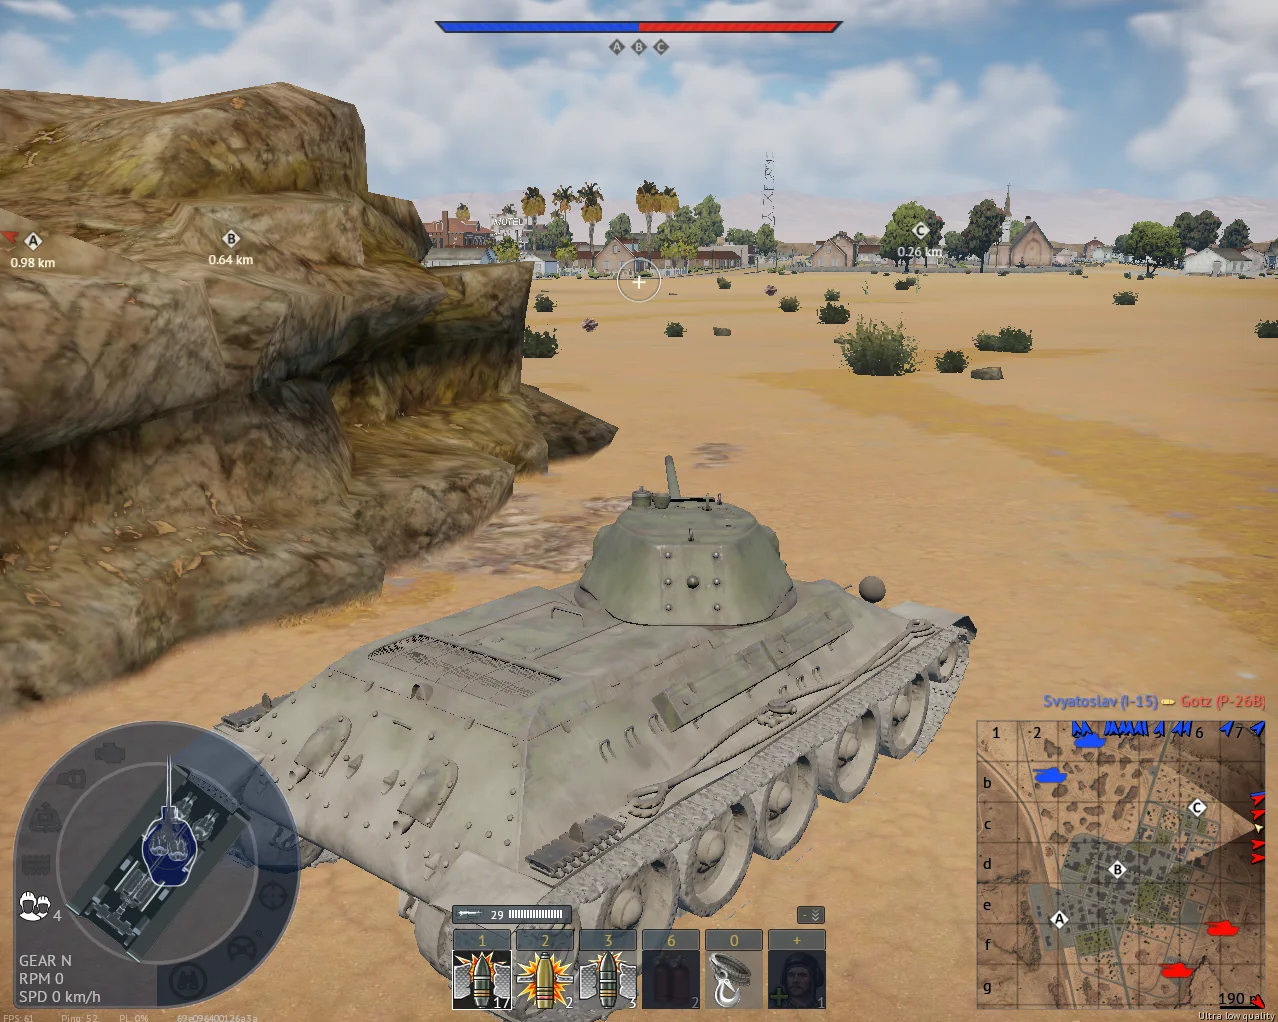
A great spot for holding the people going to point A. The position sits on the approach traffic rather than the point itself, which is the smarter half of objective defense: you engage attackers while they are still in transit — moving, exposed, and focused on the circle ahead instead of on you. The A lane feeds targets wave after wave for as long as the point matters, and each respawn sends the next batch down the same route. Set up with your firing lane on the approach, take the deliberate shots as they commit, and A stays functionally closed without you ever standing on it.
Tactical position on AmericanDesert
Map overviewclick to expand

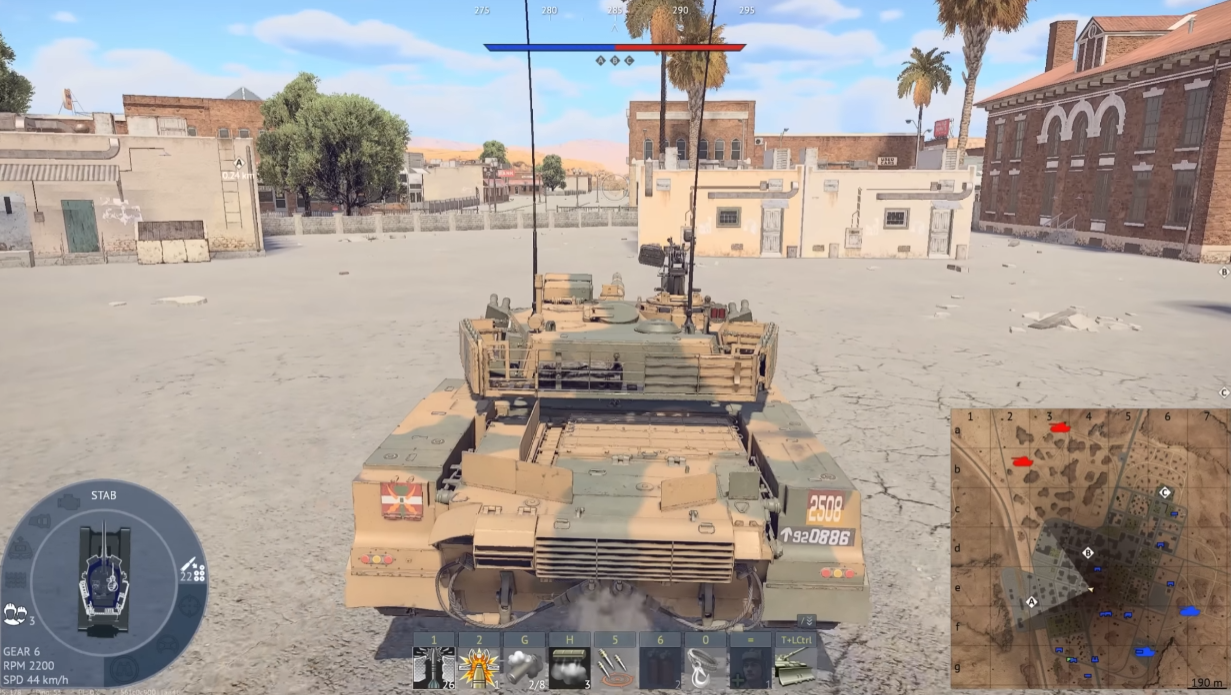
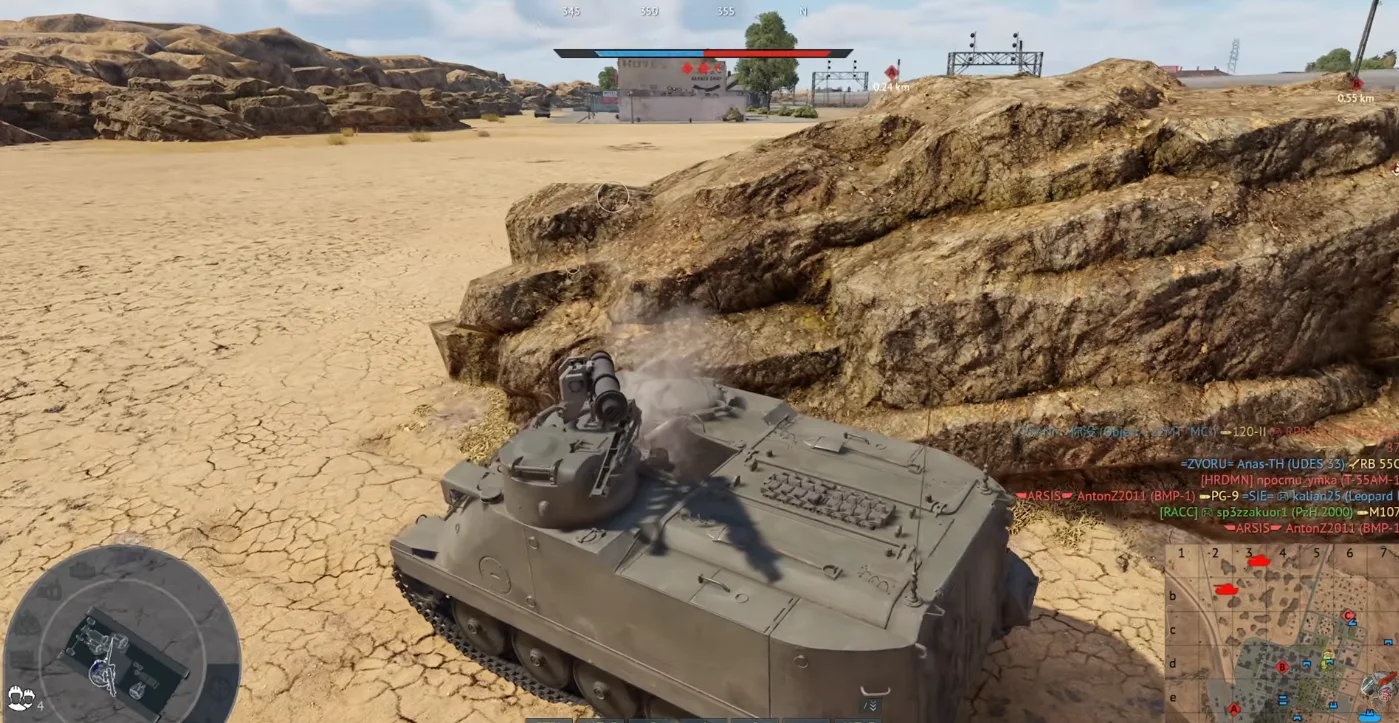
Get to this road and tuck in along its side — from there you lock down the only road the enemy has for reaching point A. That exclusivity is the whole position: there is no alternate lane for them, so every A-bound vehicle either crosses your gun or gives up on the point. Interdiction does not get cleaner than a single mandatory route. Hide against the roadside so you read as clutter rather than a threat, engage the traffic as it commits, and A quietly stops receiving visitors. Expect eventual frustration plays — smoke, CAS, a group push — and be willing to shift a little along the road when they come.

Tactical position on AmericanDesert
Map overviewclick to expand

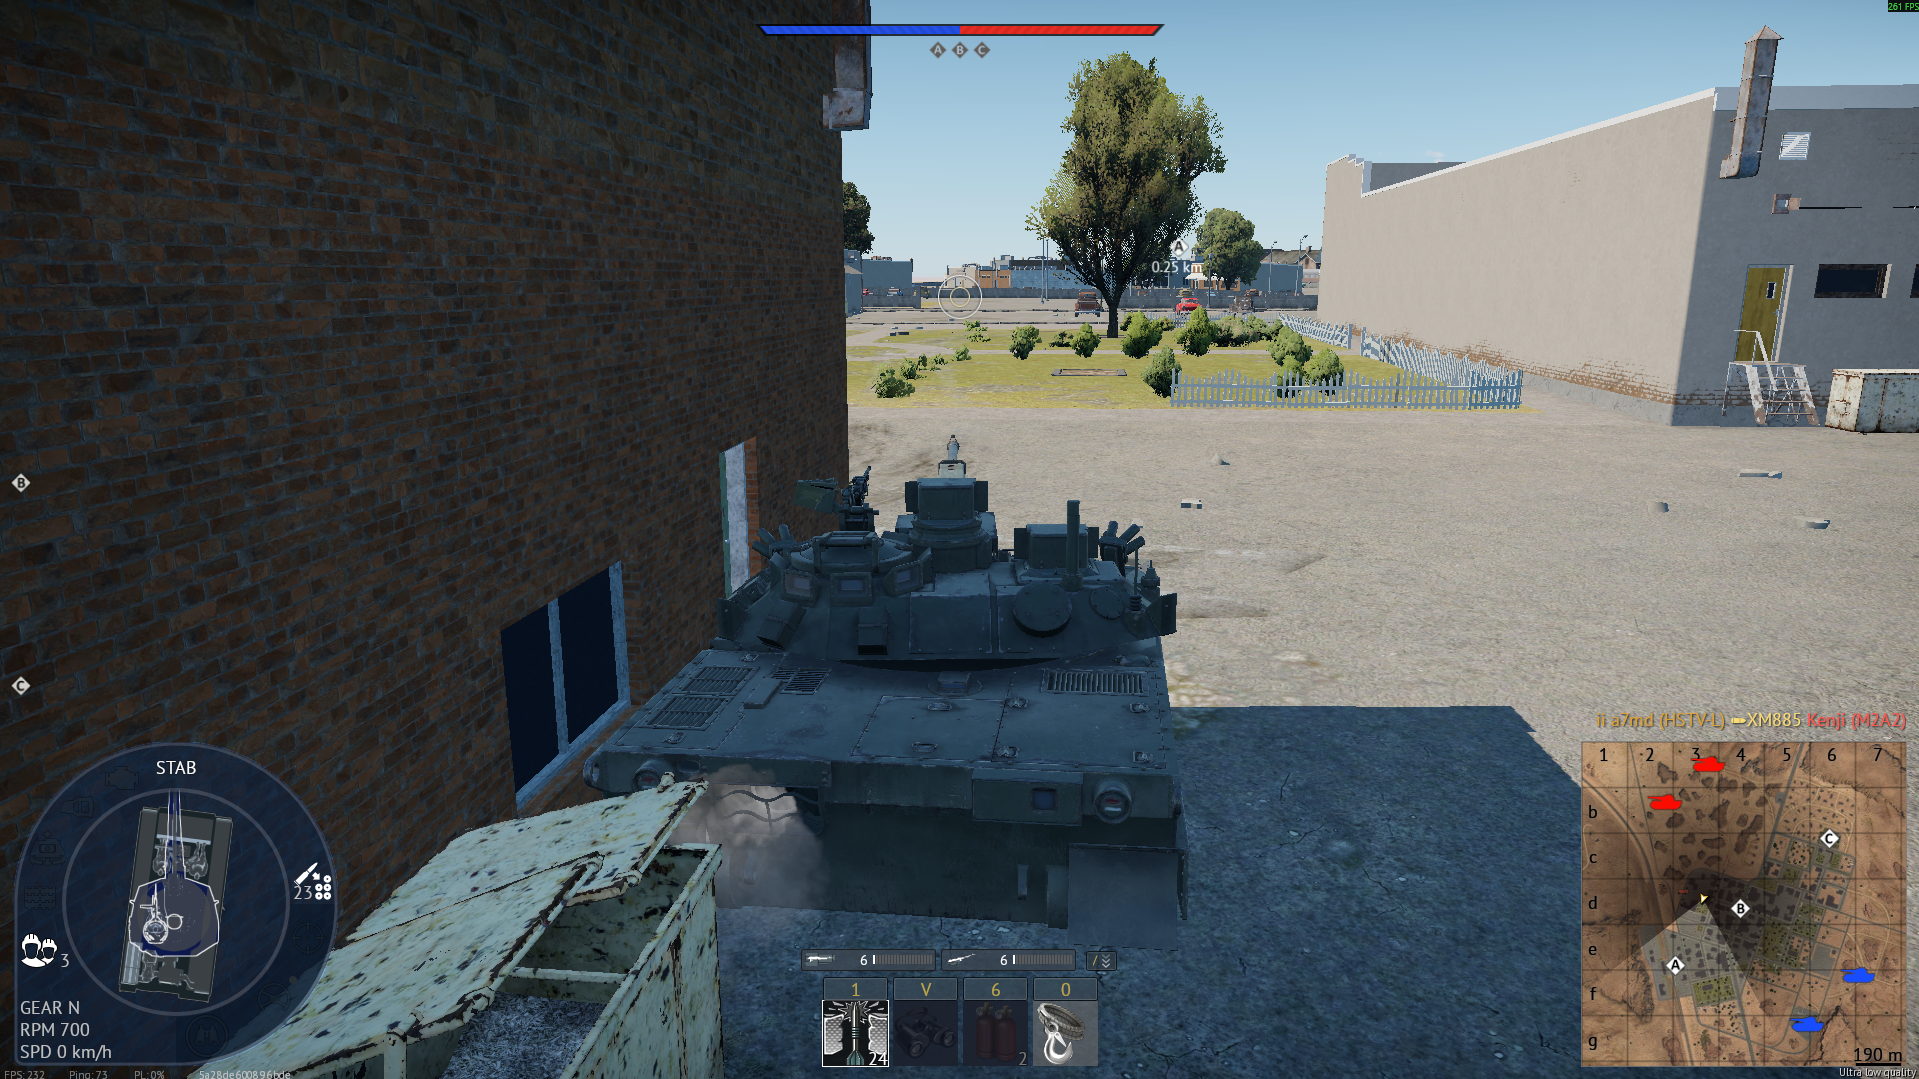
Posición en el lateral de A — trabajas el costado del punto en lugar de su frente. Desde aquí tienes tiro sobre los vehículos que entran y salen del círculo, y los atrapas de lado, con la atención puesta en el frente del objetivo y no en tu ángulo. Los laterales de los puntos son siempre los ángulos menos vigilados: todo el mundo espera el enfrentamiento de frente. Colócate con calma, castiga a los que capturan y a los que defienden, y cambia unos metros de posición después de cada par de bajas para que el fuego de respuesta nunca te encuentre donde te vio por última vez.

Tactical position on AmericanDesert
Map overviewclick to expand

After the C point is captured, this spot lets you camp the southern team as they push to retake it — you sit on their counter-attack lane with cover, ambushing the wave everyone knows is coming. The detail that makes it work: make sure your engine is off. Engine noise carries, and the position sits close enough to the push route that an idling motor gives you away before the first shot. Silent, you are a piece of scenery; running, you are a marked target. Cap C (or let your team cap it), roll into the spot, kill the engine, and let the retake wave deliver itself.

ObjectiveCover
Tactical position on AmericanDesert
Map overviewclick to expand

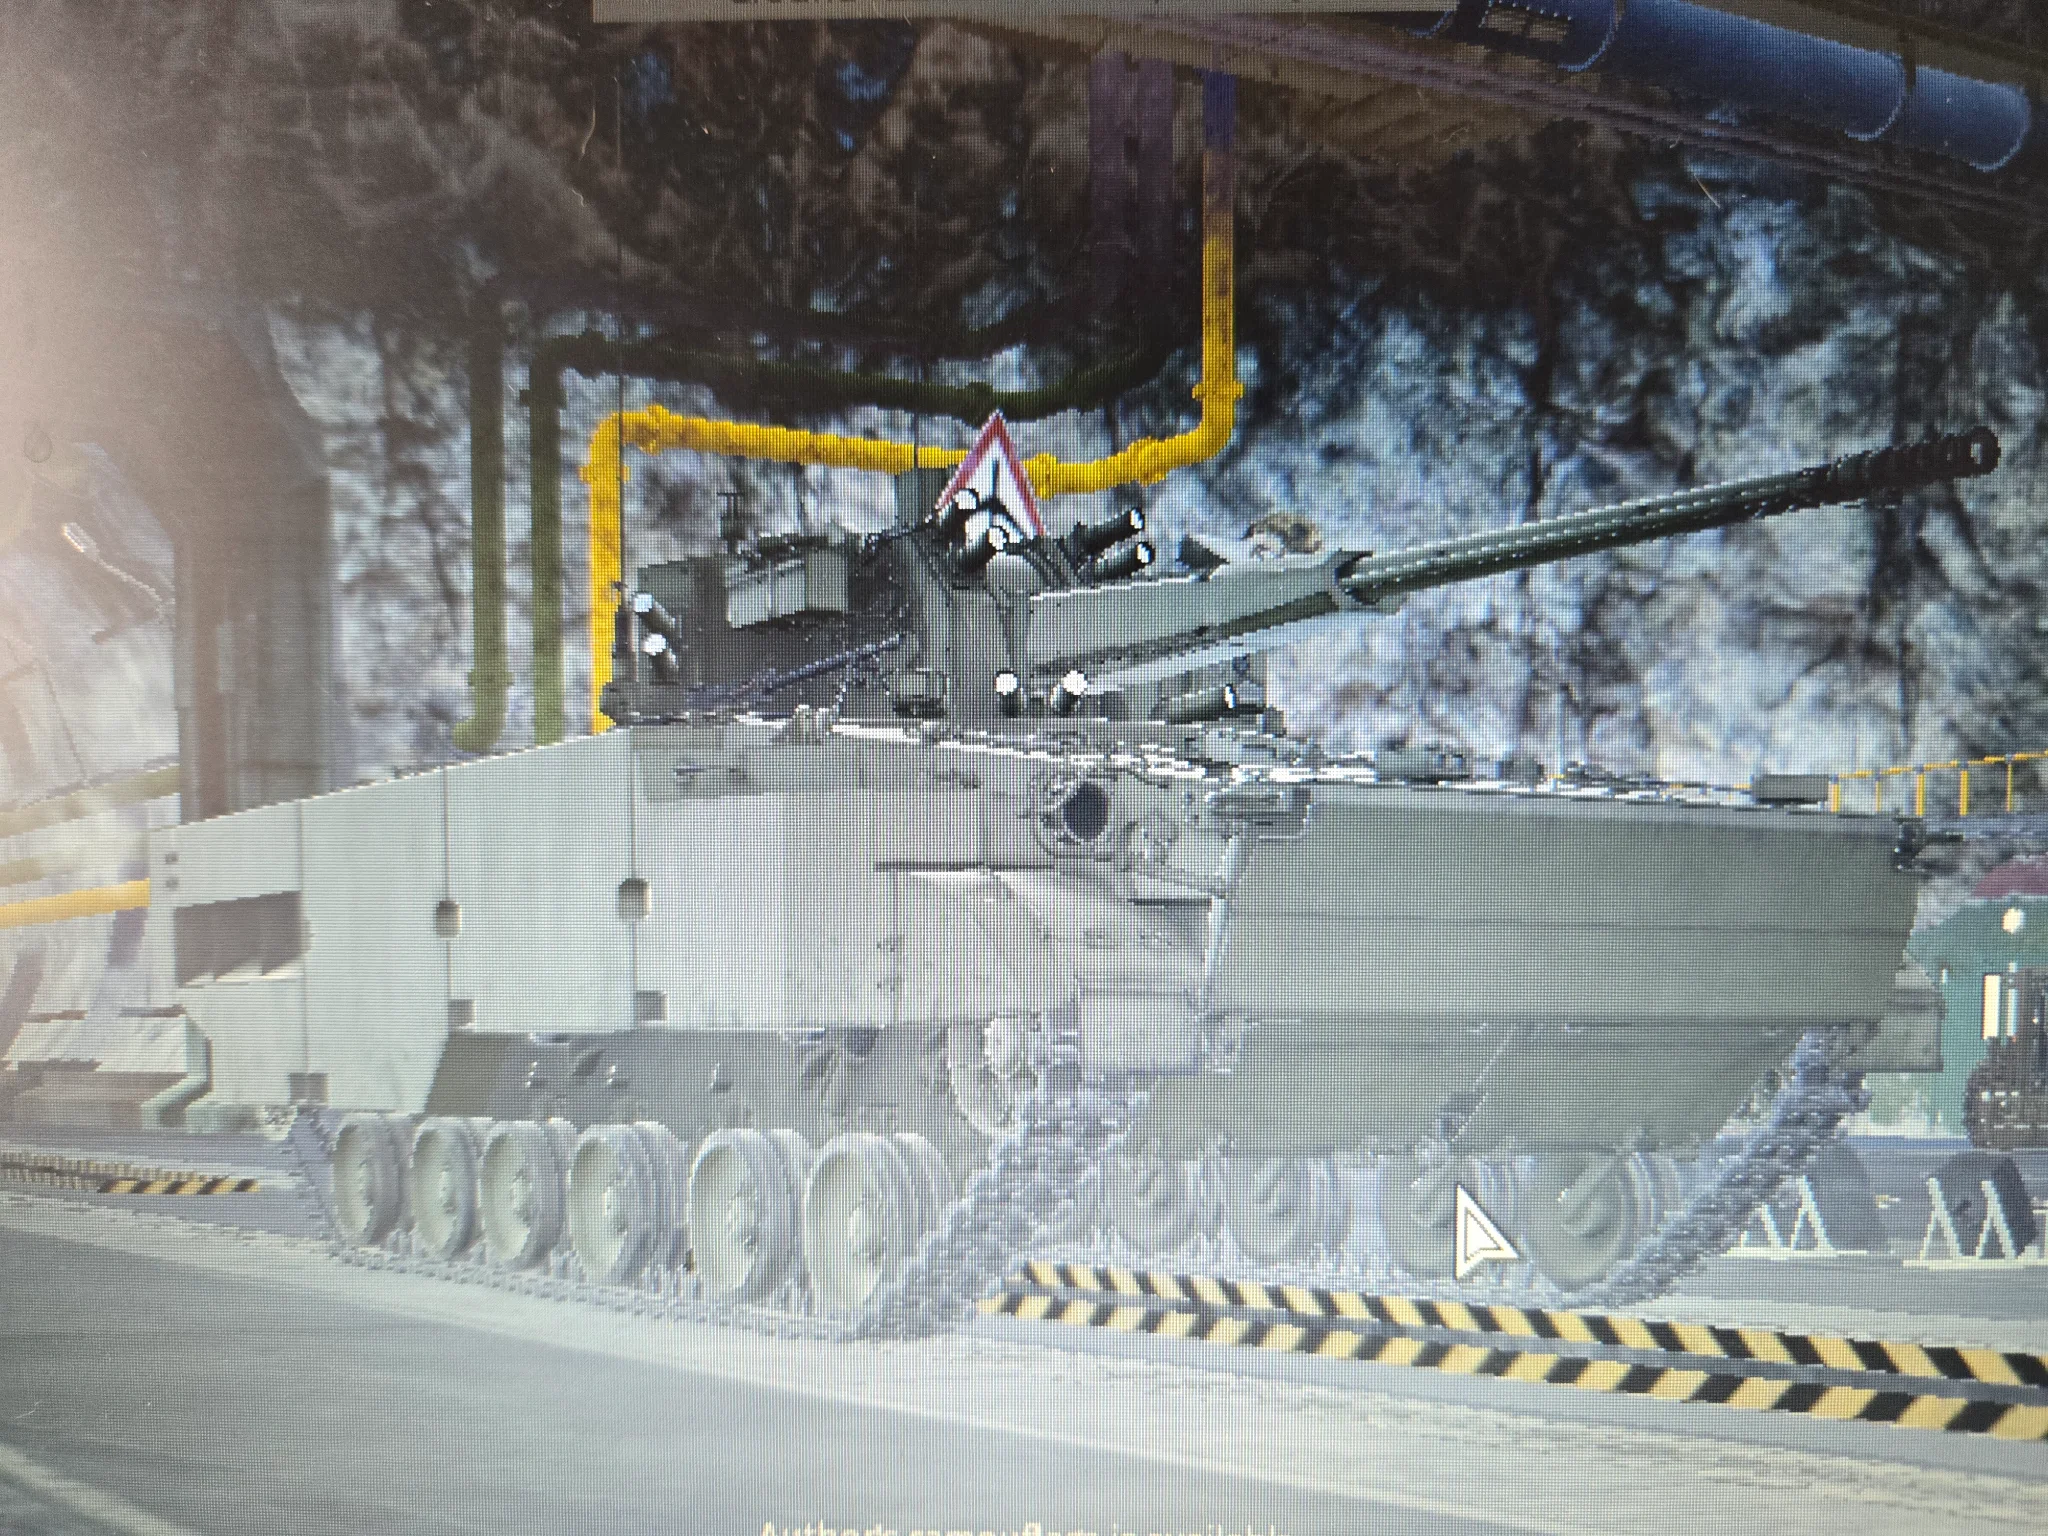
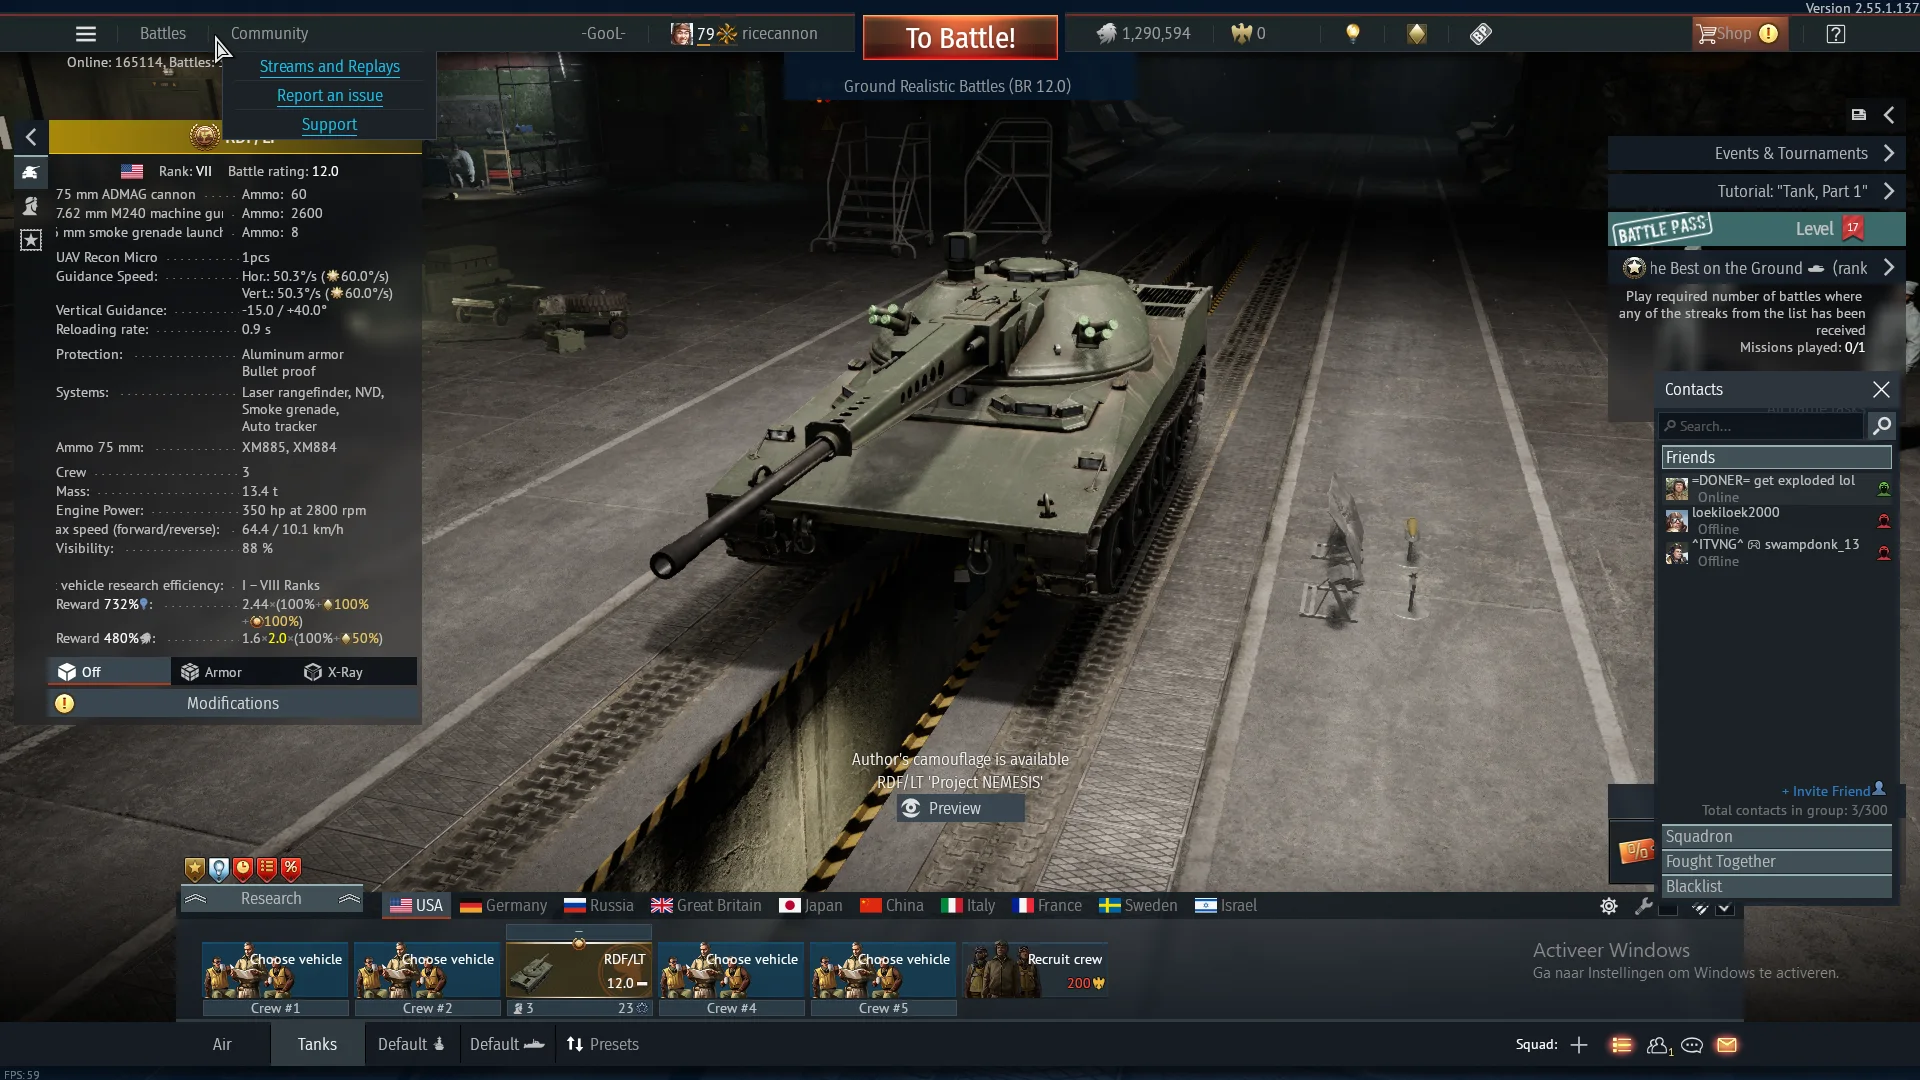
Between the three rocks you can cover two or three corridors to C at once — the sightlines run all the way to the back of the map, so traffic at every depth crosses your gun. The rocks give you hard cover on multiple sides while the corridors funnel the enemy into predictable lines. It is a great position for autocannon vehicles like the 2S38: with several lanes feeding targets and a gun that never really stops firing, you can service all the corridors without waiting on a reload. Wedge in, assign your attention across the lanes, and let the geometry of the rocks do the defending.

Tactical position on AmericanDesert
Map overviewclick to expand

From here you can see A, the area close to the enemy spawn, and the right side of A — three sightlines that together cover most of what happens on this end of the map. The point traffic gives you steady targets, the near-spawn view gives you early warning and early shots, and the right-side angle catches the flankers trying to work around the point. It carries a danger tag because a view this wide is eventually noticed. Play it as a sniper: deliberate shots, priority on the spawn-side targets who are least aware, and a small relocation whenever the return fire starts arriving with intent.

SniperObjectiveDanger Zone
Tactical position on AmericanDesert
Map overviewclick to expand

Rush to this position as soon as you spawn in from any spawn, it gains you the ability to see the enemy before they see you and it gets really good cover if they spot you

CoverFlankDefensive

Strategic Routes · 6 approved

Map overviewclick to expand
Wide Flank
Map overviewclick to expand
Wide Flank

A good route for camping the enemy team — the line carries you around the active lanes to a position where their traffic flows past your gun, and you settle in and collect. It is a flank in shape but a camp in spirit: the goal is not a fast sweep, it is arriving quietly at the right piece of ground and letting the enemy's own movement do the work. Drive it early enough to be established before their routes harden, pick your cover at the destination, and farm with patience. The route rewards players who can sit still — the traffic is coming whether you fidget or not.

Map overviewclick to expand
Protected Corridor

A protected route with one loud warning attached: be careful not to drift too far back, or you will be kicked for going out of bounds. The line hugs the edge of the playable map — that is exactly why it is so well covered, nothing spawns behind you and little can see you — but the boundary is unforgiving, and reversing carelessly during a fight will end your match faster than any enemy. Learn where the line sits before you need to maneuver under pressure. Inside the boundary, the route is a quiet, sheltered transit that gets you where you are going without an audience.

Map overviewclick to expand
Wide Flank

The way to the point — this flank is the practical answer to reaching the objective without feeding the main lanes. It curves you around the direct approaches, which the enemy watches by default, and brings you to the cap from an angle that costs them a rotation to cover. Use it for the opening cap, for retakes, and for every time the straight road is being farmed. It is not a kill route so much as a logistics one: its job is delivering you to the point alive, and it does that job reliably. The side shots it occasionally offers along the way are a bonus, not the mission.

Map overviewclick to expand
Direct AssaultWide Flank

A good early-game push whose mission is defensive: stop the South side from advancing into the capture point. The route drives you into the blocking position fast — part direct, part flank — so you are set before their first wave arrives. From there, the southern advance has to come through your gun, and an advance that expected empty ground tends to come apart against a prepared one. This is tempo defense: you are not reacting to their push, you are pre-empting it. Commit at spawn, reach the block, and break the first wave; everything after that is your team playing with a lead.

Map overviewclick to expand
Protected CorridorDirect AssaultWide Flank

Dangerous but OP if you reach the end — the honest shape of this route. The line mixes protected stretches with direct and flanking legs, and the exposed moments in between are where it earns the 'dangerous' label; getting caught mid-transit is the standard failure. But the terminal position is genuinely overpowered: the angle it grants over the enemy's ground converts into kill after kill with little they can do about it. Treat the drive as the whole challenge — full attention, full speed through the naked stretches, no optional fights — because arriving is winning. Once set, the position does the rest.

See it on the map

Open AmericanDesert in the RATLINE tool to view pins, draw routes, and contribute your own intel.

Open RATLINE → All Guides