 click to expand
a spot to hold anyone thats coming to A and B
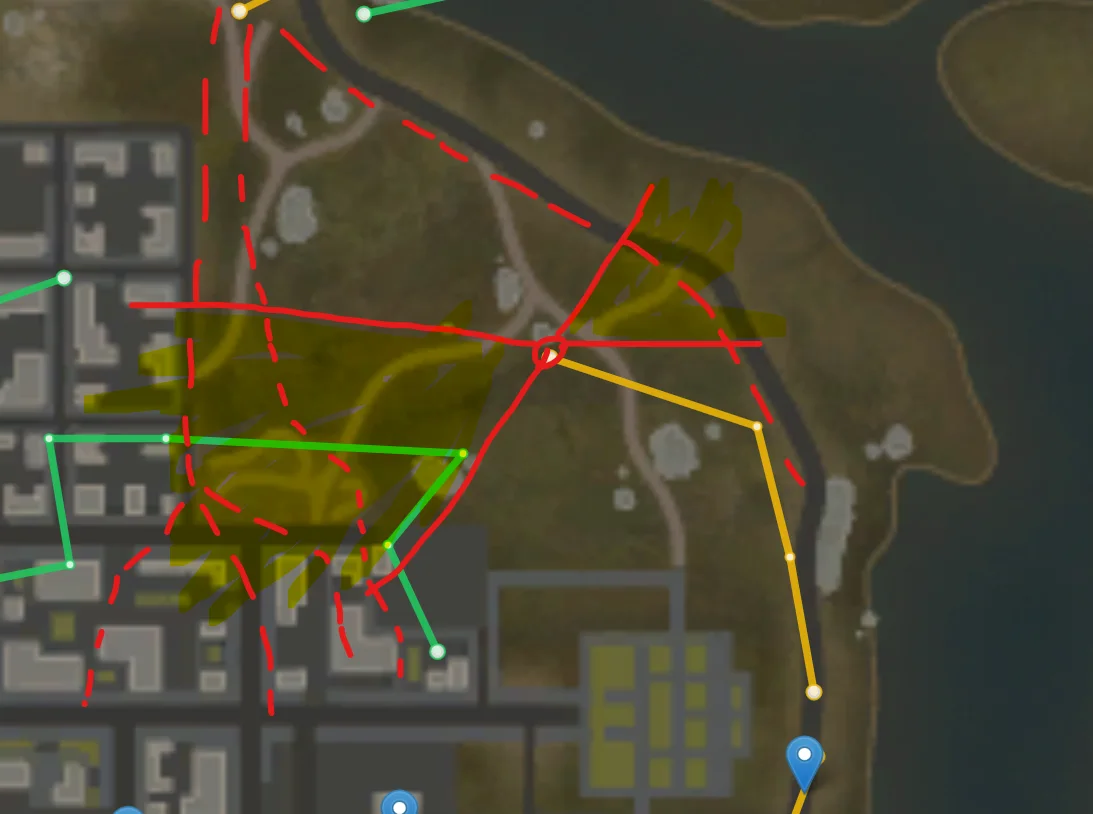
Community-sourced tactical intelligence for Alaska. All positions and routes have been reviewed and approved before publication.
Tactical Positions · 7 approved
×
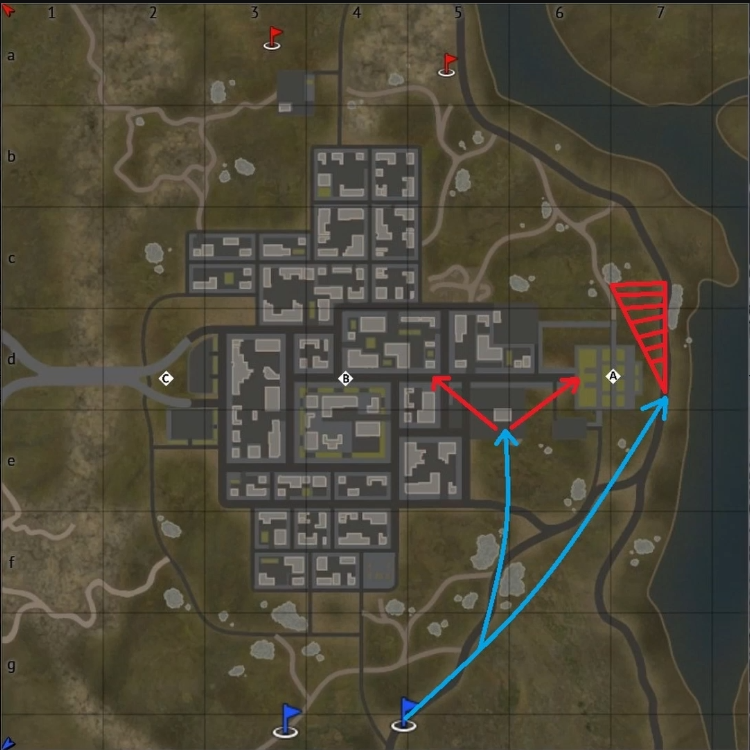
click to expanda spot to hold anyone thats coming to A and B
× click to expand
a good area to hold the enite A point
× click to expand
A good spot to hold the B point
× click to expand
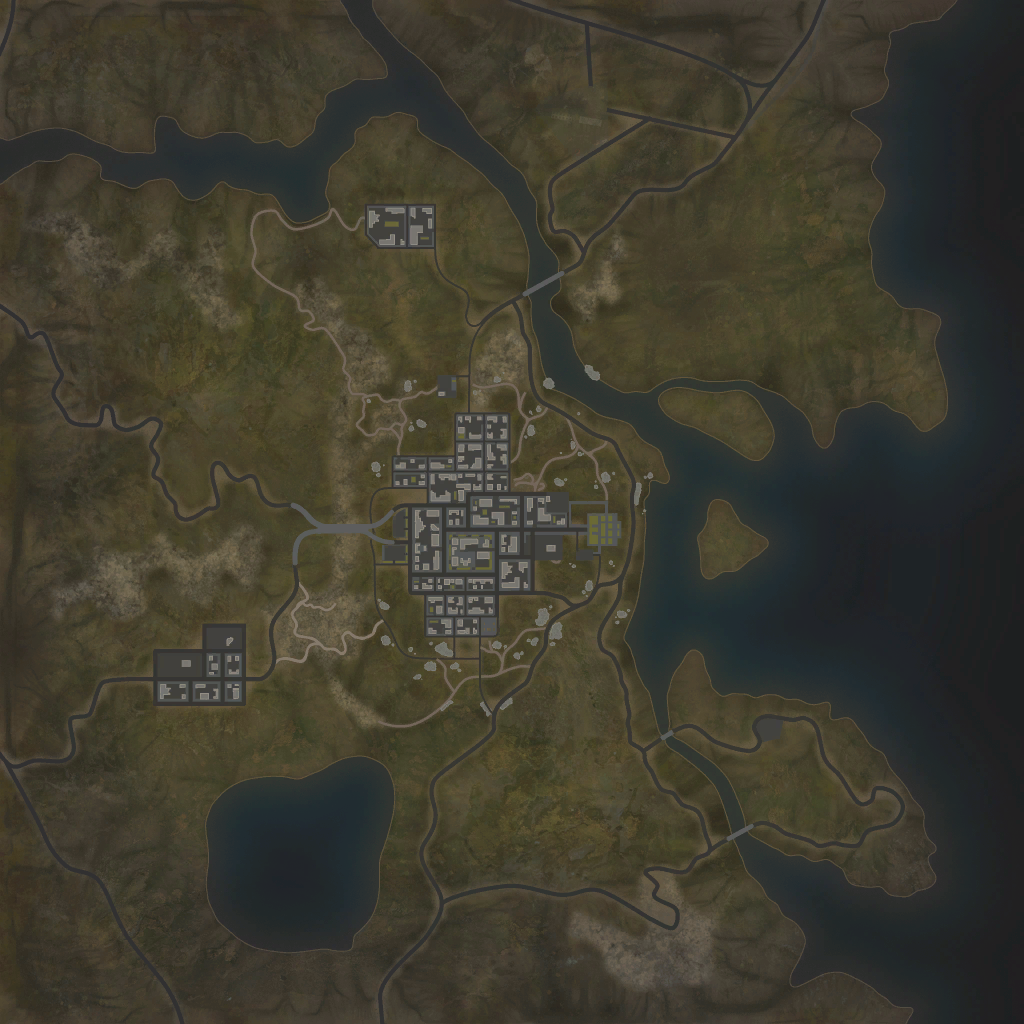
I don't have a photo of this place sr. This place is PEAK
× click to expand
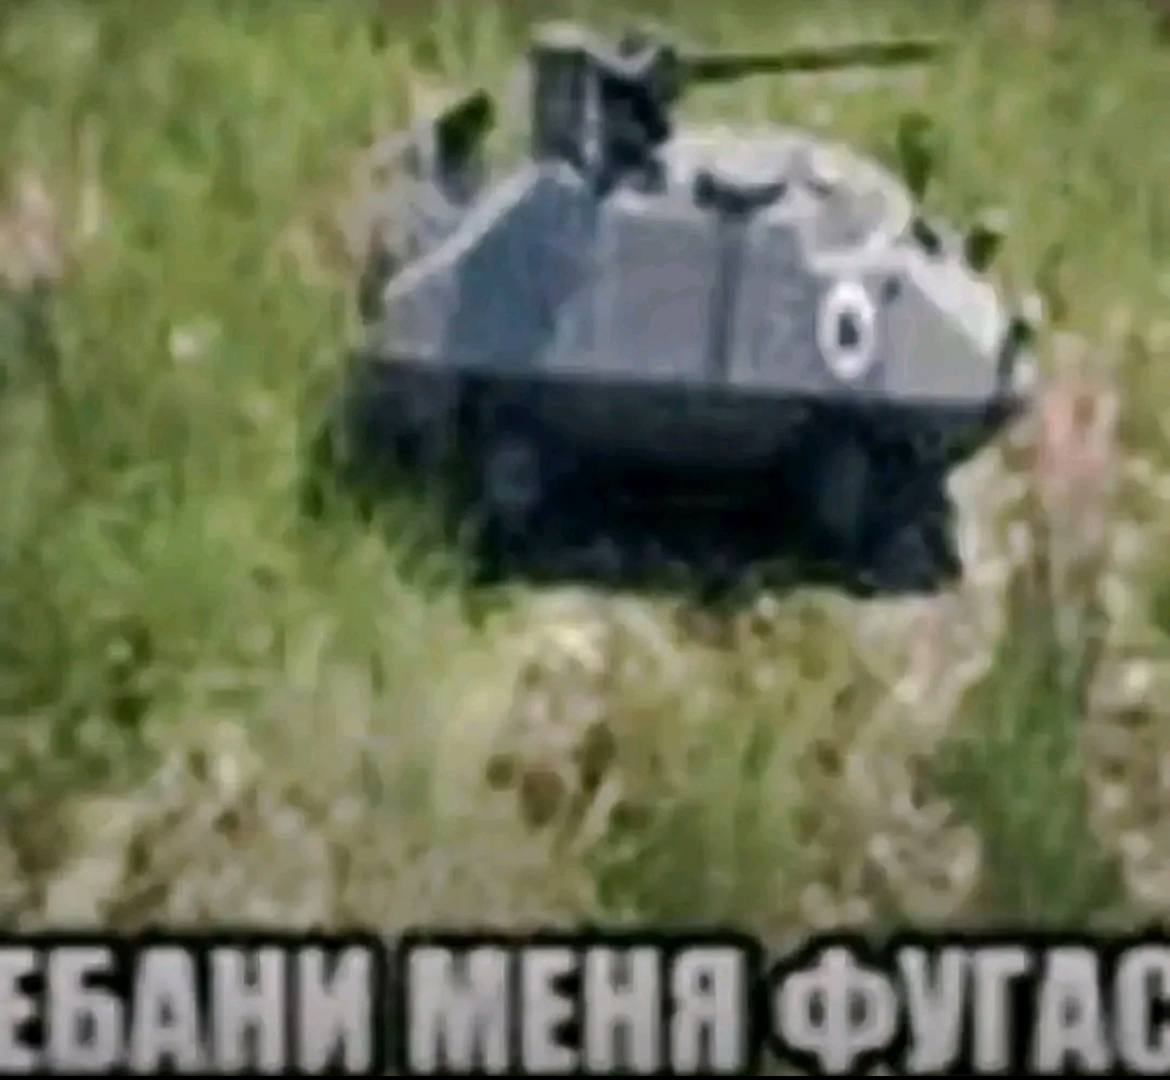
enjoy free frags
× click to expand
Dont go to far as u will be spotted on a map, this position has NUKE potential, but be carefull as u have nowhere to run
× click to expand
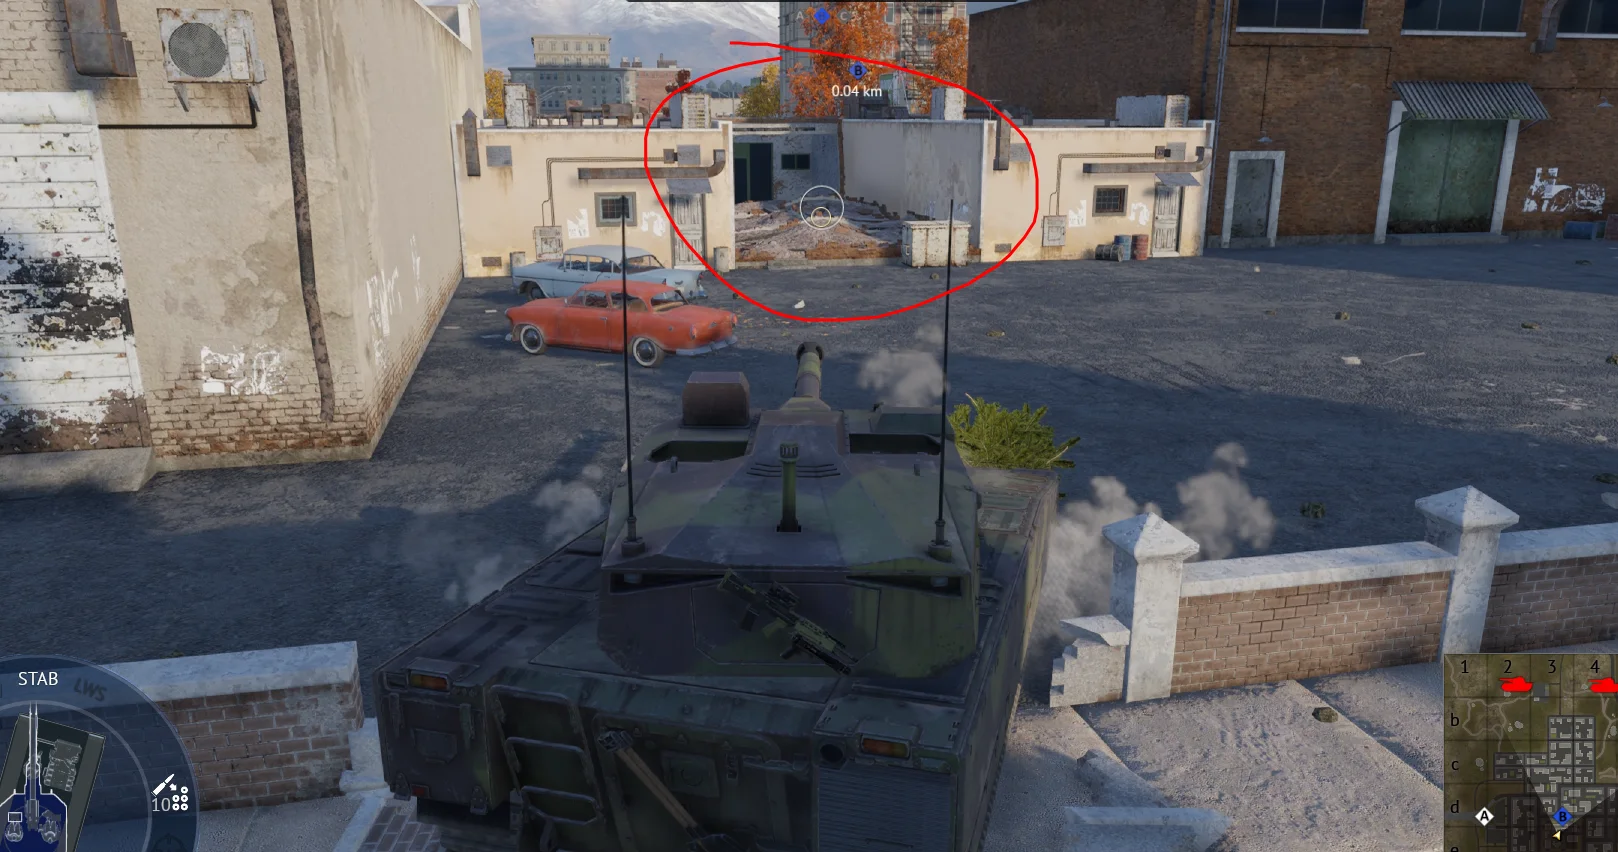
These buildings are destructible if you ram into them. You can safely capture the B point using half of the building as cover. You can also destroy the other half to push out if needed.
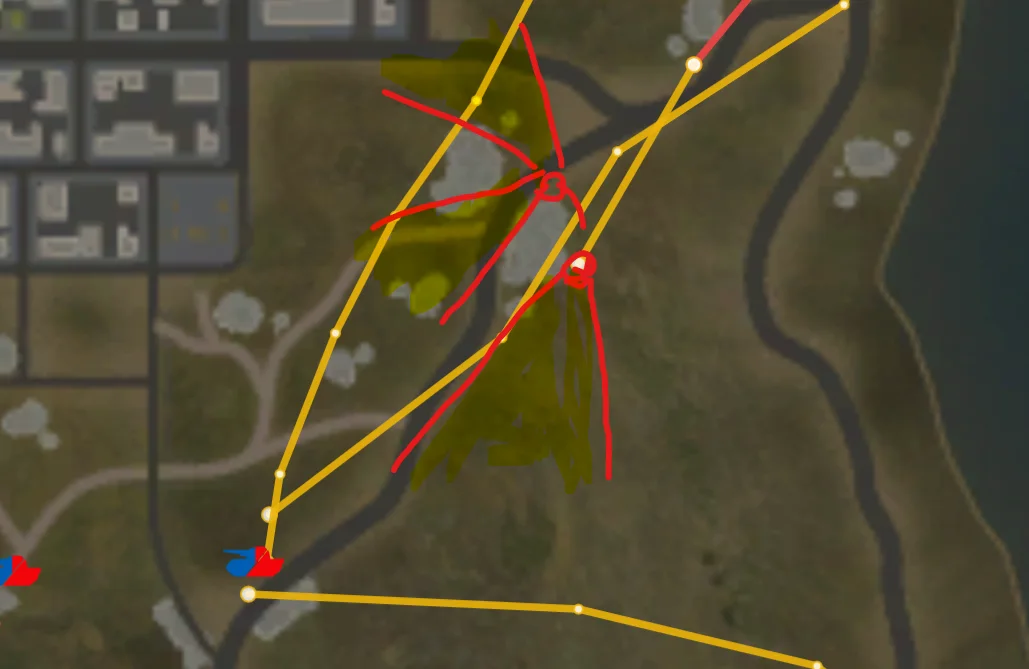
Strategic Routes · 11 approved
×click to expandGood way to control A
×click to expand×click to expand×click to expandYou can spawn camp both sides if you have a tank that can swim
×click to expandYou can snipe The point from there and prevent people from sneaking on the side
×click to expandRoad to the strongest spot on the map ( amphibious tank needed )
×click to expandStrongest spot on the map, amphibious tank needed
×click to expandStay behind rock 10\10 position, 180 degrees angle on enemy routes, EZ 5+ kills
×click to expandthis route can be used any time, it is not safe, but ends on a spawn peeking spot
×click to expandSit behind the rock to see enemy advancing from spawn, set your distance to 750m
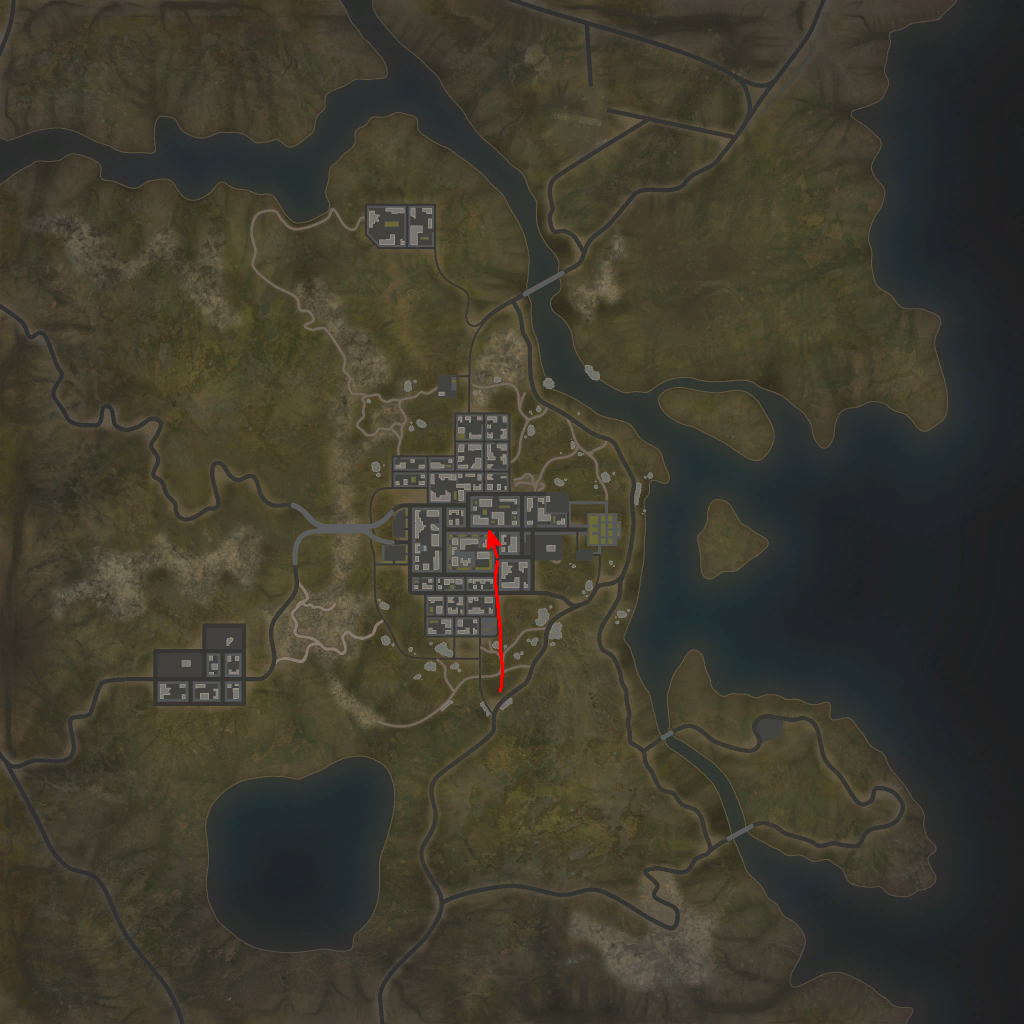
×click to expandDirect route to the B point, using the destructible building as cover while capturing the point. Refer to the pin regarding the B point building for more info.
See it on the map
Open Alaska in the RATLINE tool to view pins, draw routes, and contribute your own intel.
Open RATLINE → All Guides