Tactical Positions · 12 approved

Tactical position on AdvanceToTheRhine
Map overviewclick to expand

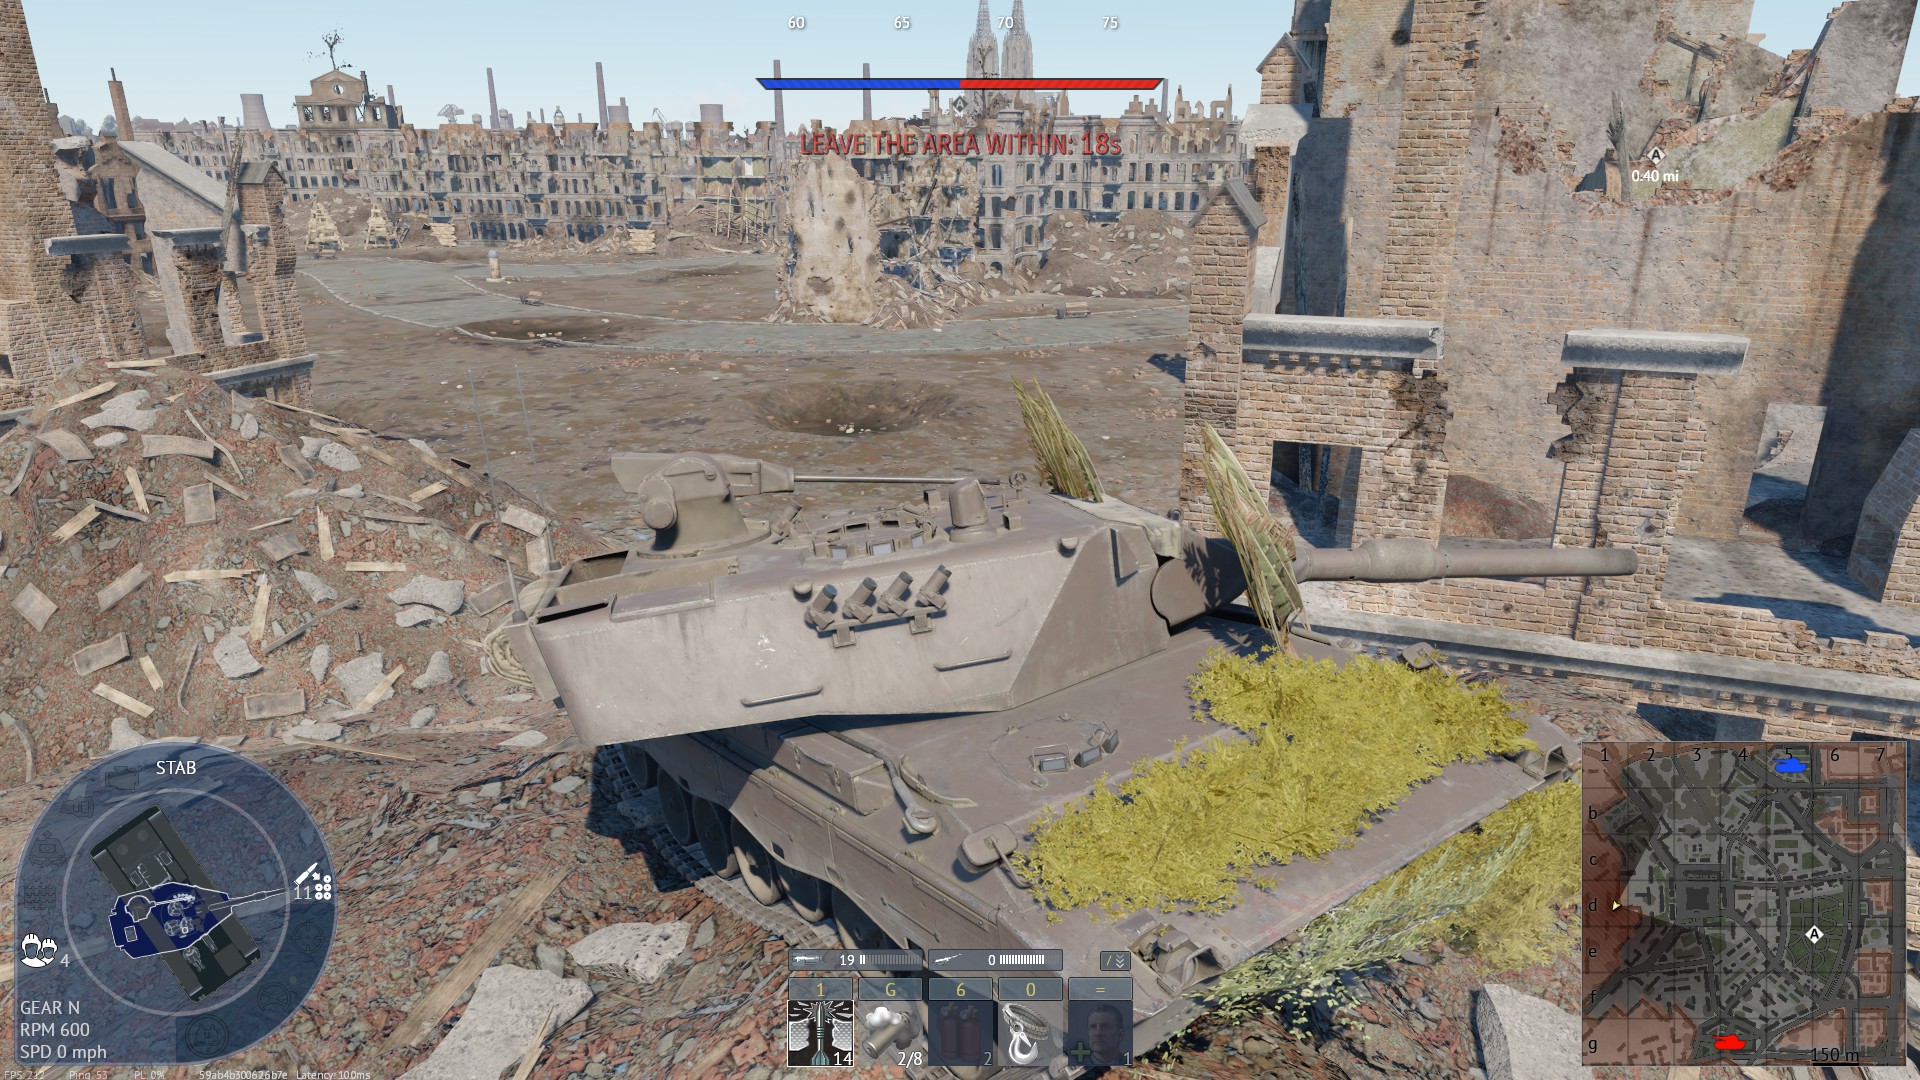
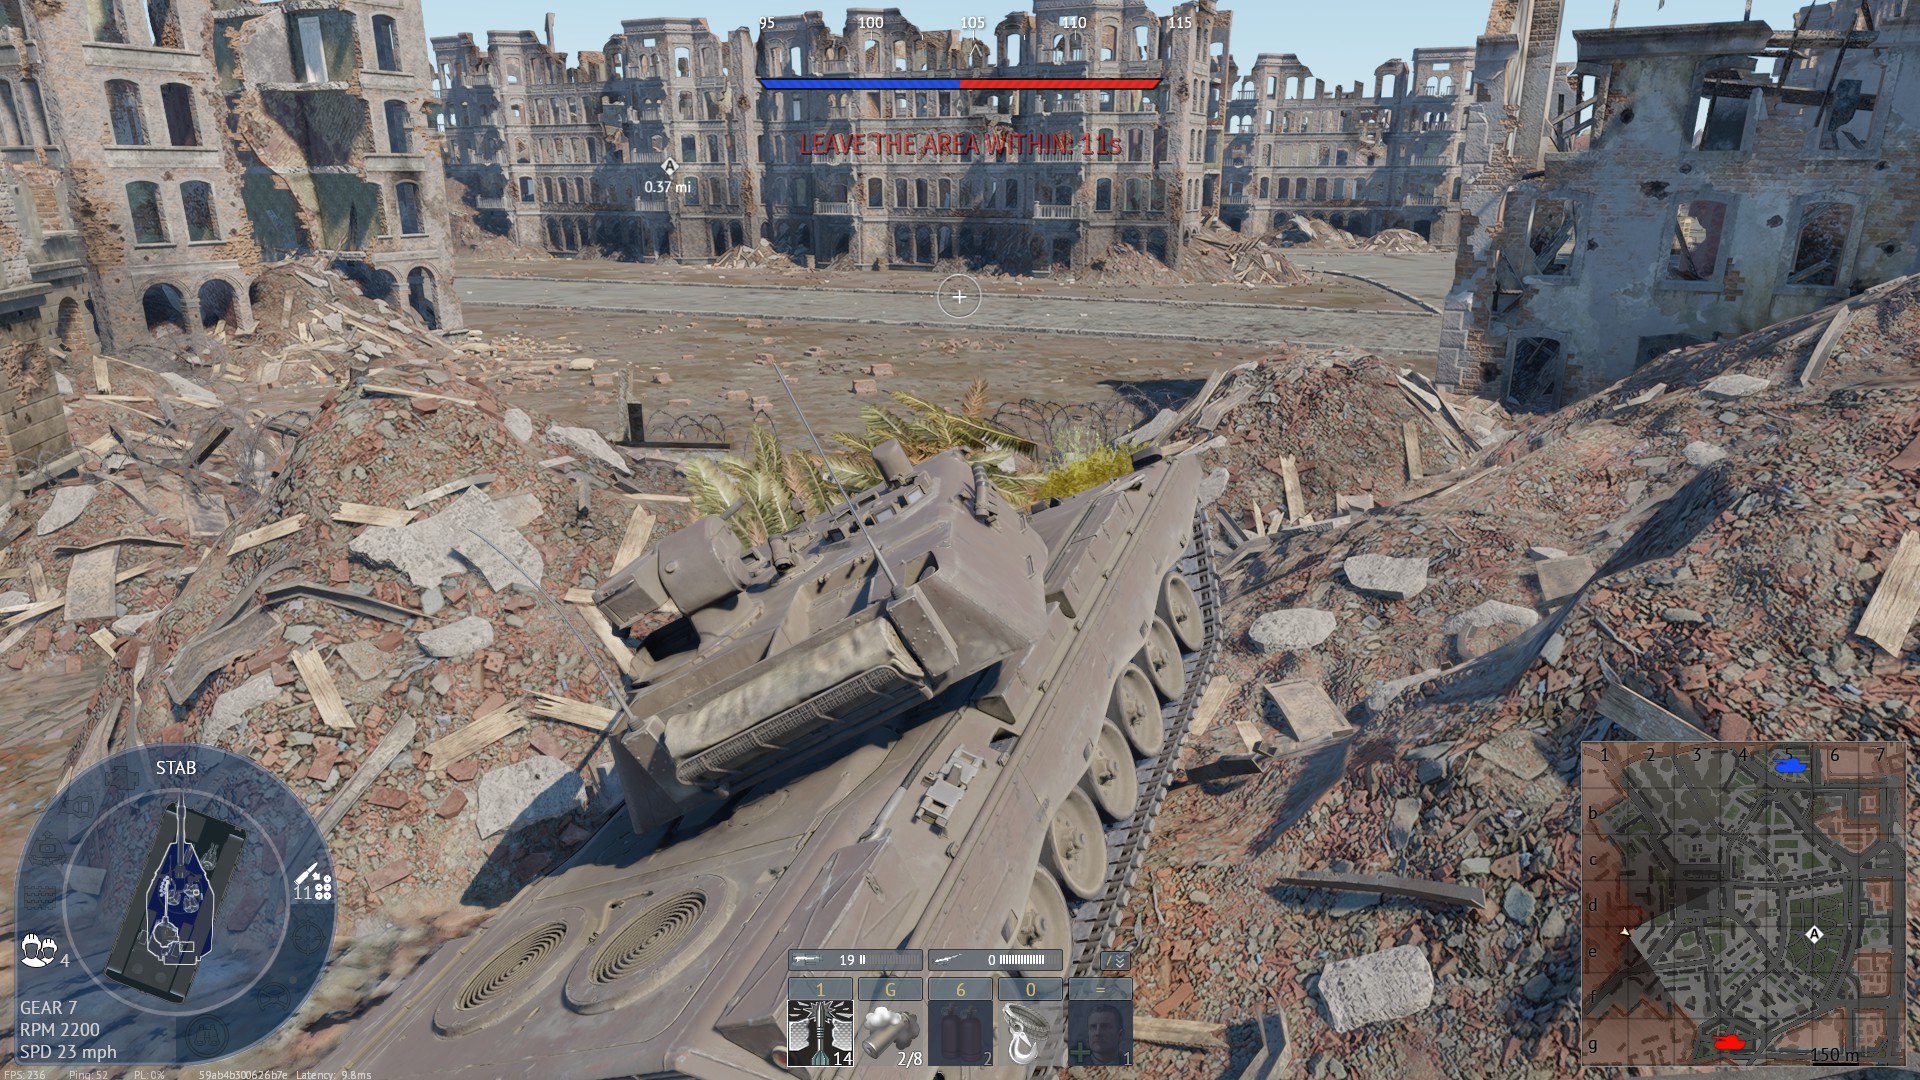
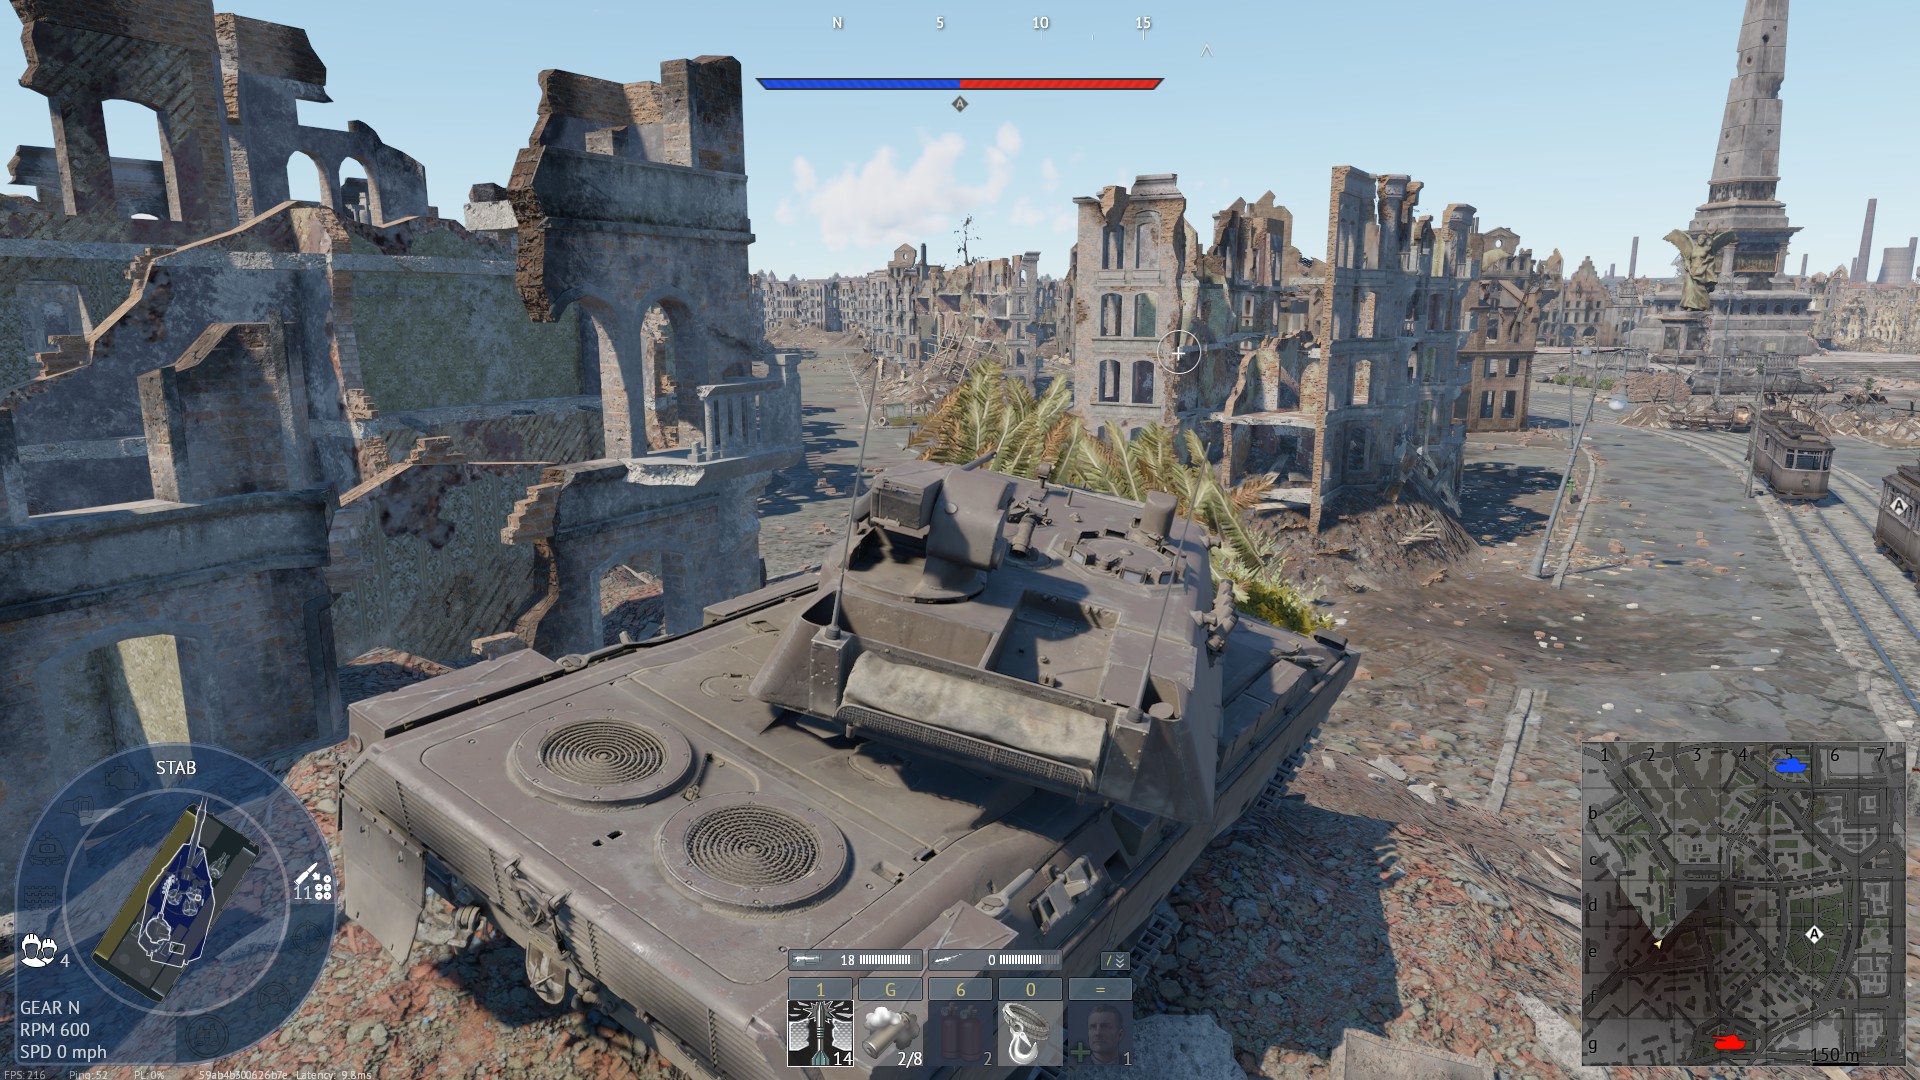
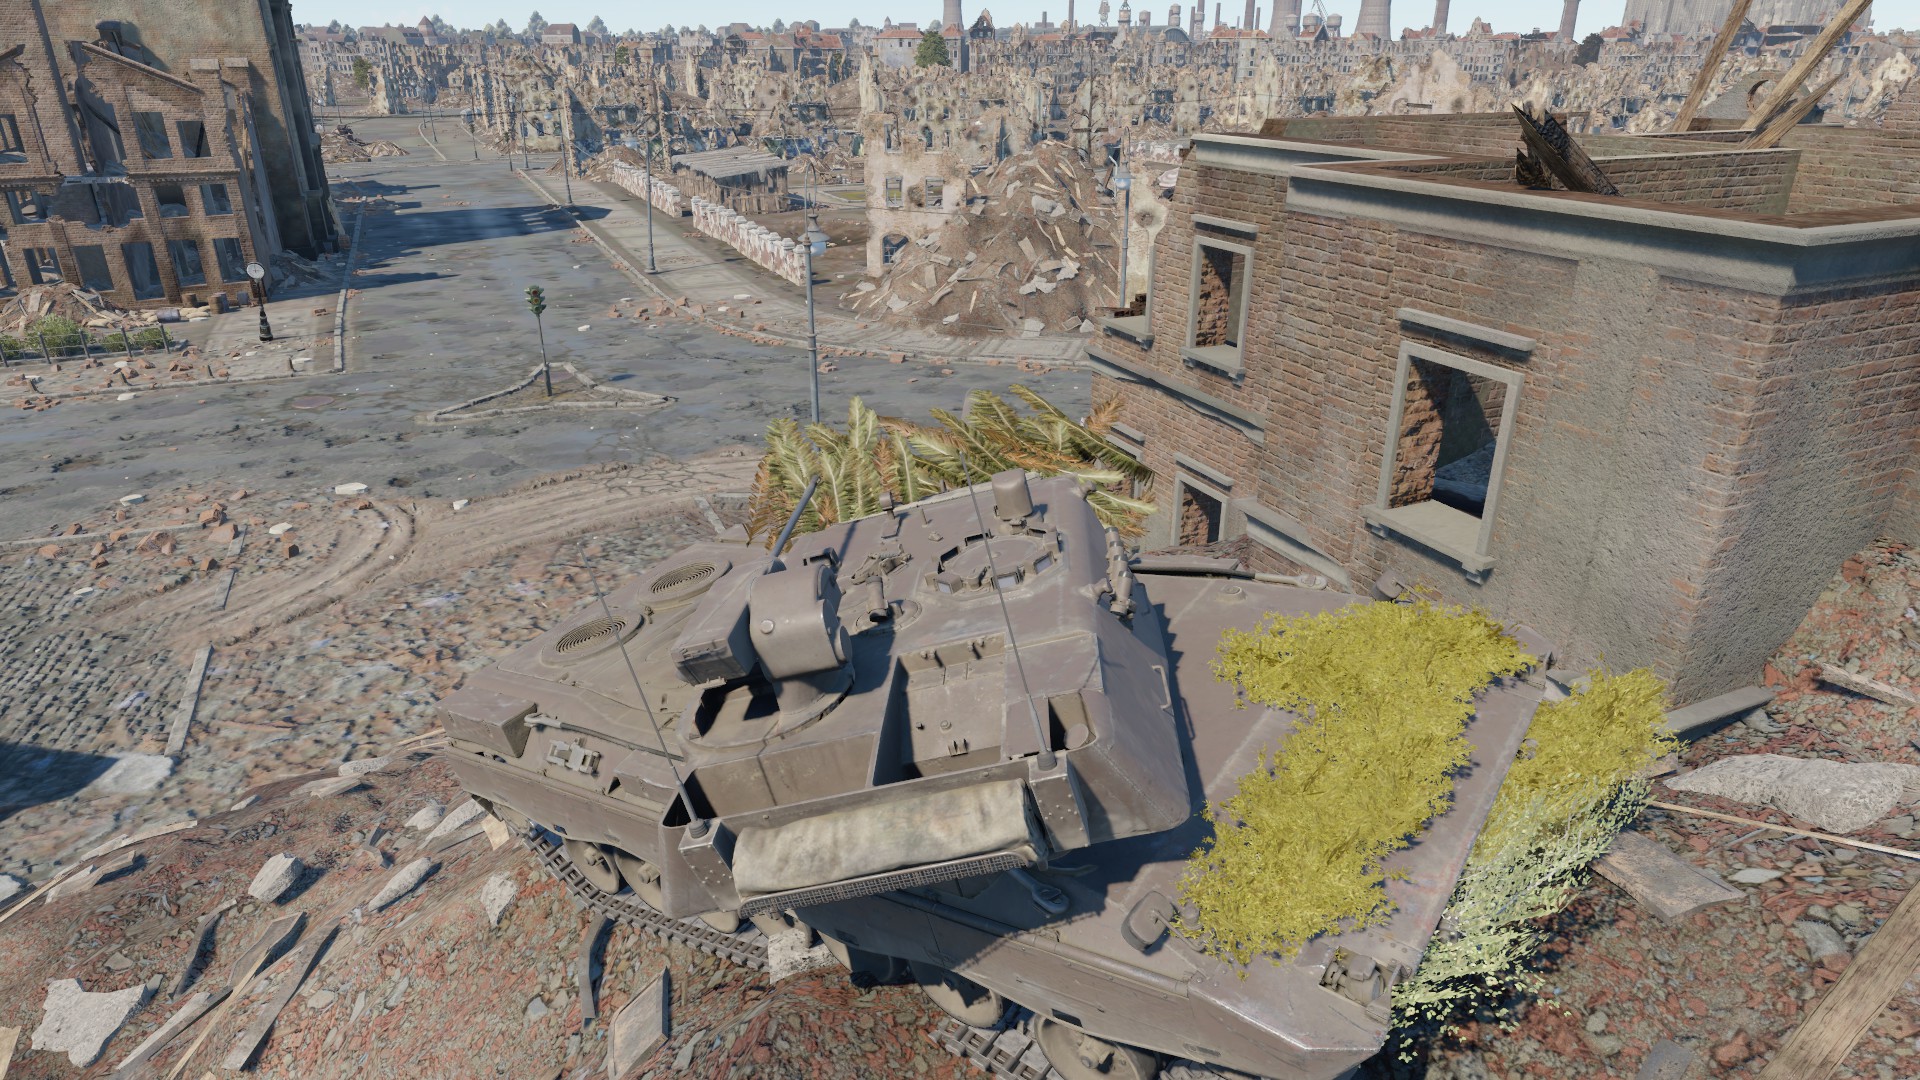
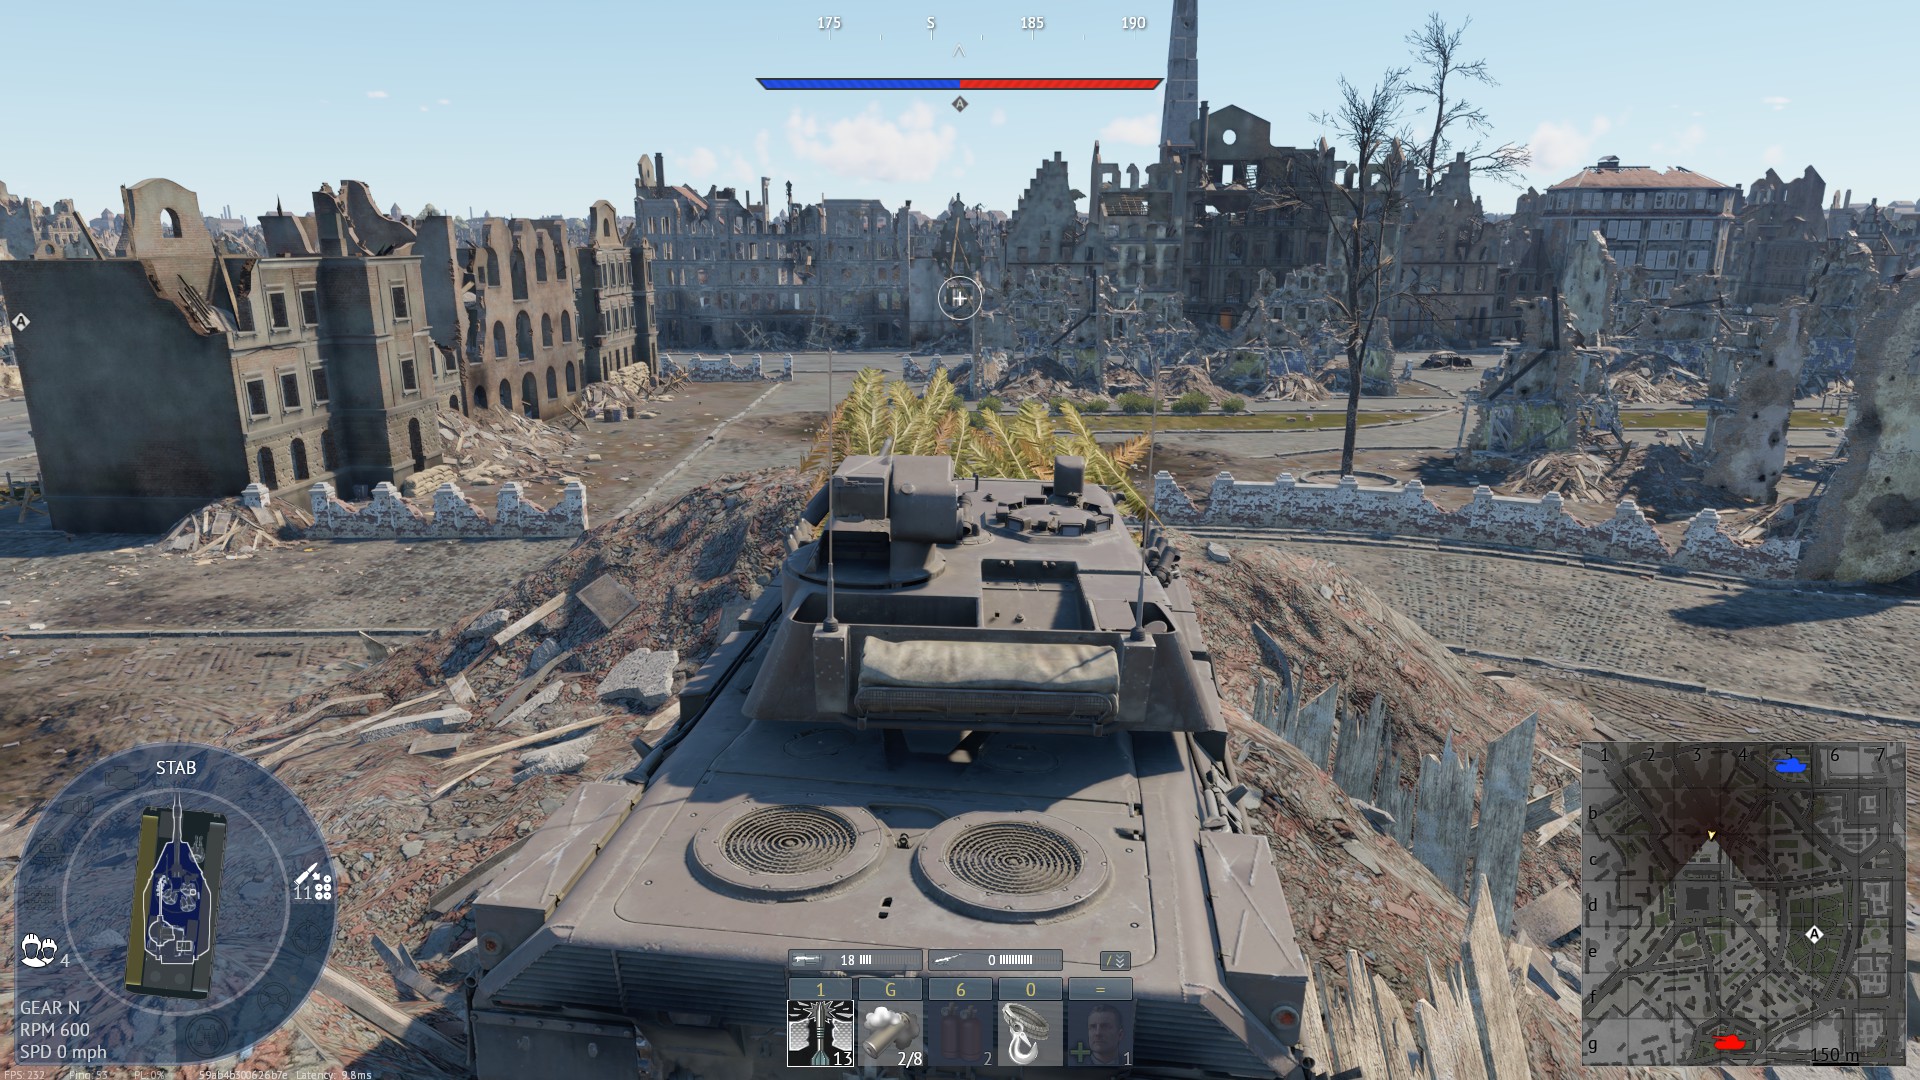
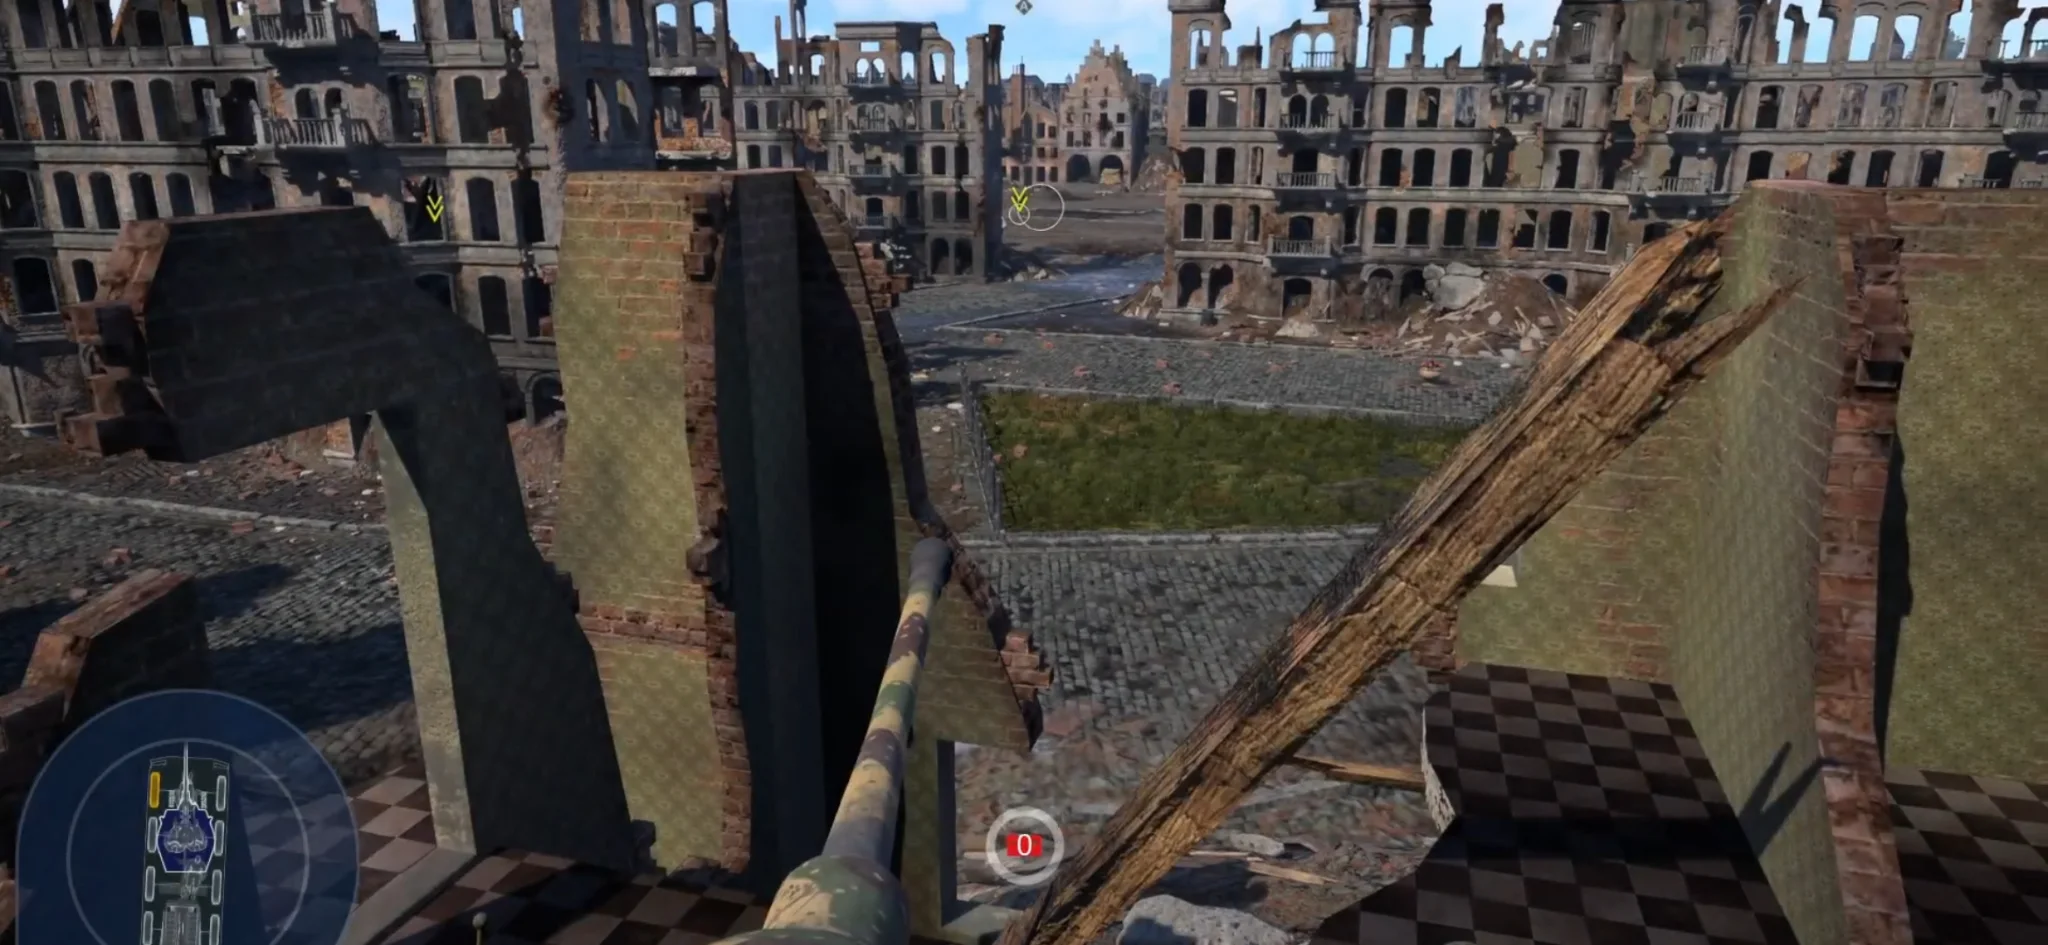
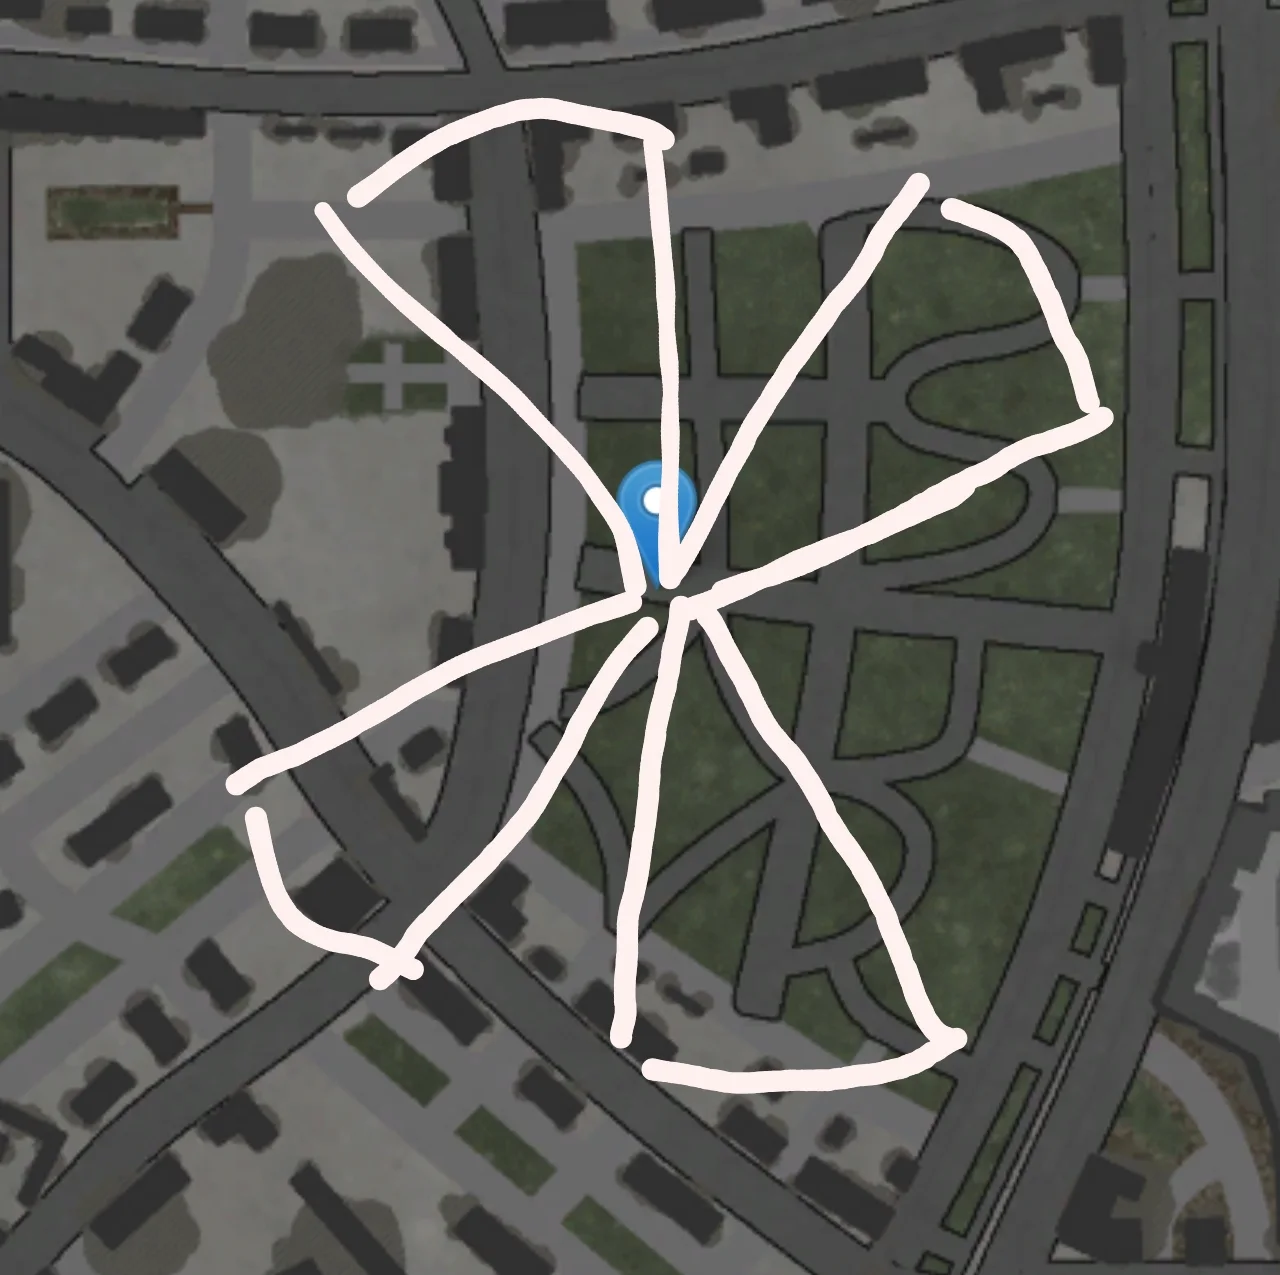
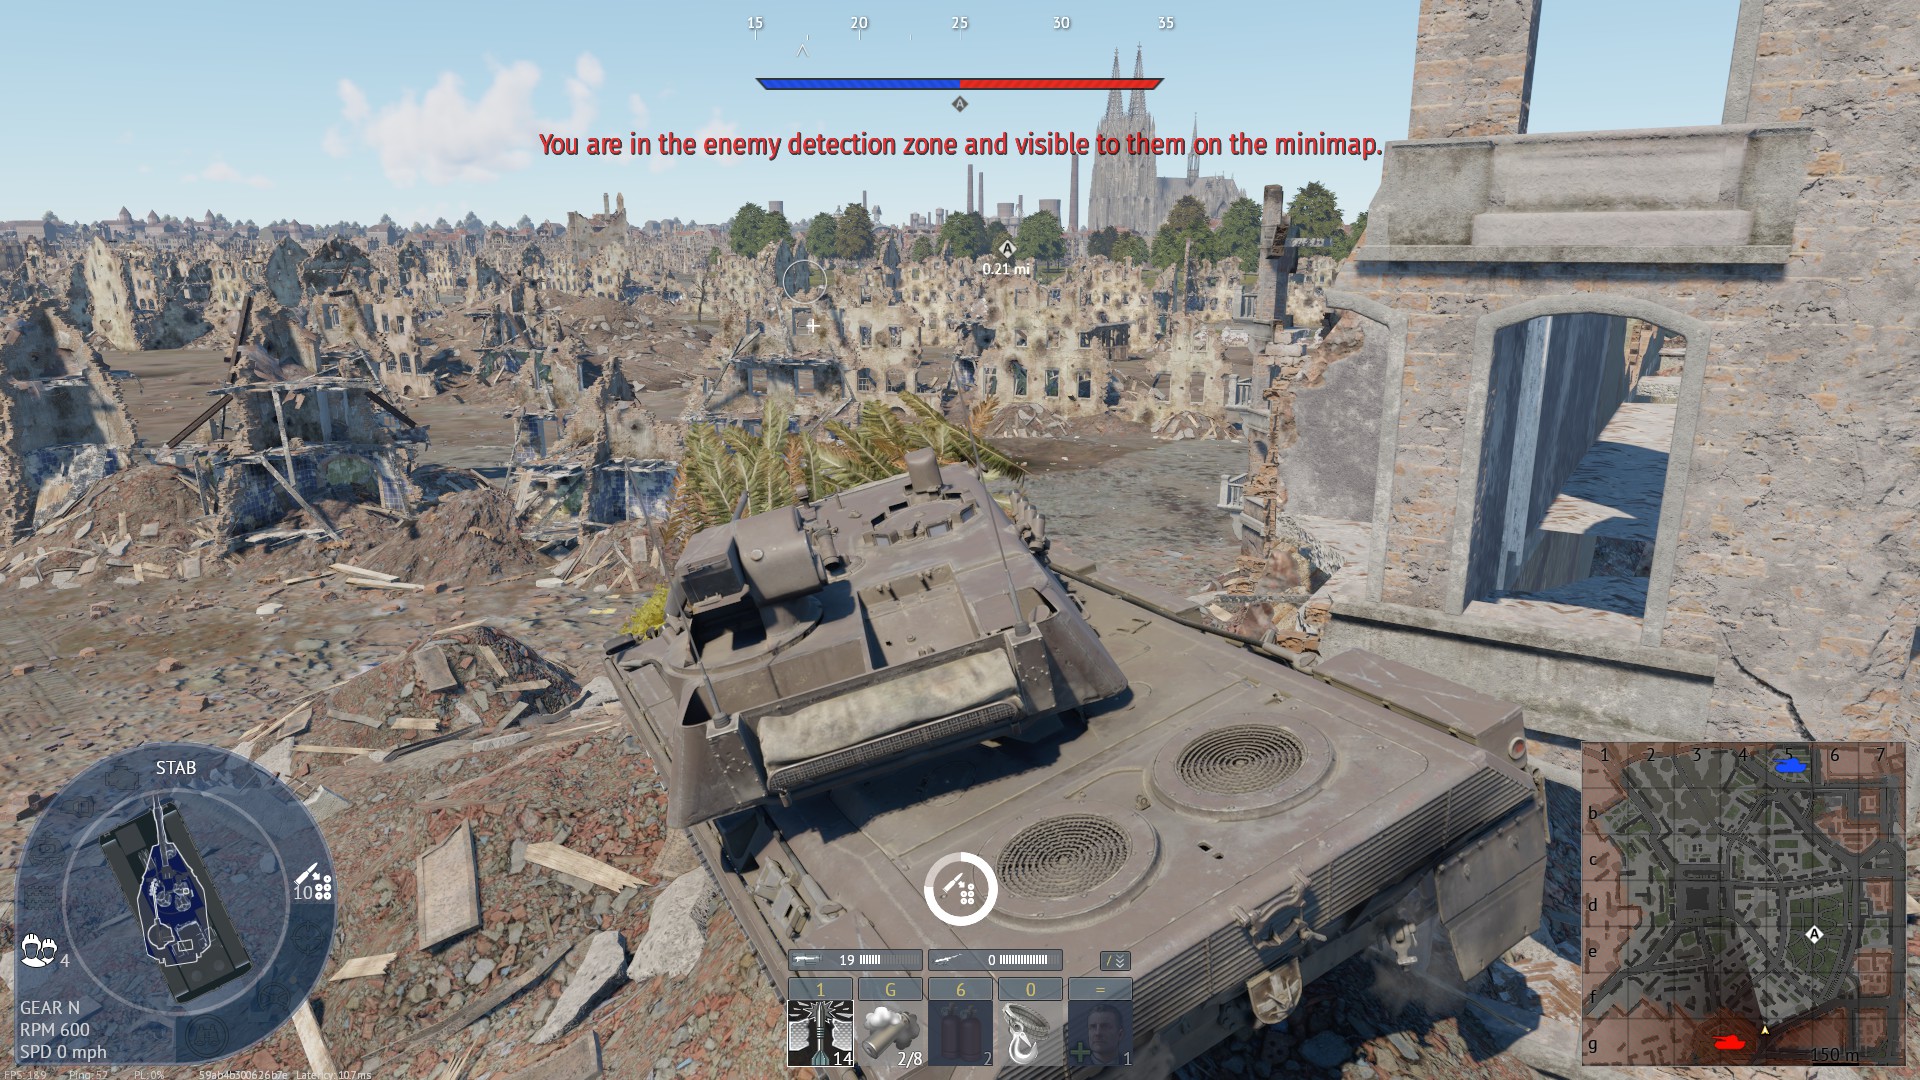
Rubble Pile Peek (SL4) - Not Common You can climb the rubble pile out of the bottom side spawn and peek over the entirety of the park and other parts of the map. You can use most tanks to get up, although you may need to climb side to side.

Tactical position on AdvanceToTheRhine
Map overviewclick to expand

Out of map flank (SL5.1) - Somewhat common From the top spawn, you can rush across and climb this rubble pile to exit the map boundaries. Then follow straight and slight left into the pin below this.

Tactical position on AdvanceToTheRhine
Map overviewclick to expand

Out of map flank (SL5.2) - Somewhat common This is where you re-enter the map boundaries. You will need to be quick about this. The enemies might hear you or see you, and you may get stuck on the pile. If pulled off successfully, you get 2-3 free kills unless the enemy is very blind.

Tactical position on AdvanceToTheRhine
Map overviewclick to expand

Rubble Peek (SL6) - Uncommon, yet easy to see This spot relies on you being able to kill the enemy before they realize you are up there. You need a runup and this spot is reliable for about 1:30 before the enemy you first killed pushed back and peeks you.

Tactical position on AdvanceToTheRhine
Map overviewclick to expand

Rubble Peek Through Building (SL7) - Never seen This peek requires you to drive up this rubble pile quickly and reach the top. Starting from the monument side is almost necessary. This allows you to peek onto the a cap and parts of the park. However, you are exposed behind you.

Tactical position on AdvanceToTheRhine
Map overviewclick to expand

Rubble peek addition (SL7.1) - Never seen This is an addition to the other peek on this pile. You can back up a bit towards the monument and peek into almost every way to get out of the top side spawn. This is a risky peek but can pay off if you are quick and hit your shots.

Tactical position on AdvanceToTheRhine
Map overviewclick to expand

Shoot through Building (SL8) - Uncommon You are able to shoot through the doors and windows of the brick building. This is useful against somebody sitting on the a cap. They might try to shoot you so try to get your shot off quick

Tactical position on AdvanceToTheRhine
Map overviewclick to expand

Rubble Peek to monument (SL9) - Never Seen You can climb the rubble pile to get a view through the window onto the east side of the monument. This is a special use case when somebody is camping or when you would like to camp.

Tactical position on AdvanceToTheRhine
Map overviewclick to expand

Sniping POS for Enemy tanks, they won't see you (mostly.) You can get 2-4 kills with it, and use the ramp to get up by using a fast vehicle.

SniperCoverFlankHigh GroundHull DownDefensive
Tactical position on AdvanceToTheRhine
Map overviewclick to expand

Get up here via the ramp with a fast tank, preferred 40 - 140 mph.

FlankSniperSpawn CampCoverDefensiveHigh Ground
Tactical position on AdvanceToTheRhine
Map overviewclick to expand

Good position for heavy and mediu tanks, if more experienced light tanks work great too, the point is possible both from top spawn and bottom one.

Danger ZoneCoverDefensiveHull Down
Tactical position on AdvanceToTheRhine
Map overviewclick to expand

This spot is really good to hold if the enemy is pushing your spawn, it is behind rubble and is a bit small so it won't provide total cover for a large vehicle

Hull DownDefensiveCover

Strategic Routes · 8 approved

Map overviewclick to expand
Direct AssaultWide Flank

good vis

Map overviewclick to expand
Wide Flank

A fast, quick route for flanking, you have a good FOV of enemy tanks

Map overviewclick to expand
Wide Flank

Guard the Two openings where enemy tanks would go through, about 2-3 kills

Map overviewclick to expand
Wide Flank

Common flank route some variation to get to it but it stays the same

Map overviewclick to expand
Wide Flank

My top frag position

Map overviewclick to expand
Protected CorridorWide FlankDirect Assault

An easy way to catch off guard players on both B and A. This route works both ways on the map.

Map overviewclick to expand
Protected CorridorDirect Assault

nice spot, tou can see into the cap if the point i in the park also stop enemies flanking behind

Map overviewclick to expand
Protected CorridorWide FlankDirect Assault

See it on the map

Open AdvanceToTheRhine in the RATLINE tool to view pins, draw routes, and contribute your own intel.

Open RATLINE → All Guides