Tactical Positions · 8 approved

Tactical position on AbandonedTown
Map overviewclick to expand

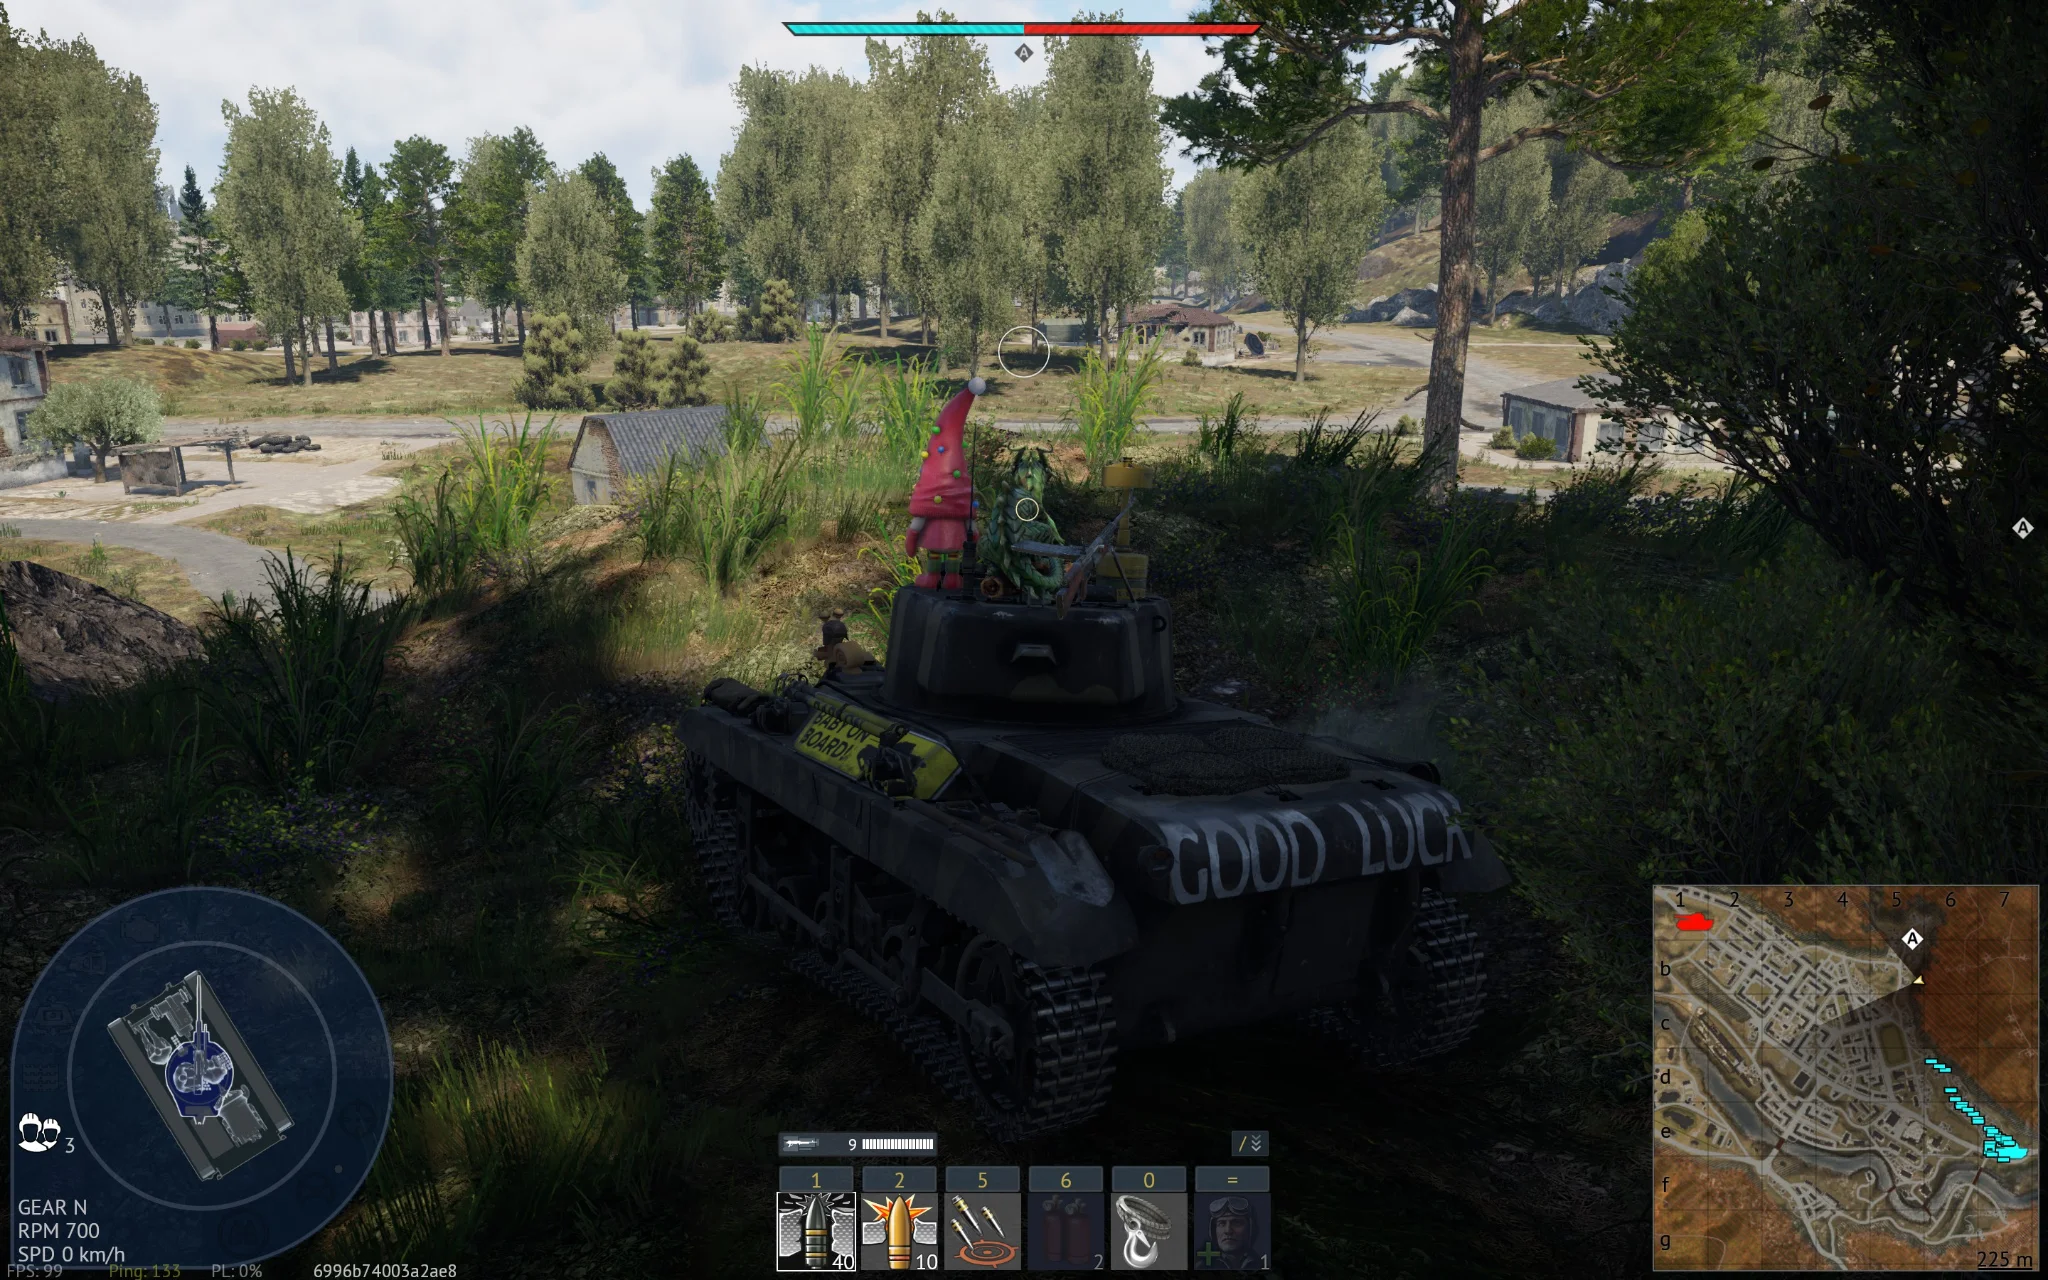
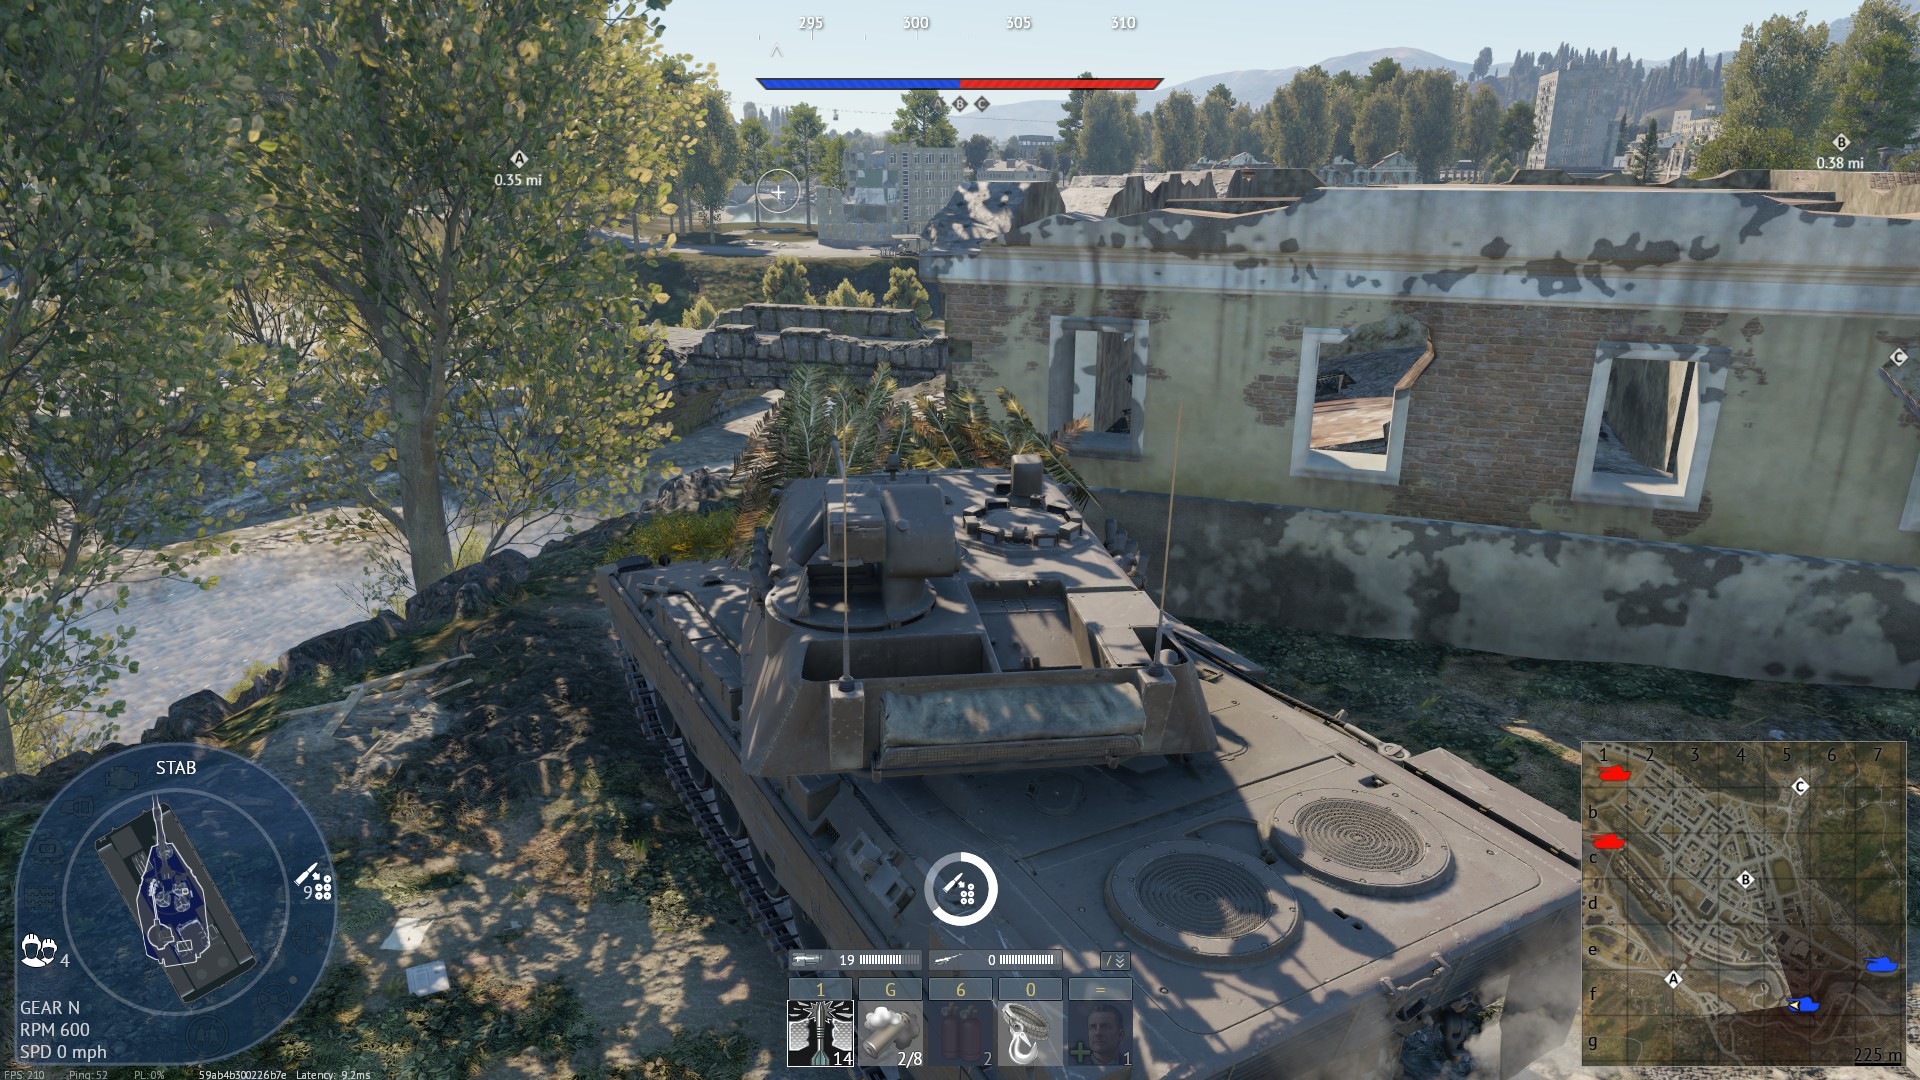
The common spot — you peek over the bridge in the middle of the map and watch the enemies pushing toward the A point. The bridge gives you elevation and a hard edge to work: hull below the line, gun above it, with the A-bound traffic crossing your sightline in committed, predictable lanes. Its popularity is deserved and is also the caveat — enemies who have died here before will pre-aim the bridge line, so vary your exact peek spot along it rather than camping one silhouette. As pure value per meter driven, though, few positions on this map beat it. Peek, punish the push, repeat.
Tactical position on AbandonedTown
Map overviewclick to expand

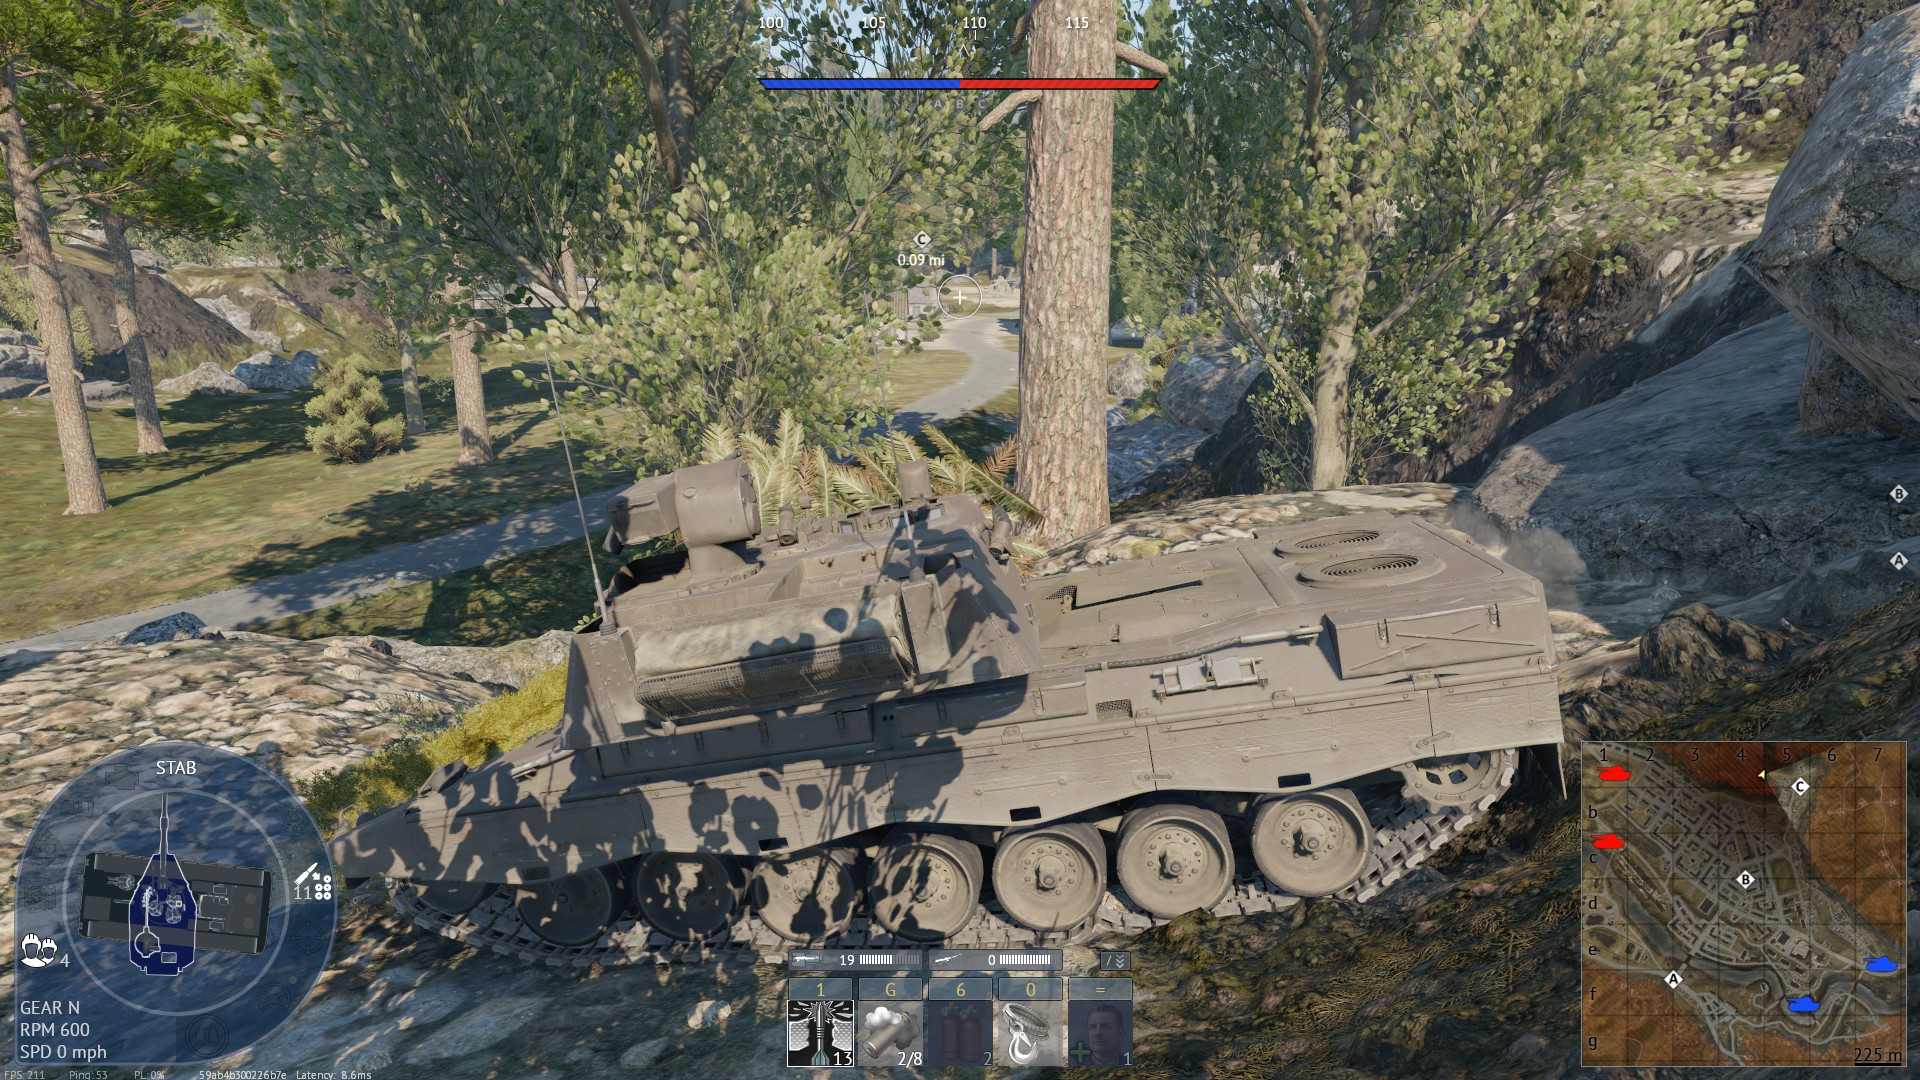
A rat spot, and not a very common one — you side-climb between the rocks and slot into a hidden position that nobody ever checks. The climb is the password: it looks impossible from below, which is exactly why the spot stays off everyone's mental map. Once inside, you are furniture — enemies operate around you at close range without a glance in your direction, and the kills come from angles they cannot process. Rat spots live and die on discipline: move minimally, fire deliberately, and let targets commit past you before shooting. When this one finally burns, it stays burned — so spend its surprise wisely.

Tactical position on AbandonedTown
Map overviewclick to expand

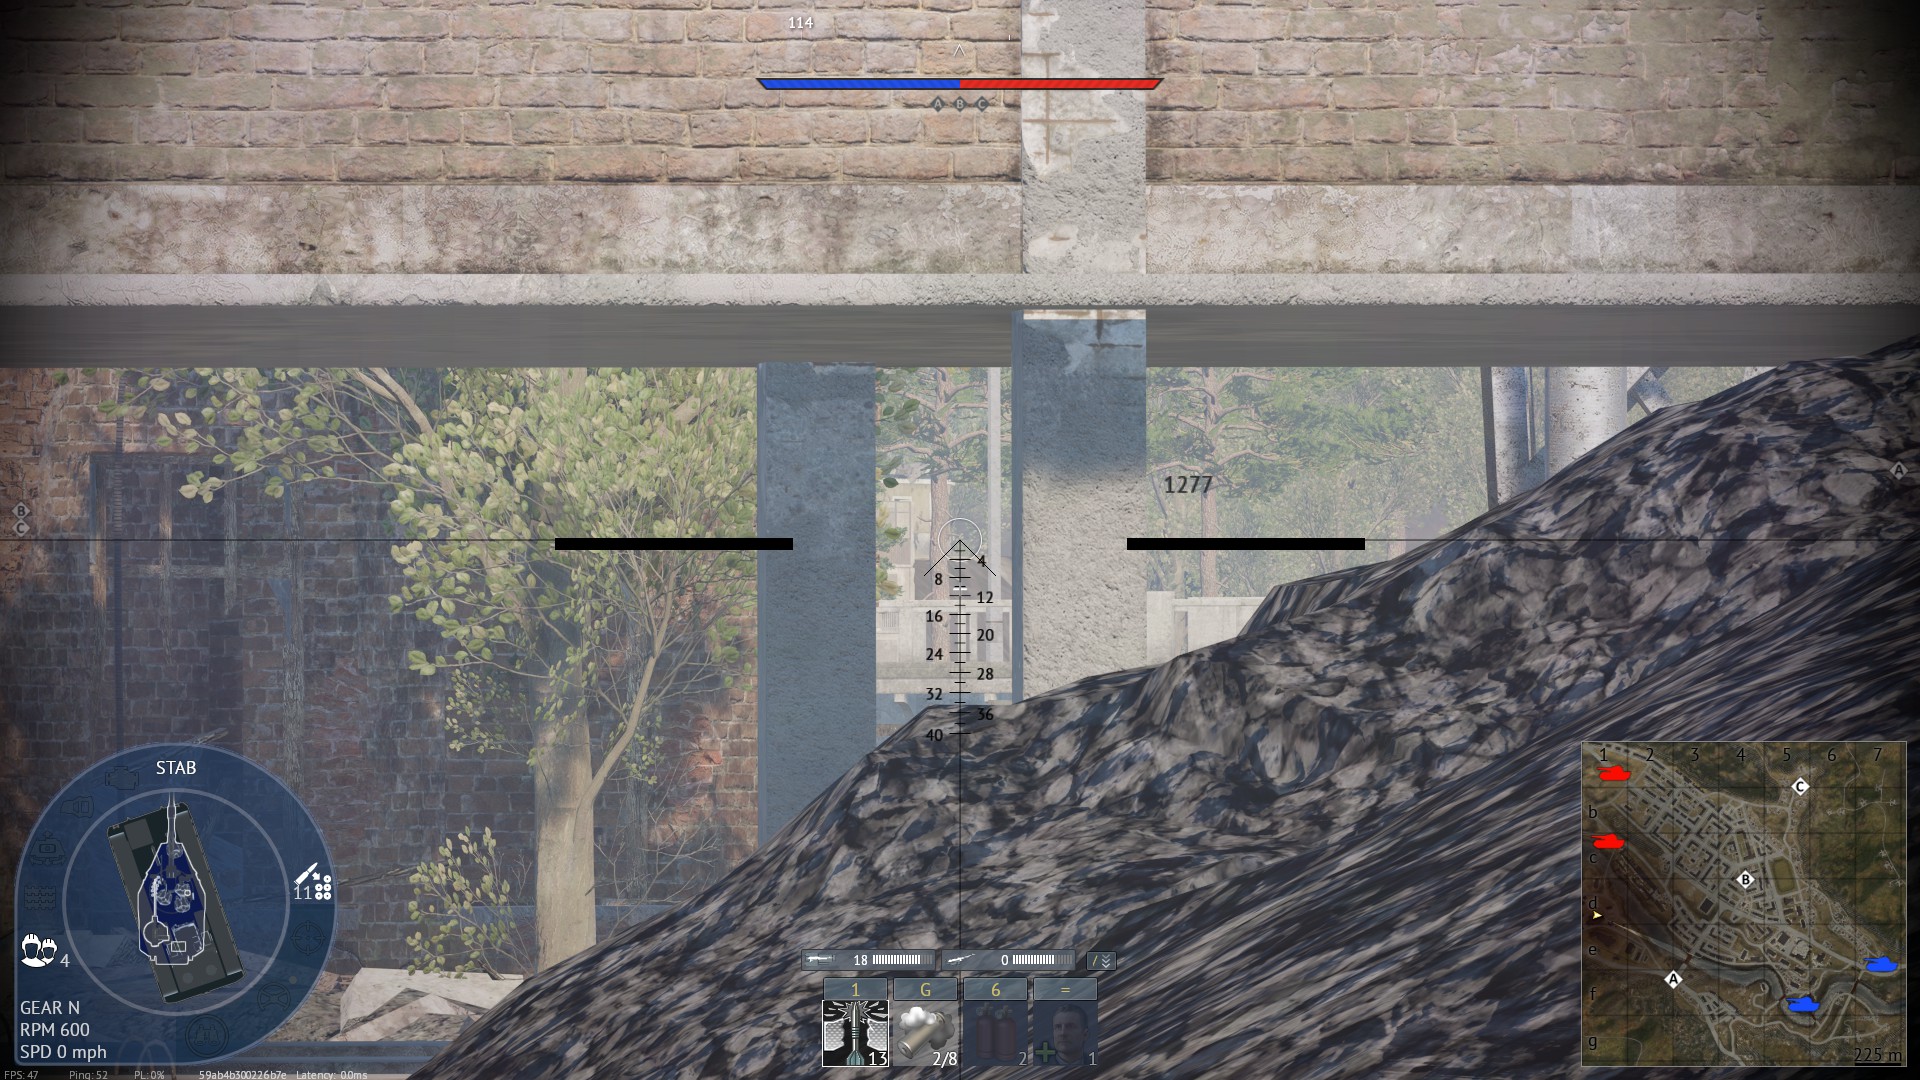
The counter to the bottom-side peek — rare knowledge, and match-winning when it applies. You sit behind the coal piles and look right through the gap between two pillars, and that thread of a sightline lands directly on anybody camping the other side's spawn peek. The camper thinks their position is the safe end of a one-way street; this angle makes it two-way. Use it when your team's spawn is taking fire from the known peek: set up behind the coal, align the pillars, and delete the problem. The firing window is narrow, so take your time on the aim — the target is static and has no idea.

Tactical position on AbandonedTown
Map overviewclick to expand

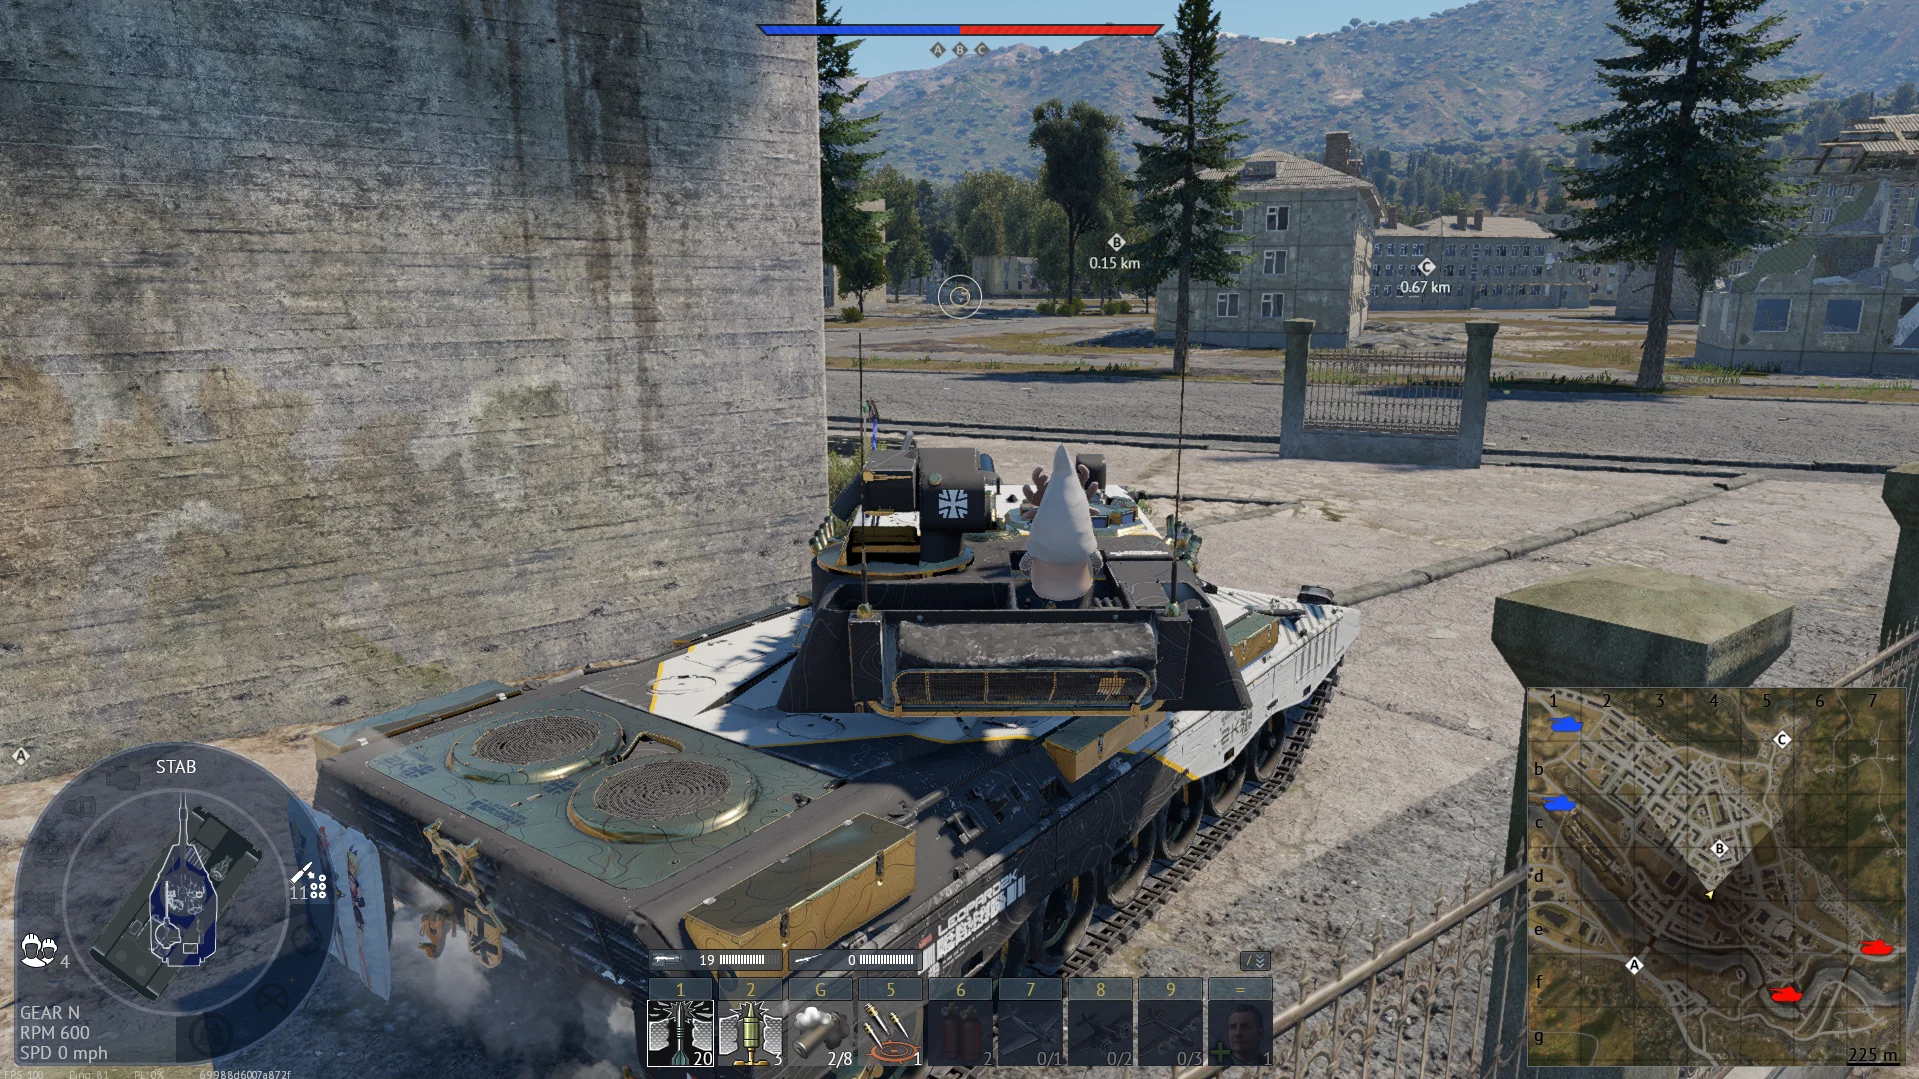
Fast vehicle needed — you ramp up the wall when carrying enough speed, and the top rewards the stunt: a great view over enemies on and around the point, from an elevation that is rarely checked. The wall climb is the filter that keeps this spot exclusive; most players do not know the ramp exists, and most vehicles cannot make it regardless. On top you get sniper geometry with hull-down options and cover, working targets that are fully engaged with the point fight below. Carry the speed, make the climb, and farm the point from the one direction its contestants never budget for.

SniperHigh GroundHull DownDefensiveCover
Tactical position on AbandonedTown
Map overviewclick to expand

A great early-game position for countering the people coming into B — it requires a fast vehicle, because the value is in being set before their first wave arrives. The spot puts your gun across B's entry lanes at the exact minute they are busiest, and an early defender here breaks the point's opening rush one commit at a time. The danger tag is real: you are close to the action and the position rewards tempo, not loitering. Sprint there at spawn, punish the first wave while it is still bunched and blind, and then reassess — hold if the pressure keeps coming, rotate if the fight moves on.

DefensiveDanger ZoneObjective
Tactical position on AbandonedTown
Map overviewclick to expand

A good high-risk position for anything up to a medium tank — the geometry stops accommodating you somewhere above that weight class. The spot stacks jobs: spawn-peek reach, sniping lanes, high ground, and a launch point for pushes, all from one contested piece of terrain. That versatility is why it earns its risk tag — ground this useful is checked, and the position trades protection for reach. Light and medium vehicles can work it properly: arrive quick, use the elevation for early picks, and keep your exposure rhythm irregular. When the attention arrives, the same mobility that got you there gets you out.

Danger ZonePushDefensiveHigh GroundSpawn PeakSniper
Tactical position on AbandonedTown
Map overviewclick to expand

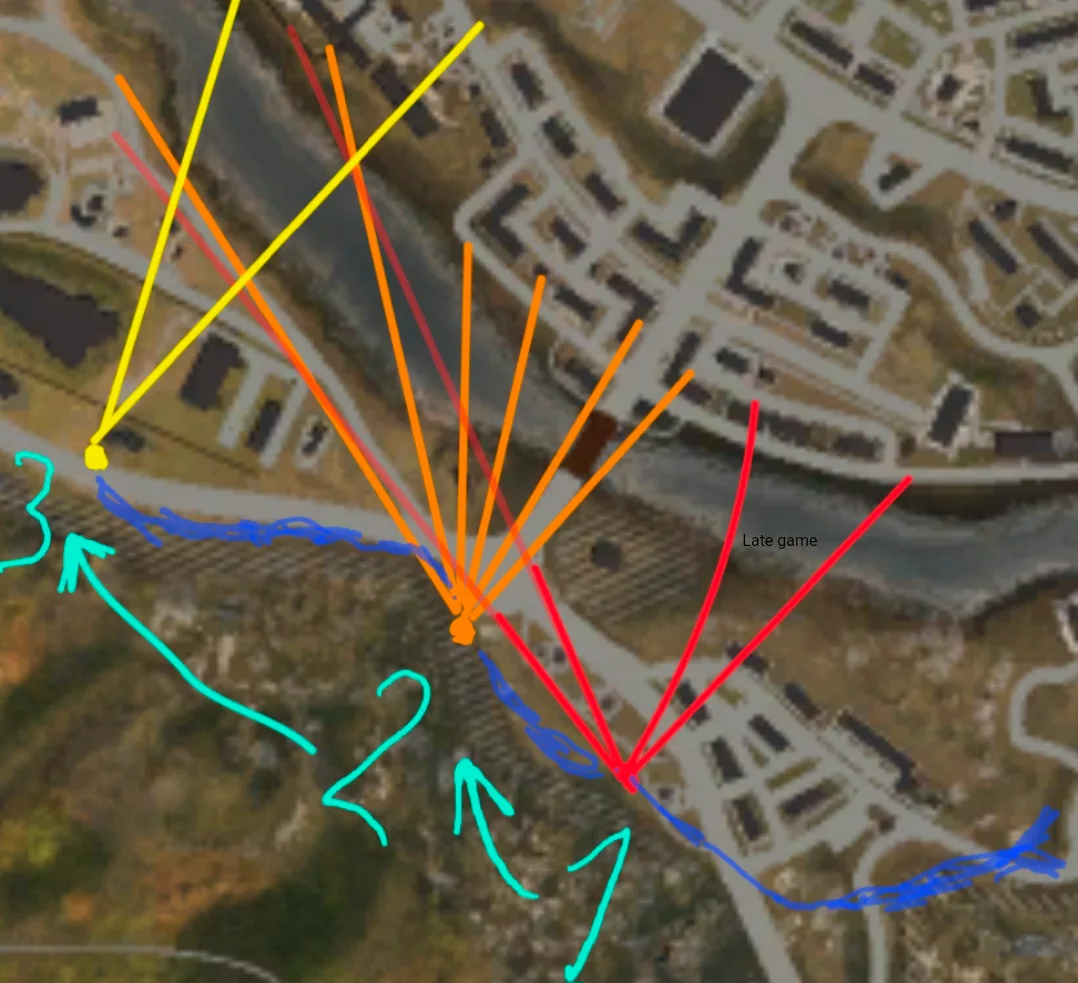
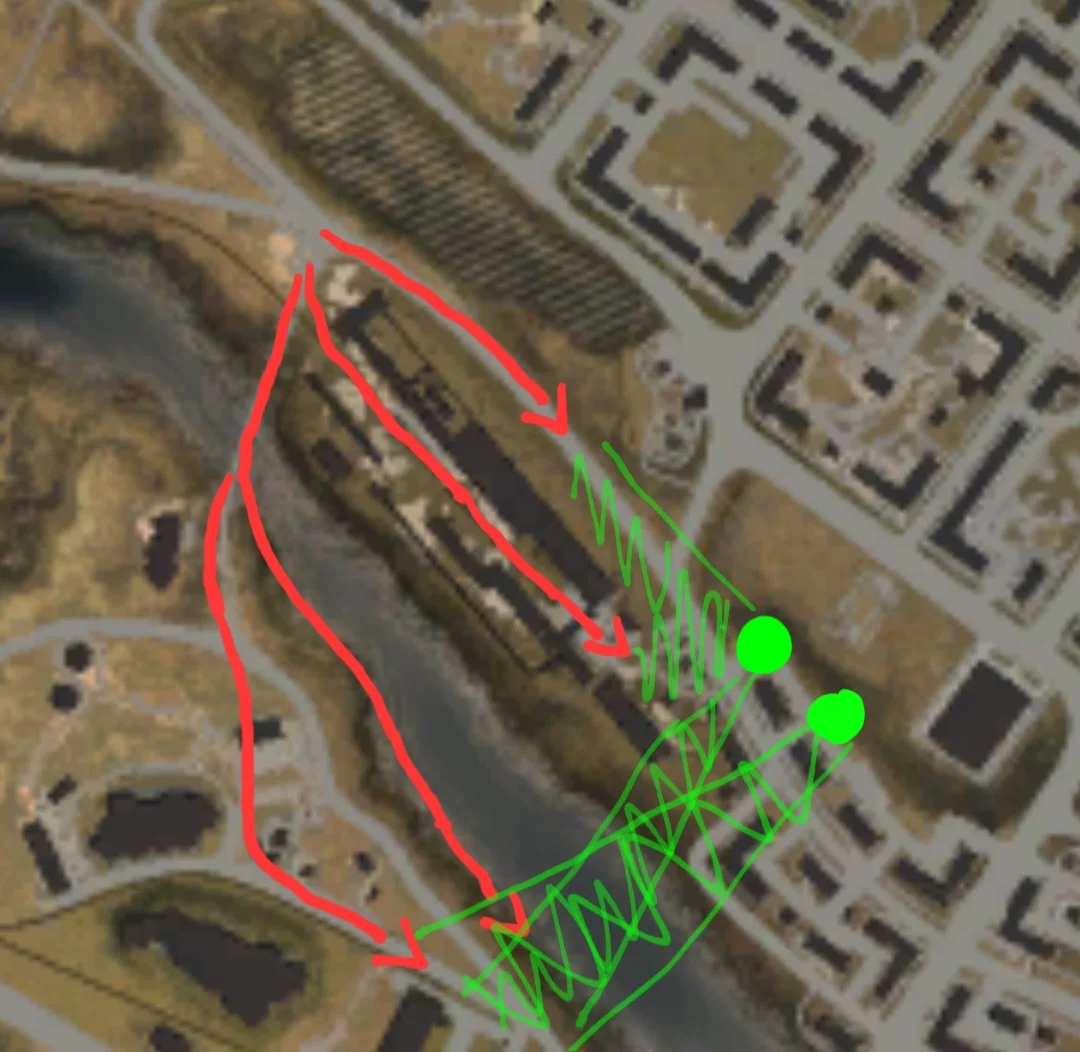
This is a Peek-gameplay route. Use Red and Orange for going forward step by step or just stay there (depending on match). When possible you can Cap the point at Orange. After there are no more enemys, (winning condition - late game) you can go to yellow and spawn Camp from the distance. When youre loosing you can take Red to flank enemys rushing your spawn in the middle (see picture >late game<). The Orange is just for capping so prefer to stay at Red or Yellow.

FlankSpawn CampHull DownSniperDefensiveObjective
Tactical position on AbandonedTown
Map overviewclick to expand

Perfect hill to Spawncamp the Enemy, would immediately rush here with a fast light tank (M18, Pbv 501, M41 etc), I do this every time i get this map and i can assure you that the Enemy does NOT see you, i do not know why i think it has something to do with the terrain backround and stuff that camouflages you.

Spawn PeakSpawn CampFlankHull DownCover

Strategic Routes · 12 approved

Map overviewclick to expand
Direct Assault

Rush — the route is one word because the plan is one word. This direct line exists to be driven flat-out at the match start, beating the enemy's deployment to the ground that matters. No stopping, no trading on the way, no detours: the entire value is in arrival time, and every second of hesitation is value burned. Direct rush lanes decide who fights from position and who fights toward it — this one puts your team on the right side of that equation if you commit hard enough. Pick something quick, hold the throttle, and be where they did not want you to be yet.

Map overviewclick to expand
Direct Assault

The second rush lane — same doctrine as its twin: a direct line meant to be driven at full commitment the moment the match starts. Having two parallel rush routes is a team asset; split between them and the enemy's early defense has to guess, cover both thinly, or concede one. Solo, pick whichever matches your spawn side and go. The rules of rushing do not change — speed is the armor, hesitation is the killer, and the payoff is fighting the opening exchanges from ground the enemy assumed was theirs. Arrive first, set up fast, and make the early map yours.

Map overviewclick to expand
Wide Flank

A good flank for the start of the match — an opening-move route that swings you around the forming lanes while everyone is still driving to their first positions. Early flanks trade on the chaos window: the enemy has not established sightlines yet, so the route crosses ground that will be dangerous in five minutes but is free right now. Arrive on their shoulder as the first exchanges begin and the side shots write themselves. It is a timing play, not a standing route — run it off spawn or save it for a respawn reset, but do not drive it casually into a settled midgame.

Map overviewclick to expand
Wide Flank

A good flank at the start of the match — this is one of two routes to the same idea, and this pin marks the first of the pair. Like its sibling, it exploits the opening chaos window, carrying you around the enemy's forming lines before their sightlines harden. Two routes to one flank is genuine flexibility: if the enemy shades their early attention toward one, the other runs clean, and a coordinated pair can split them for a double envelopment. Pick based on your spawn and the enemy's visible drift, commit early, and be shooting sides while they are still parking on their first ridge.

Map overviewclick to expand
Wide Flank

Rush this at the start of the match for free kills — the qualifier: you must have a fast tank, preferably a quick MBT, because the timing only works at speed. The route beats the enemy's first wave to an intersection they believe is safe, and the vehicles that stream past in the opening minute are the free kills in question — moving, committed, and not yet scanning. A fast MBT is the sweet spot because it survives the first mistake in a way lighter rushers do not. Commit at spawn, arrive before their wave, and work through it while surprise does most of the aiming.

Map overviewclick to expand
Direct Assault

MAIN A — HIGH RISK. This is the principal direct lane to the A point, and the capitals are the warning label: everyone knows this route, which makes it both the fastest way to the objective and the most pre-aimed ground on this side of the map. Take it when tempo justifies the exposure — the opening cap race, an urgent retake, a coordinated team push that saturates the lane's defenders. Do not take it casually or alone into a settled defense. Driven at the right moments with your gun forward and the known angles pre-aimed, it delivers A; driven carelessly, it delivers you.

Map overviewclick to expand
Wide Flank

High risk, high reward — the flank's full contract in four words. The line commits you to exposed ground where being caught means dying far from help; that is the risk, and it is not decorative. The reward is the arrival: an angle on the enemy's side of the map where their attention is not, converting into the kind of side-shot sequence that flips a match. Routes with this profile are bets, and bets are sized — run it when your vehicle is fast, your read on the enemy's deployment is good, and your team can absorb the failure case. When it hits, it hits for the game.

Map overviewclick to expand
Protected CorridorDirect Assault

From the end of this line you can side-shot all the vehicles on A — every tank committed to the point shows you its flank — and catch a few unaware players on the way. Three or more kills is the guaranteed floor when the point is populated. The route mixes protected cover with a direct leg, arriving at the one angle the A crowd structurally cannot face: they are oriented on the point's frontal fight, and you are the bill for that commitment. Time it for when A is actually contested, work the side armor methodically from nearest to farthest, and reset for the next wave.

Map overviewclick to expand
Protected Corridor
Map overviewclick to expand
Direct AssaultWide Flank

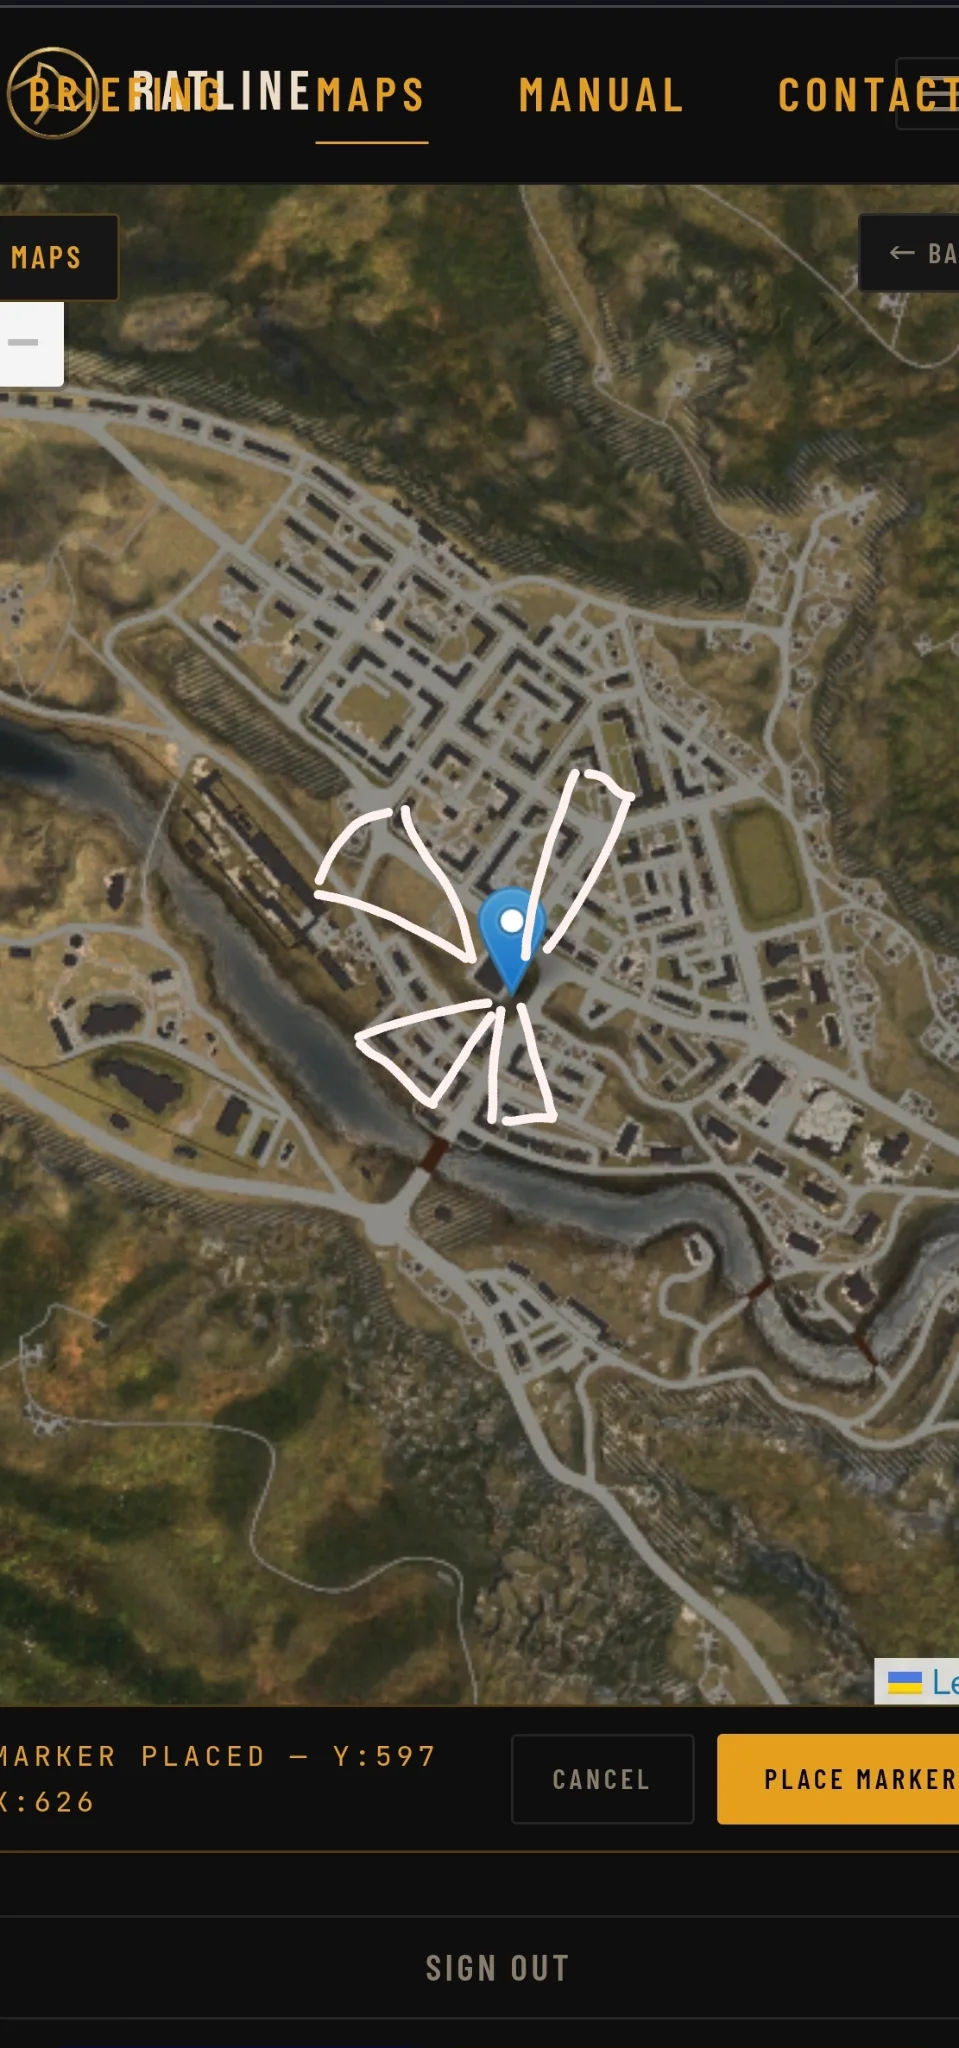
Route Right - REQUIRES FAST VEHICLE, GOOD GUN, AND SURVIVABILITY; First Strike on the enemy route, a bit dangerous, usually 1-2 kills. Route Left - REQUIRES 42 km/h TOP SPEED, IF the enemy captures C, you can usually destroy enemies on the road, and destroy unsuspecting ones if you are near the building.

Map overviewclick to expand
Direct Assault

A one-way push — this direct route commits completely: once you are in, the geometry offers no reverse gear worth taking, and the only good exit is forward through whatever resists. That is not a flaw; it is the design. One-way pushes exist for the moments that justify them — a breaking enemy line, a decisive point retake, the final compression of a won match. Enter with your decision already made and your support either alongside or irrelevant. The route rewards total commitment with ground that cautious lines never reach, and punishes half-commitment with a tank stuck in the middle of its own hesitation.

Map overviewclick to expand
Wide Flank

Deadliest Route to Ambush the enemy team. First thing i would do is rush to the Building with fences around it, from then i would get 5-7 kills and move to the hill/path where you can spawncamp the enemy while remaining very well hidden. I use this Route every time i get this map and the Enemy NEVER see me.

See it on the map

Open AbandonedTown in the RATLINE tool to view pins, draw routes, and contribute your own intel.

Open RATLINE → All Guides